
Let’s be straight: you’re never going to become a master of cake decorating if you can’t remove the cake from the pan. So it’s important that you learn how to prepare a cake pan.
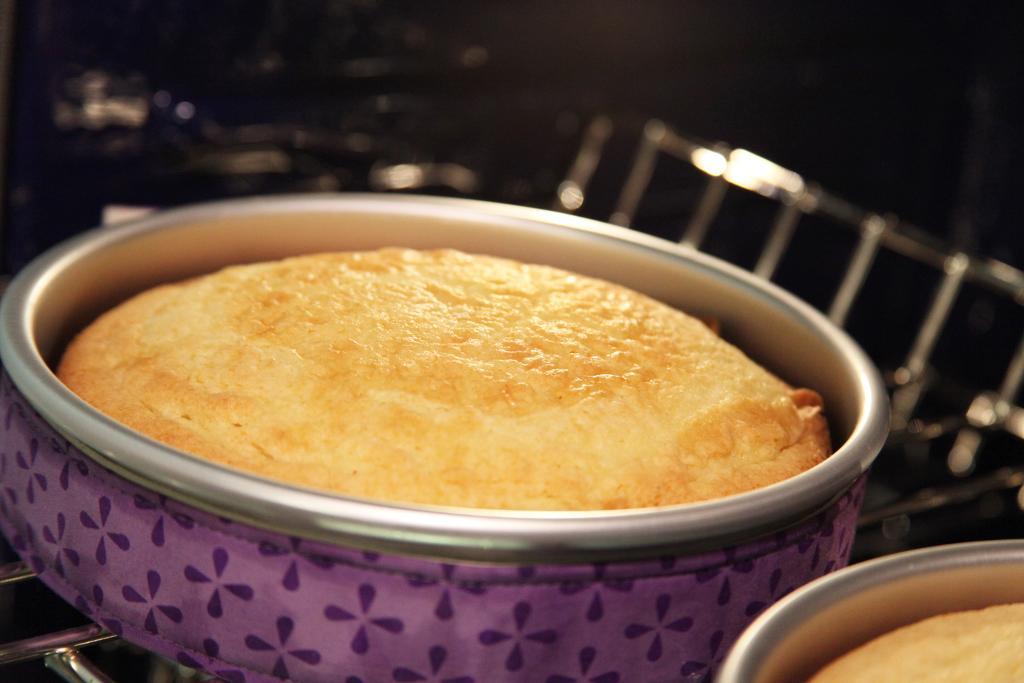
Photo via Craftsy instructor Beth Somers
With just a few simple steps and minimal equipment, you can ensure that your cakes slip out of the pan with ease. It streamlines the whole process, making the cakes easier to transfer to the cooling rack, giving you a leg up on every following step, from leveling the cakes to applying a crumb coat. And a perfect cake means that you have a perfect canvas for cake decoration, from fanciful fondant decoration to beautiful buttercream piping.
Here’s an easy and reliable method for preparing cake pans:
Note: This basic method will work for a myriad of cake recipes, including those featured in The Wilton Method: Baking Basics Cratsy class. However, some cakes, such as angel food cake, do not require preparing the cake pan in this method. Other cakes, such as cheesecake, will require the use of a springform pan to ensure easy release. Be sure to refer to the instructions in the recipe you’re following for suggestions.
You’ll need:
- A cake pan
- Parchment paper
- Scissors
- A pencil
- Butter, shortening or non-stick spray
- Flour, for dusting
Step 1:
First, you’ll need to cut your parchment paper to fit your cake pan. For this tutorial, we’ll assume it’s a round cake pan. Perhaps you’ve smartly invested in pre-cut parchment circles. If so, you can skip the next step. If you just have parchment on a roll, proceed.
Cut a square of parchment paper slightly larger than your pan.
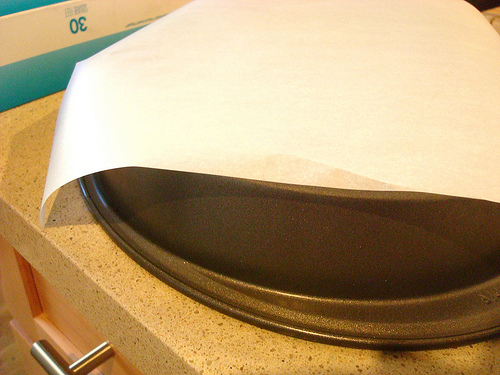
Photos via CakeSpy
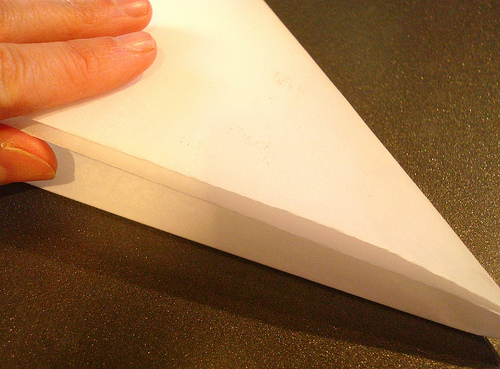
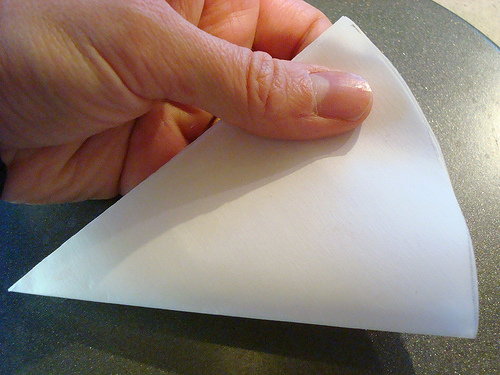
Now, fold the parchment in quarters, once lengthwise, once widthwise. Then, fold it into a triangle.
Place the triangle so that the thinnest point is on the center of your cake pan. Make a mark just before the edge of the cake pan.
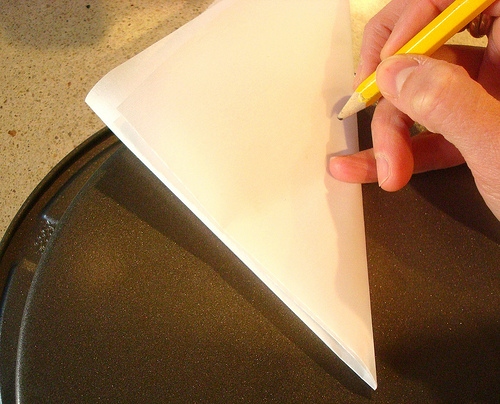
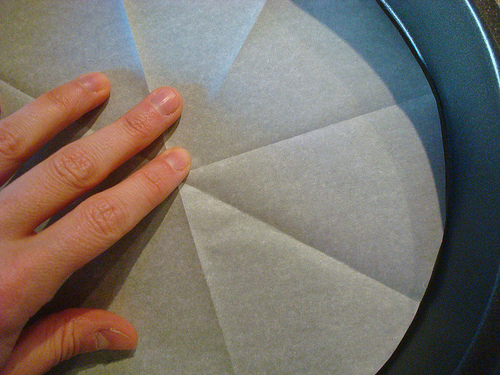
Now, cut the parchment so that the end is rounded.
When you unfold, you should find a circle that is the perfect size to line your pan.
Note: If this method seems too fussy, or if you have a different shaped pan, flip the pan upside down and trace the shape with the parchment. Cut slightly smaller than the outline.
Step 2:
Set the parchment aside for the moment and grease the bottom and sides of your pan with butter, shortening or non-stick spray. Is there an advantage or disadvantage to any of them? Well, butter can impart an extra-rich flavor, but will perform similarly to shortening. For ease, non-stick spray wins hands down.
Step 3:
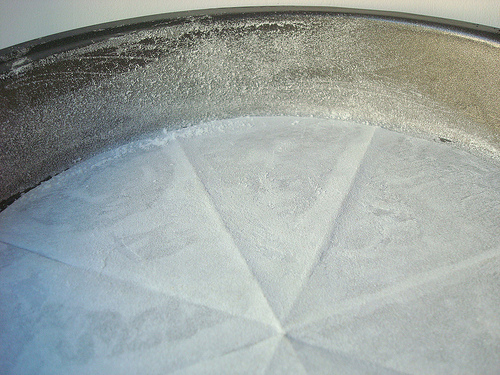
Place the perfectly sized parchment on top of the greased bottom surface. It should help the parchment stick.

Step 4:
Grease the top of the parchment, too. No, it’s not overkill.
Step 5:
Dust the pan with flour. Or, if you’re making a chocolate cake, you may choose to use cocoa powder. Older recipes even call for finely crumbled bread or cake crumbs.
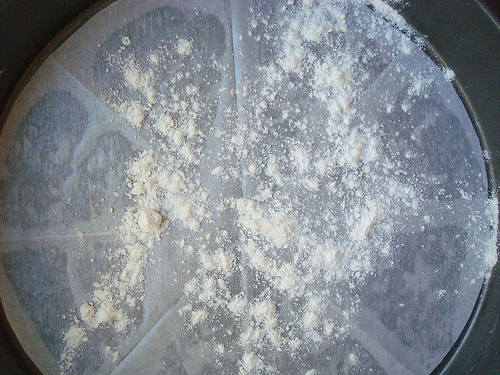
Rotate the pan so that the entire surface is coated. Tap out any excess.
Note: Some non-stick sprays have flour built in. If you are using one of these non-stick sprays, skip the flouring step.
Once it’s time to bake, you may decide to add an even-bake style liner to the outside of the pan — this will help the cake bake evenly.
Share tips, start a discussion or ask one of our experts or other students a question.
No Responses to “Pan-o-rama: How to Prepare a Cake Pan”