
A block plane is a useful tool to have in your workshop. Small and compact, it can do a number of tasks, from rounding off the corner of a board, fitting a joint or cleaning up end grain on a board. A block plane can be picked up very inexpensively on eBay or at a flea market. Wondering how to set up a block plane? We’ll show you here!
Now available: Woodworking classes from Craftsy!
Browse our growing selection of online woodworking classes and if you’re not yet a Craftsy member join free today to stay up to date on the newest classes and sales!
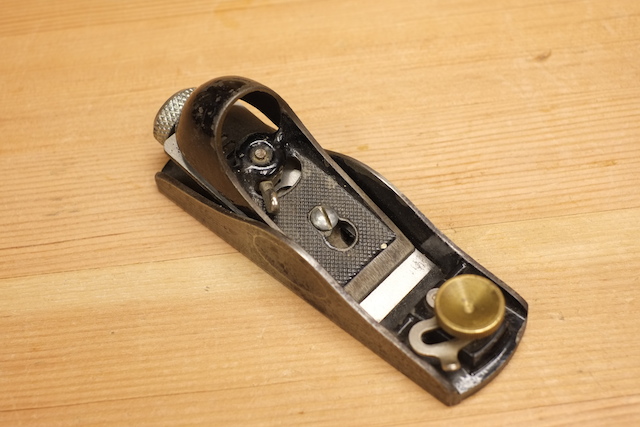
Anatomy of a block plane

The block plane consists of a few parts. The blade does the cutting. The cap fits over the blade and holds it in place. The blade adjustment knob advances and retracts the blade to determine the thickness of the shaving. And the mouth adjustment knob opens and closes the mouth.
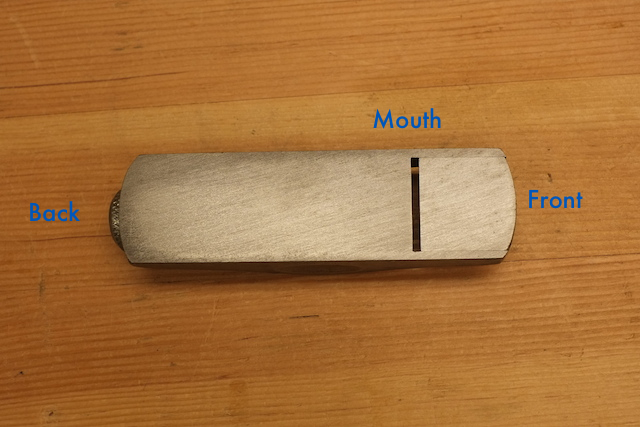
On the underside of the plane, you can find the mouth, which is the opening in front of the blade, and often is adjustable on a block plane using the mouth adjustment knob on the top side of the plane.
How to set up your block plane
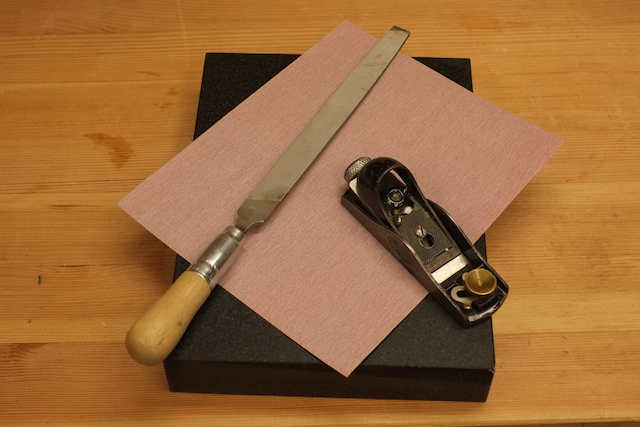
What you’ll need:
- A sheet of sandpaper
- A flat surface (a piece of granite tile or plate glass can be used for this)
- A file
- Your system for sharpening plane blades
Step 1: Flattening the sole

The first thing to do is to make sure the sole of the plane is flat. To do this, lay the sandpaper on your flat surface. You may need some spray adhesive to keep the sandpaper in place. Put the plane together, but keep the blade fully retracted. Rub the plane on the sandpaper. You will see a dark powder appear on the sandpaper, which is the metal being removed from the sole of the plane.

You should see an even scratch pattern over the majority of the sole of the plane when you’re done. This will not take very long. It is better to rub the sole a little and check often than to overdo this part. If the scratch pattern doesn’t cover the entire sole of the block plane, don’t worry. Ideally, the entire sole should be flattened with this method. But in real life, the critical areas to cover are marked by the blue ovals in the picture above. As long as those areas are mainly even, your block plane will work great.
For this plane, the sole at the back is not quite even all the way across. But if I was to flatten the entire sole of this block plane, I’d have to sand away 1/32” of the thickness of the sole, which is a lot of metal to remove by sanding. This sole is flat enough to perform well.
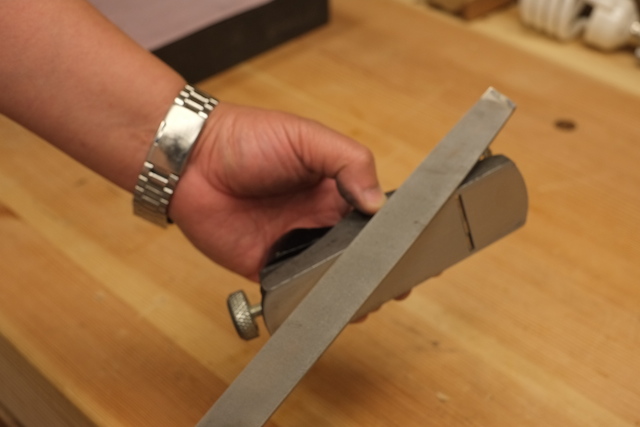
Once the sole is taken care of, the sides of the soles may be pretty sharp. Use a file to make sure the corners are rounded over and won’t cause a cut.
Step 2: Sharpen the plane blade
Once the body of the plane is set up, sharpen the plane blade, using the method described in my on post how to sharpen plane blades.
Step 3: Assemble the plane
Put the plane together. The blade goes on first, and is placed so that the bevel is facing up. It should be firmly held in place by the cap, but do not over-tighten the cap. The screw that the cap fits over can be turned to set the tightness of the cap. The blade should be able to move when the adjustment knob is turned, but otherwise stay in place.
Step 4: Adjust the blade and mouth
Use the adjustment knob to advance the plane blade until it begins to protrude from the mouth. Most likely, one corner will stick out before the other. You will see this because a shaving will be thicker on one side than the other. If this happens, use your fingers to nudge the back of the plane blade on the same side as the thicker part of the shaving to even up the projection at the mouth. This is why the cap should not be overly tight. If all goes well, you will be able to take a shaving that is an even thickness across its width.
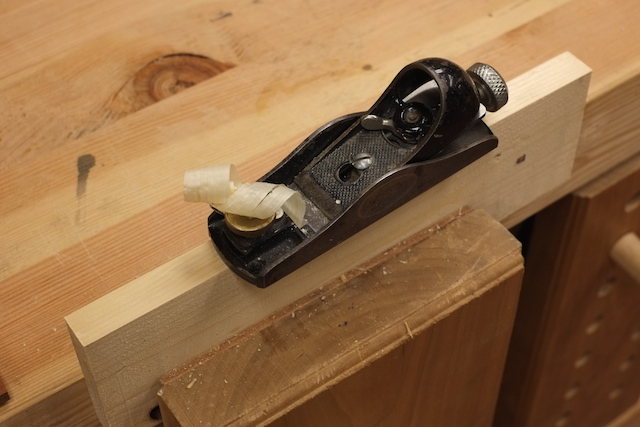
Take a shaving with the plane. Adjust the plane blade with the adjustment knob to get the thickness of the shaving that you want.
Finally, adjust the mouth opening. If you want to take fine shavings, make the mouth opening fairly small. If you want to take thicker shavings, open up the mouth. Although you can adjust a block plane back and forth between these two tasks, many woodworkers have more than one block plane, one for taking thicker shavings, and another set up to take thinner shavings.
Congratulations! You now have a useful tool that can be used for nearly any woodworking project.
Share tips, start a discussion or ask one of our experts or other students a question.
No Responses to “How to Set Up a Block Plane”