
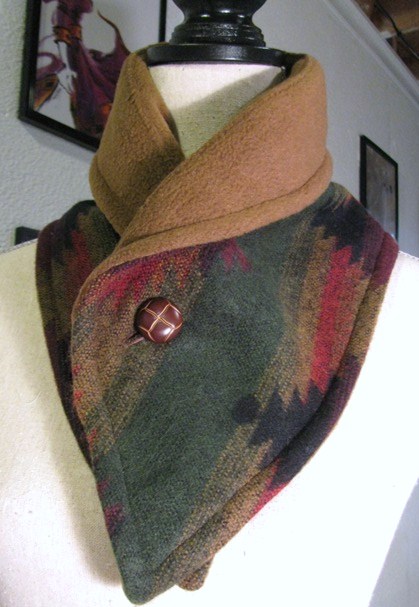
There are so many reasons to have a neck warmer in your mix of cold-weather accessories. Like a winter scarf, you can wear it over a coat or jacket to keep you feeling cozy. But if you lighten up the fabric, you can also use it to give a new look to a round-neck sweater, dress or top. Plus, the simple pattern and minimal fabric requirements make this the perfect stash-buster.
Good to Know: To keep things extra cozy, we used wool for the outer layer and fleece for the lining. Fleece provides extra warmth and comfort, as wool can be irritating when directly against skin. A medium weight knit or flannel would work well for a neck warmer, too.
Neck Warmer
Level: Easy
What You Need
Instructions
1. Draw the Pattern
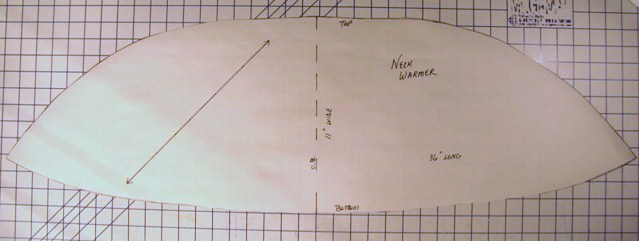
Cut all your fabric into pieces 36″ in length. If cutting on the long or cross grain, the fabric should be 11″ in width. If you’re cutting on the bias, cut to 26″ in width.
Using the image above as your guide, draw the pattern onto a piece of craft paper. Make special note of the location of the top and bottom of the neck warmer.
2. Cut Out the Pieces
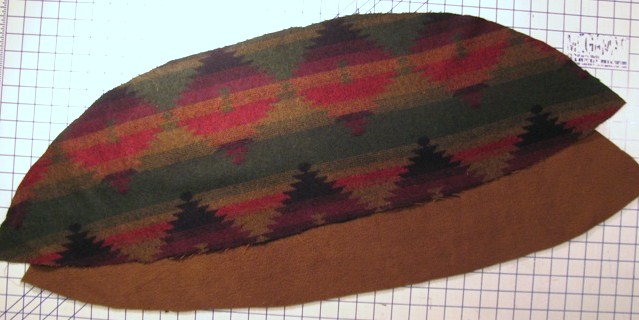
Cut out the outer layer and lining pieces using the drafted pattern.
3. Prepare the Buttonhole
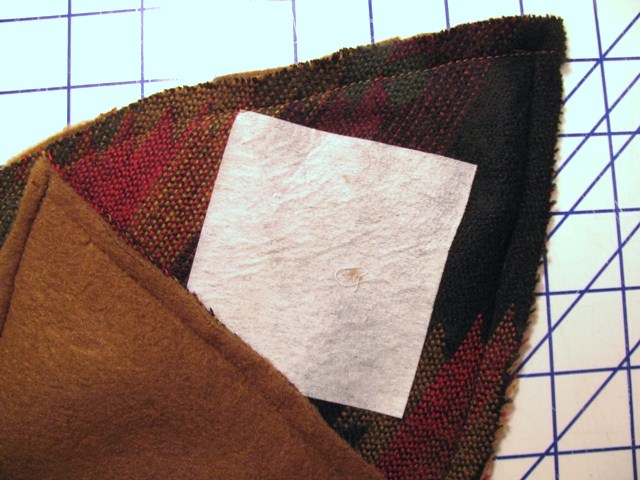
If adding a buttonhole, fuse interfacing to the underside of the outer layer fabric where you intend to place it.
4. Pin the Pieces
With right sides together, pin the outer layer to the lining around the entire perimeter of the neck warmer. Allow the lining fabric to extend slightly beyond the outer layer — this will ensure the lining fits more snugly under the outer layer.
5. Stitch the Pieces Together
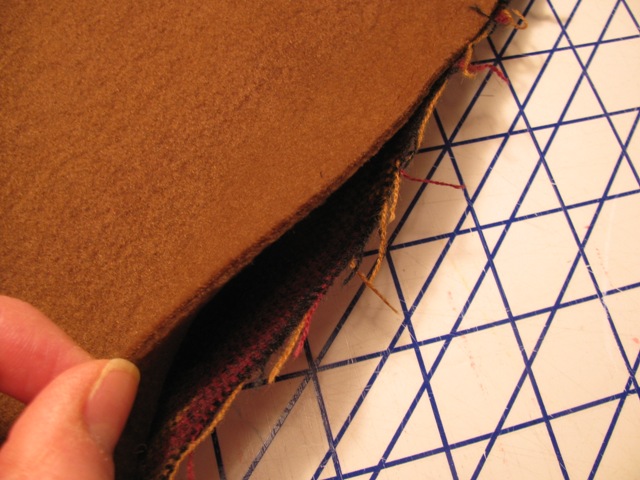
Stitch the scarf together using a ¼” seam allowance. Leave a 3″ opening at the bottom (as in the photo above), so you can turn the neck warmer right side out.
6. Turn the Neck Warmer Right Side Out
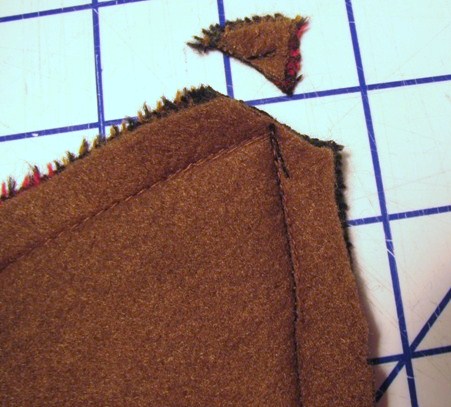
Trim off the two corners, then turn the neck warmer right side out. Hand stitch the 3″ opening closed.
7. Pin the Edges in Place
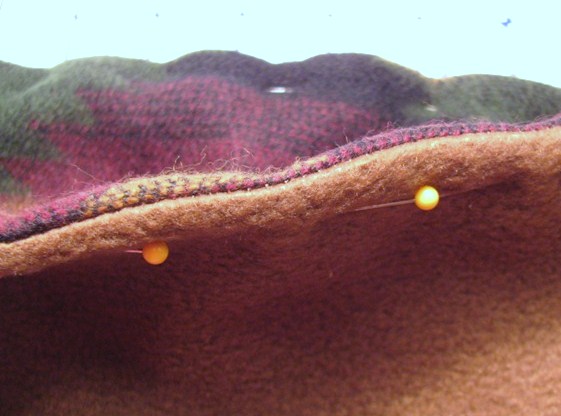
With your fingers, carefully turn out the seam edges and corners. Press the edges, then pin them in place to get ready for topstitching.
8. Topstitch
Topstitch the neck warmer using a ⅜” seam allowance.
9. Make the Buttonhole
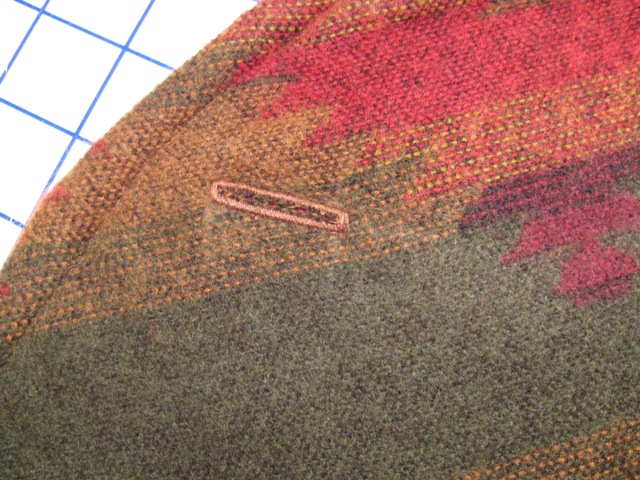
Mark the location of the buttonhole with chalk or a fabric pen, then stitch in place. Sew the button to the corresponding flap.
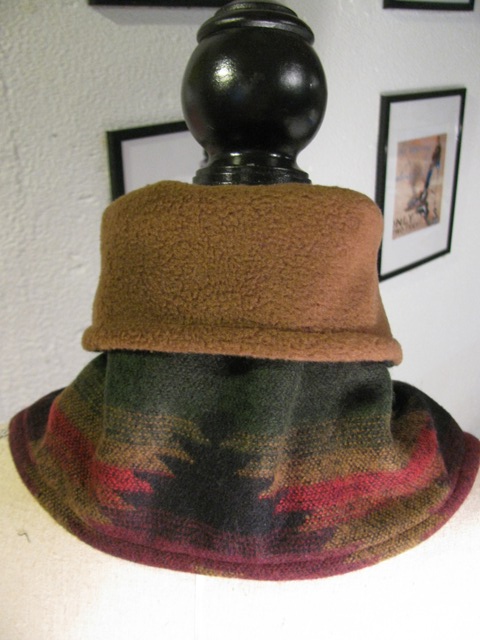
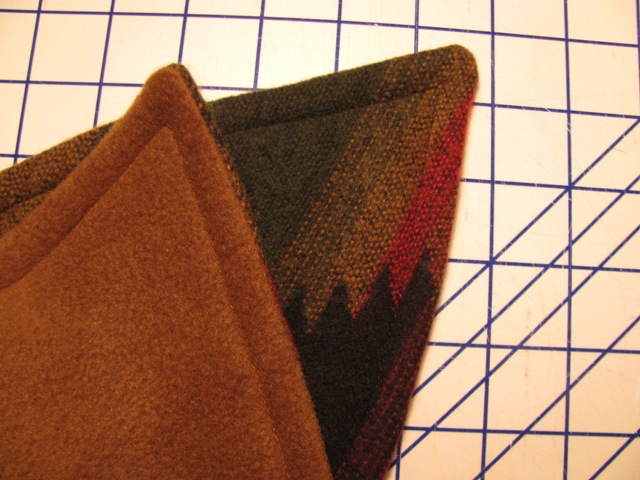
Here’s the finished neck warmer, seen from the back. You’re officially ready for a cozy winter!
is there anyway to get a pattern
I'm gonna alter this pattern a little and make a few Christmas gifts for my family members in different fabrics :)
May I have the neck warmer pattern please?
Could I have the neck warmer pattern please?
2023 and I’m just now finding your post 😊 I’m thinking seriously about trying to make several of the neck warmers for the ladies in my small group Bible study. Thanks for sharing a free pattern and tutorial
I don't have a web site
Linda Reynolds gave us the pattern and instructions FREE! Ladies, she laid her pattern on a 1 inch grid so we can copy her pattern. Just pujt down paper you can see thru to your grided cutting mat, count the squares to make the points and connect the points to make your cutting line.
I have no printer. Glad to see I am not the only one who would like a printed pattern that is actually large enough to SEE. I would buy it. Thanks you.
would like the pattern
Would like printed pattern.