
 First, if you have a heavy button, especially a shank button that has distance and lift between the garment and the button itself, the button can flop around and not lie flat on the garment due to the weight of the button. Or, perhaps it is a heavy fabric and the button just needs that extra support to strengthen the closure. These are both good reasons for adding a reinforced button to the interior of the placket.
They look fancy, but they are quite simple to sew. While it might look like the two buttons were done individually, they are in fact sewn together at the same time, linked by the same threads. Give it a try! As we enter the cooler months, you might be so inclined to sew a coat or jacket, and this type of button is ideal for that!
First, if you have a heavy button, especially a shank button that has distance and lift between the garment and the button itself, the button can flop around and not lie flat on the garment due to the weight of the button. Or, perhaps it is a heavy fabric and the button just needs that extra support to strengthen the closure. These are both good reasons for adding a reinforced button to the interior of the placket.
They look fancy, but they are quite simple to sew. While it might look like the two buttons were done individually, they are in fact sewn together at the same time, linked by the same threads. Give it a try! As we enter the cooler months, you might be so inclined to sew a coat or jacket, and this type of button is ideal for that!
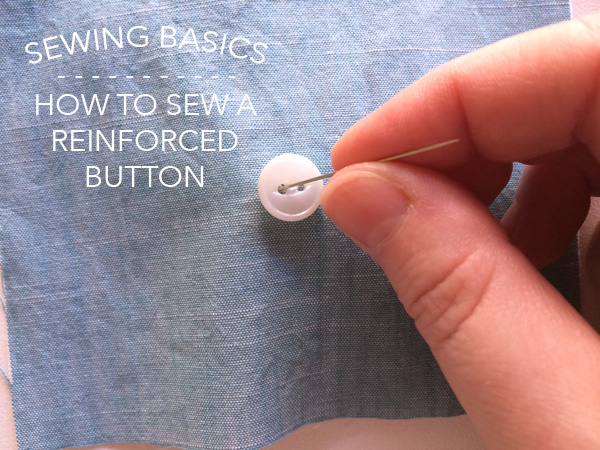
Let’s learn how to sew a reinforced button!
Step 1:
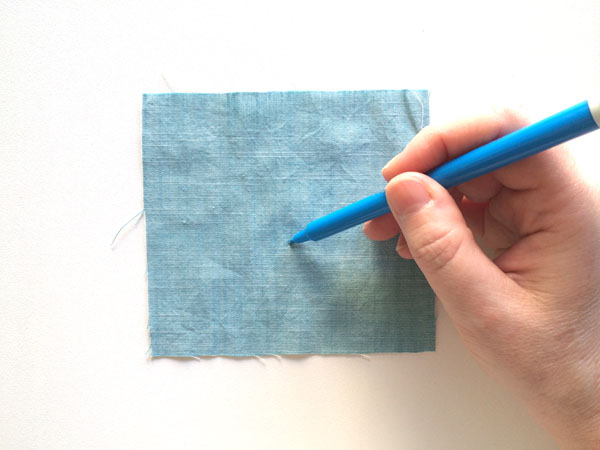
Using a water soluble marking tool, mark on the right side of the fabric where you want your button to go. You would ideally use your buttonhole as a marking location. If you are using a heavy wool or another similar fabric that cannot be easily marked with this type of tool, consider using a tailor’s tack to mark the spot.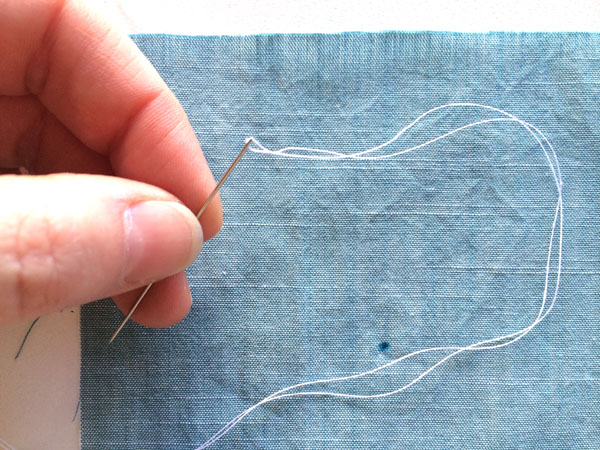
Step 2:
Using a needle appropriate for the fabric weight and content, thread the needle with two equal lengths of thread and the needle centered on the thread. Using a top stitching or buttonhole thread will provide additional strength to the closure.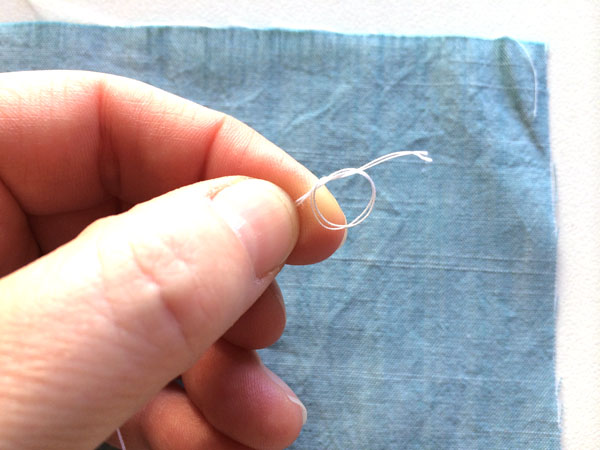
Step 3:
Form a knot at the end of the threads and repeat for two knots on top of each other. Trim the excess thread off after the knot.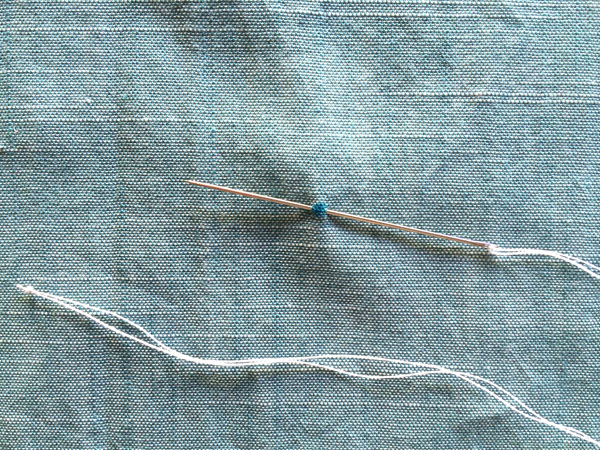
Step 4:
Thread the needle through the fabric on the right side of the fabric. Pull the thread tight so the knot is at the marking spot.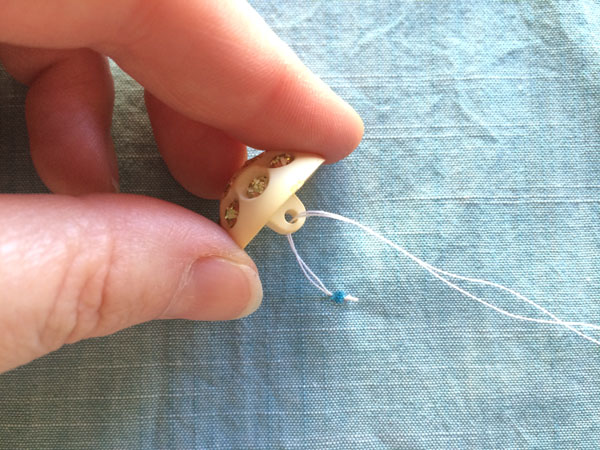
Step 5:
Thread the needle through the button. Note: I am using a shank button for this example, but this technique can be used for either a flat button or a shank button. Typically shank buttons are more top heavy, making this an ideal application for this style of button.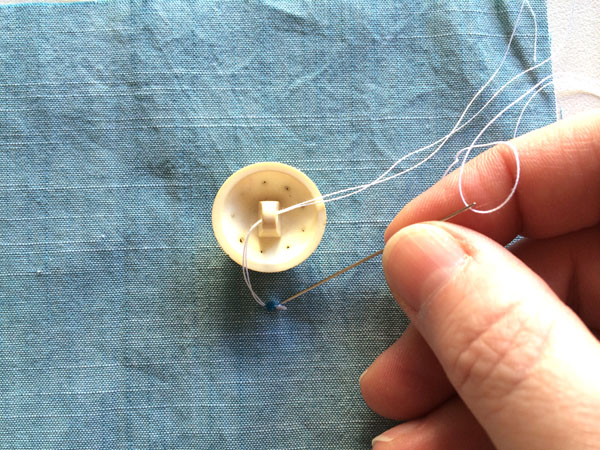
Step 6:
After passing through the shank or flat button, return the needle to the mark. Pass the needle all the way through to the underside of the fabric. Pull the threads tight so the top button is snugly pressed to the fabric.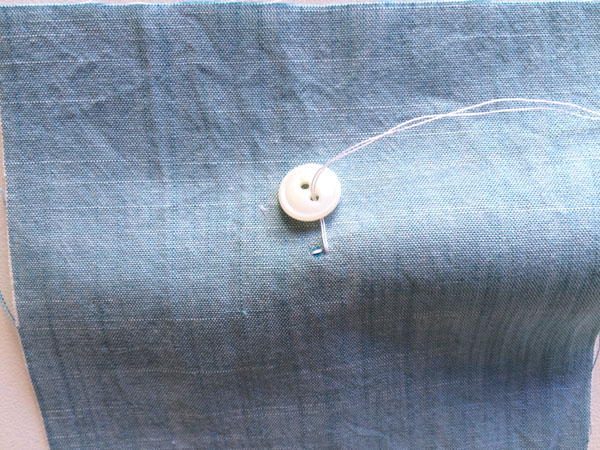
Step 7:
On the wrong side of the fabric, Thread the needle through the smaller support button. The reinforced button on the inside would always be a flat button, though it could have either two or four holes through the face of the button. Just do not use a shank button on the inside as you want the flatness for the support.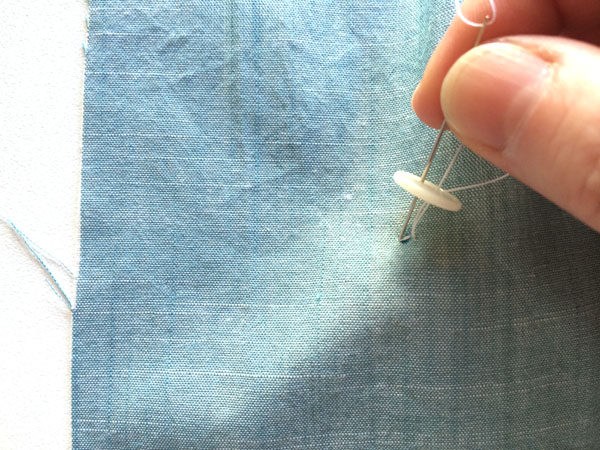
Step 8:
Pass the needle and thread through the other hole on the button, returning the needle and thread to the right side of the garment. Again, pull the threads snug so the two buttons are tight against each other.
Step 9:
The needle will now return to the right side of the fabric, directly under the original button. For this photo I have left some slack so you can see under the button, but be sure to pull the threads tight.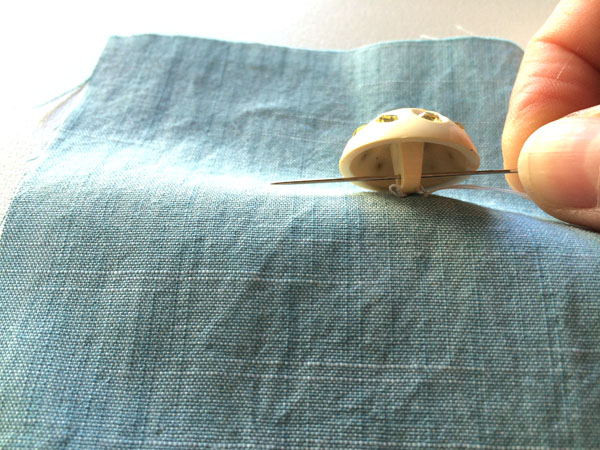
Step 10:
Repeat the process by passing the needle through the shank.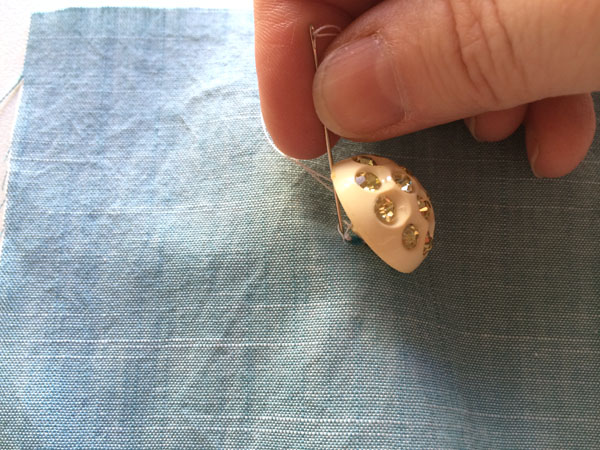
Step 11:
Insert the needle from the right side, using the original thread location.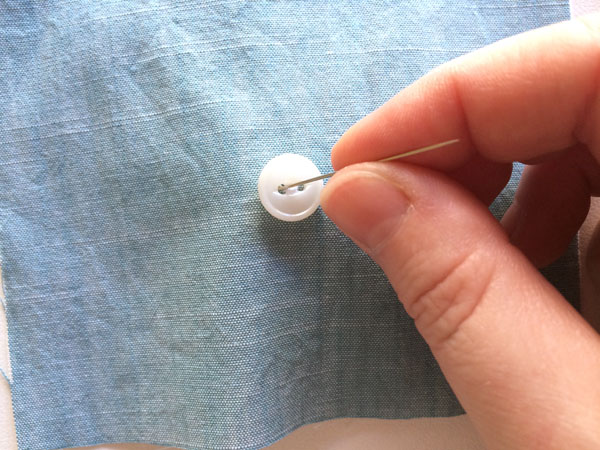
Step 12:
Pull the needle through to the wrong side through the hole on the button.
Step 13:
Insert the needle into the opposite hole on the button on the wrong side.
Step 14:
Then again returning to the right side under the main button. Repeat this process a few times until the two buttons are securely sewn to the garment and to each other.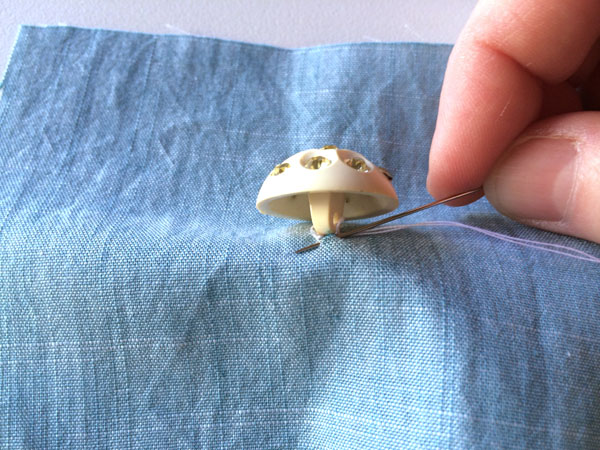
Step 15:
Insert the needle under the main button to finish with a knot. Do not pull the threads all the way through.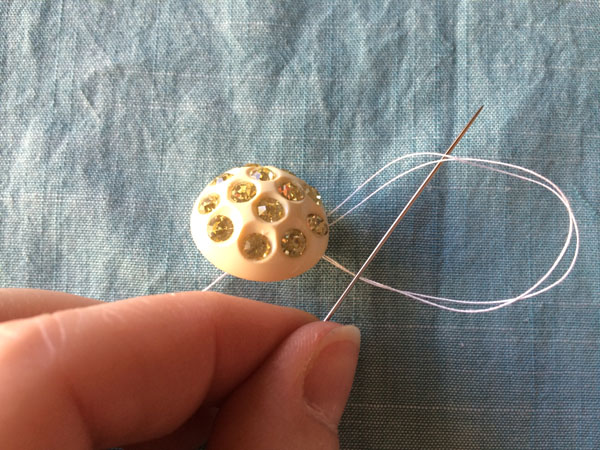
Step 16:
Leave a loop of thread and insert the needle through the loop to form a knot.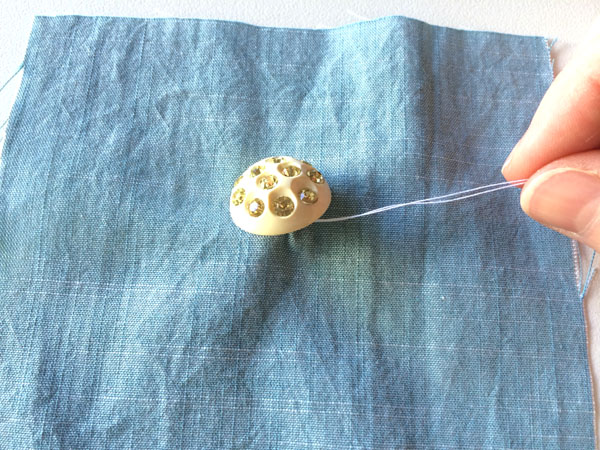
Step 17:
Pull the thread tight, leaving a knot under the main button. Repeat if necessary.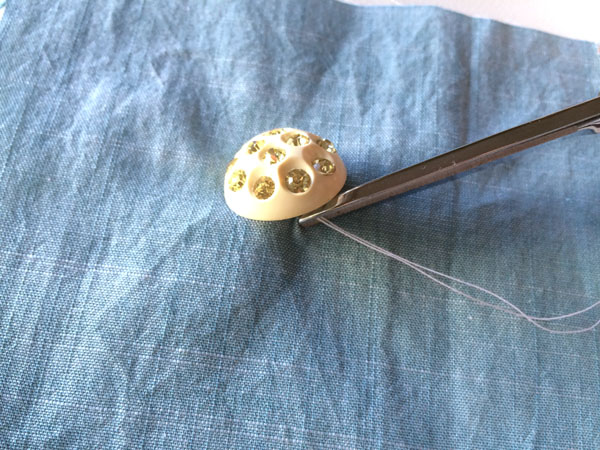
Step 18:
Clip the threads under the main button, just after the knot.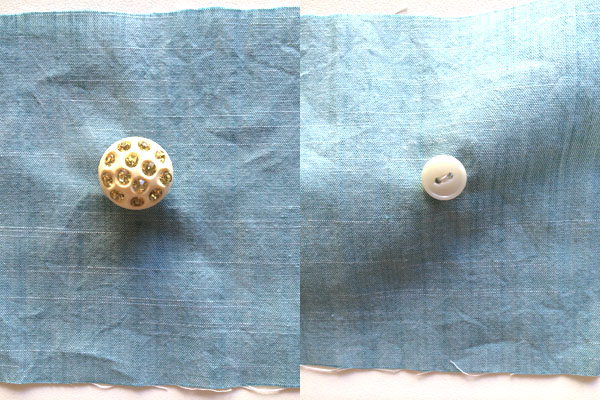 Now you have a beautifully finished main button on the right side and a flat reinforced button on the underside! This leaves a beautiful finish on the right side as all the stitching is hidden, and even on the inside the only visible threads are those at the center of the button itself.
I hope you give this a try on your next coat or jacket!
Now you have a beautifully finished main button on the right side and a flat reinforced button on the underside! This leaves a beautiful finish on the right side as all the stitching is hidden, and even on the inside the only visible threads are those at the center of the button itself.
I hope you give this a try on your next coat or jacket!
Share tips, start a discussion or ask one of our experts or other students a question.
No Responses to “Sewing Basics: How to Sew a Reinforced Button”