
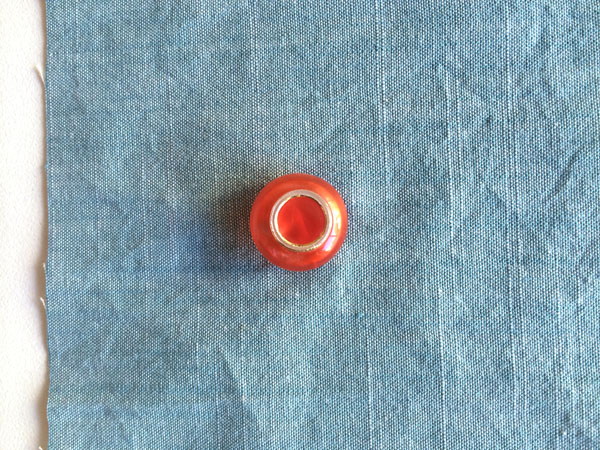
Buttons come in all shapes and sizes, and you’re likely familiar with a flat button — the one with a classic shape and either two or four holes. But do you know about a shank button? Instead of having holes, there’s a loop on the underside that’s typically made of plastic or metal, and you use it to attach the button to the garment.
Sewing on a shank button is pretty similar to sewing on a flat button, so don’t fear the shank. It’s the perfect choice for a more formal finish, as there’s no visible stitching and its height makes it great for jackets, coats or other items made from heavy fabrics like wool (where there are thick buttonholes).
Ready to give it a try? Here’s your step-by-step tutorial.
How to Sew a Shank Button
Level: Easy
What You Need
Instructions
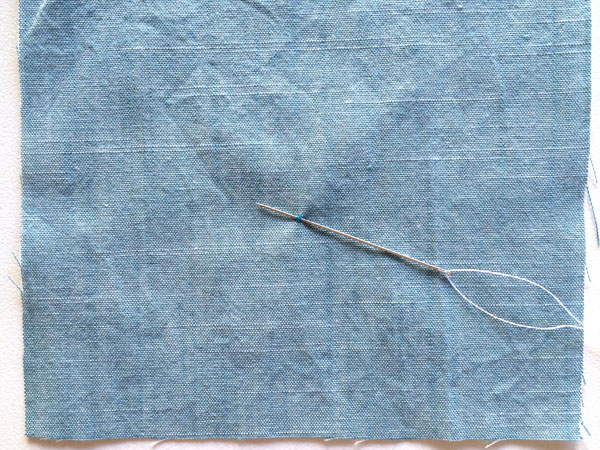
1. Thread the Needle
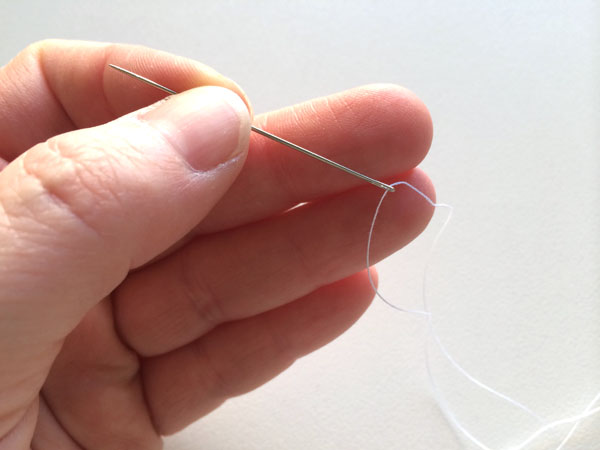
Use a needle that’s appropriate for the fabric you’re working with (a lighter needle for finer fabrics and a heavier one for thicker fabrics). The thread can be the same one you used to sew the rest of the project, or you can purchase a heavy topstitching or buttonhole thread for extra strength. Thread the needle so it’s in the middle of two equal lengths of thread.
2. Tie a Knot
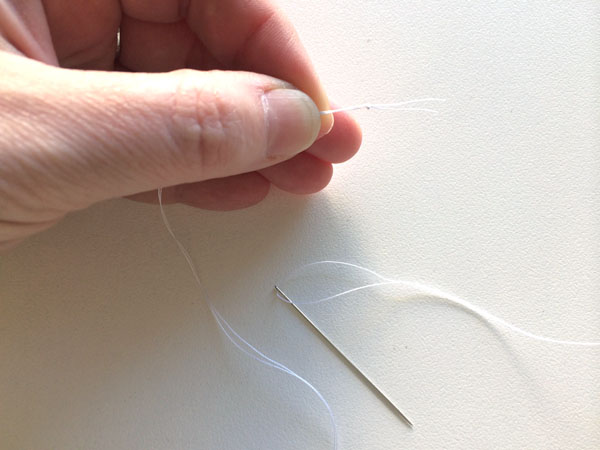
Make a knot at the end of the two lengths of thread. This way each pass of the needle will be two thicknesses of thread for extra strength.
3. Mark Your Spot
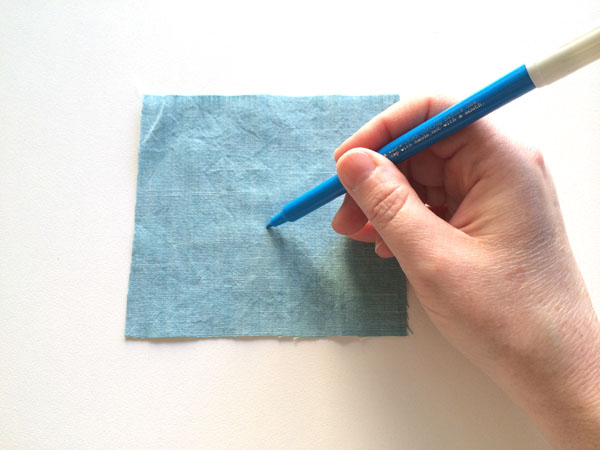
Using a water-soluble marker, mark the right side of the fabric where you want the button to sit. (Use the buttonhole to help you find proper placement.)
4. Thread Through the Top Layer
Thread the needle through the fabric on the right side. Only catch a little bit of the fabric; don’t pass the needle to the underside.
5. Pull Tight
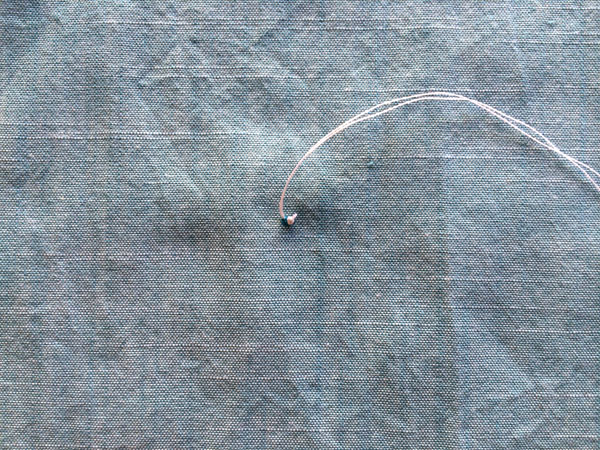
Pull the thread tight so the knot is right on the mark you made. If you didn’t do so already, cut the excess thread off after your knot.
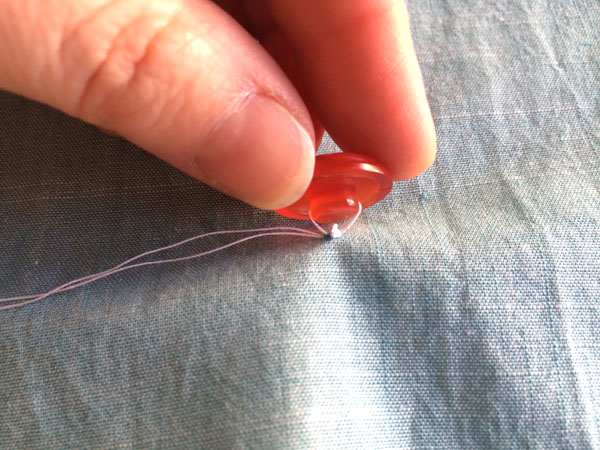
6. Thread Through the Shank
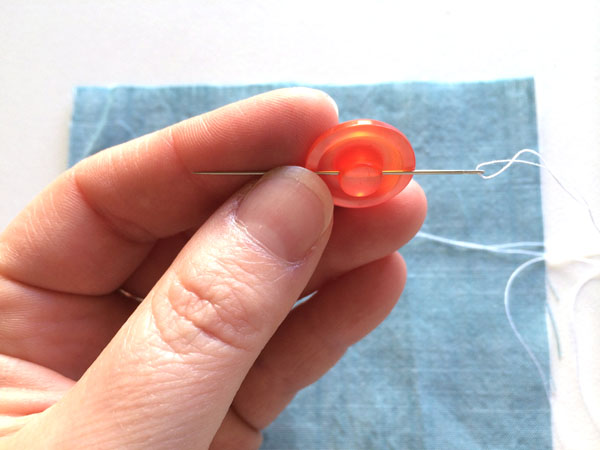
Thread the needle through the shank on the button. Some shanks will look like the one in the photo above — a teeny nub with a hole passing through it — while others will be a little loop made of metal. You sew them all the same way.
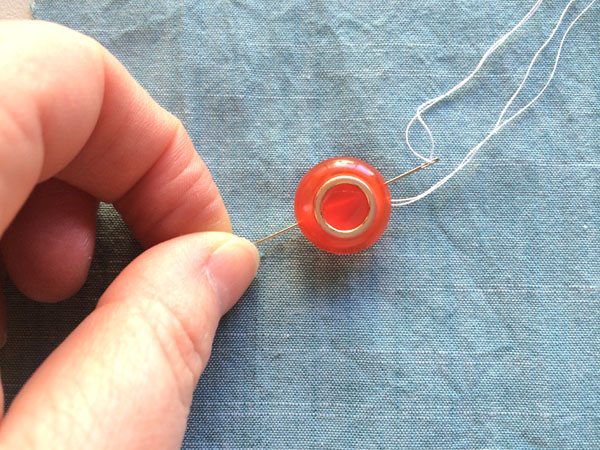
7. Thread Through the Fabric
Thread the needle through the fabric just as you did earlier, keeping the threads all on the right side of the fabric. Make the passes through the fabric consistent in size, so the underside looks like one single thread.
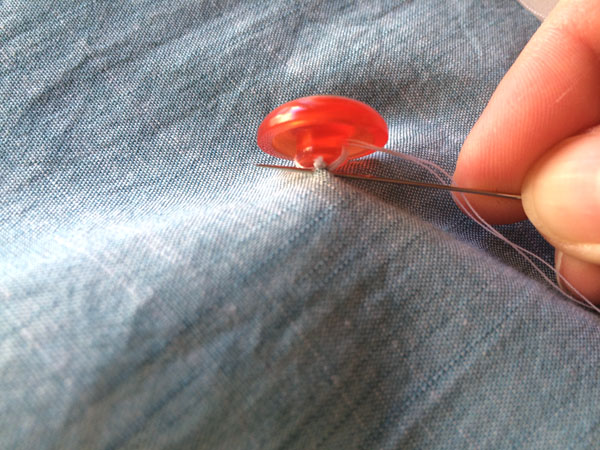
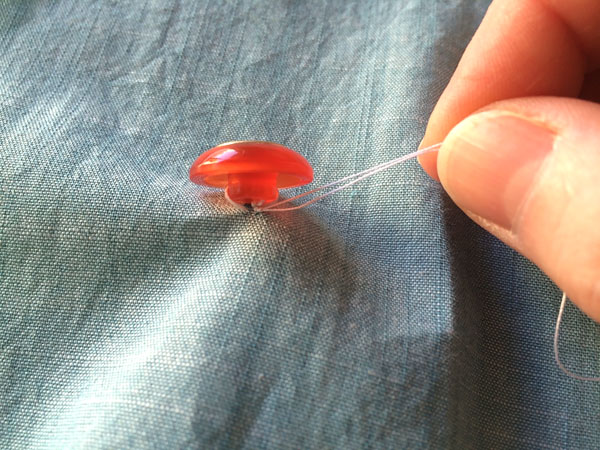
8. Pull the Threads in Tight
Pull the threads tight once again, securing the shank to the right side of the fabric. In the photo above, we pulled up a bit so you can see under the button, but yours should be flush to the fabric.
9. Secure the Button
Continue passing the needle through the shank, then through the fabric directly under the shank, until the button is secure. Remember the thread is doubled, so each pass is two threads.
10. Thread the Needle Through the Fabric
Once the button is secure, thread the needle through the fabric to form the ending knot. Don’t pull the thread tight just yet.
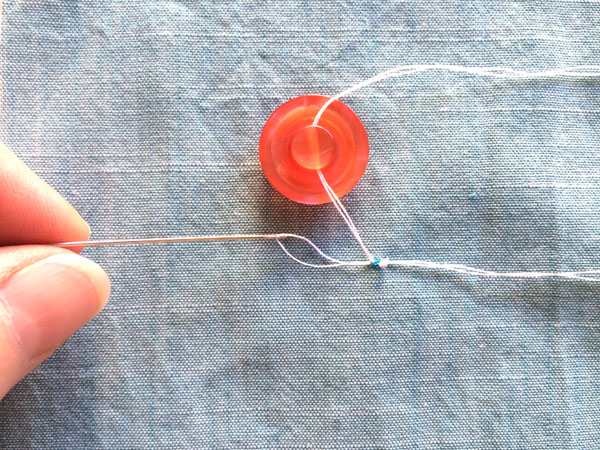
11. Make the Ending Knot
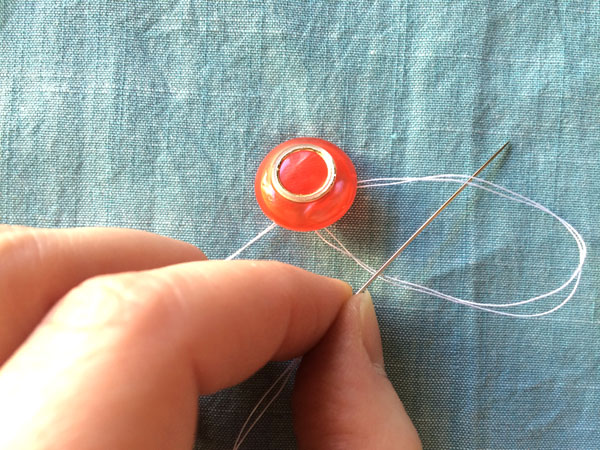
Leave a loop of thread and place the needle through it. Move all the way through the loop with your needle, forming a knot.
12. Pull Tight
Pull the threads tight, creating a knot directly under the button. Repeat if necessary.
13. Cut the Thread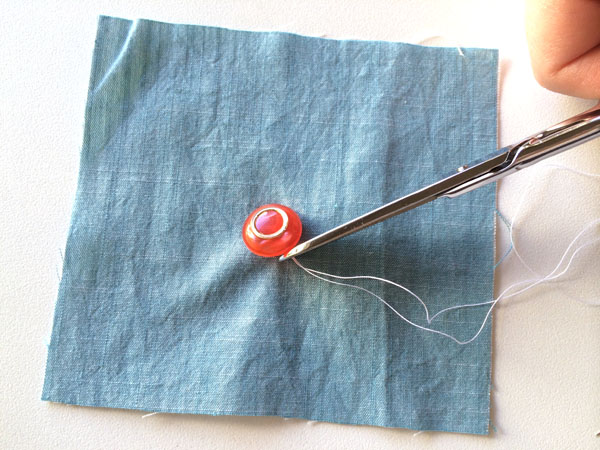
To finish the button, clip just under the button by the knot you just made.
Congratulations, you’ve made a perfect shank button! Repeat these steps for each button you need to finish your garment.
Thank you ever so much. I followed the simple instruction, and both button and stitching sits on perfectly with no 'through the fabric' sewing. Brilliant stitching! Thank you.
I use the shank button for baby hats I make for nicu babies
What a perfect set of instructions - concise and showed me exactly what I needed to know 👌
Am a teacher of tailoring from Tanzania