

Sure, you’ve been gifting dad a tie since you were, oh, four. While it may feel a little been-there-done-that, sewing that tie yourself — in a fabric that pops and totally channels his personality — changes the game completely. And if you’re really feeling the love, you can go the extra mile and make two or three!
Classic Men’s Necktie
Level: Easy
What You Need
- An old tie to use as a template
- Craft paper for drafting the pattern
- Straight edge ruler
- Pen or pencil
- Rotary cutter or fabric shears
- Pins
- Hand-sewing needle
- ¾ yards fabric for the tie base
- ¼ yard lining fabric
- 1¼ yard medium weight sew-in interfacing
- Matching thread
- Seam ripper
Pro Tip: This tutorial teaches you how to draft a pattern from an old tie. If you don’t have one handy, you can usually get one from the local thrift store for less than $1!
Instructions
Good to Know: A tie is typically made of a base fabric, interlining and tipping lining. The sky’s the limit on what fabric to use for the base, though it’s best to avoid super-sheer materials. The tipping lining shows underneath the tips on each end, so something that contrasts with your base fabric can be fun (though you could also use the same fabric as your base). Look for a sew-in interlining with a bit of spring to it, or simply use the interlining from the disassembled tie.
1. Draft Your Tie Pattern
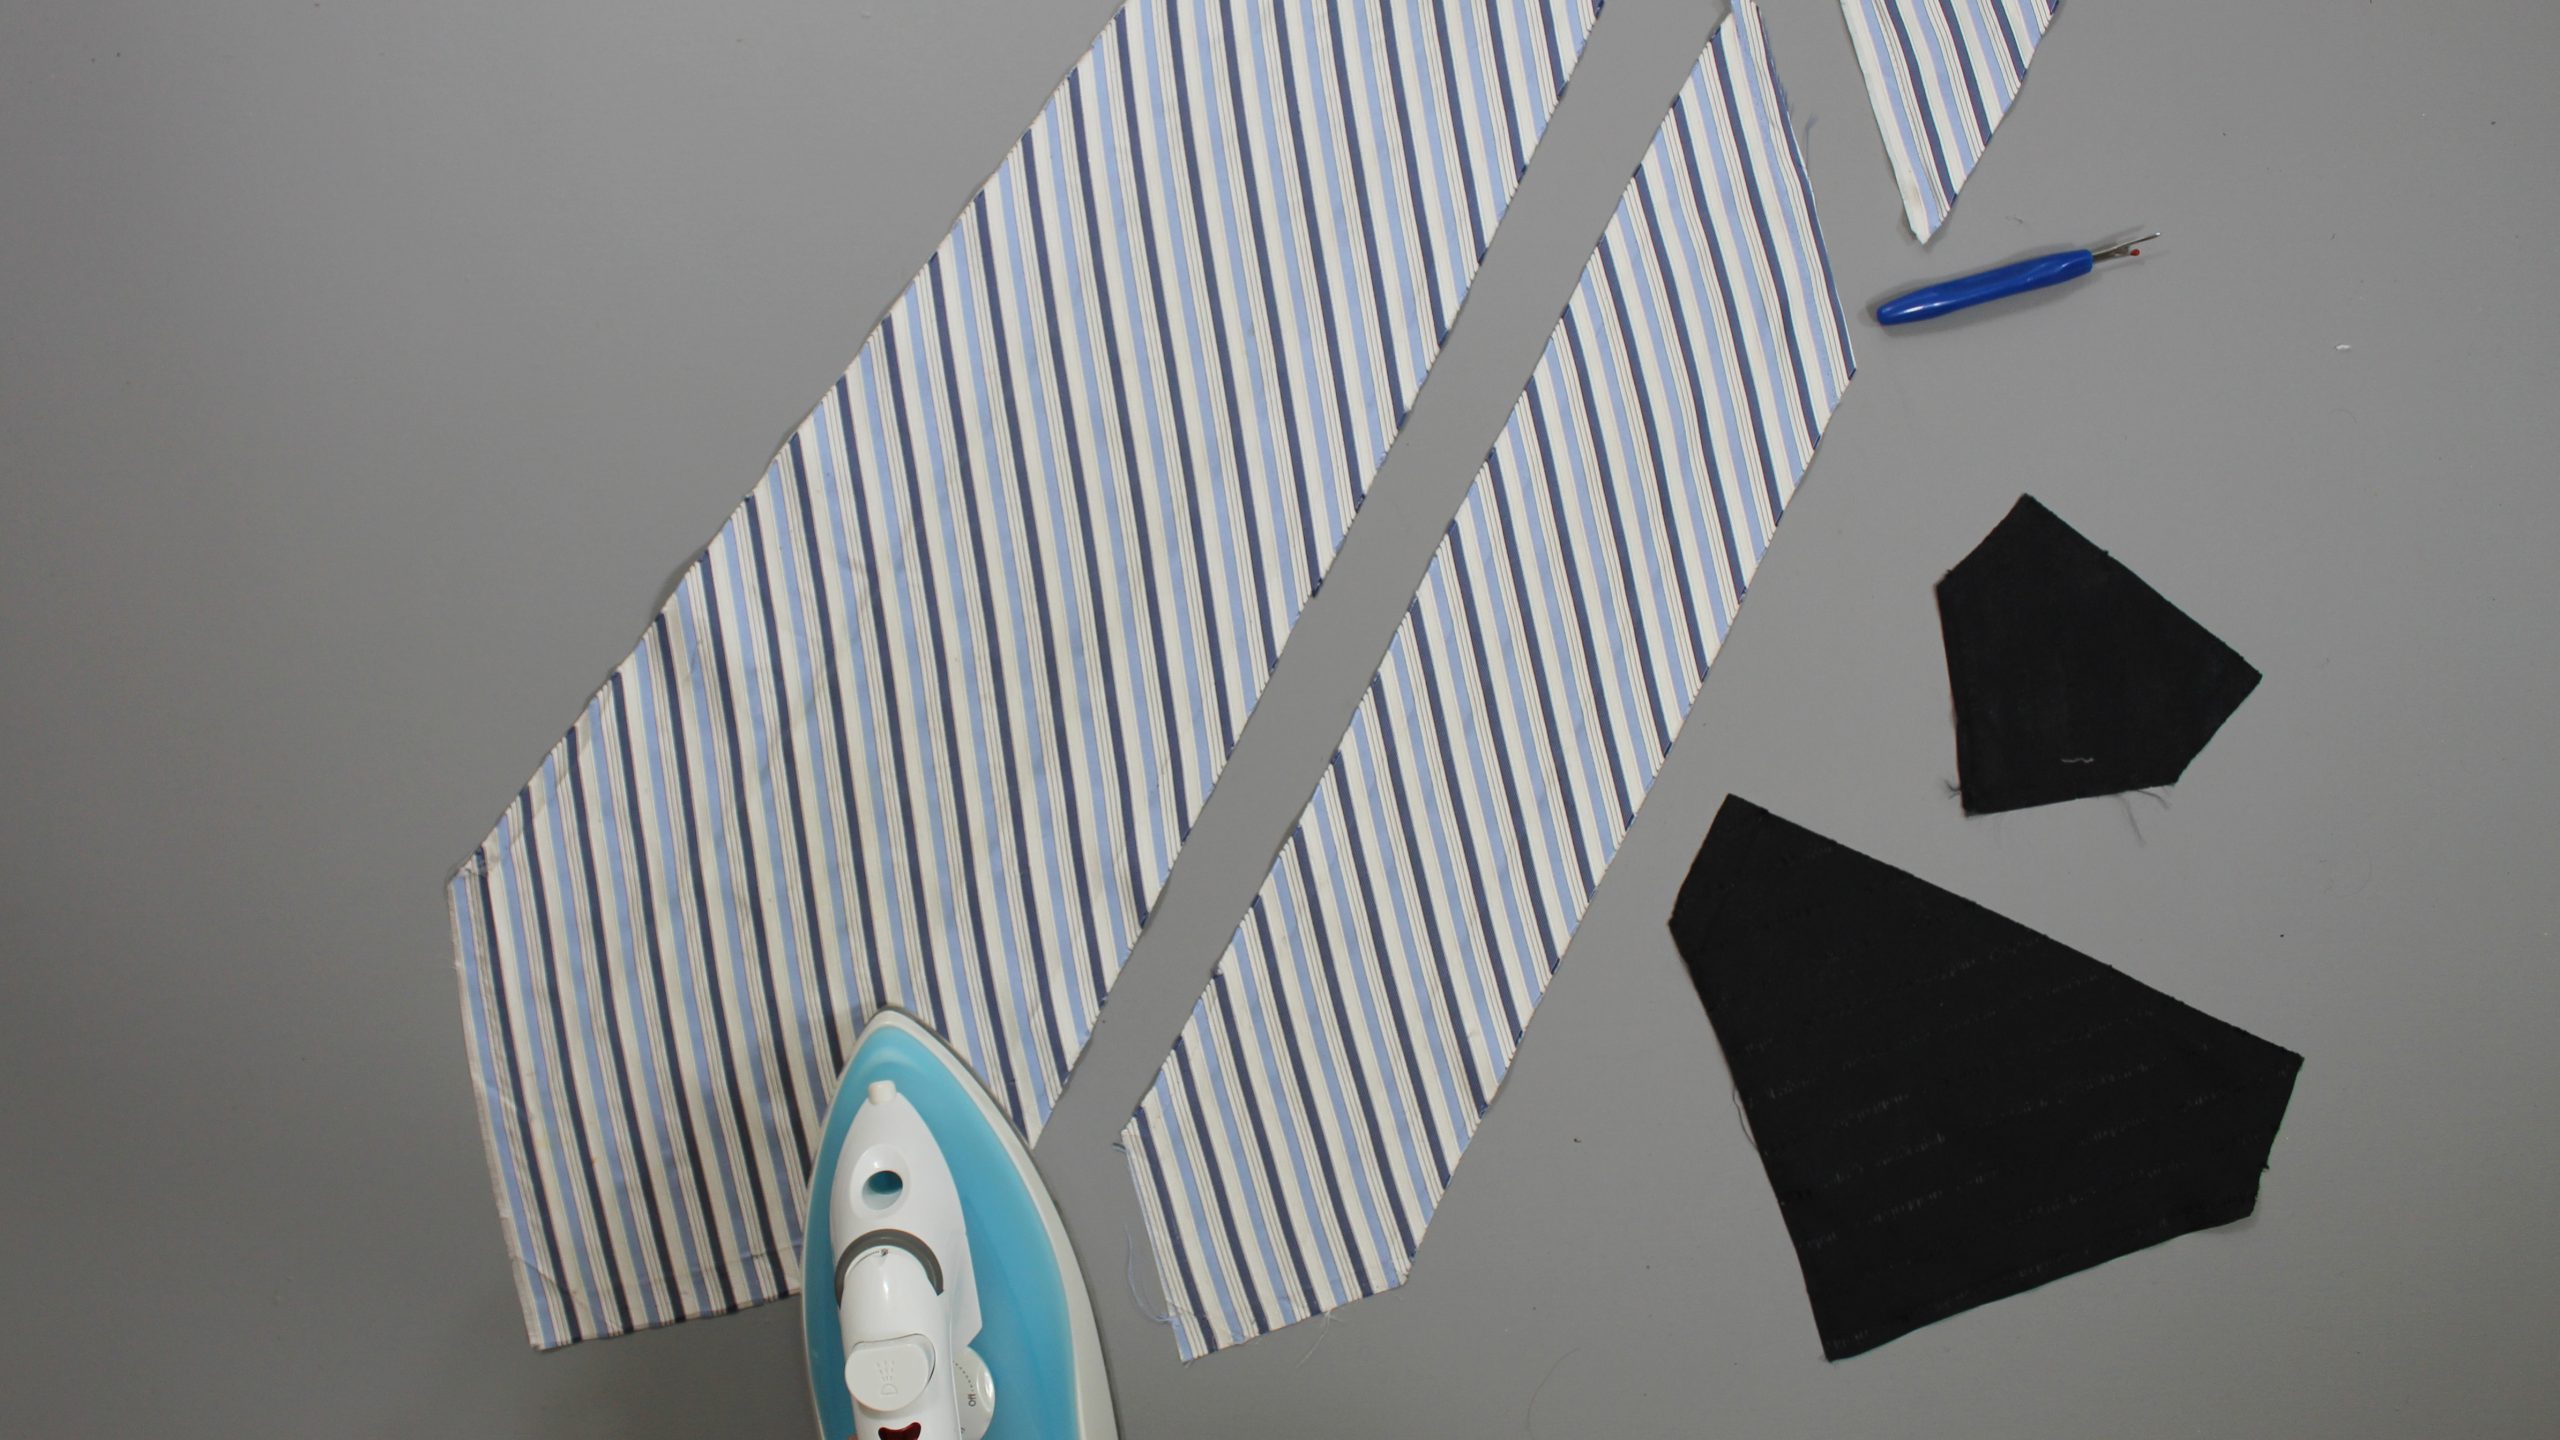
Place the old tie on your work surface and use the seam ripper to gently take it apart. Press all the pieces flat. Set aside your tipping and interlining pieces.
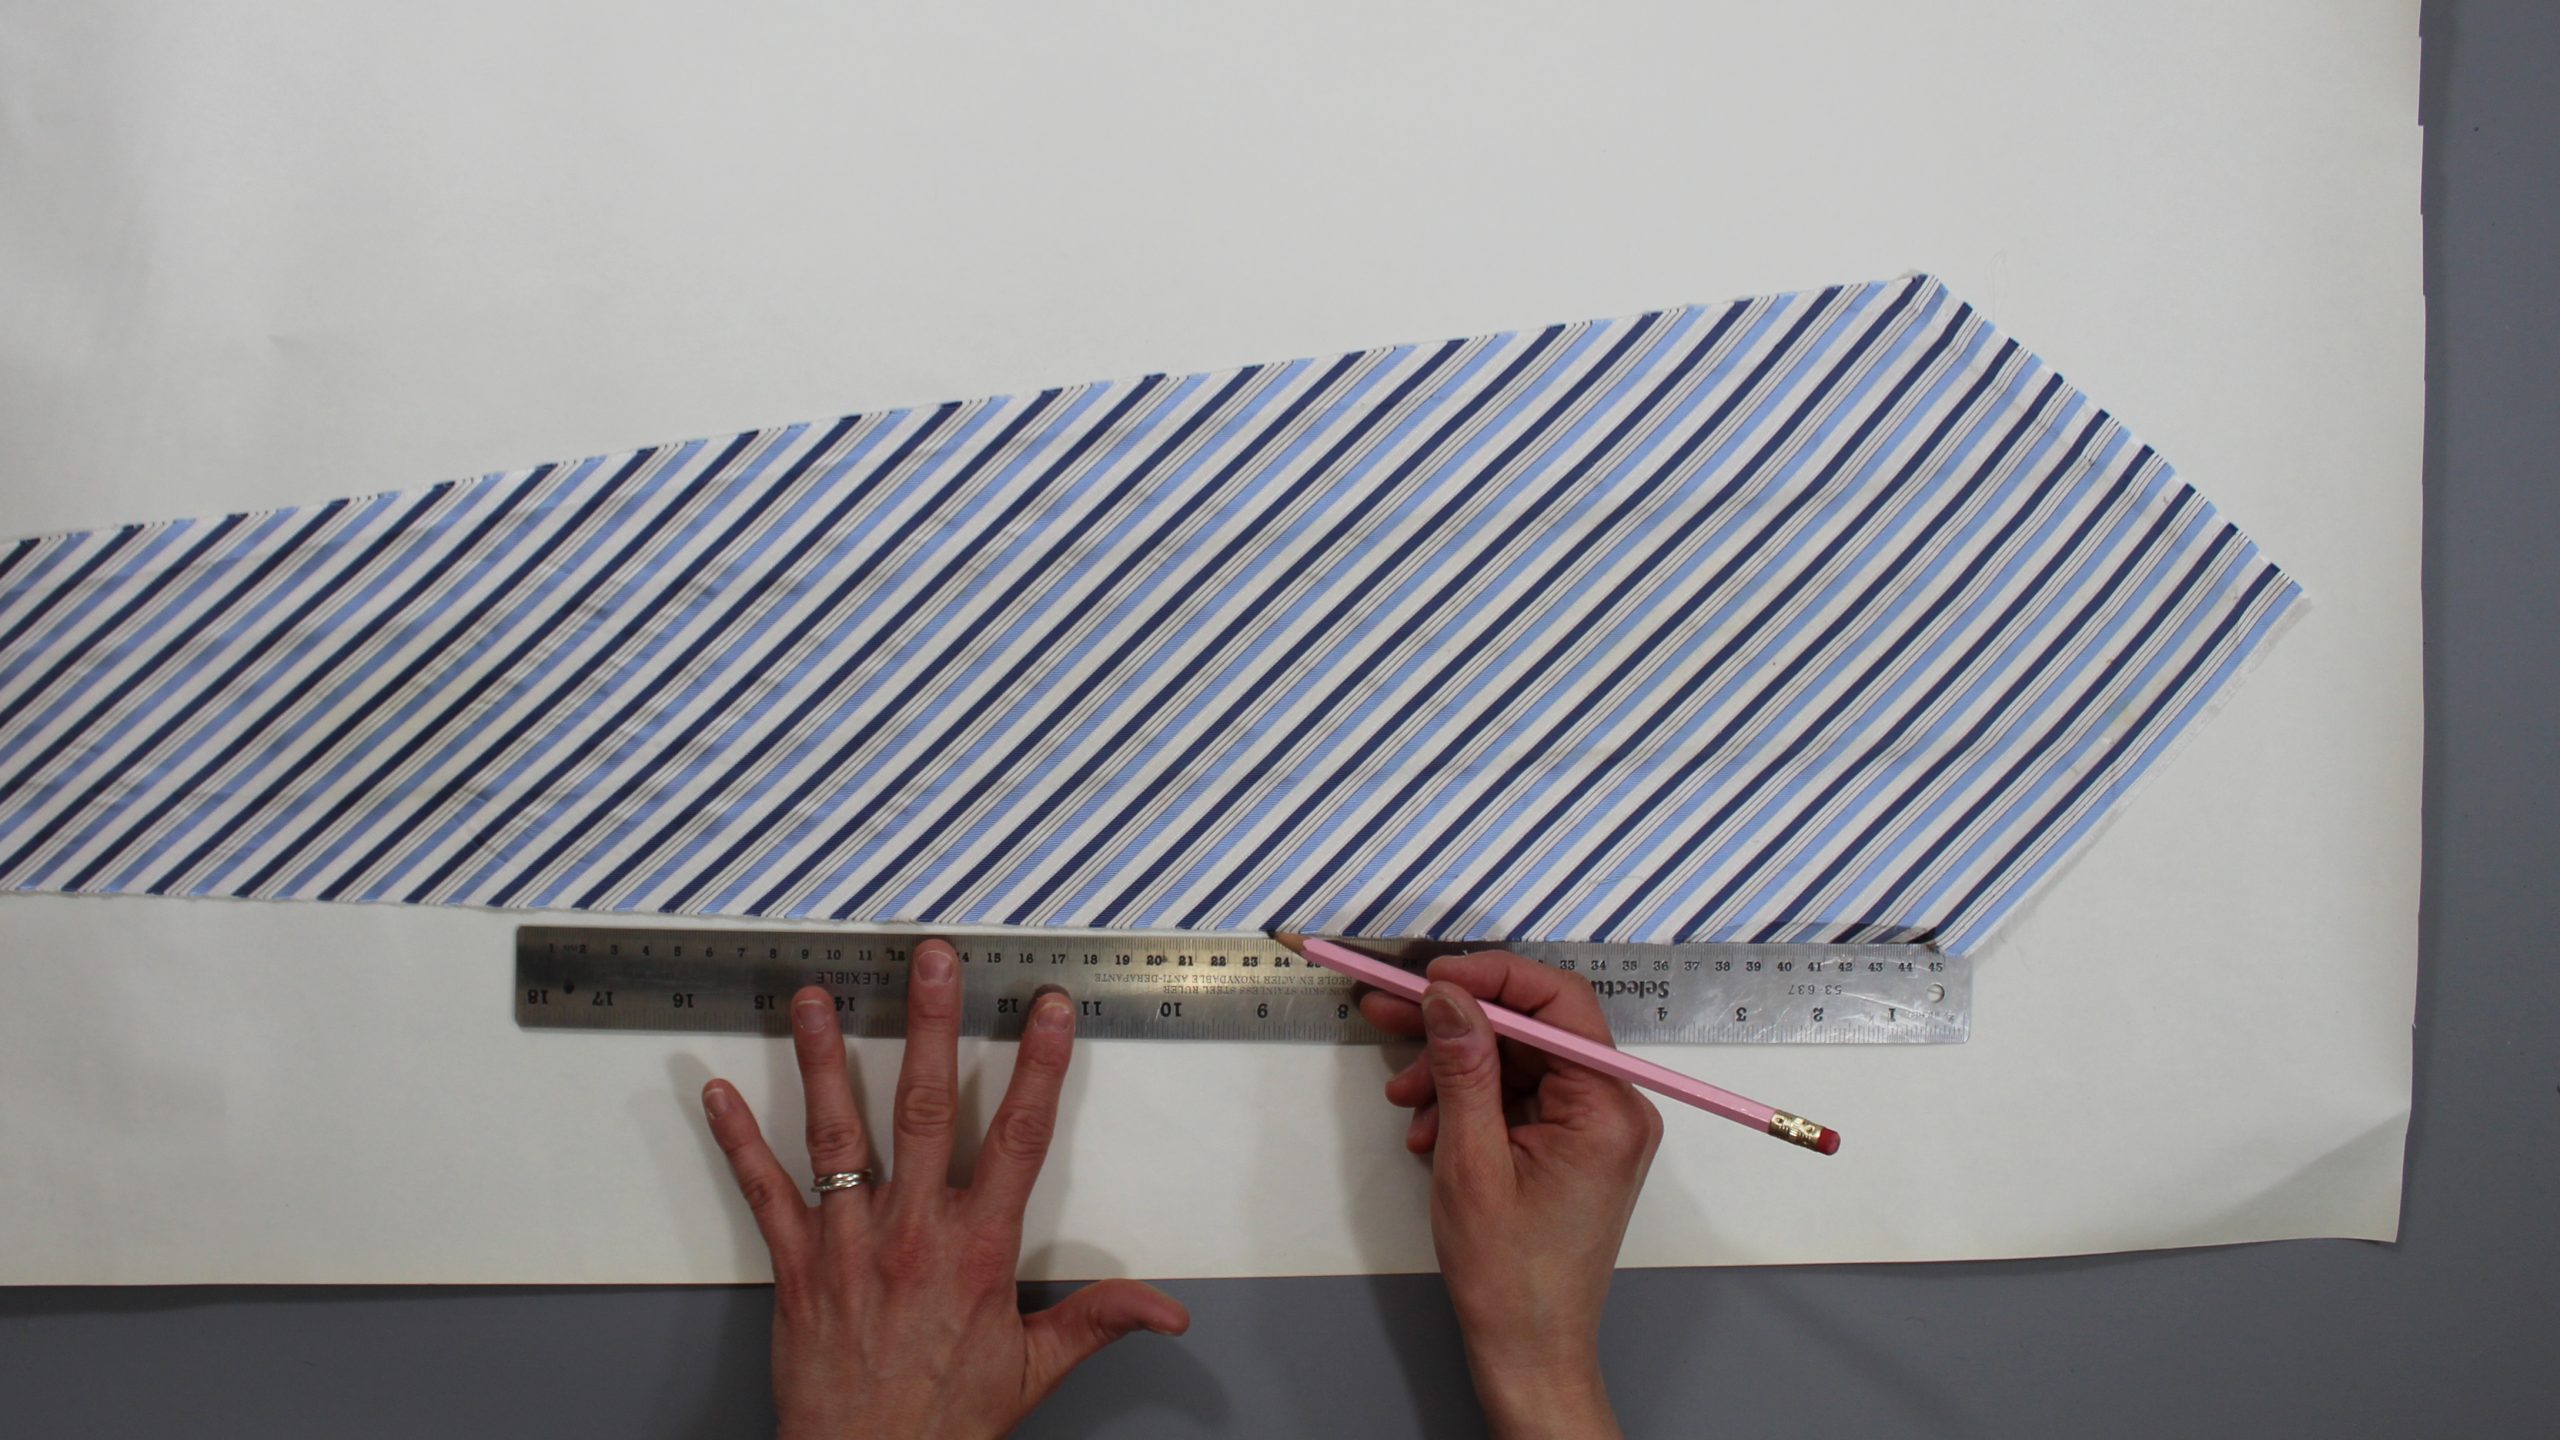
Lay the base pieces on a large piece of craft paper. Trace around each one (there will be two to three), making sure the grainline is at a 45-degree angle as ties are cut on the bias. Cut out each pattern piece for your basic fabric.
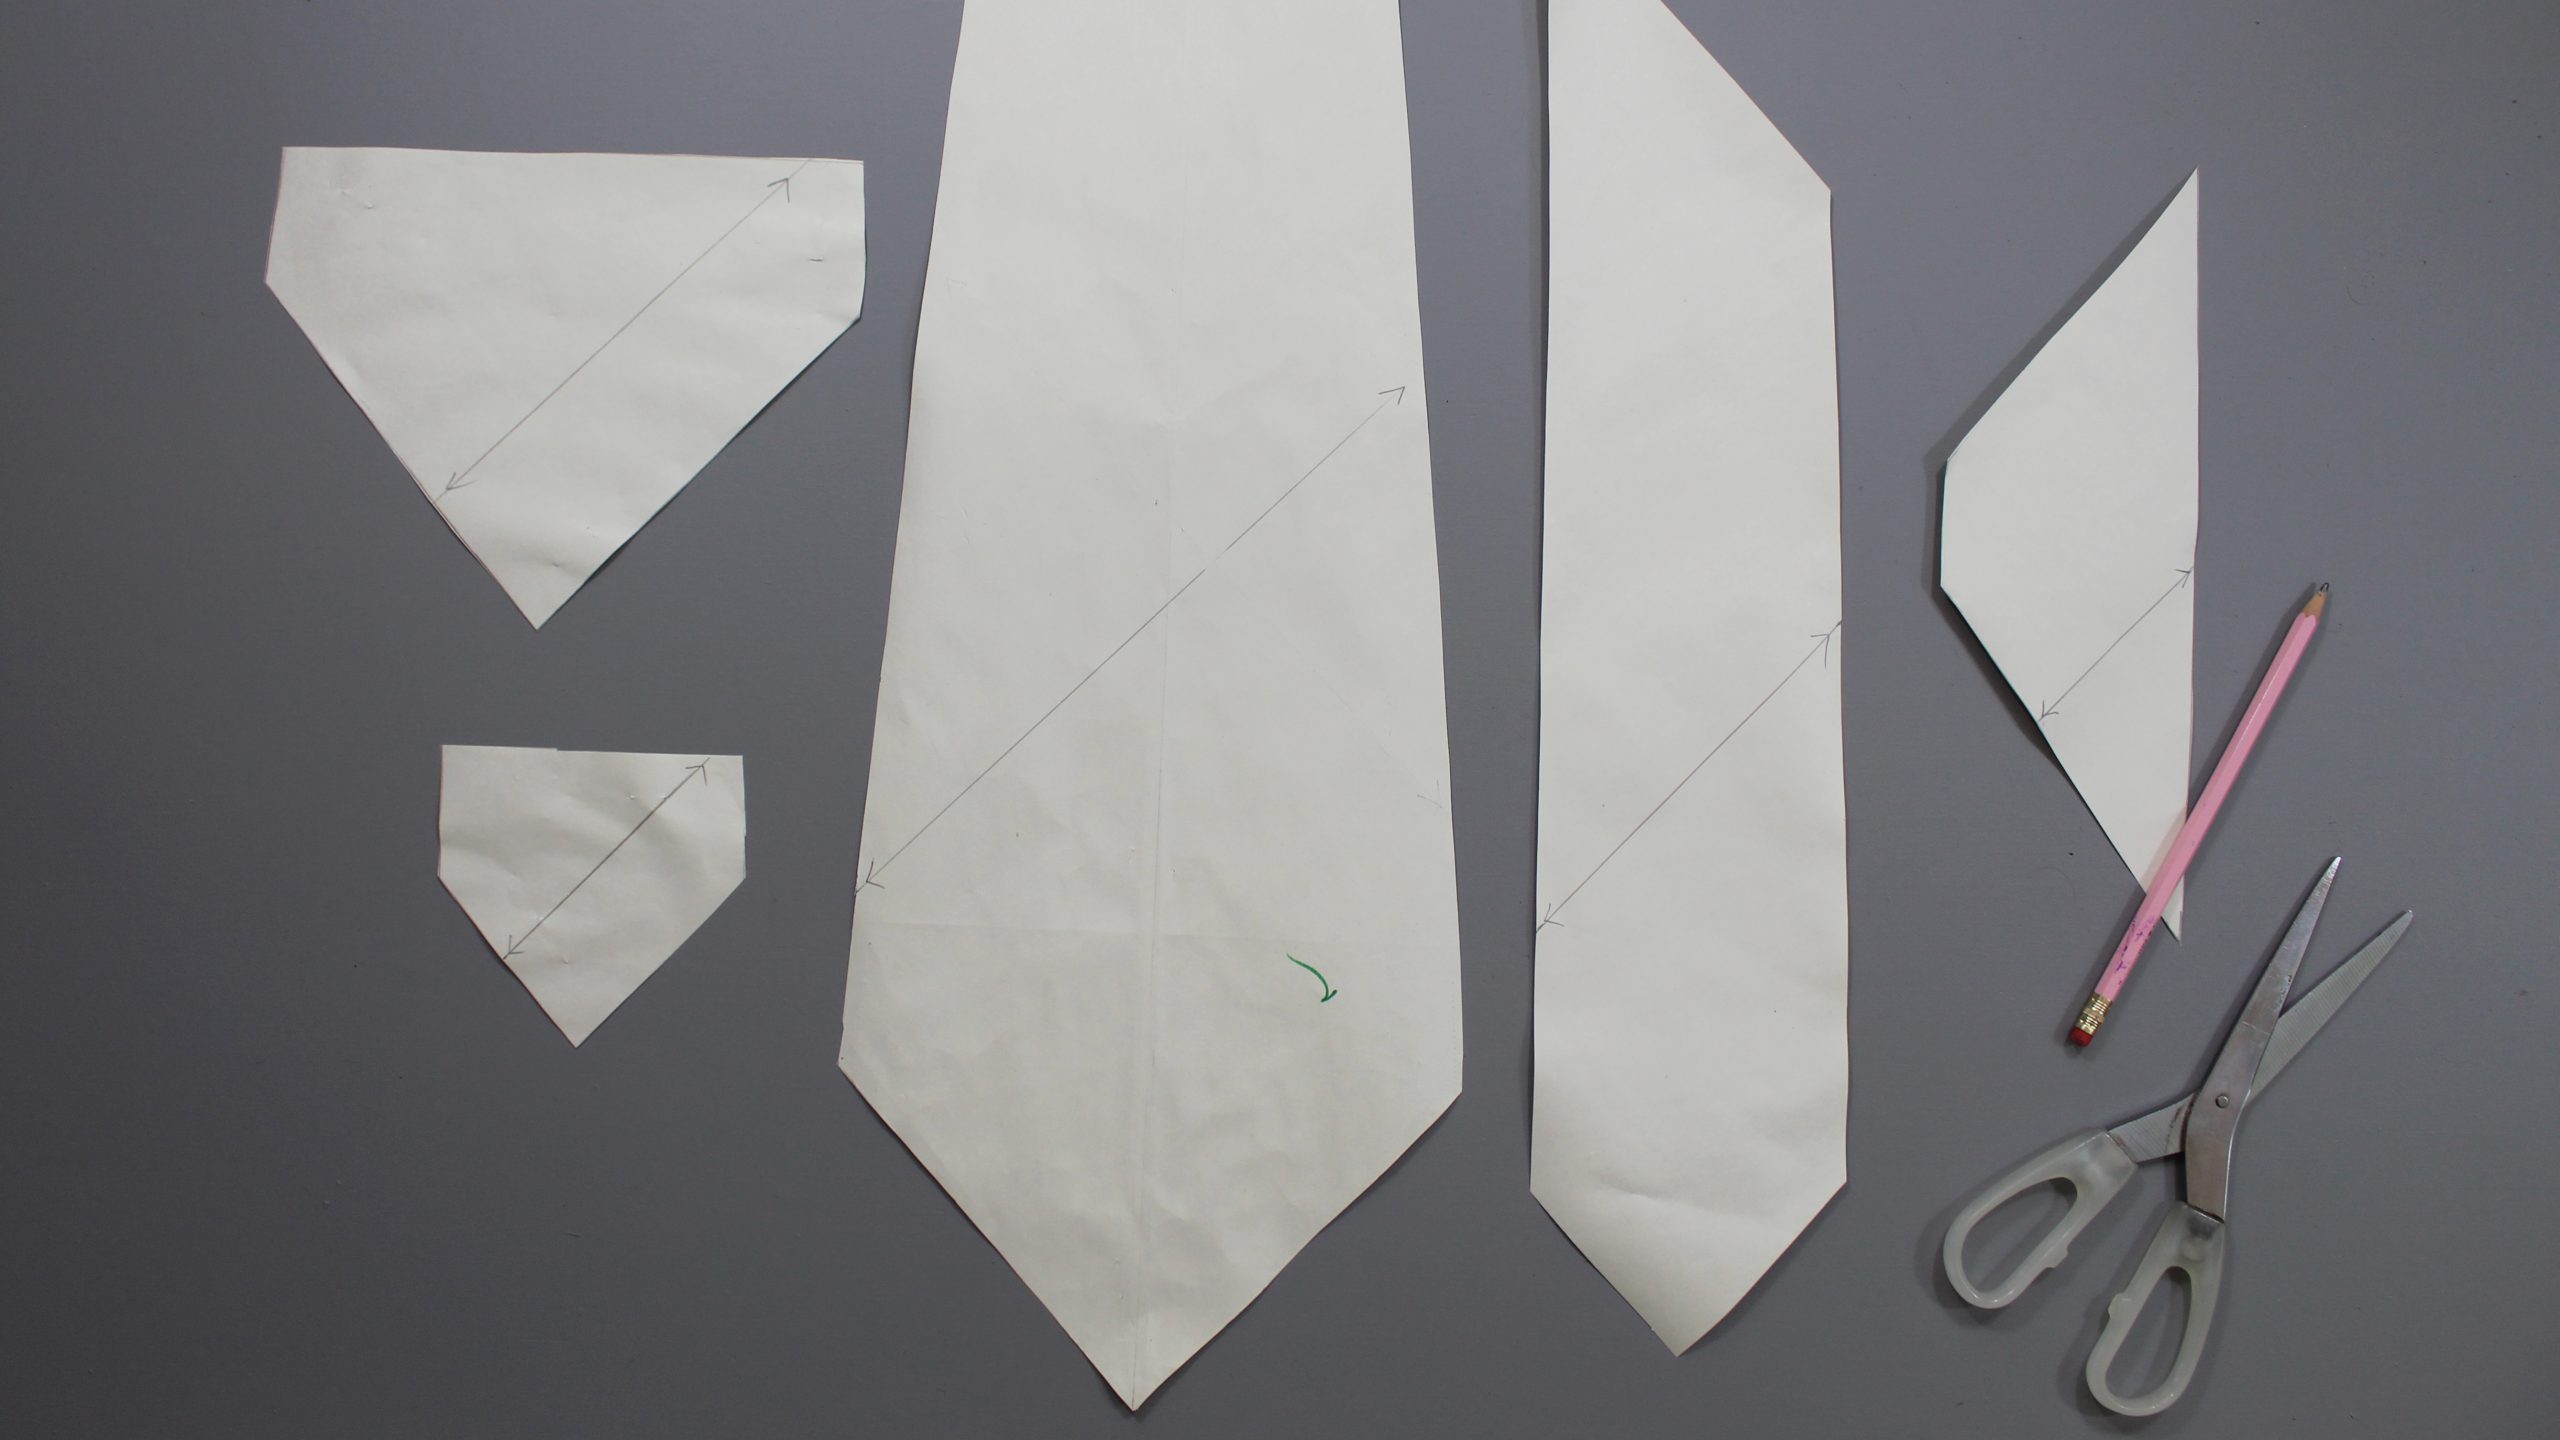
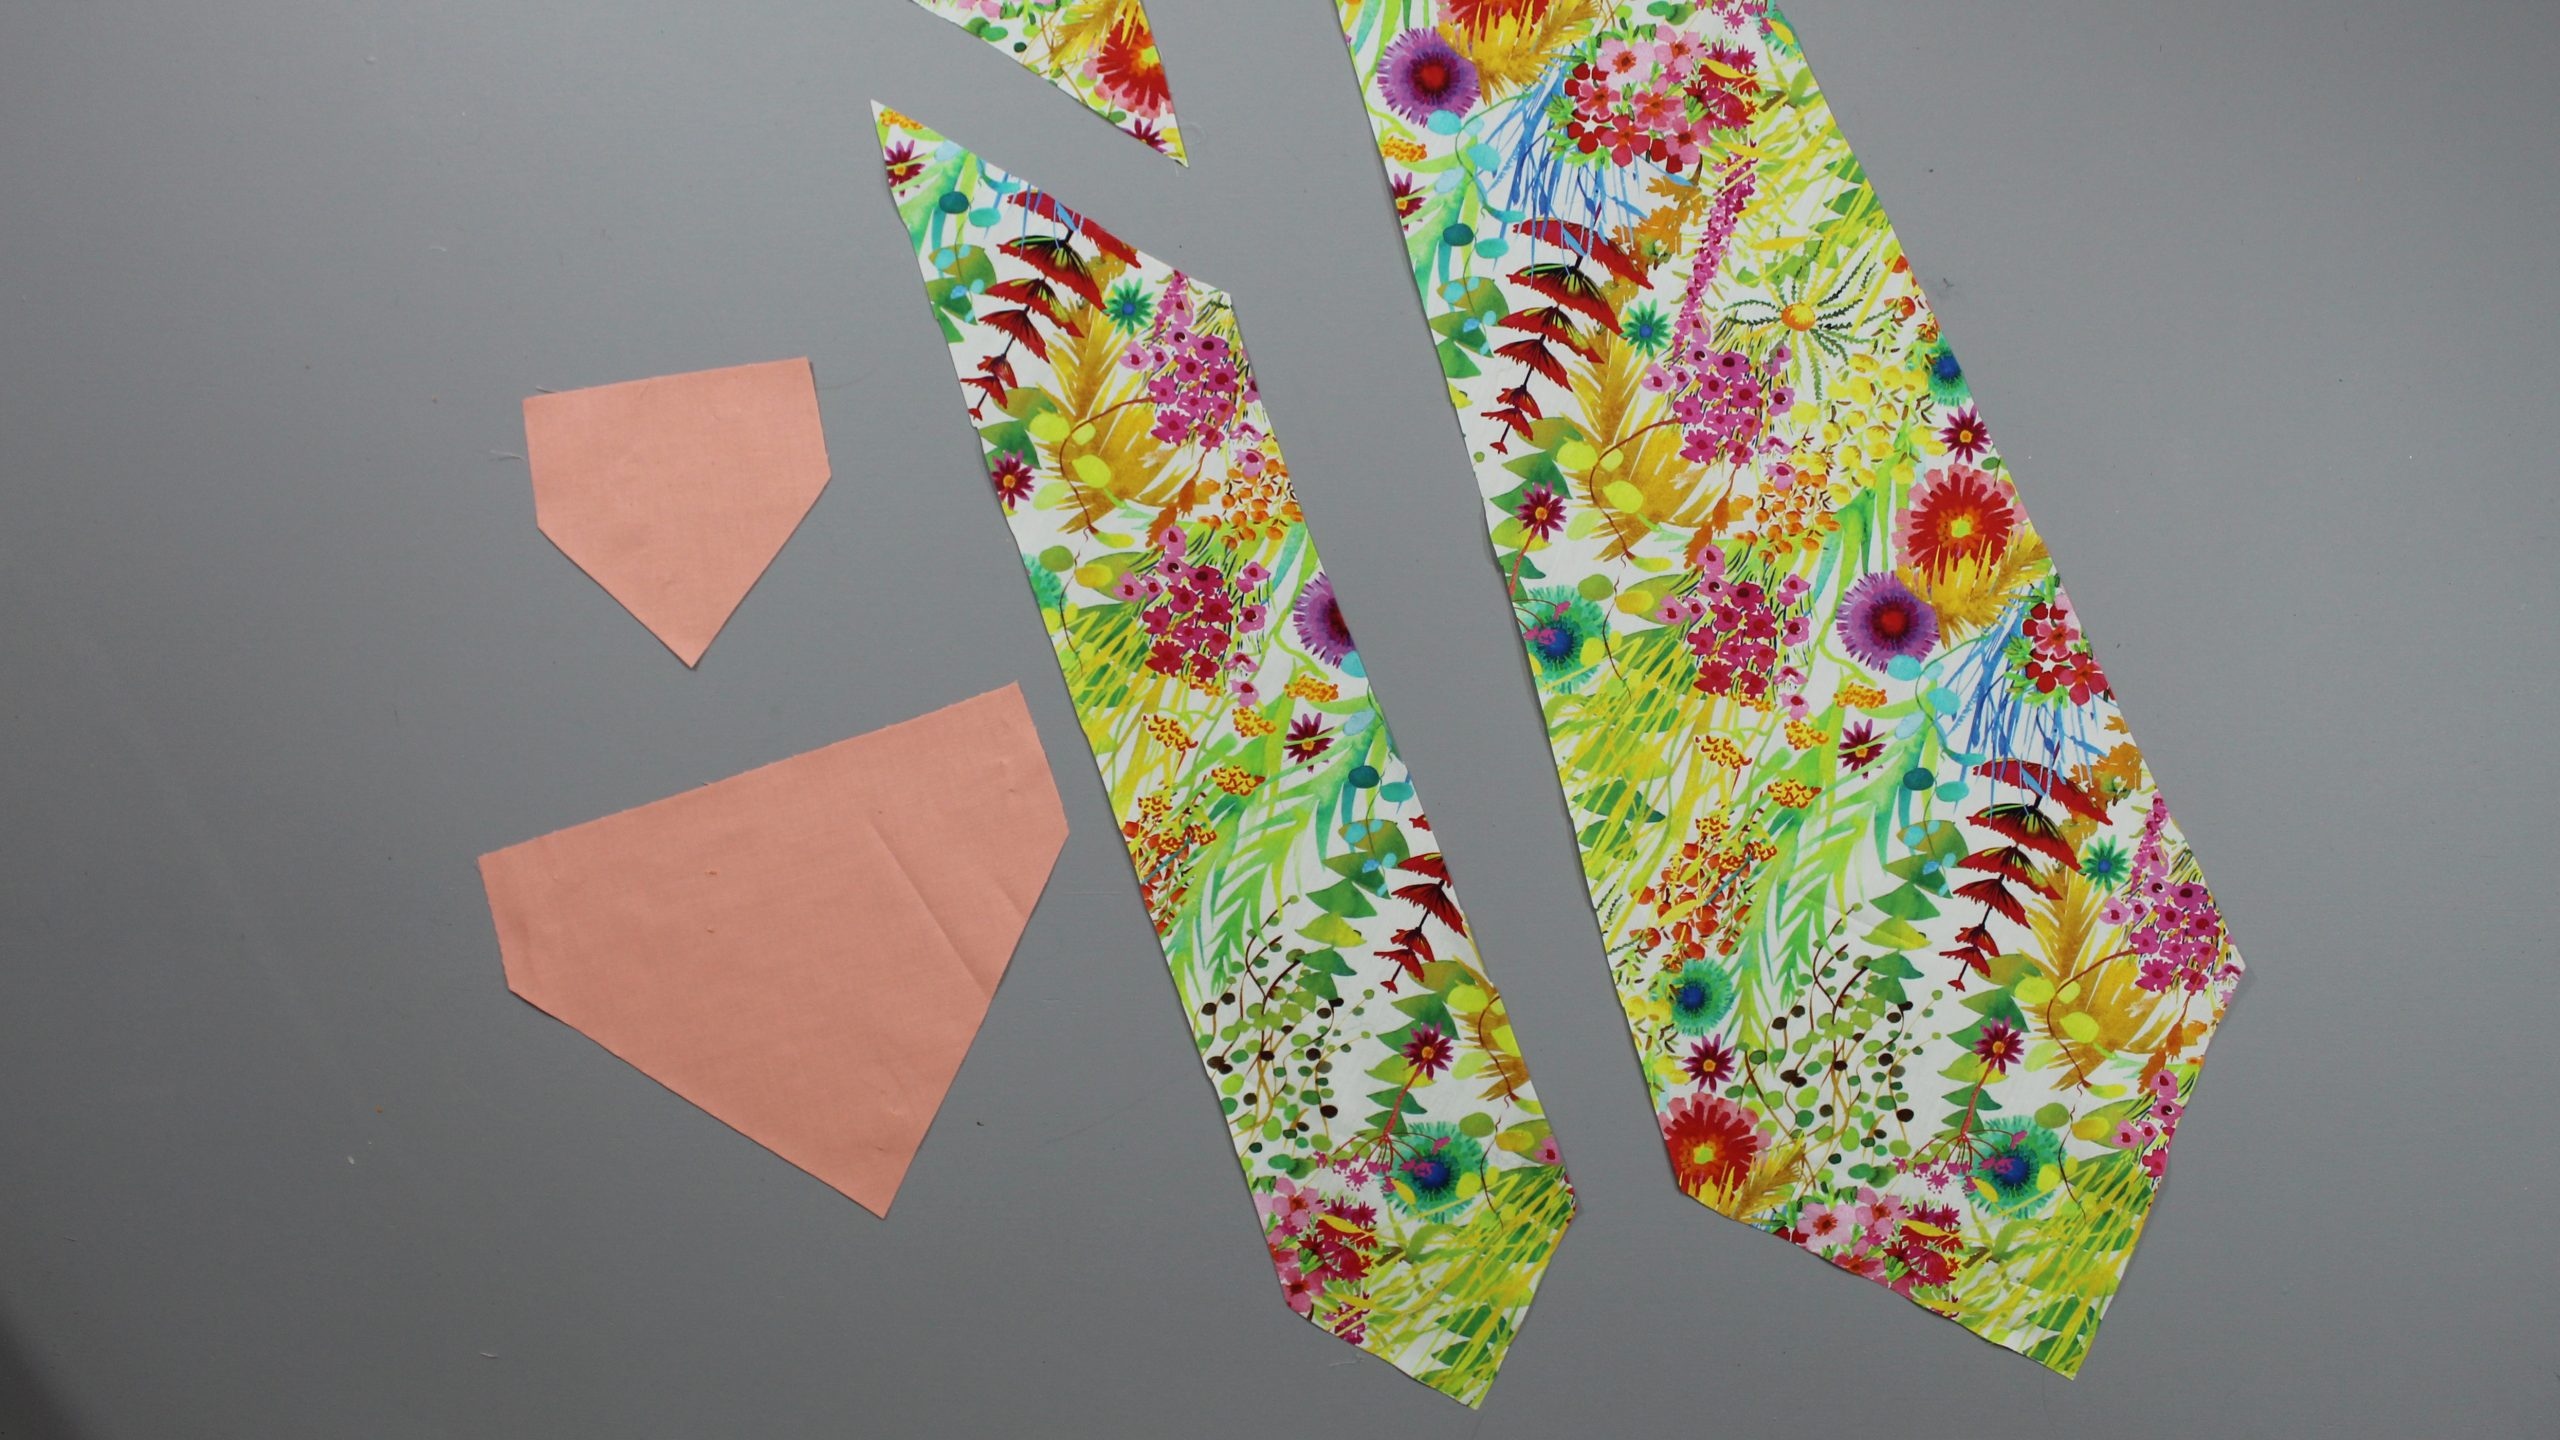
For your tipping pattern pieces (you’ll need two), first measure the length of the tipping pieces on the old tie. Lay your base pieces on craft paper again. Trace around the bottom and sides, stopping at the length measurements you just took. (This ensures your pieces will match and sew together super easily.) Cut out each pattern piece. You should now have five pattern pieces in total.
2. Cut Out the Base and Lining Fabrics
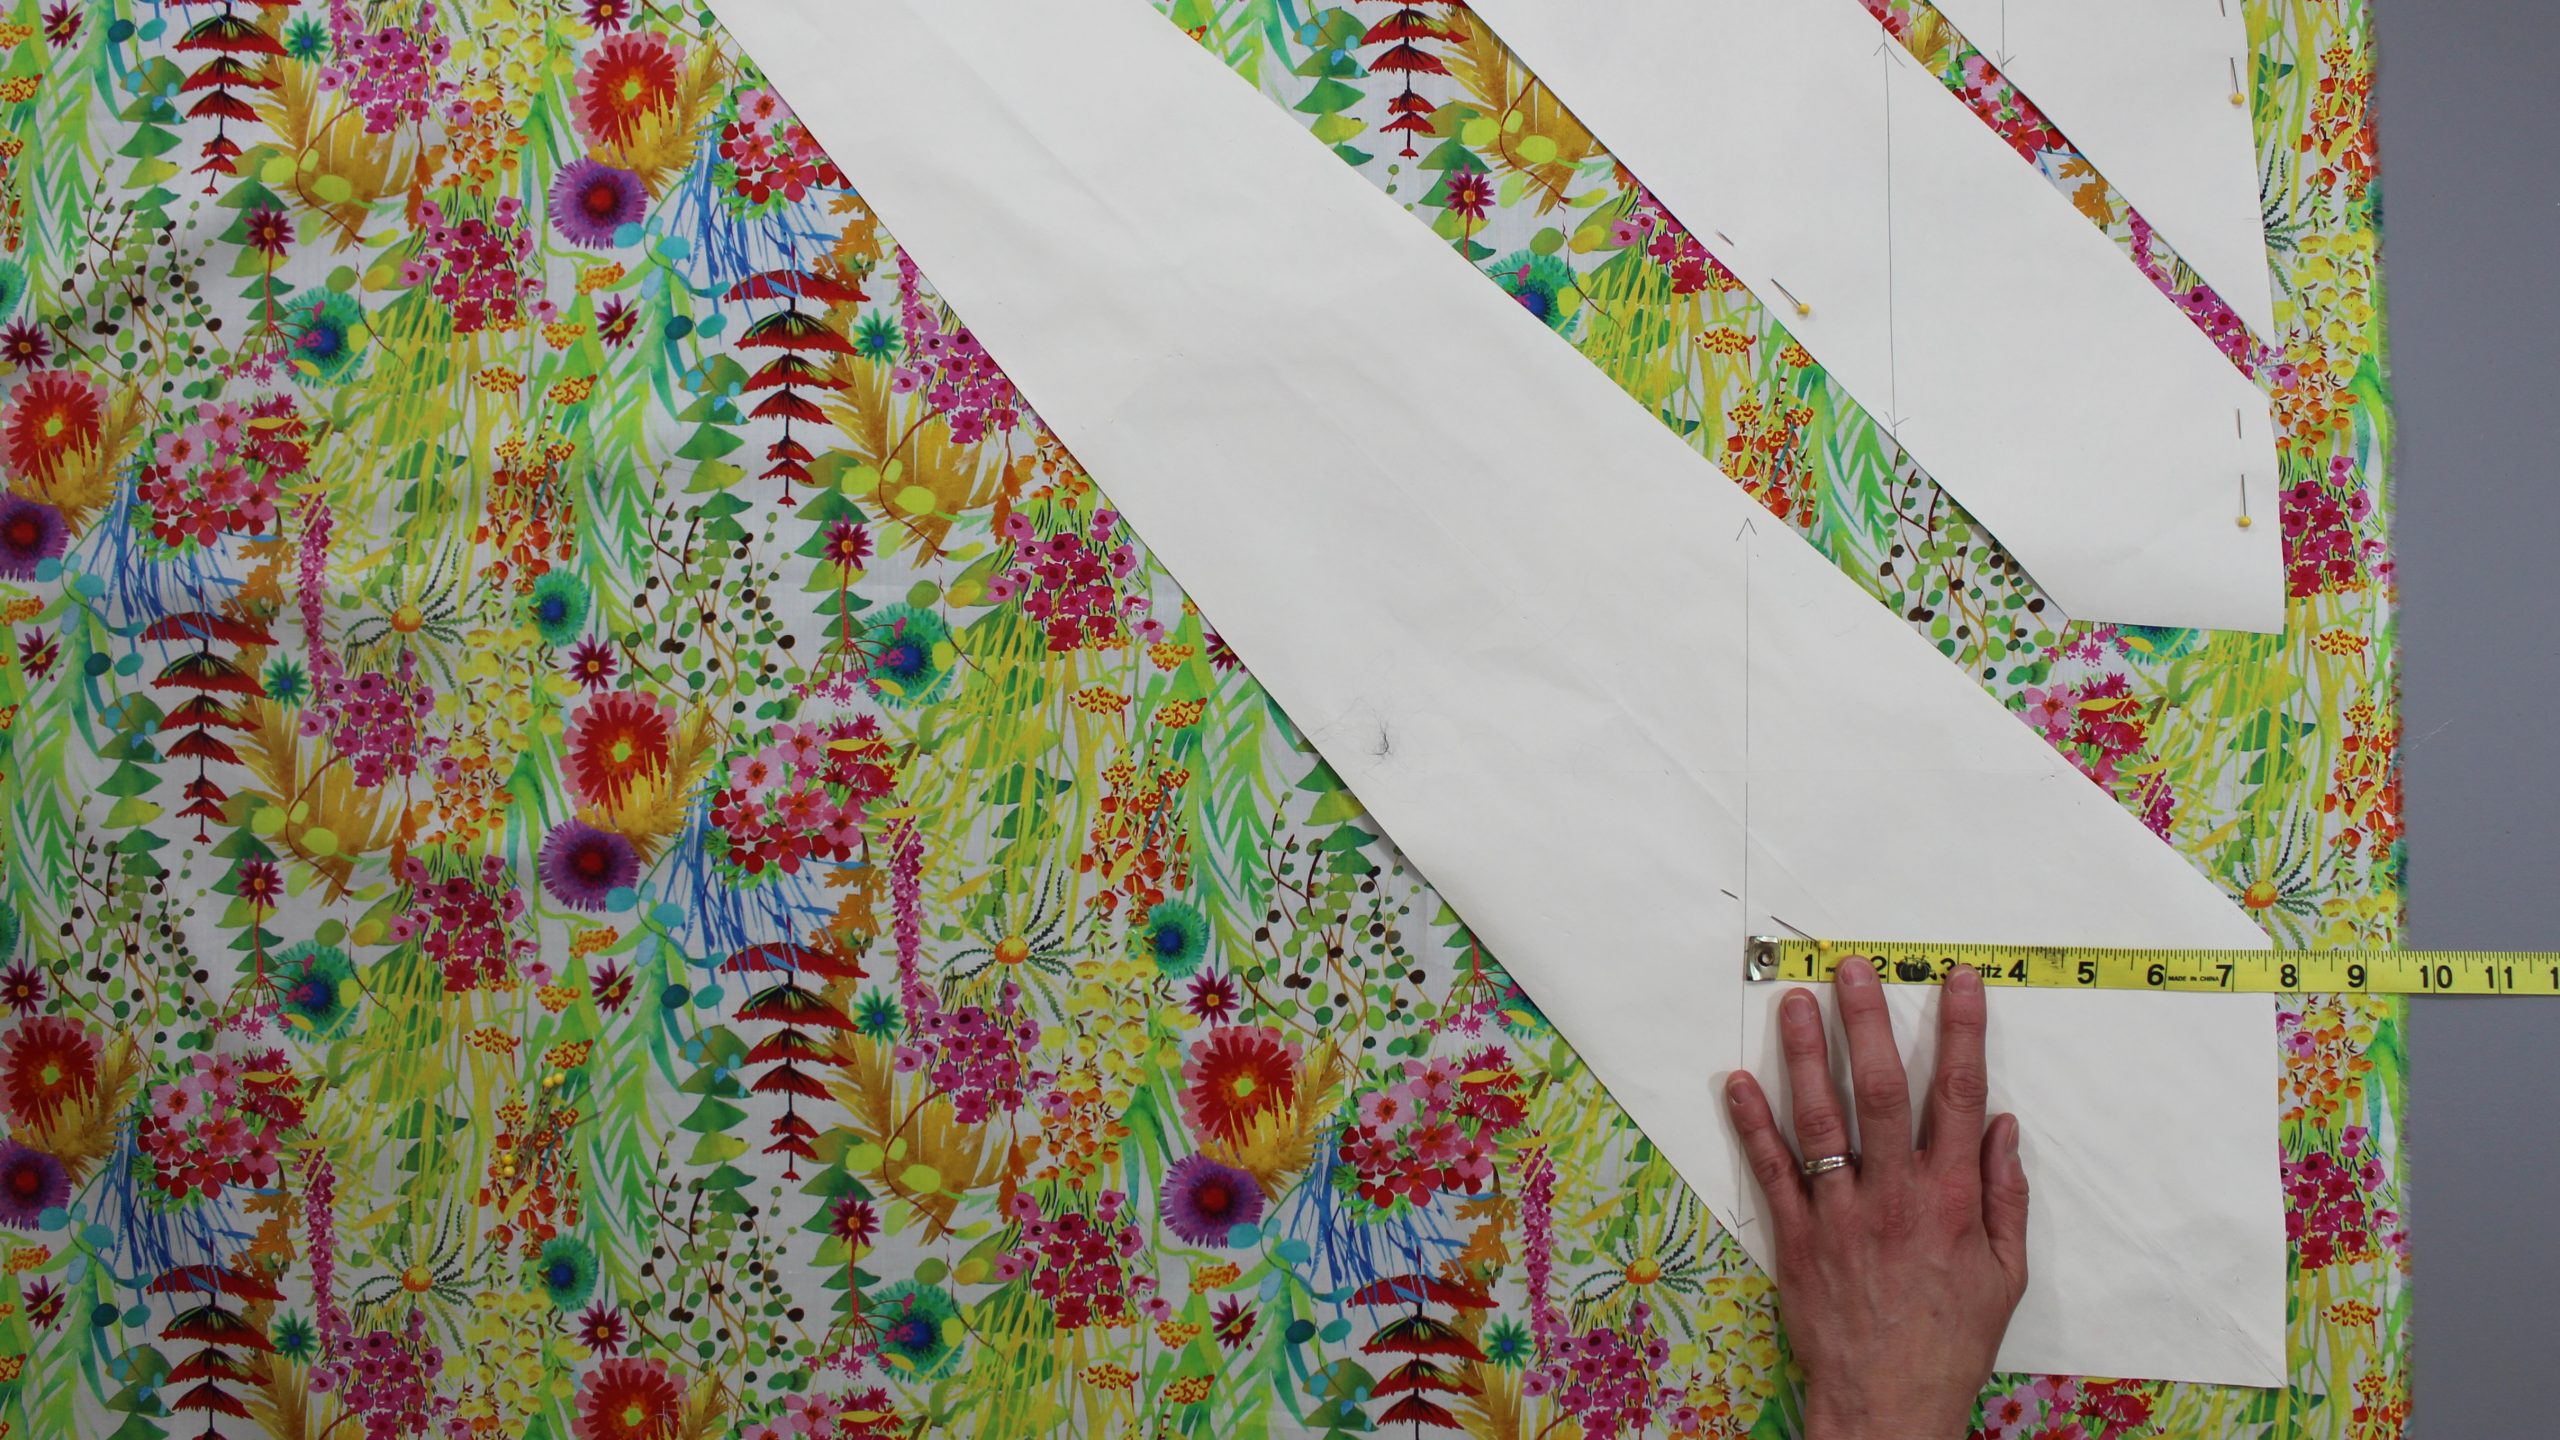
Lay the base pieces onto your base fabric. Measure evenly from the grainline to the selvage so that all the pieces are cut on the bias. Pin in place and cut. Repeat for the tipping pieces, using your lining fabric.
3. Join the Base Pieces
Place two of the base pieces right sides together at a right angle. Make sure the tips hang off the same amount on each end. Pin in place. Sew together with a ¼” to ½” seam allowance.
Press the seam while closed. Open the seam and press again. Repeat to join the last base piece. Trim away the excess fabric.
Pro Tip: The seam allowance you use will depend on what seam allowance was used on the old tie, so double check and use the same amount when sewing the new pieces together.
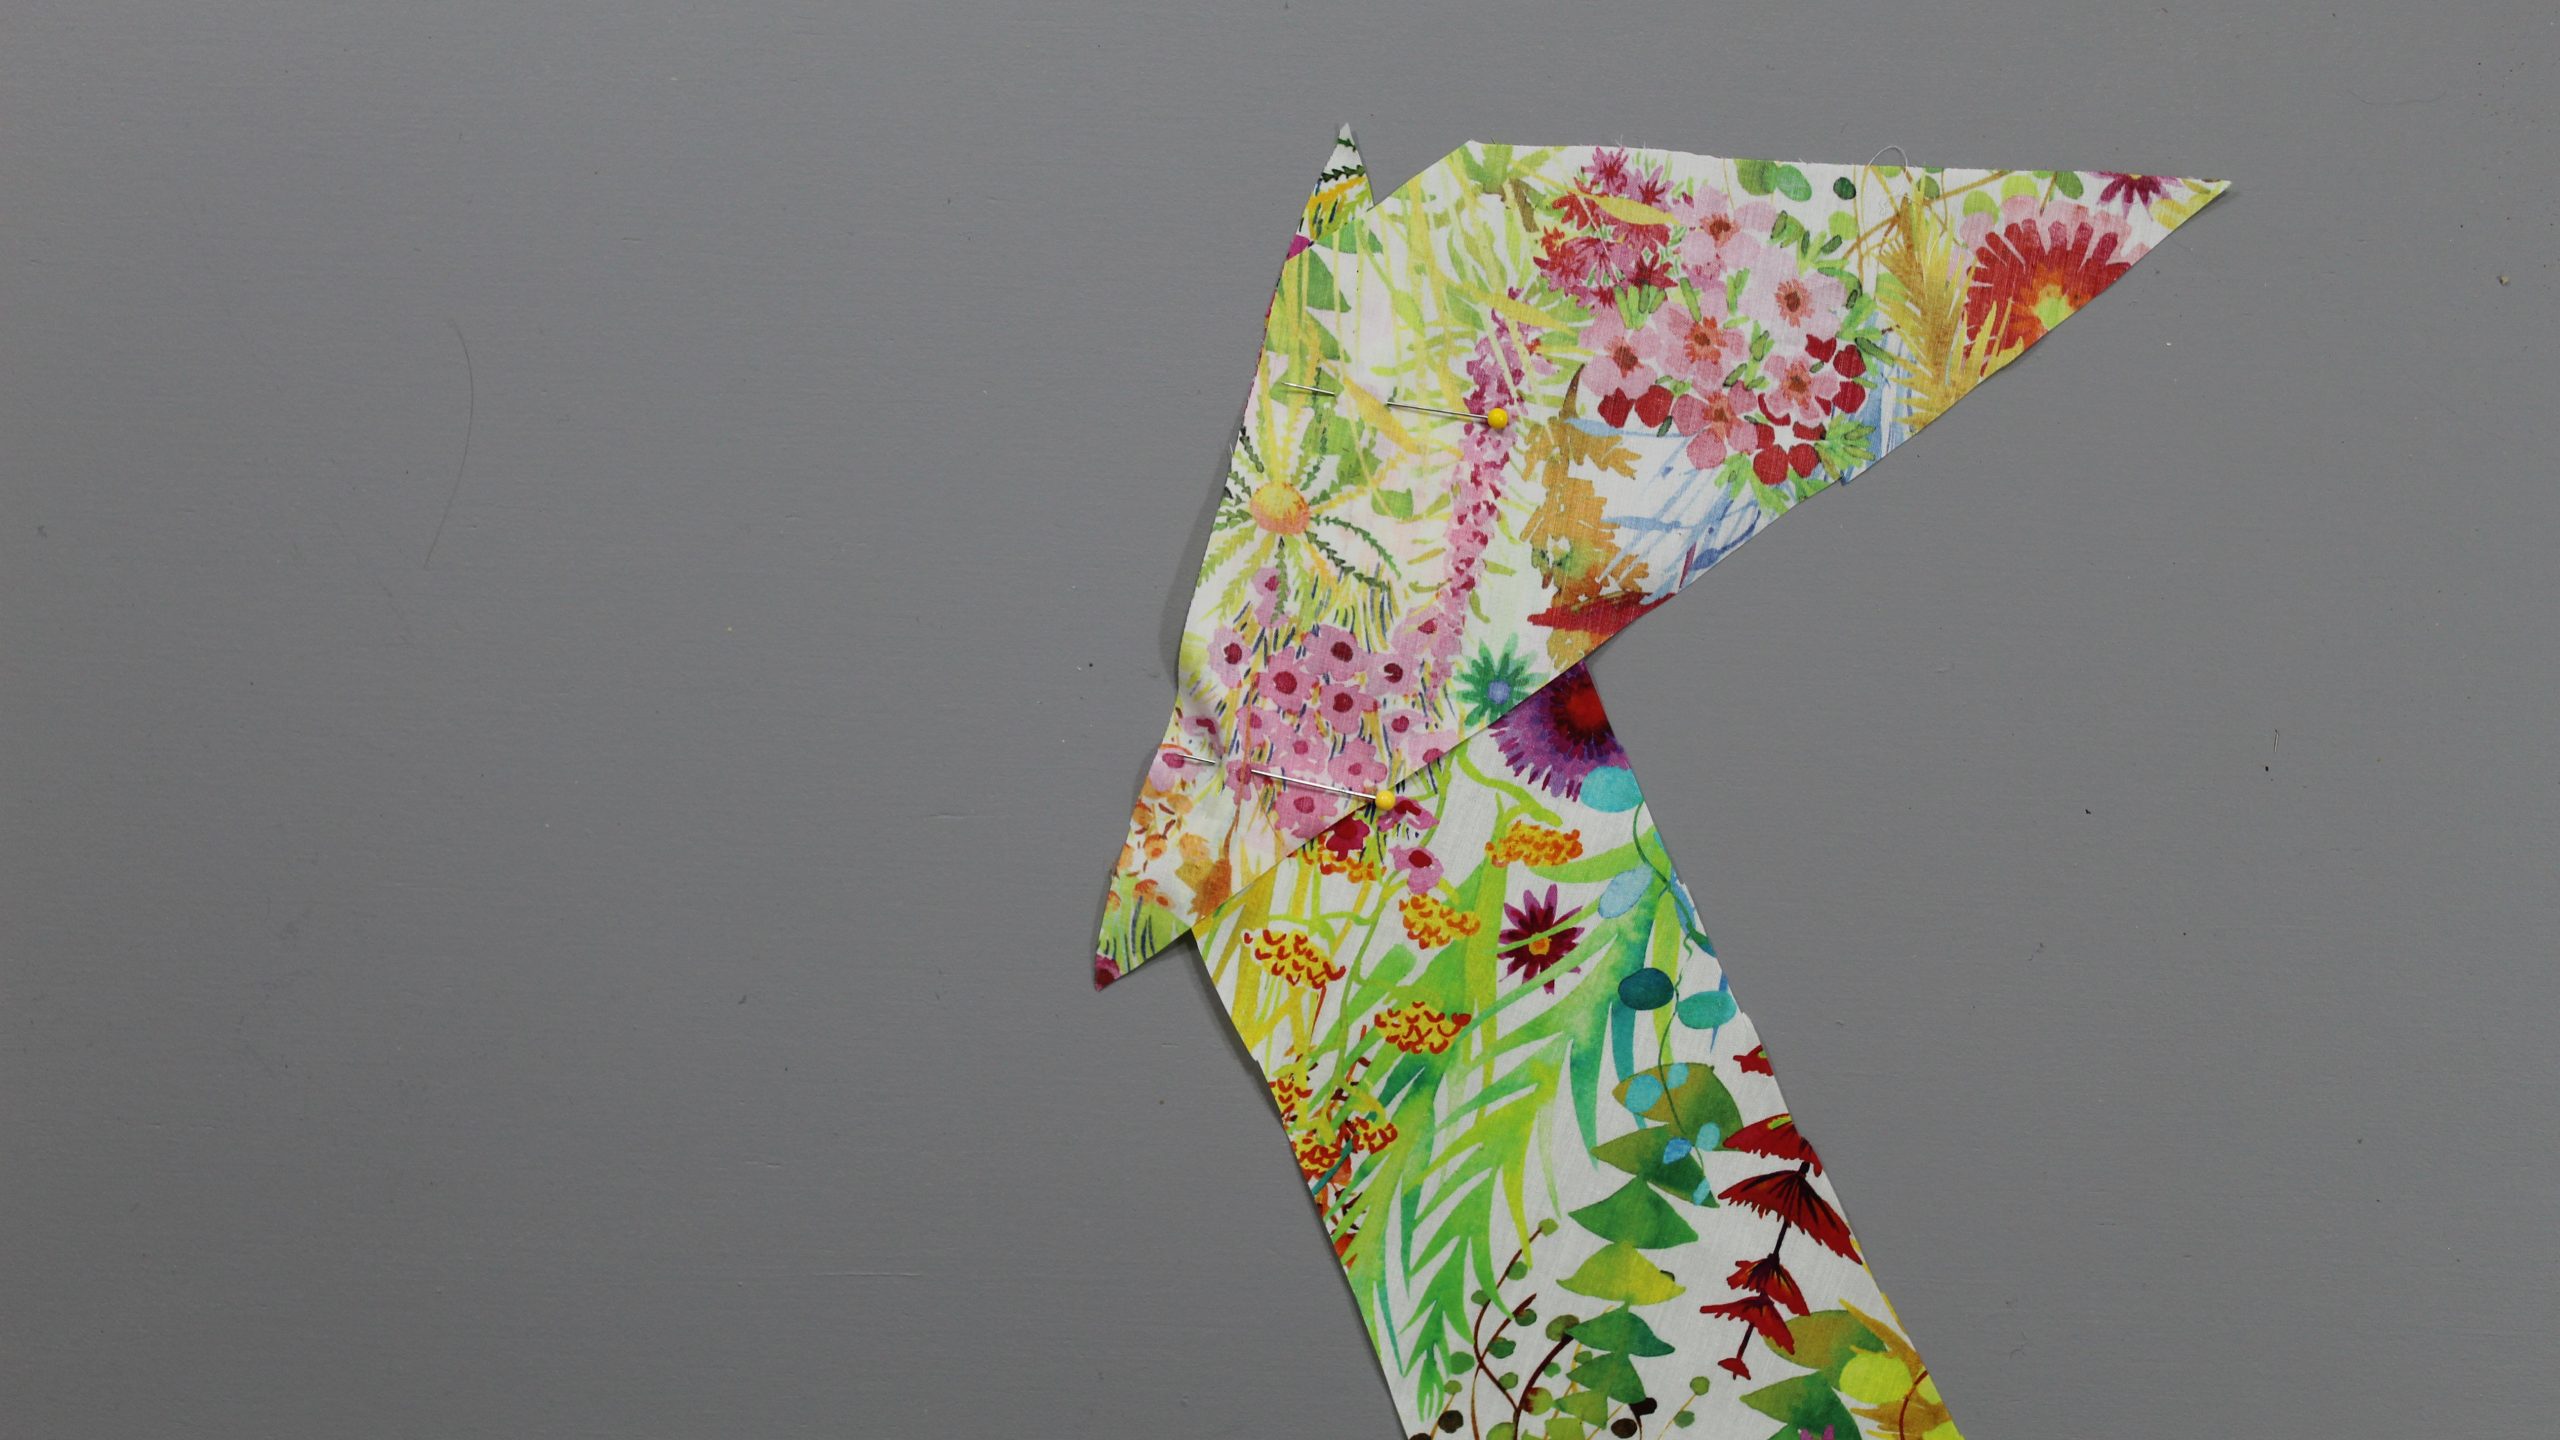
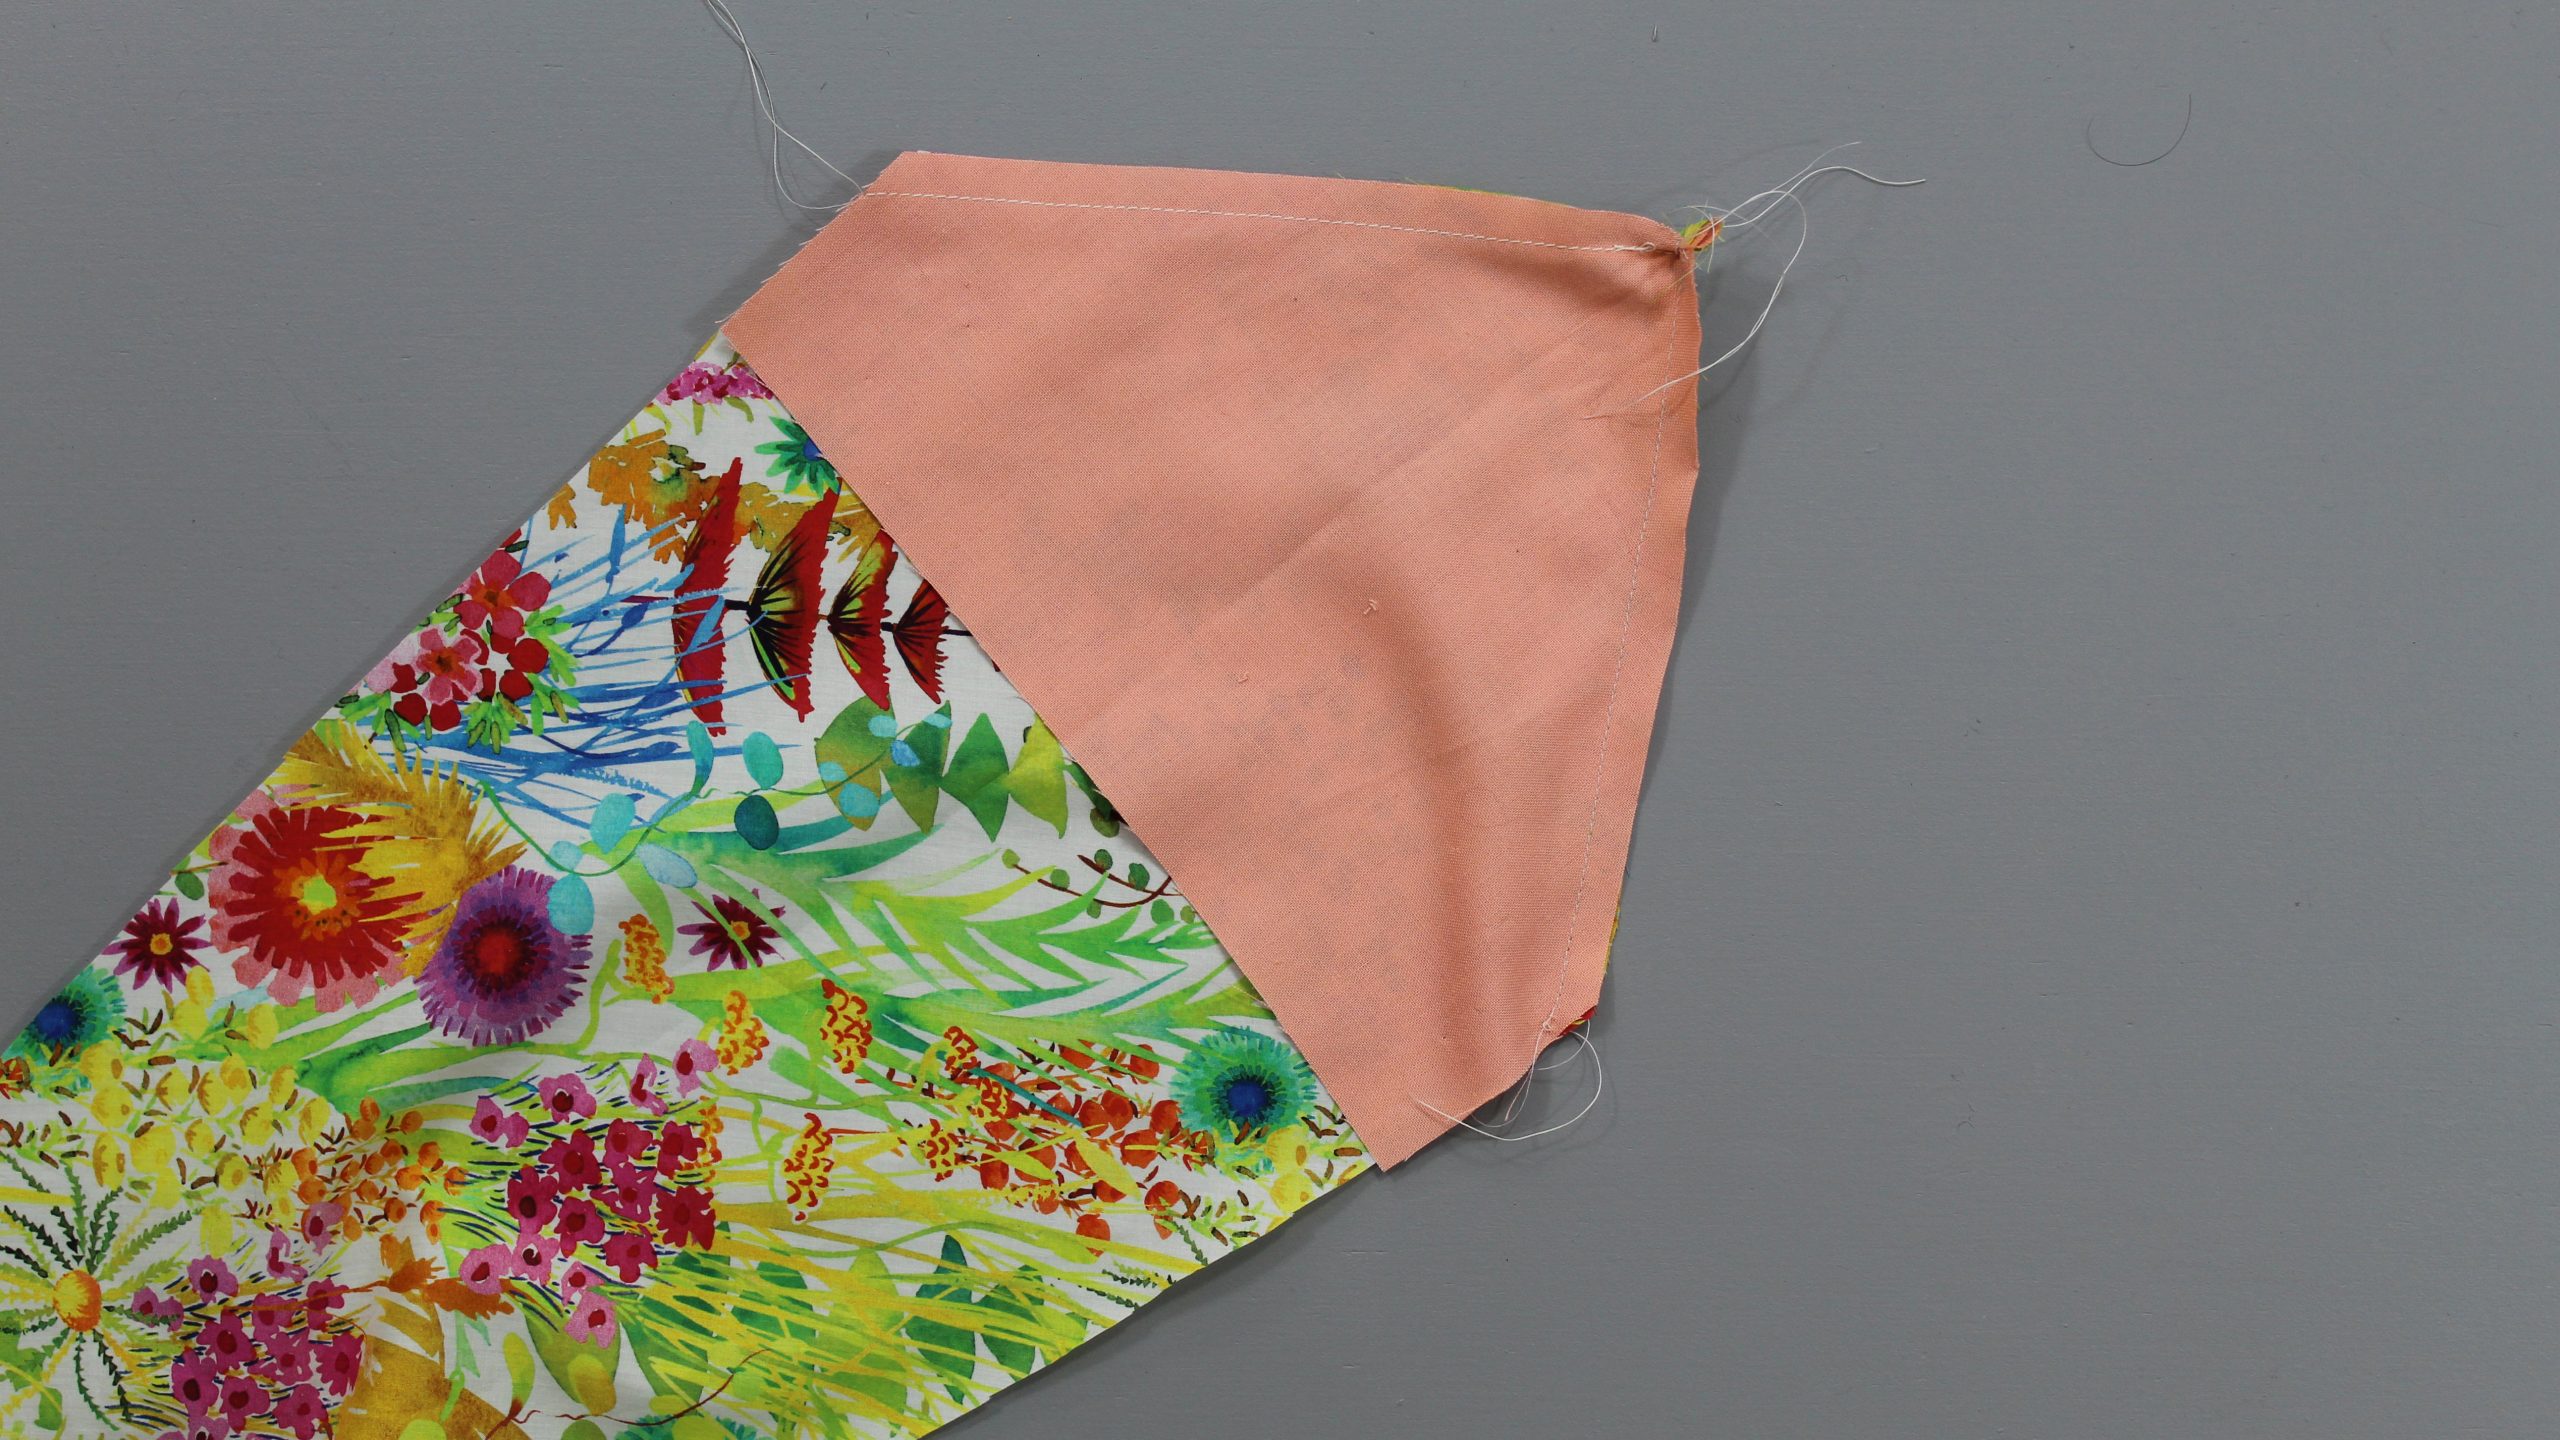
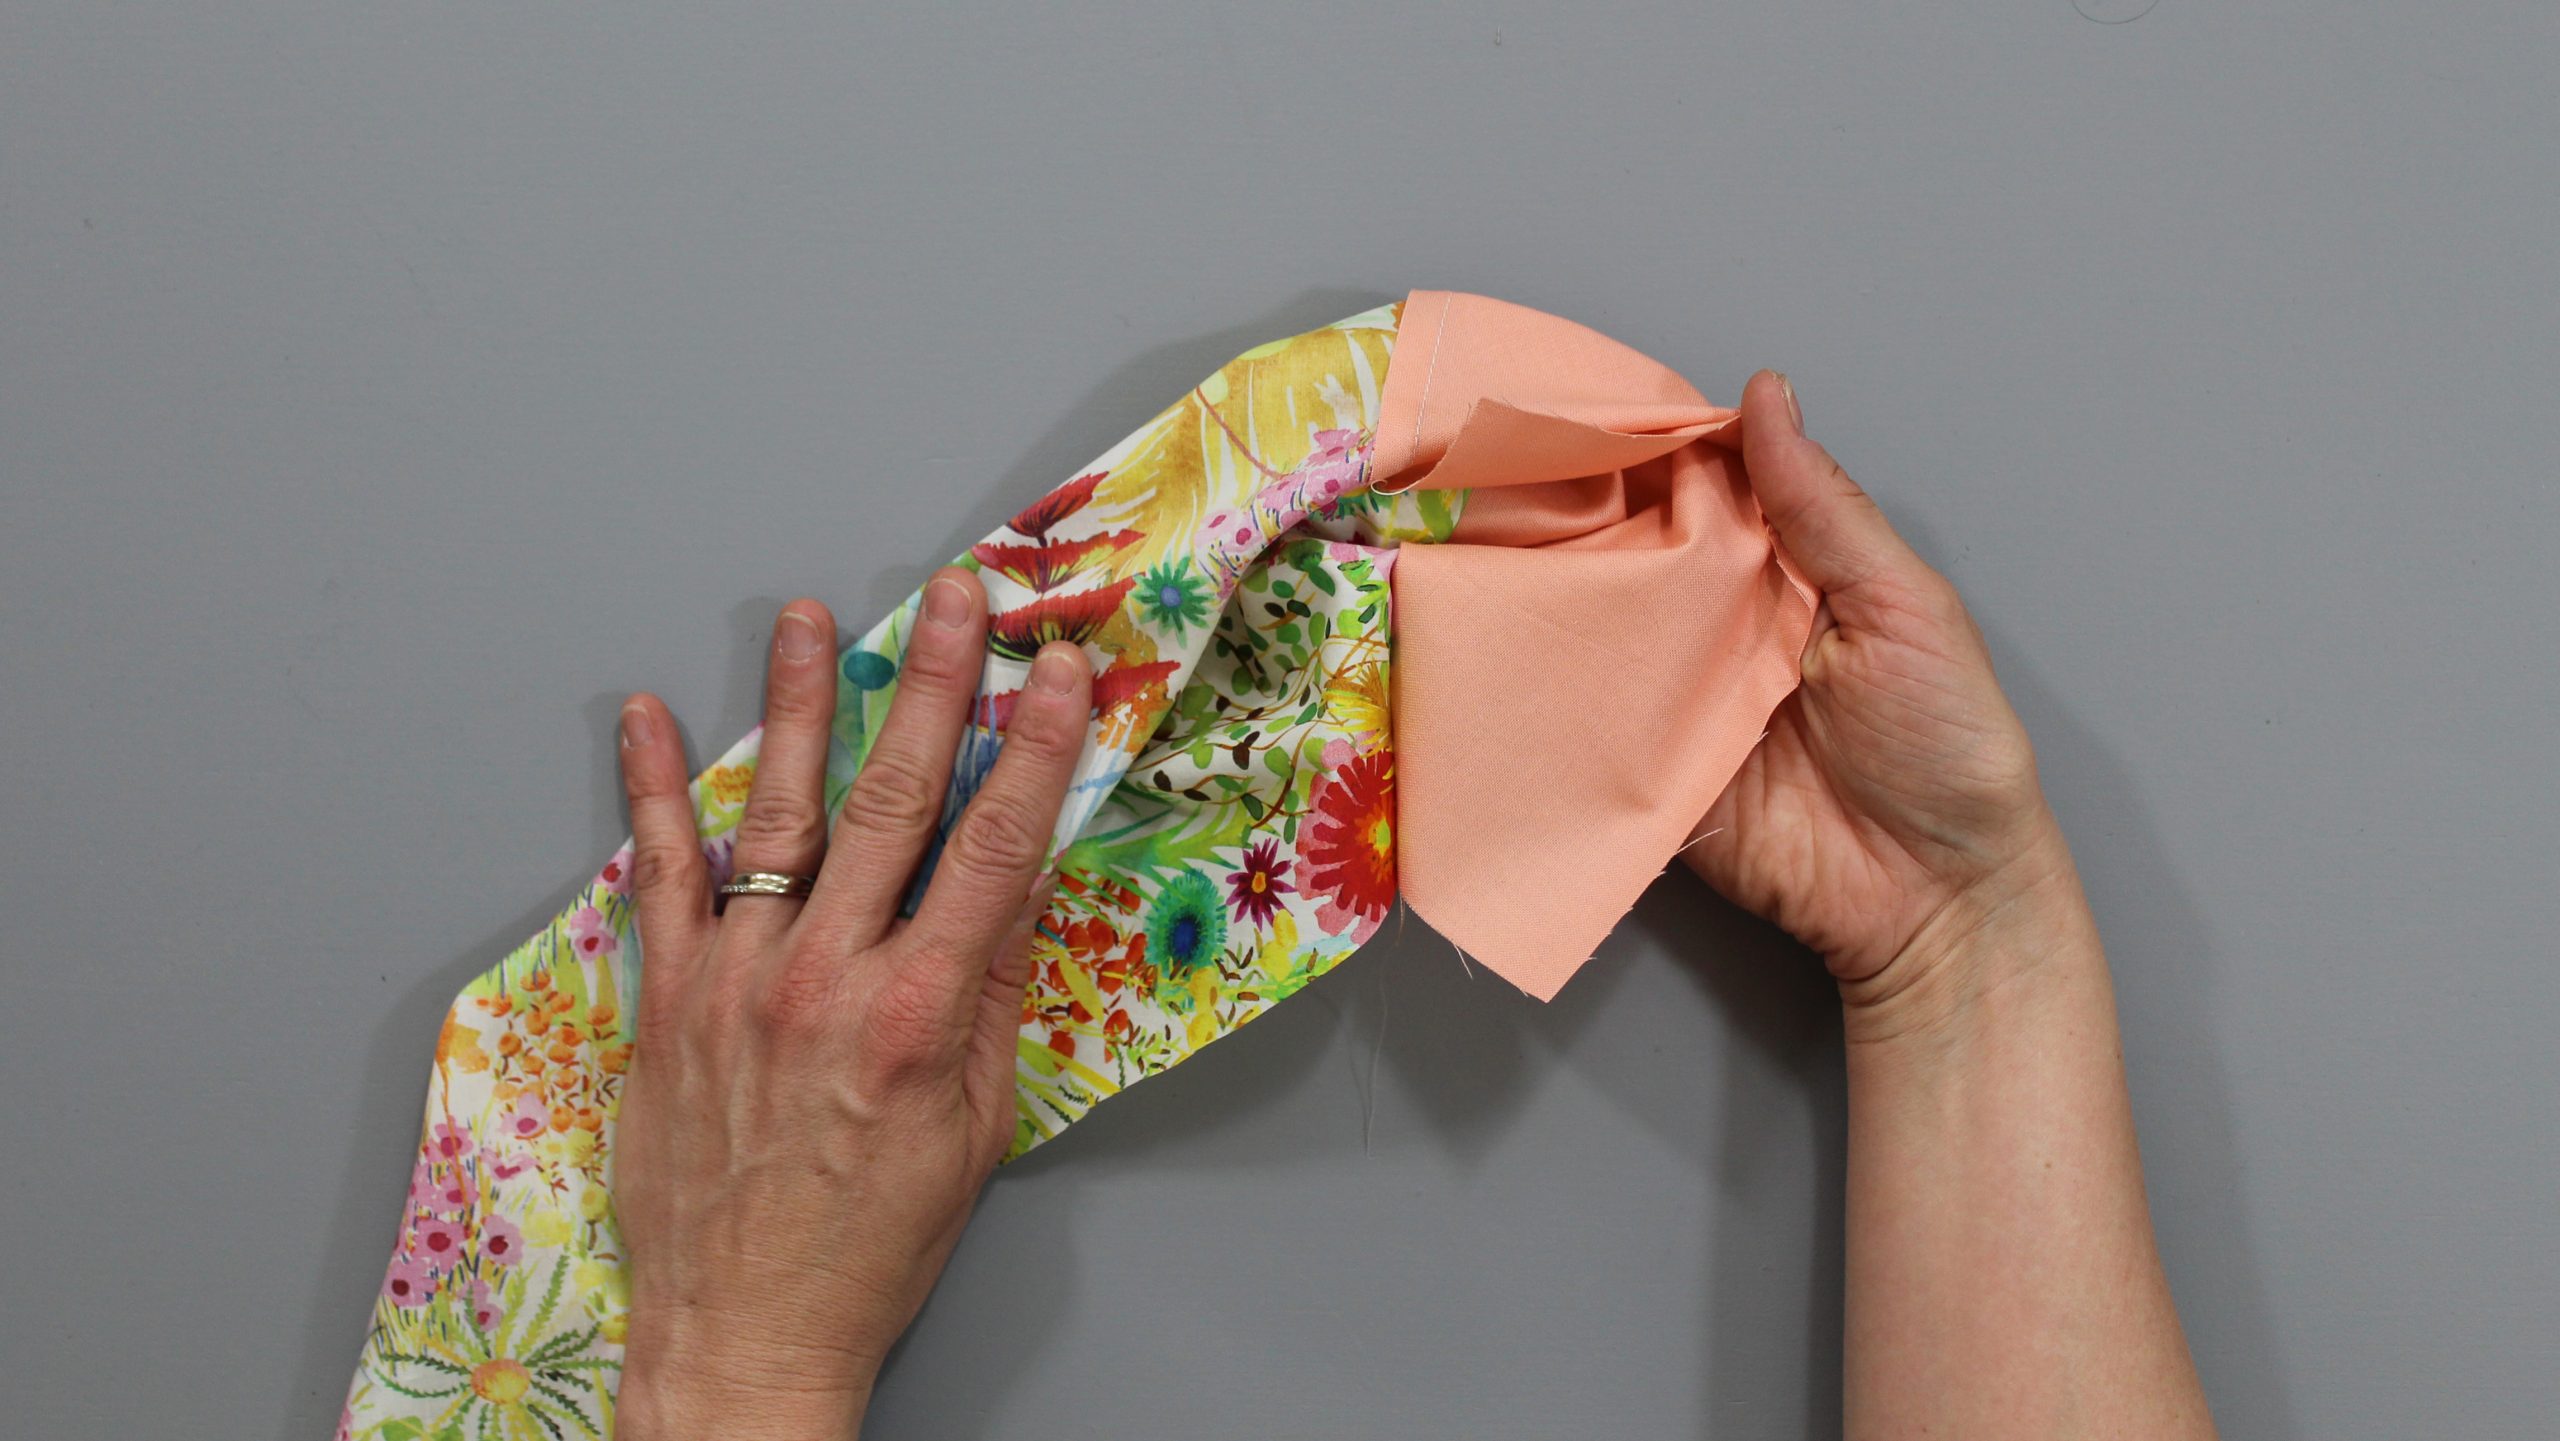
4. Attach the Lining
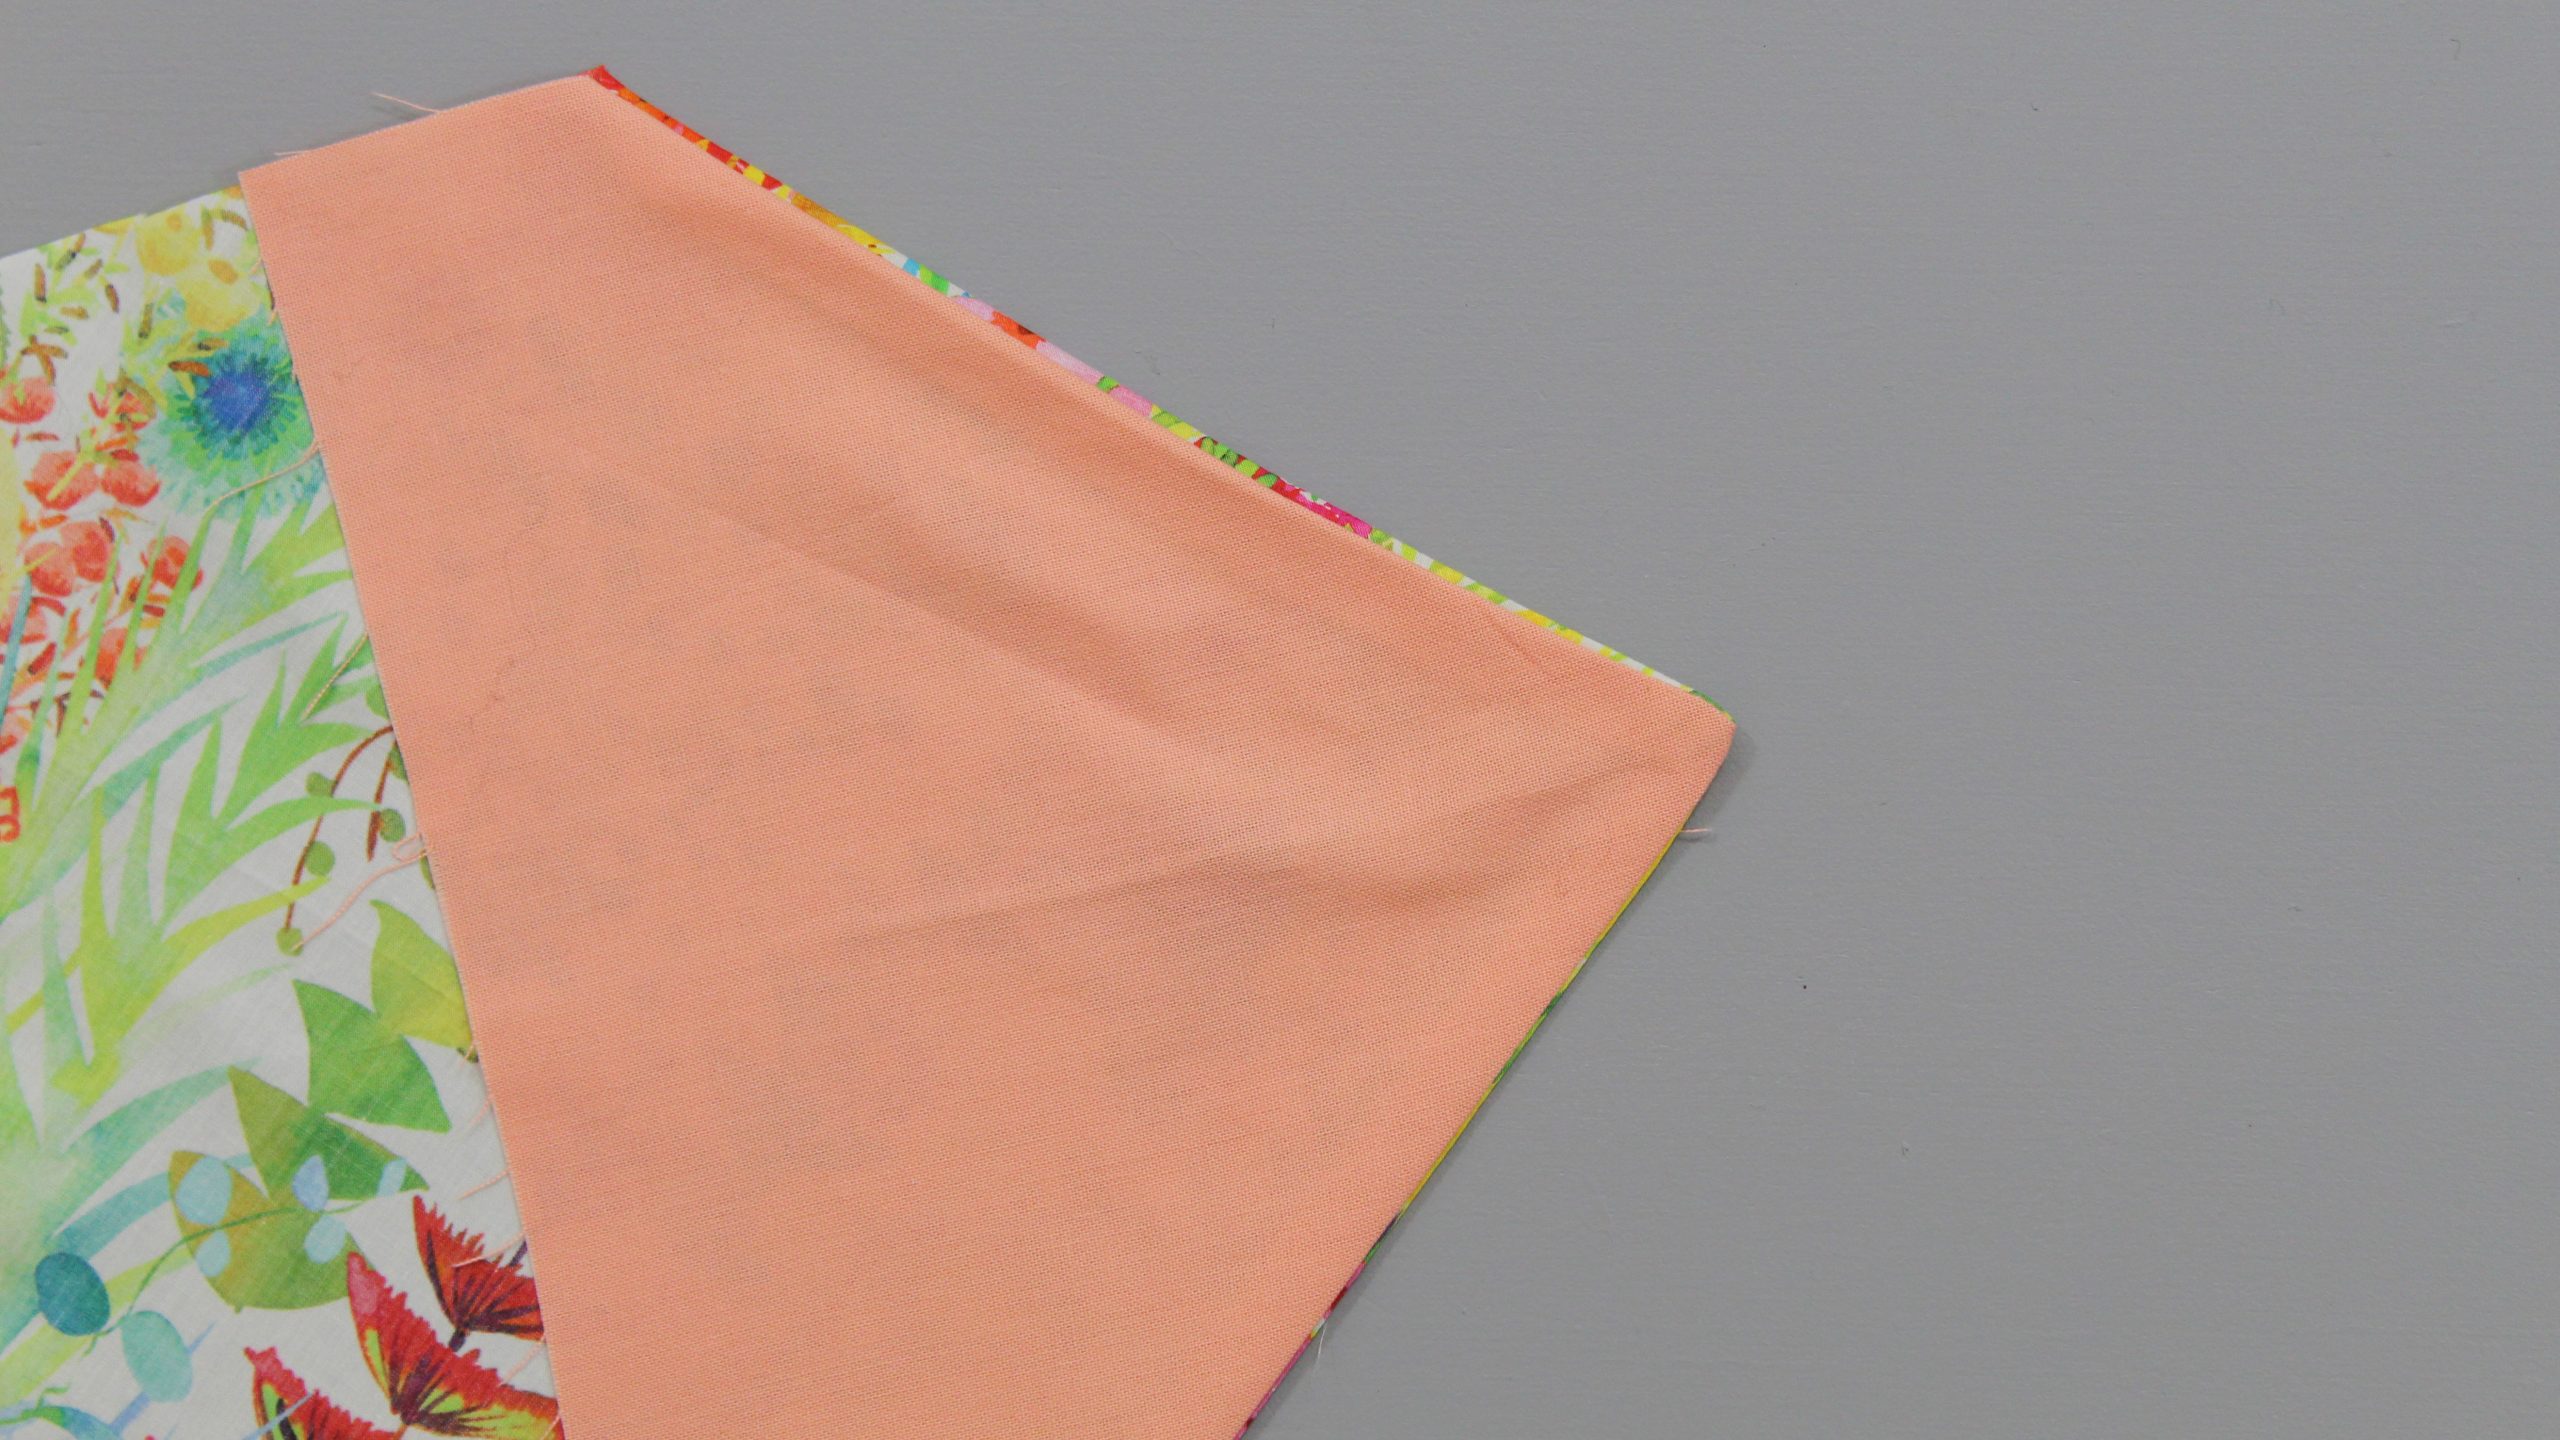
Place one of the tipping pieces wrong side up on top of the base fabric, aligning the tips. (The base and tipping pieces should be right sides together.)
Fold the tie ends in half, again checking that everything is in line. Pin in place.
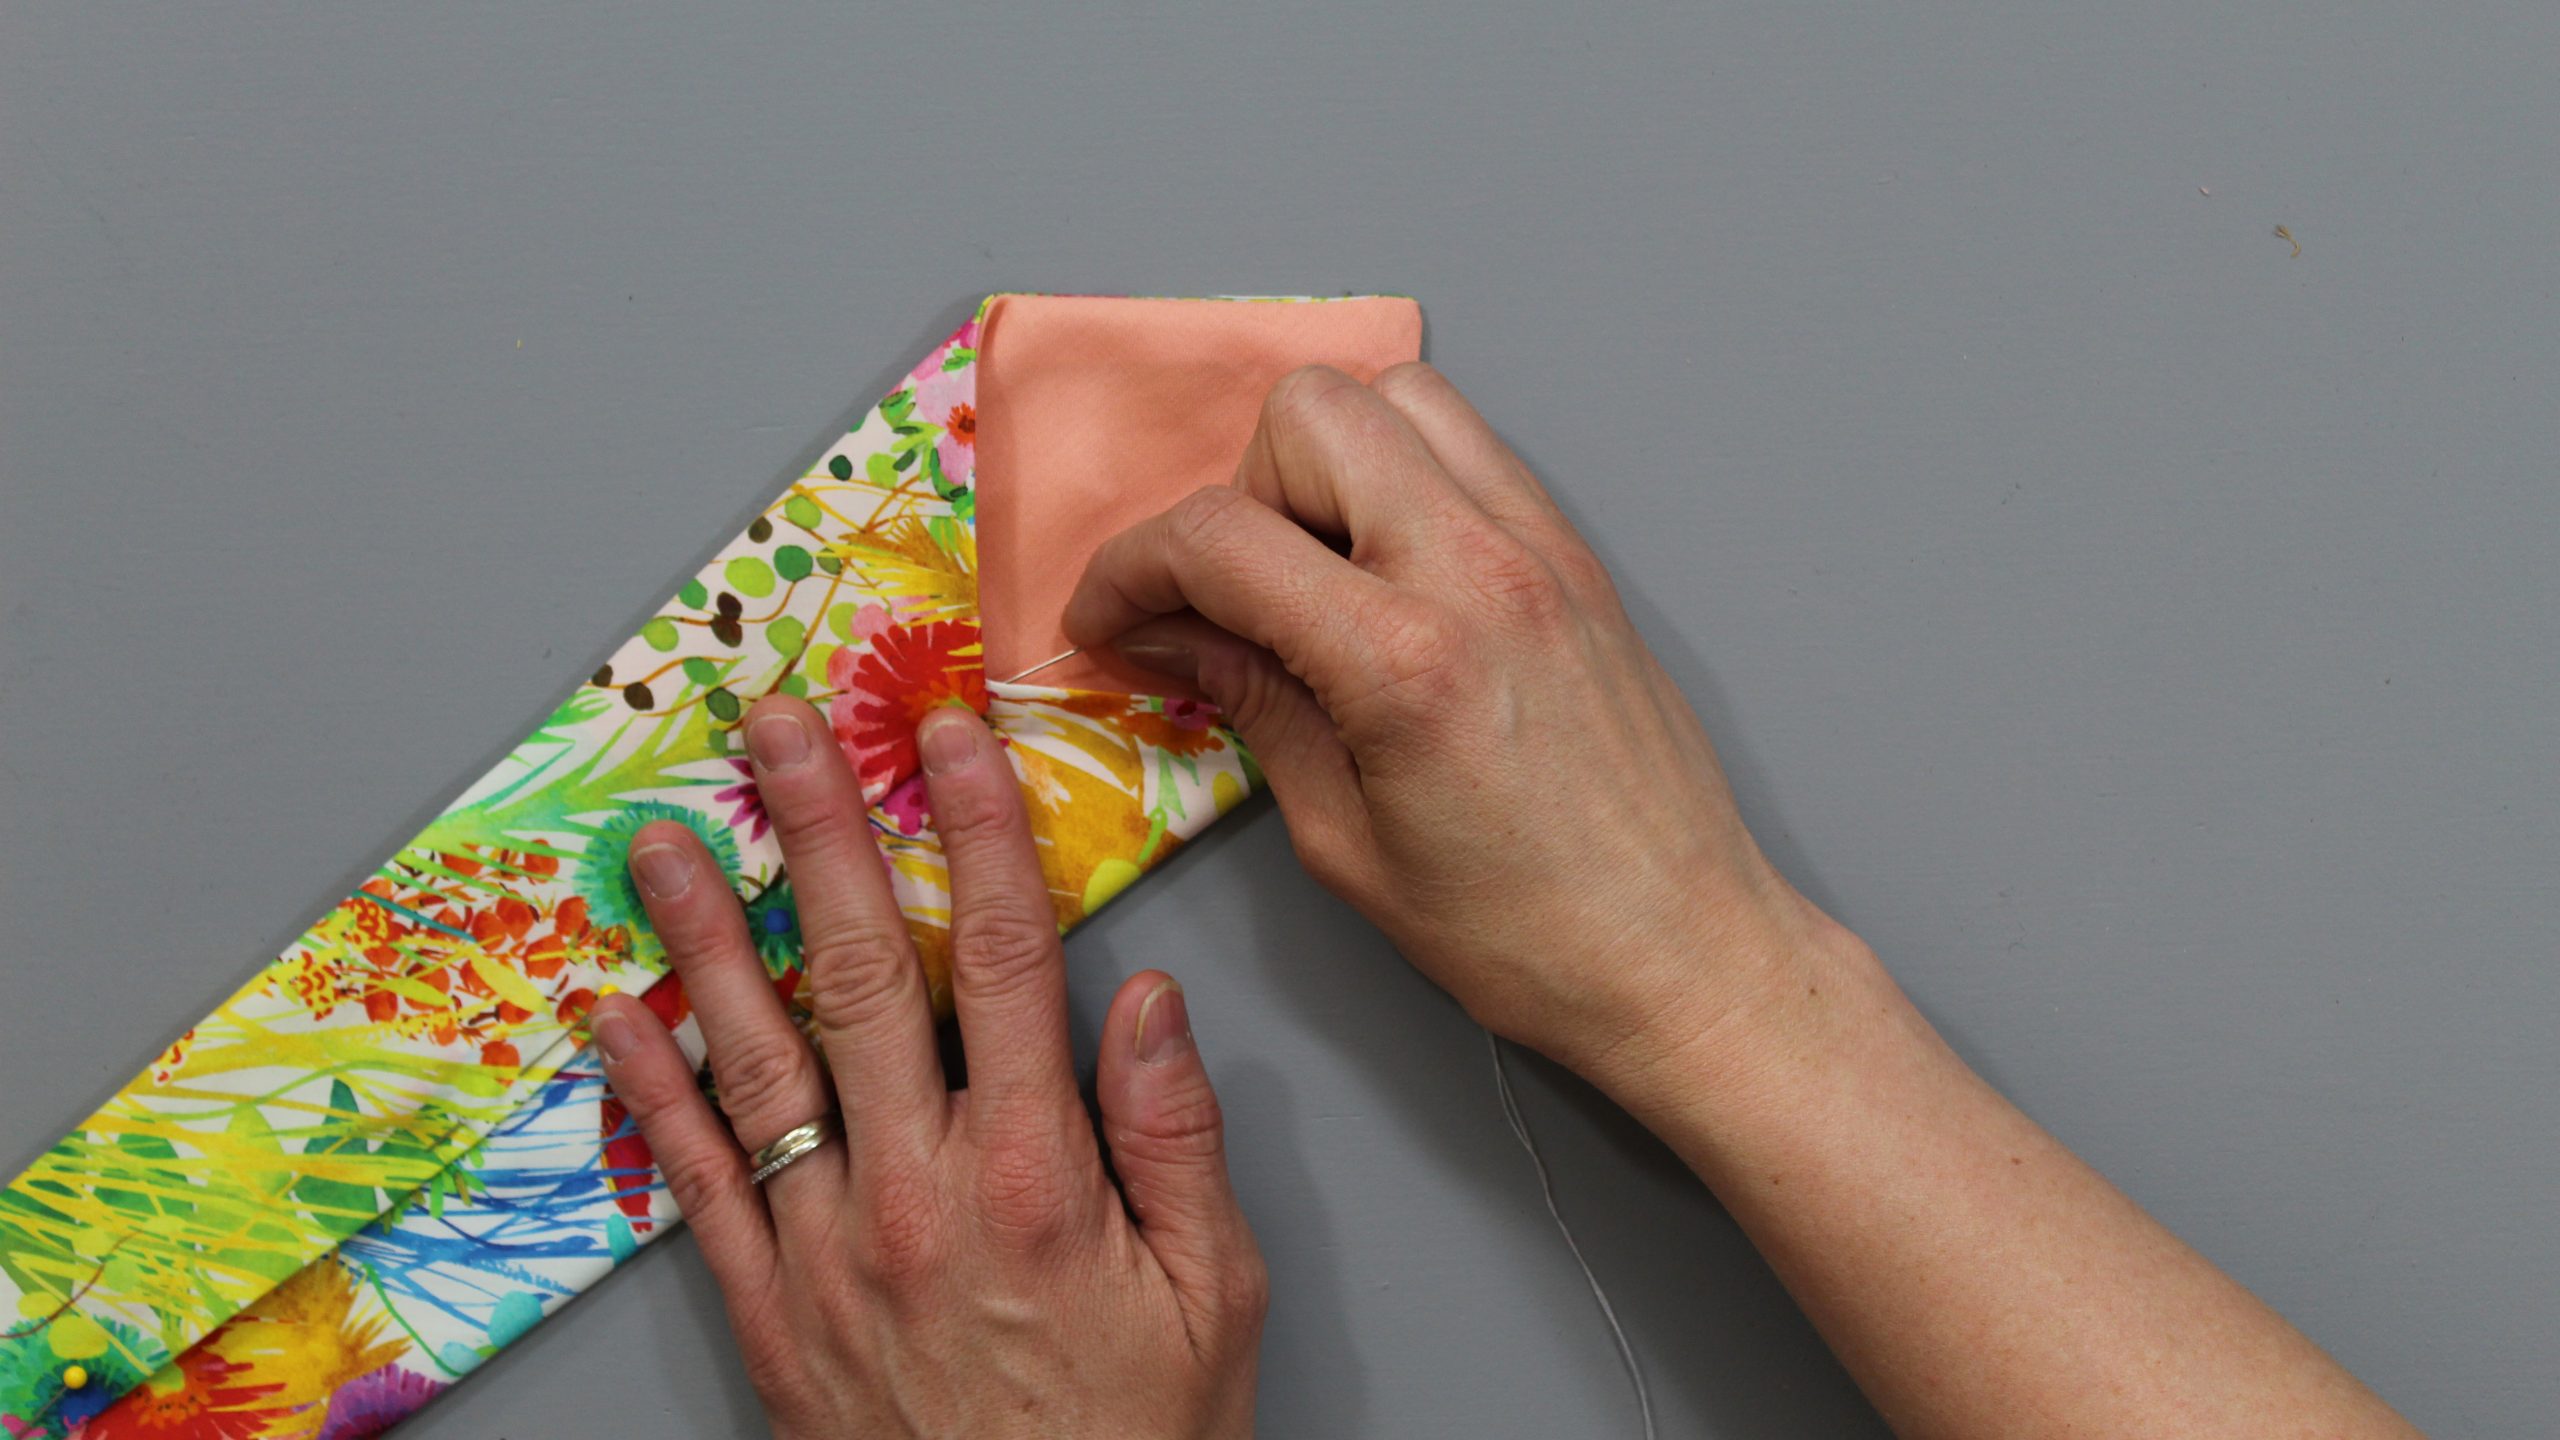
Stitch the tip closed, about ¼” from the tip end.
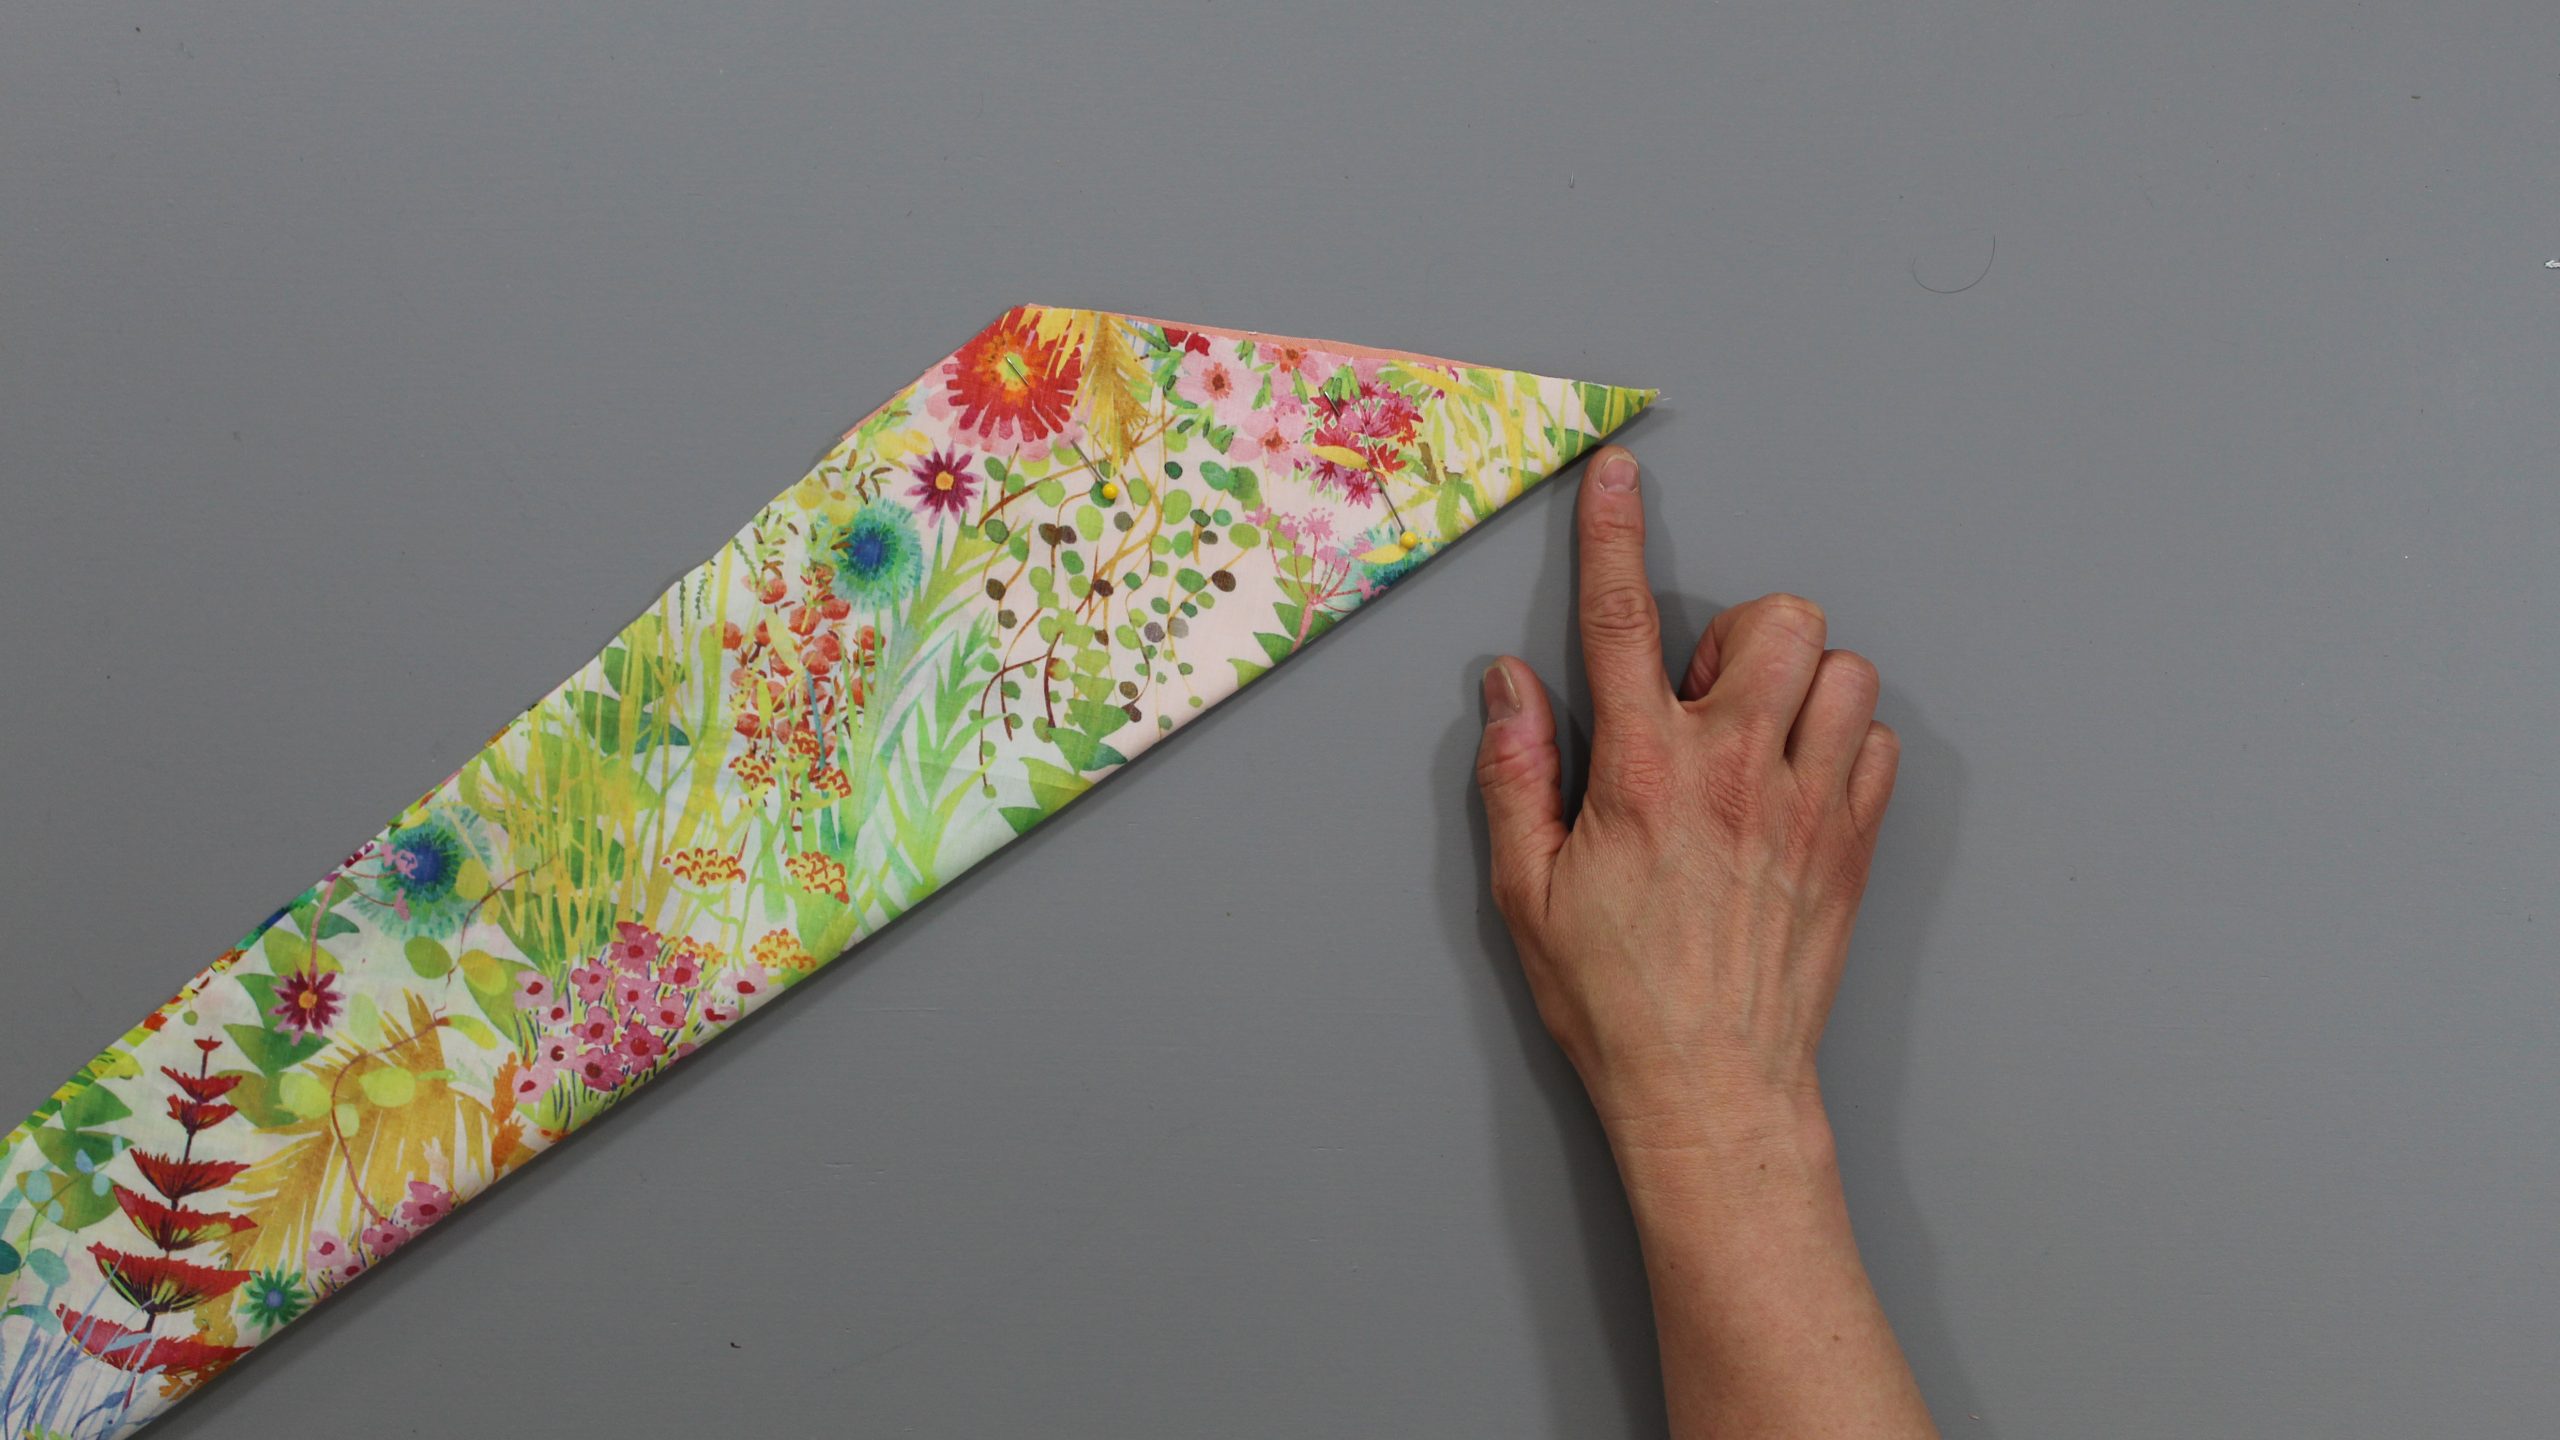
5. Stitch the Sides
Sew the tipping sides to the tie ends using ¼” seam allowance, stitching to (but not over!) the tip stitching. Repeat steps 4 and 5 on the other end of the tie.
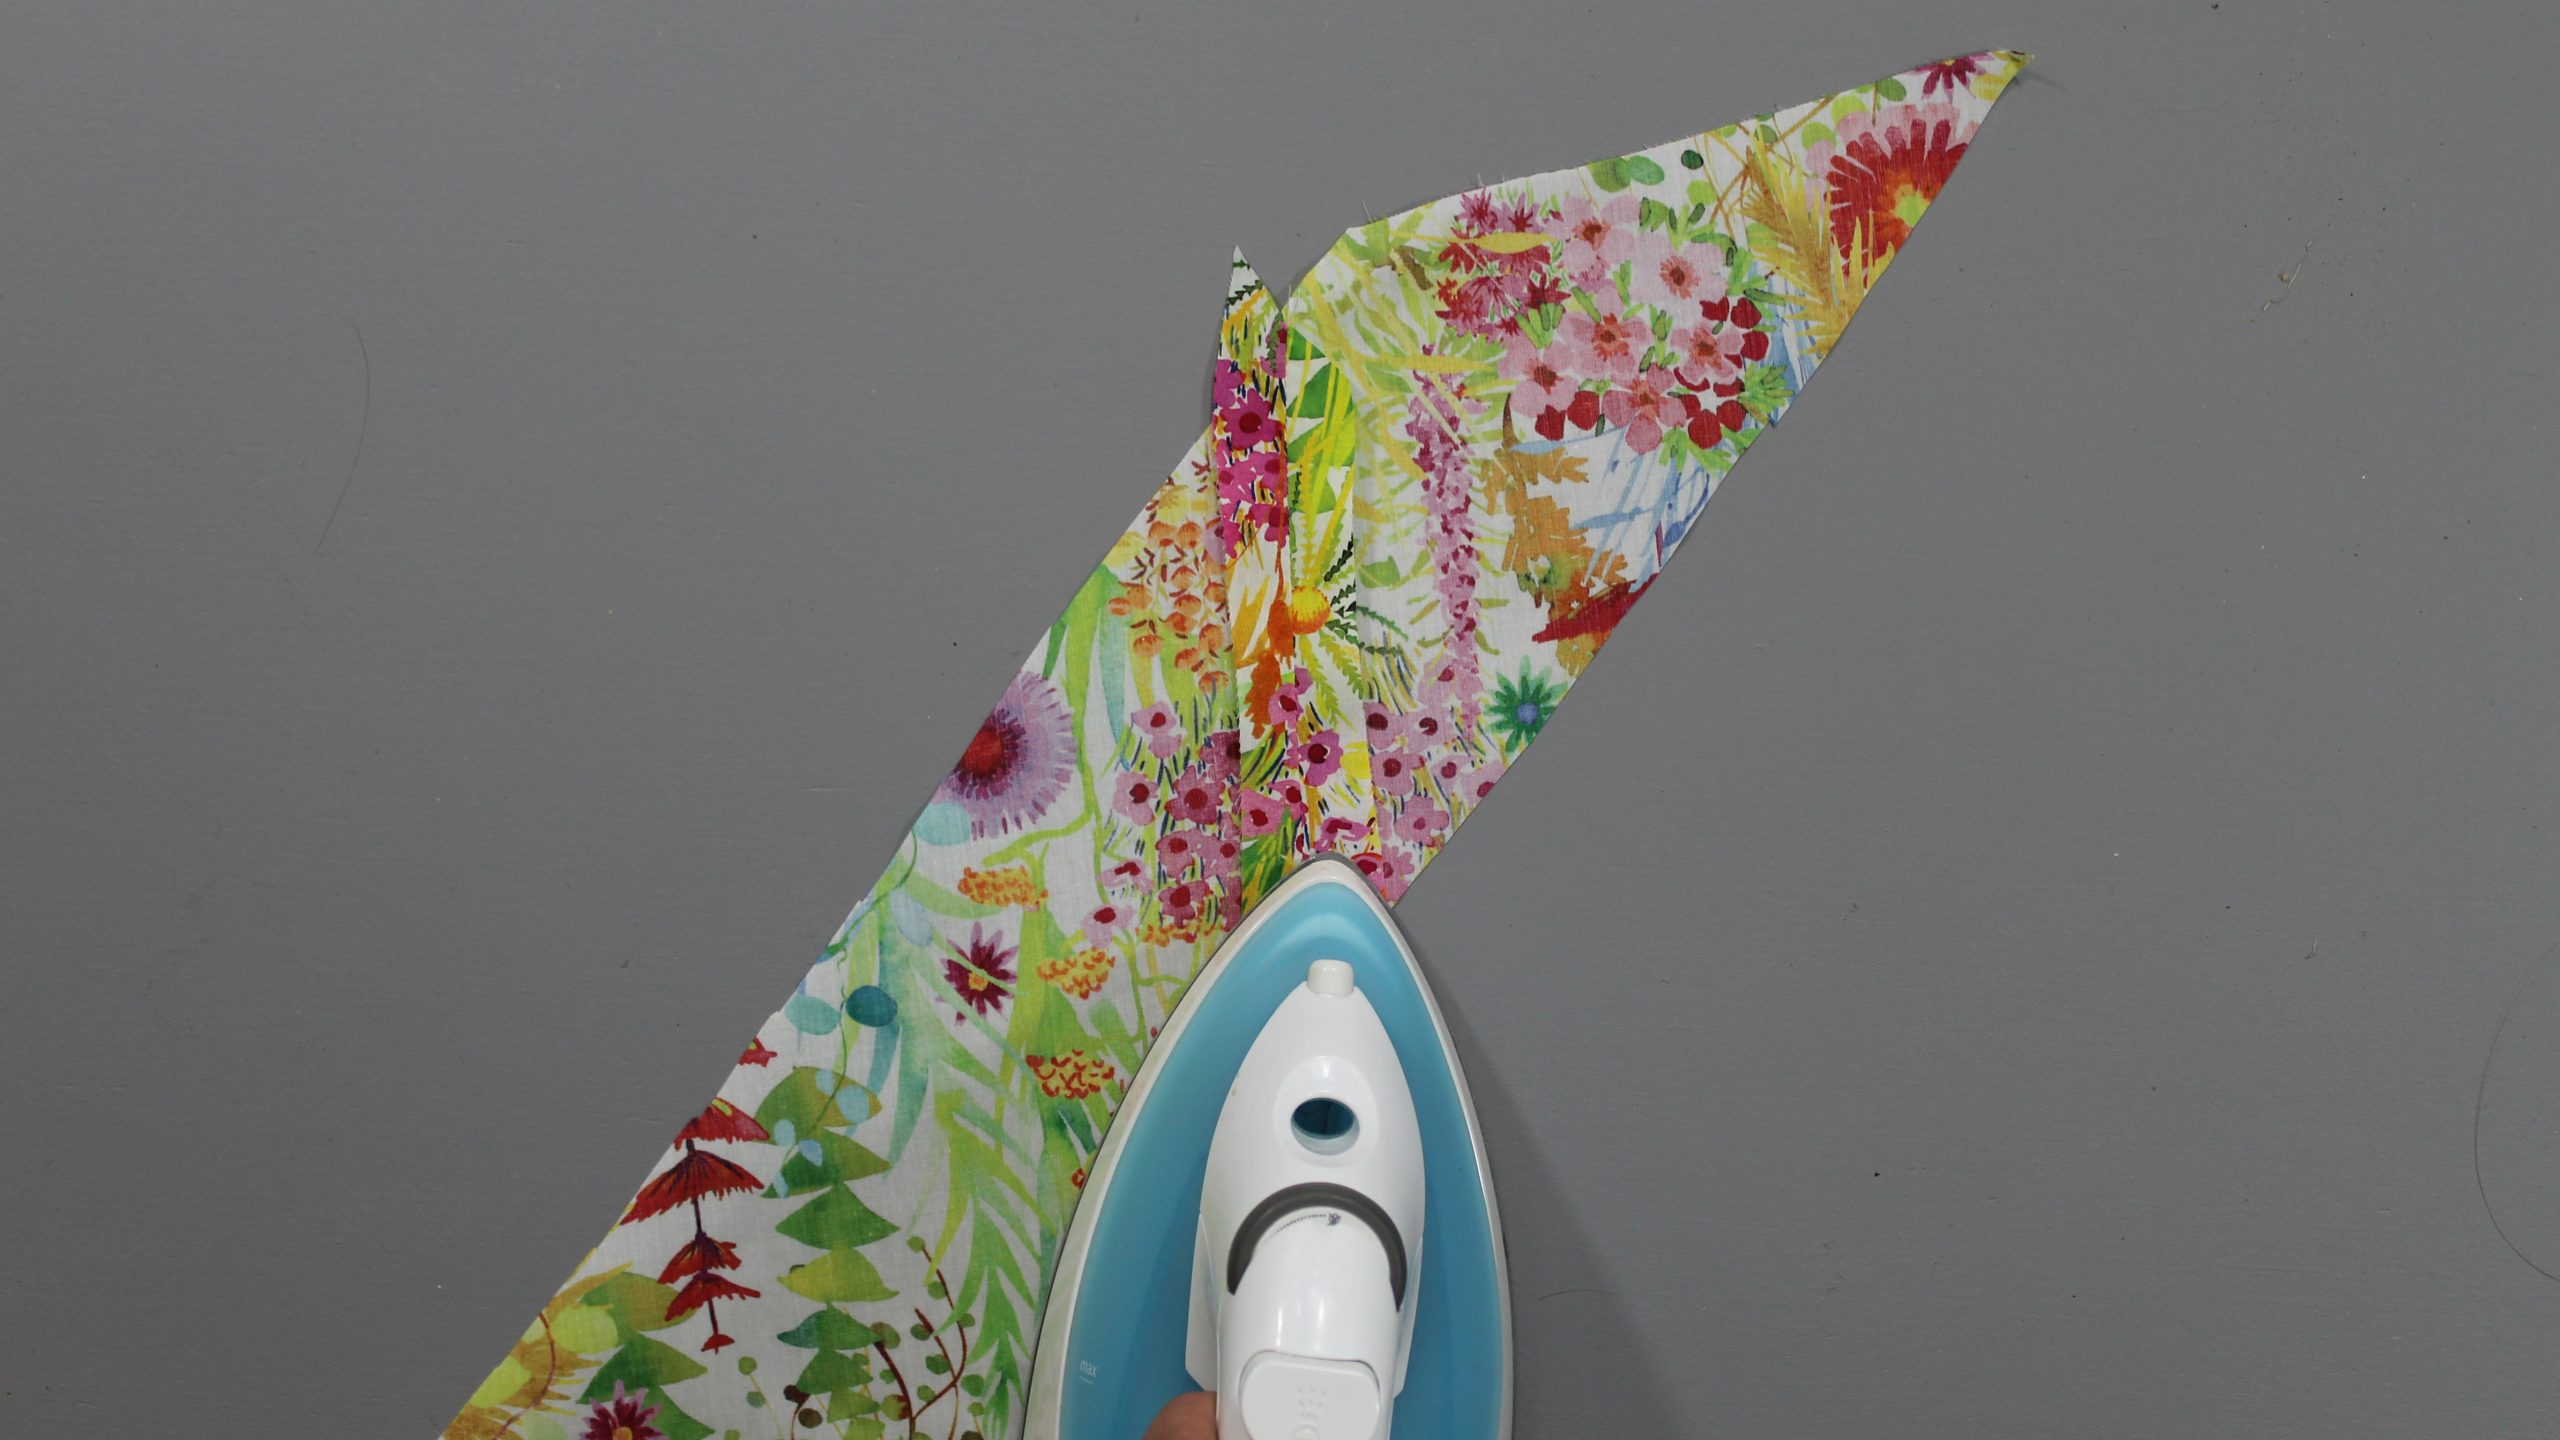
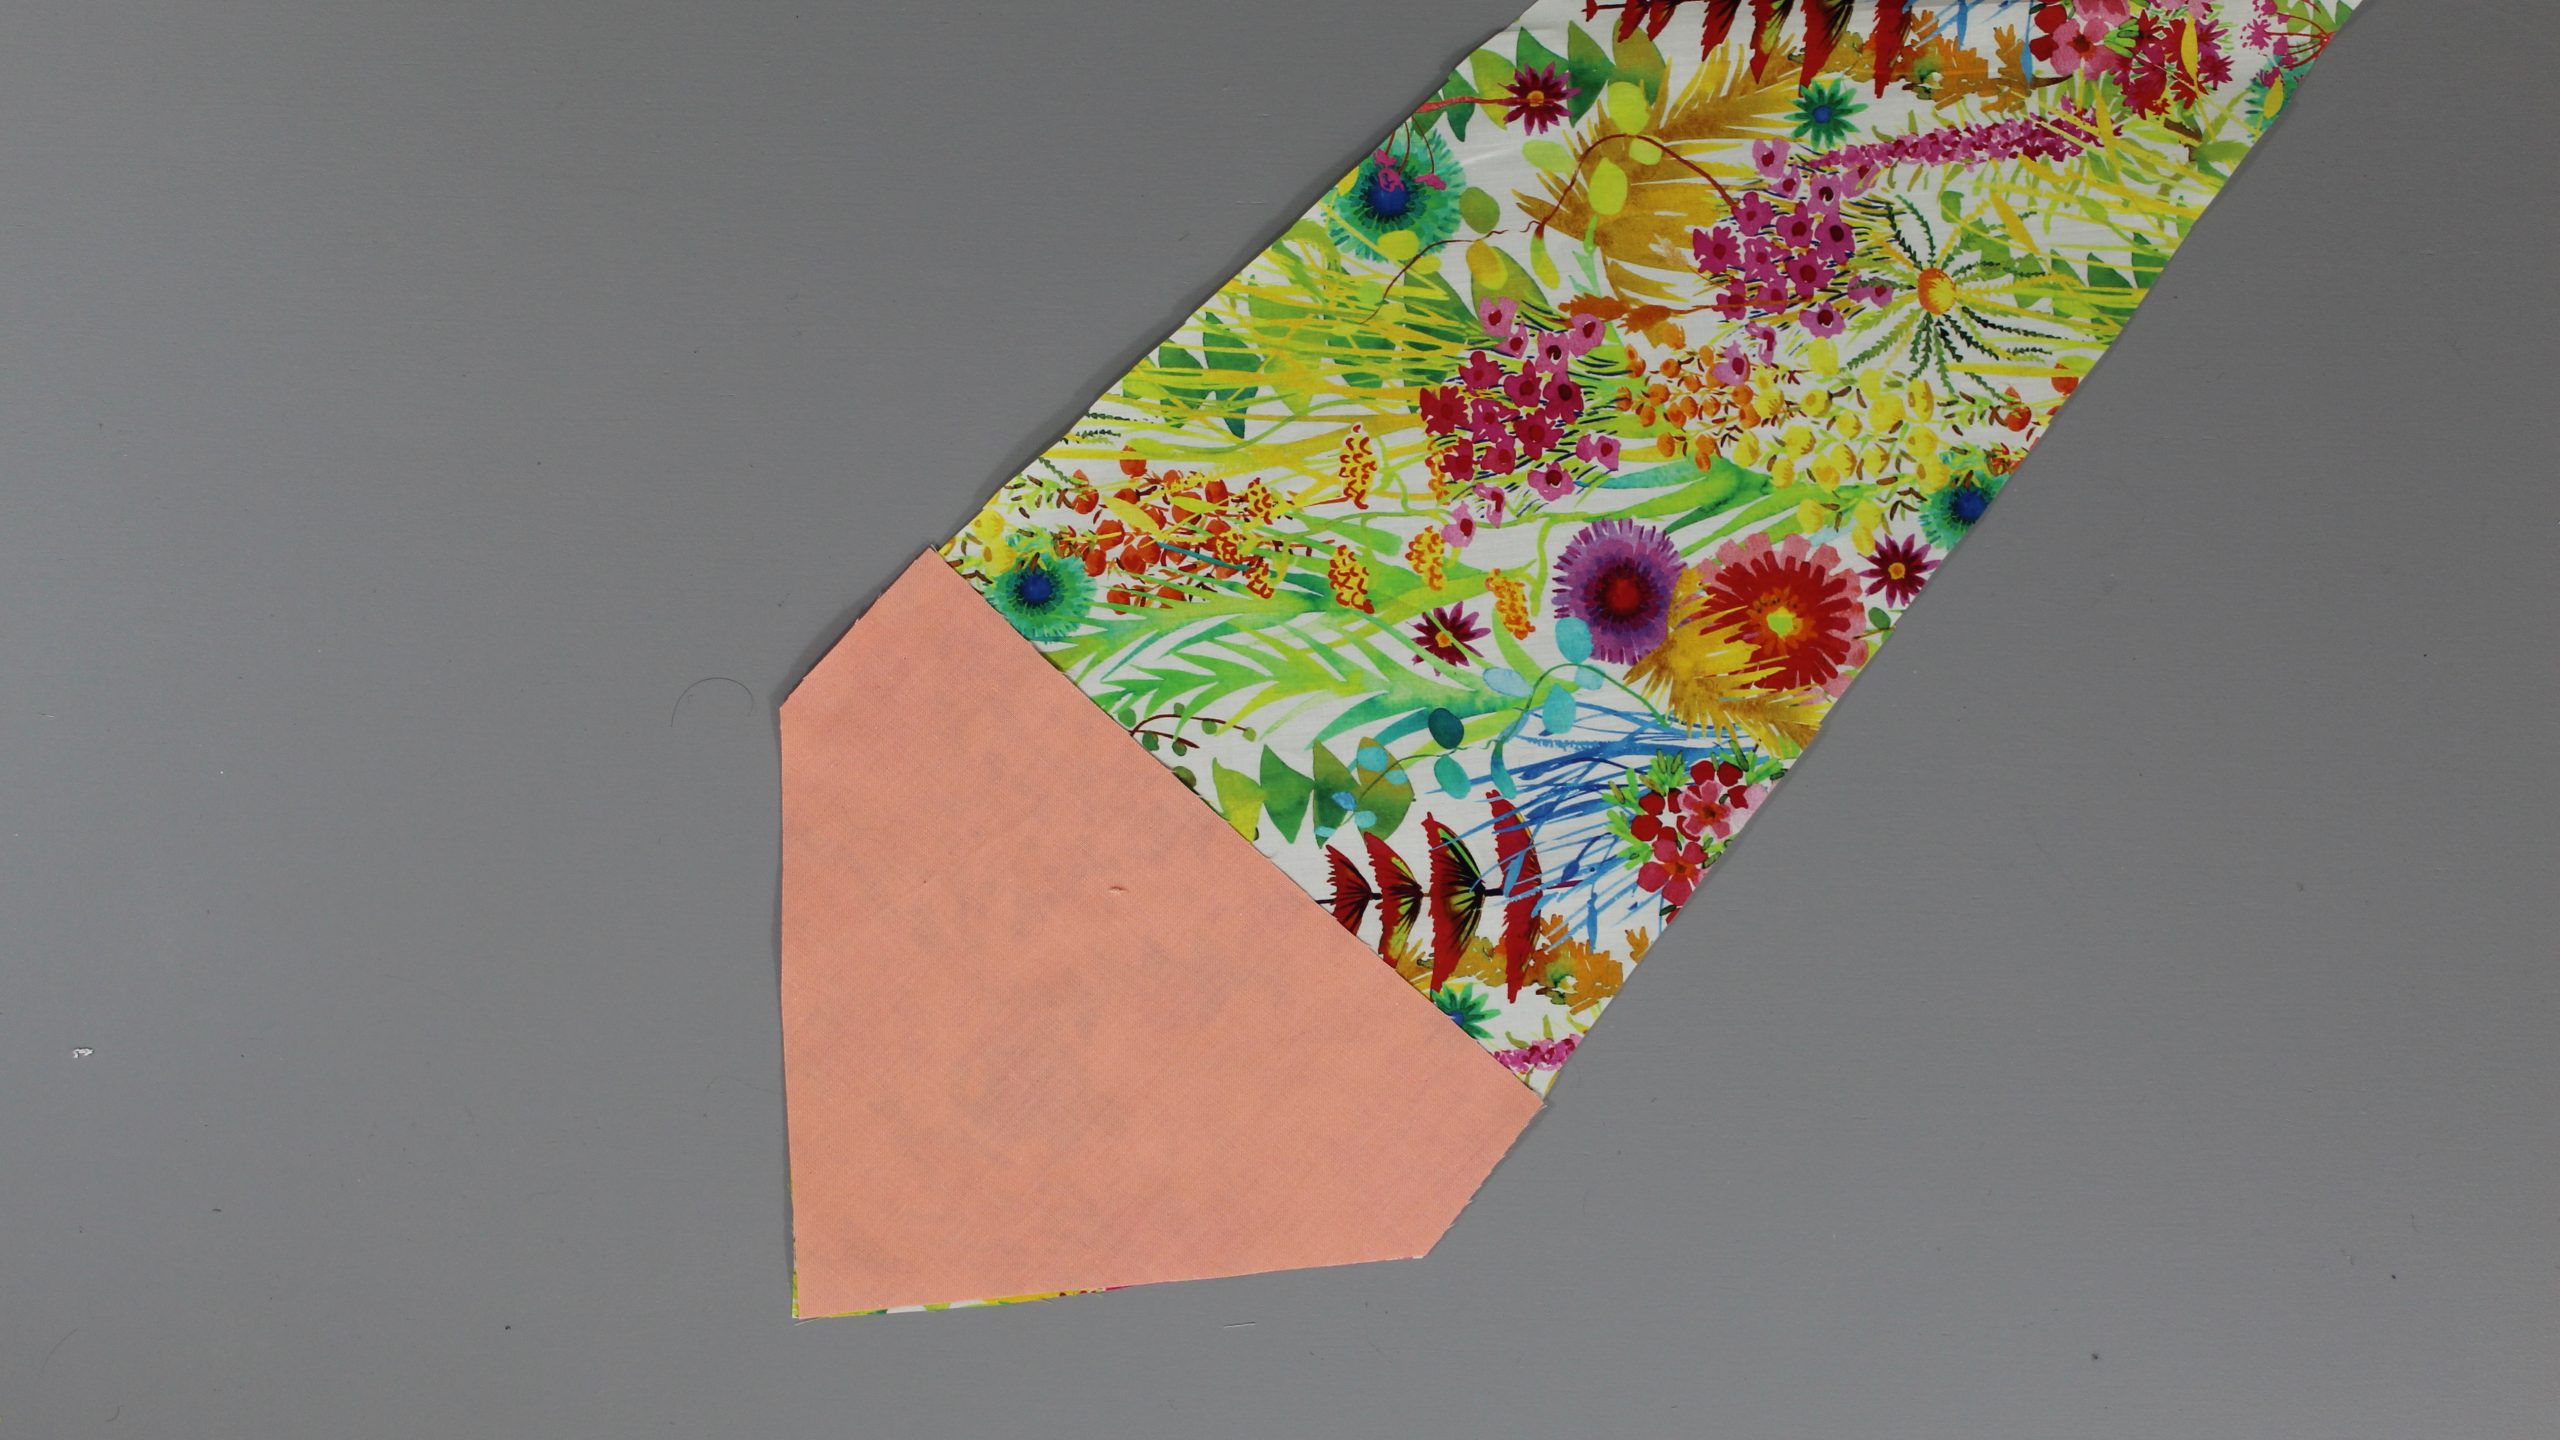
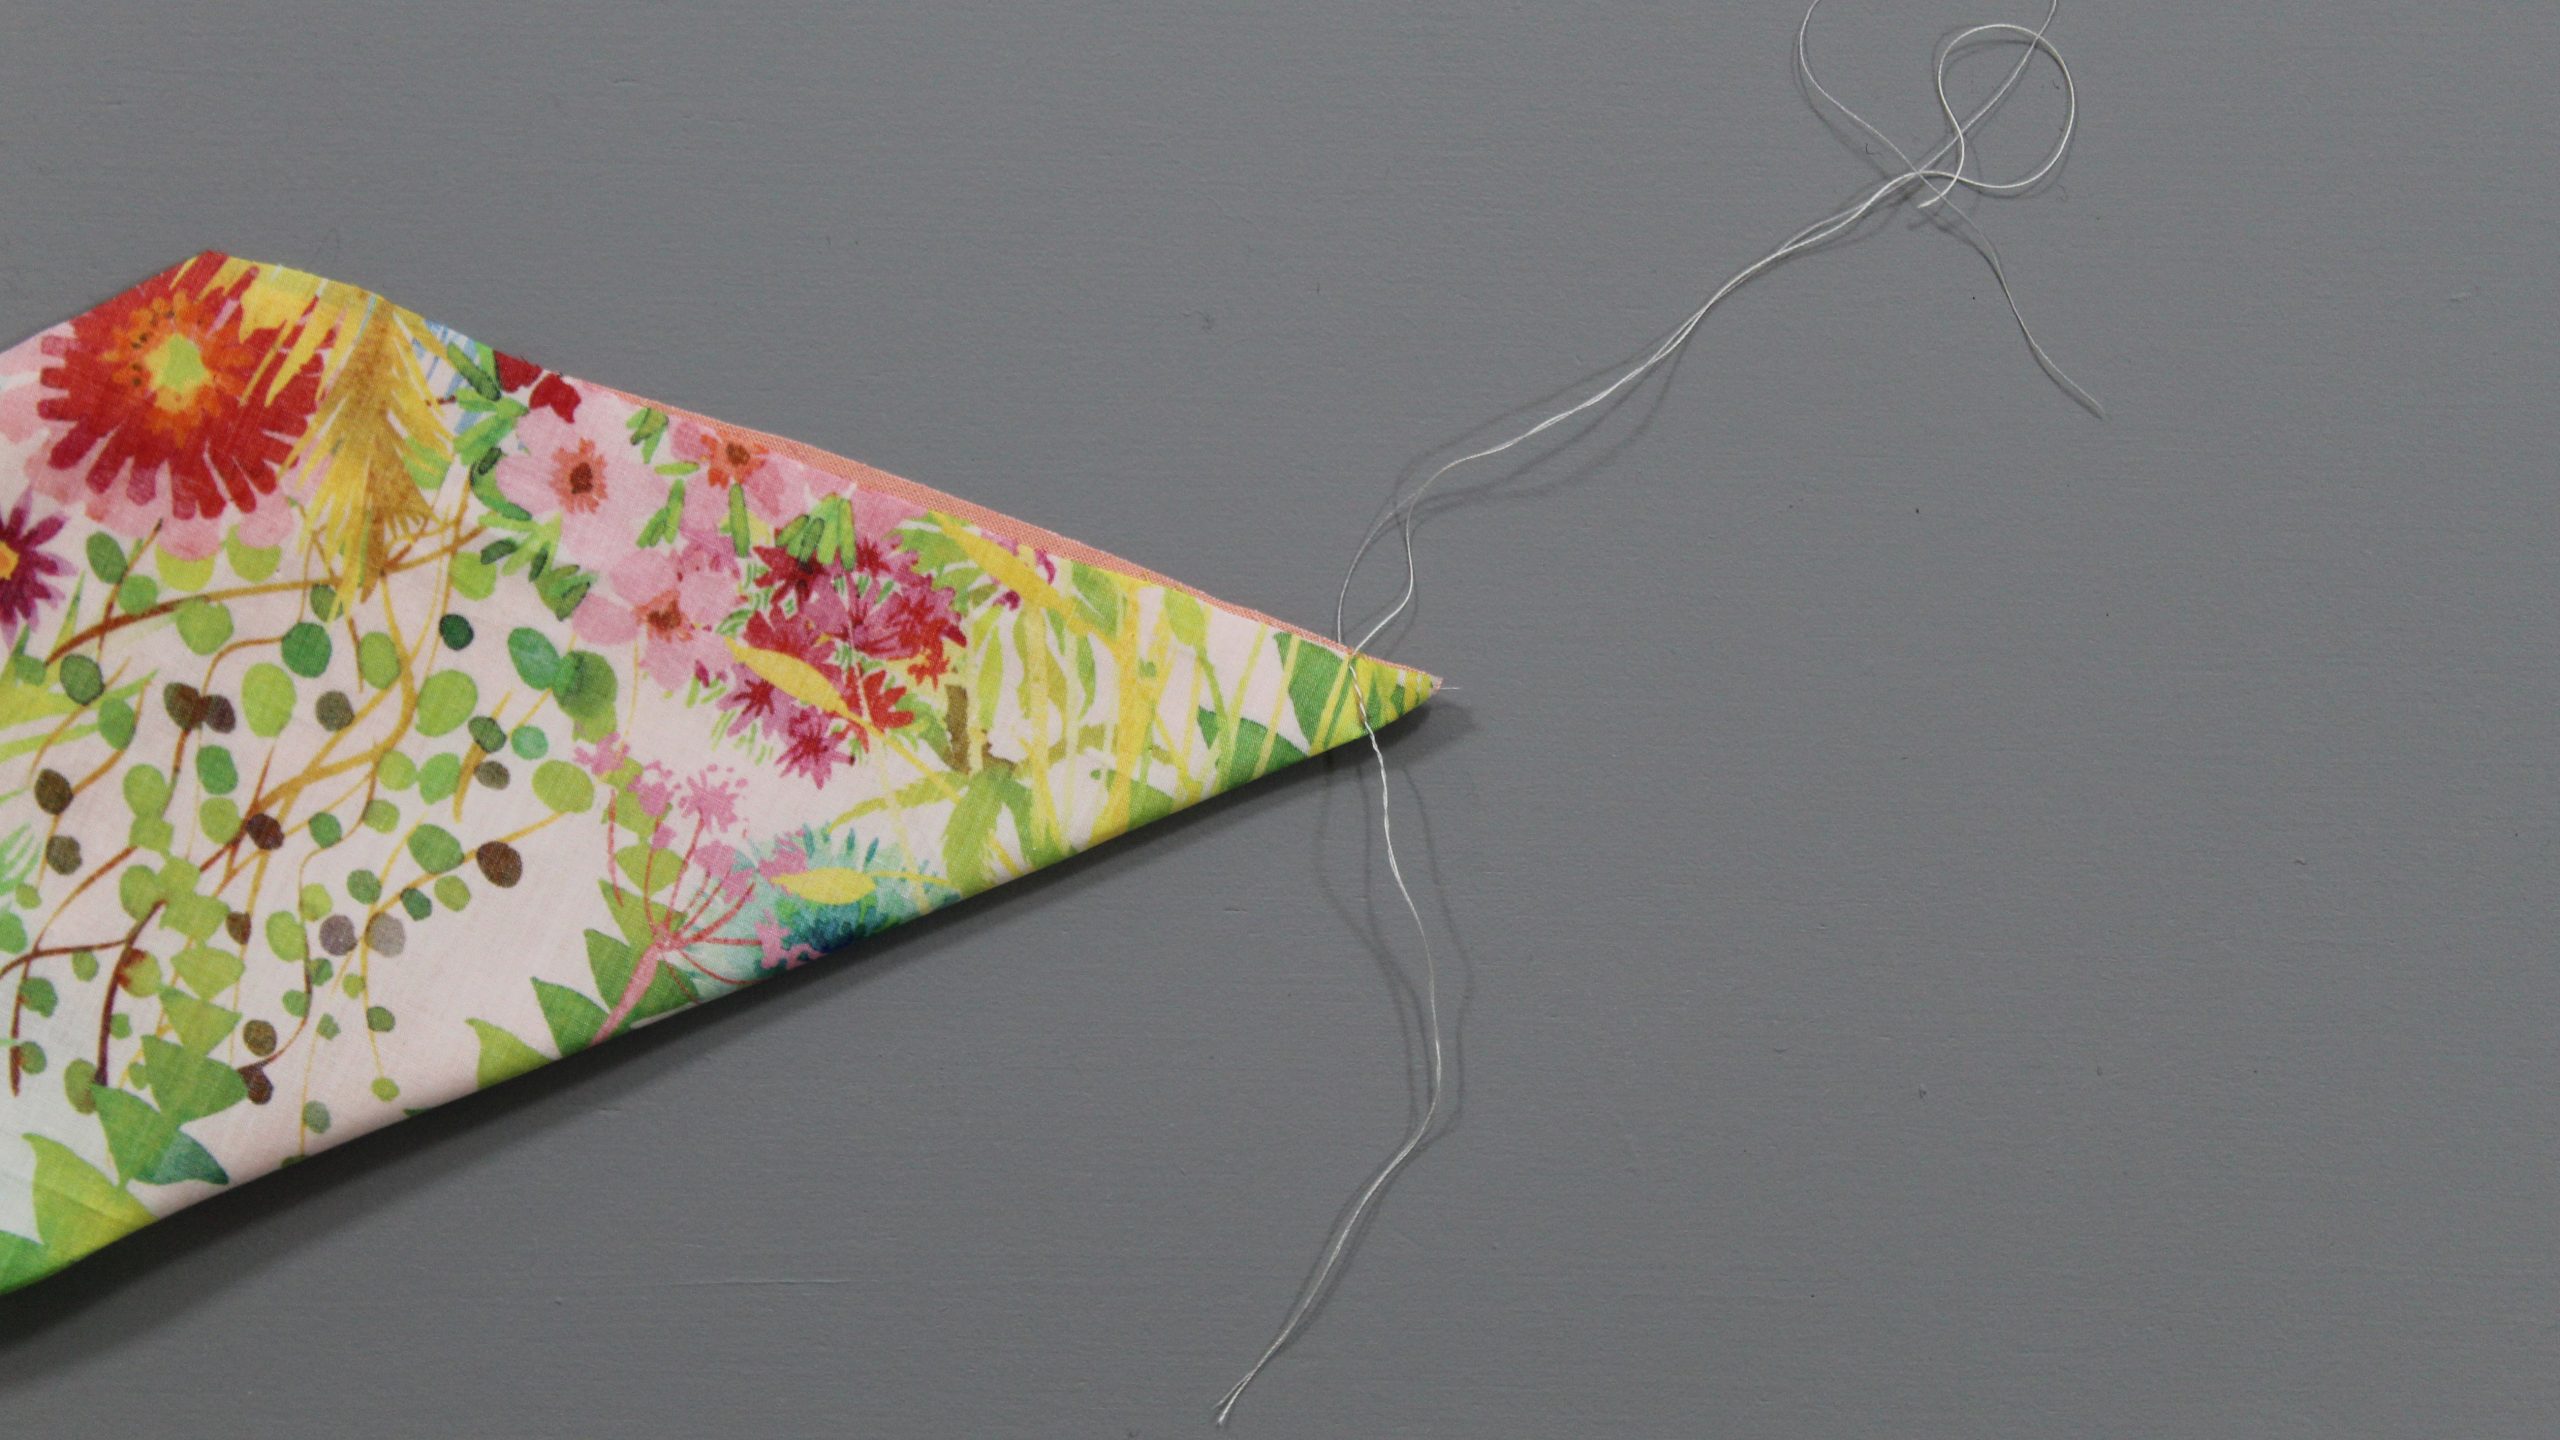
6. Flip and Press
Carefully turn the tie point rights side out and press in place. The tipping edges should set back slightly from the tie point as shown.
7. Add the Interlining
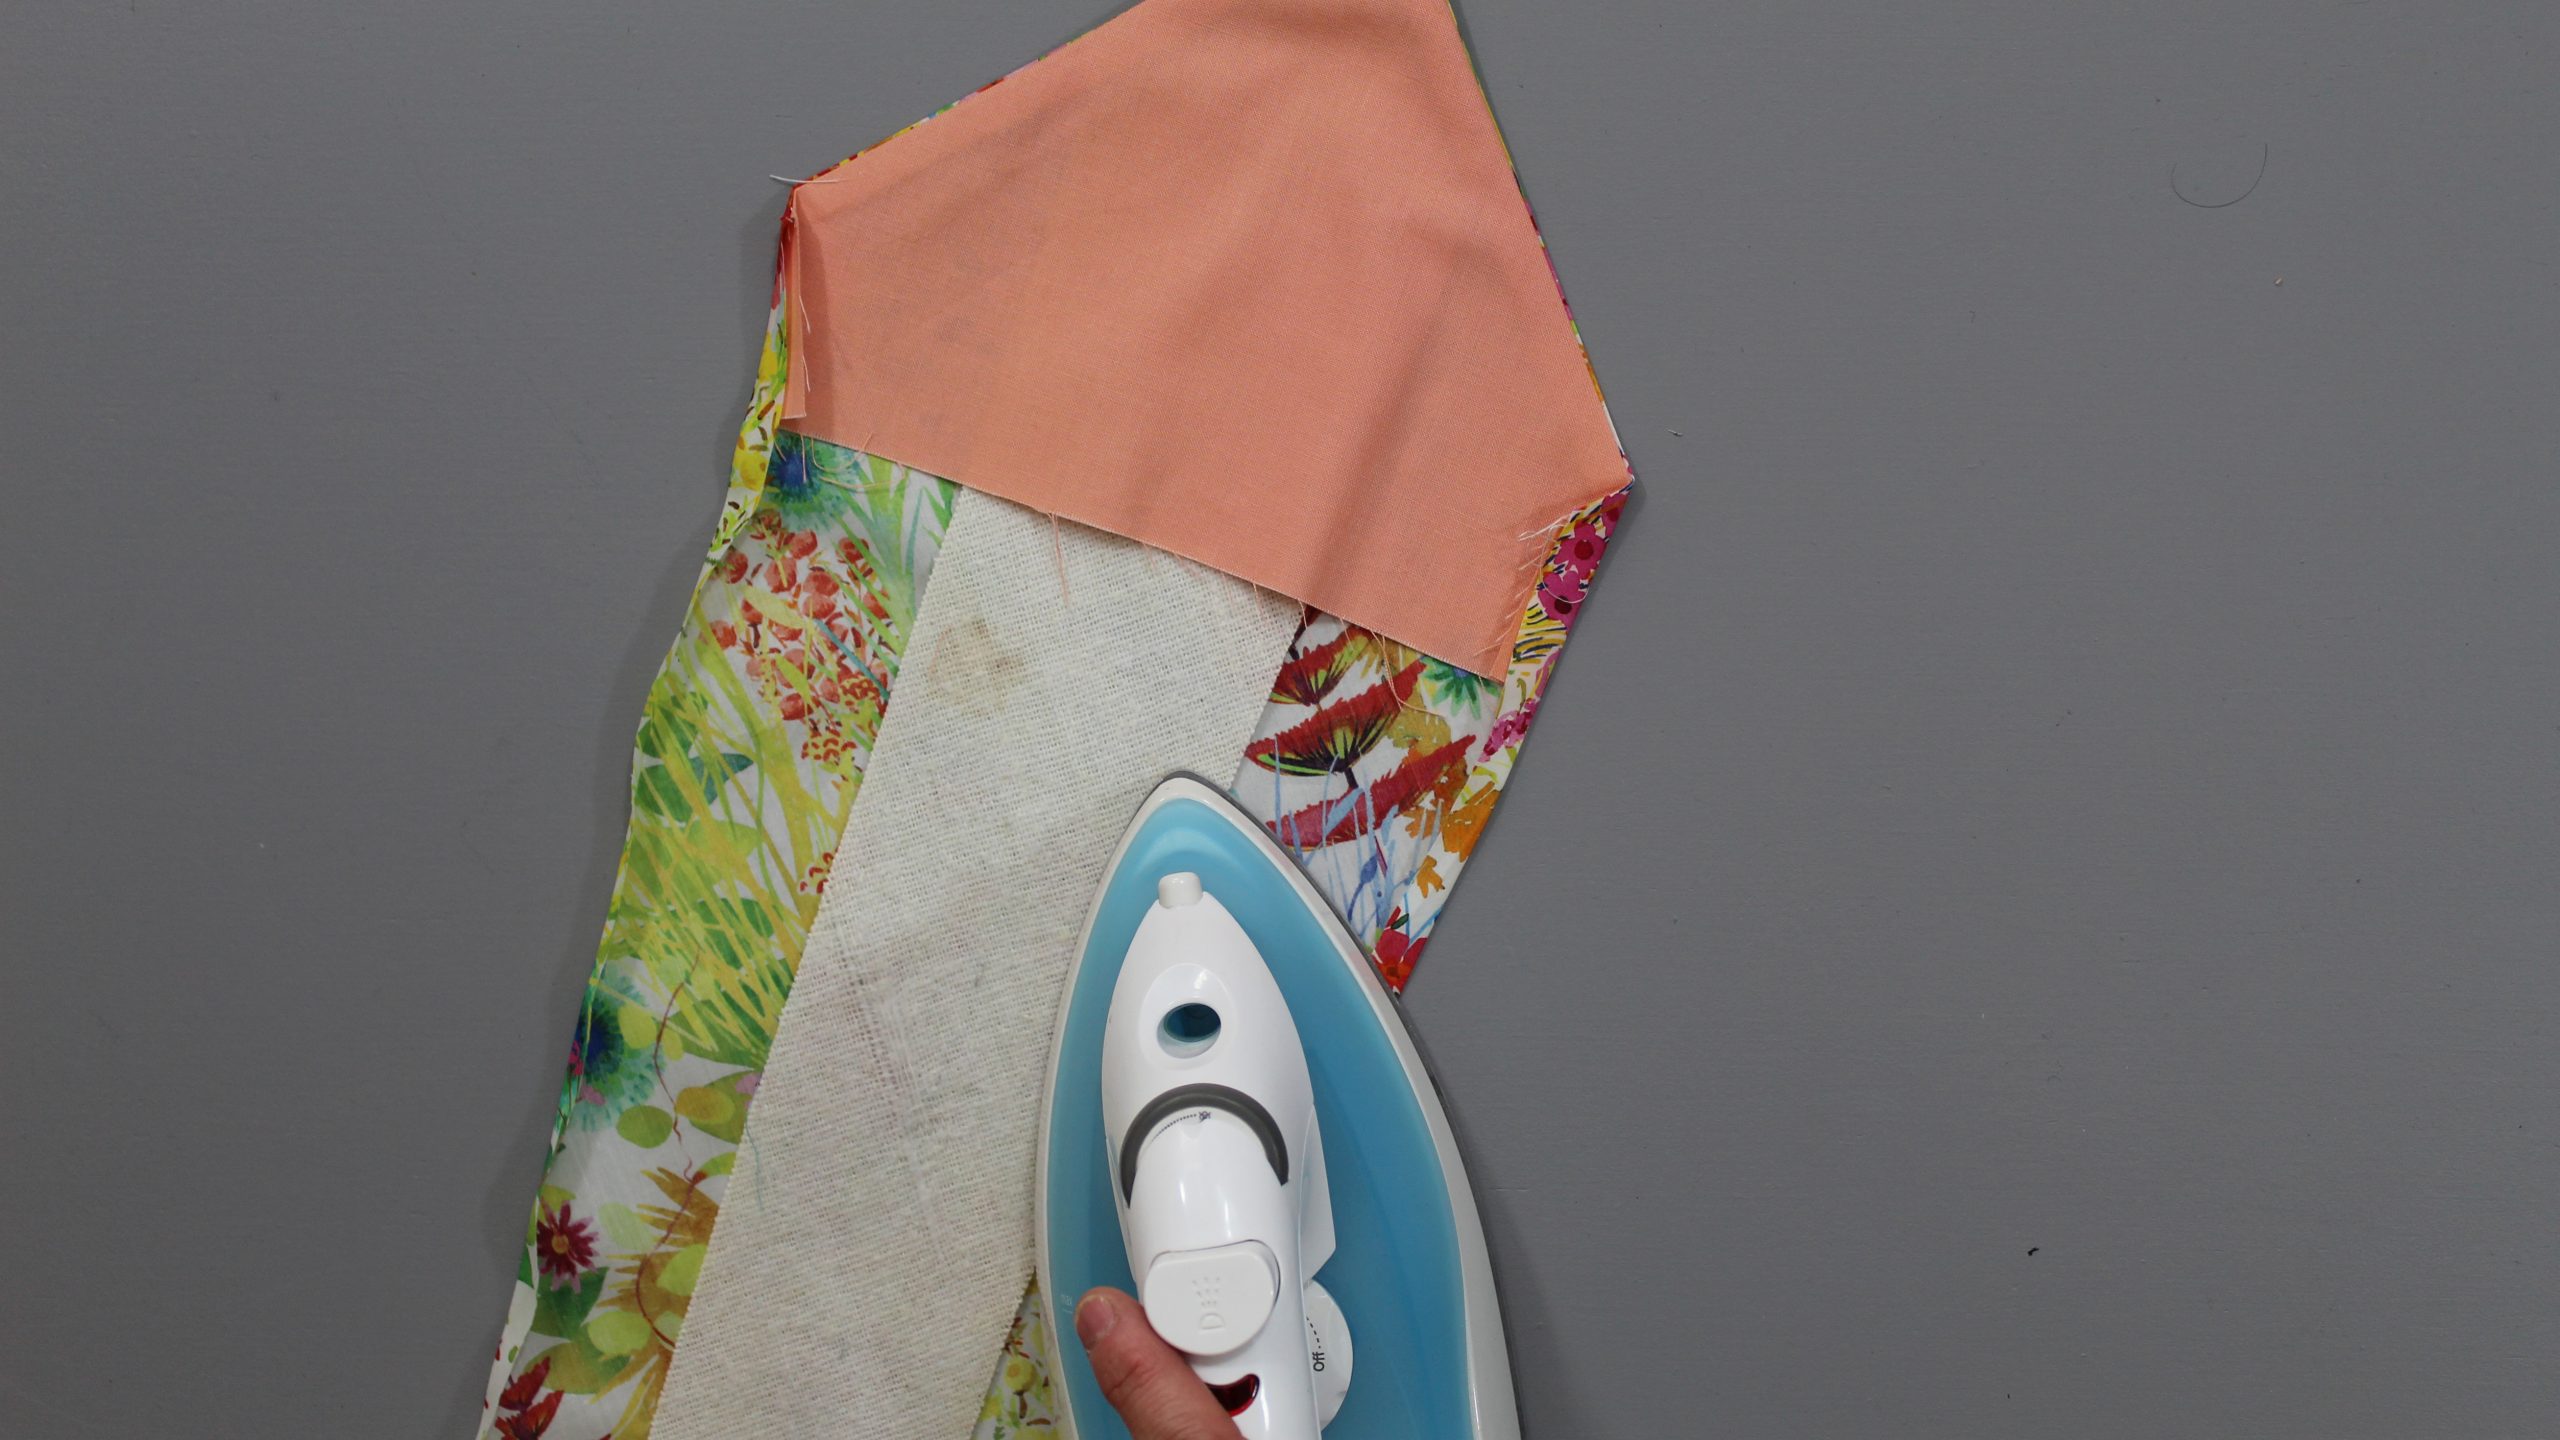
Lay the interlining along the center of the entire length of the tie. The end points should fit snugly into the tips at both ends. Turn and fold the outside edge inward by about ⅜” and press in place.
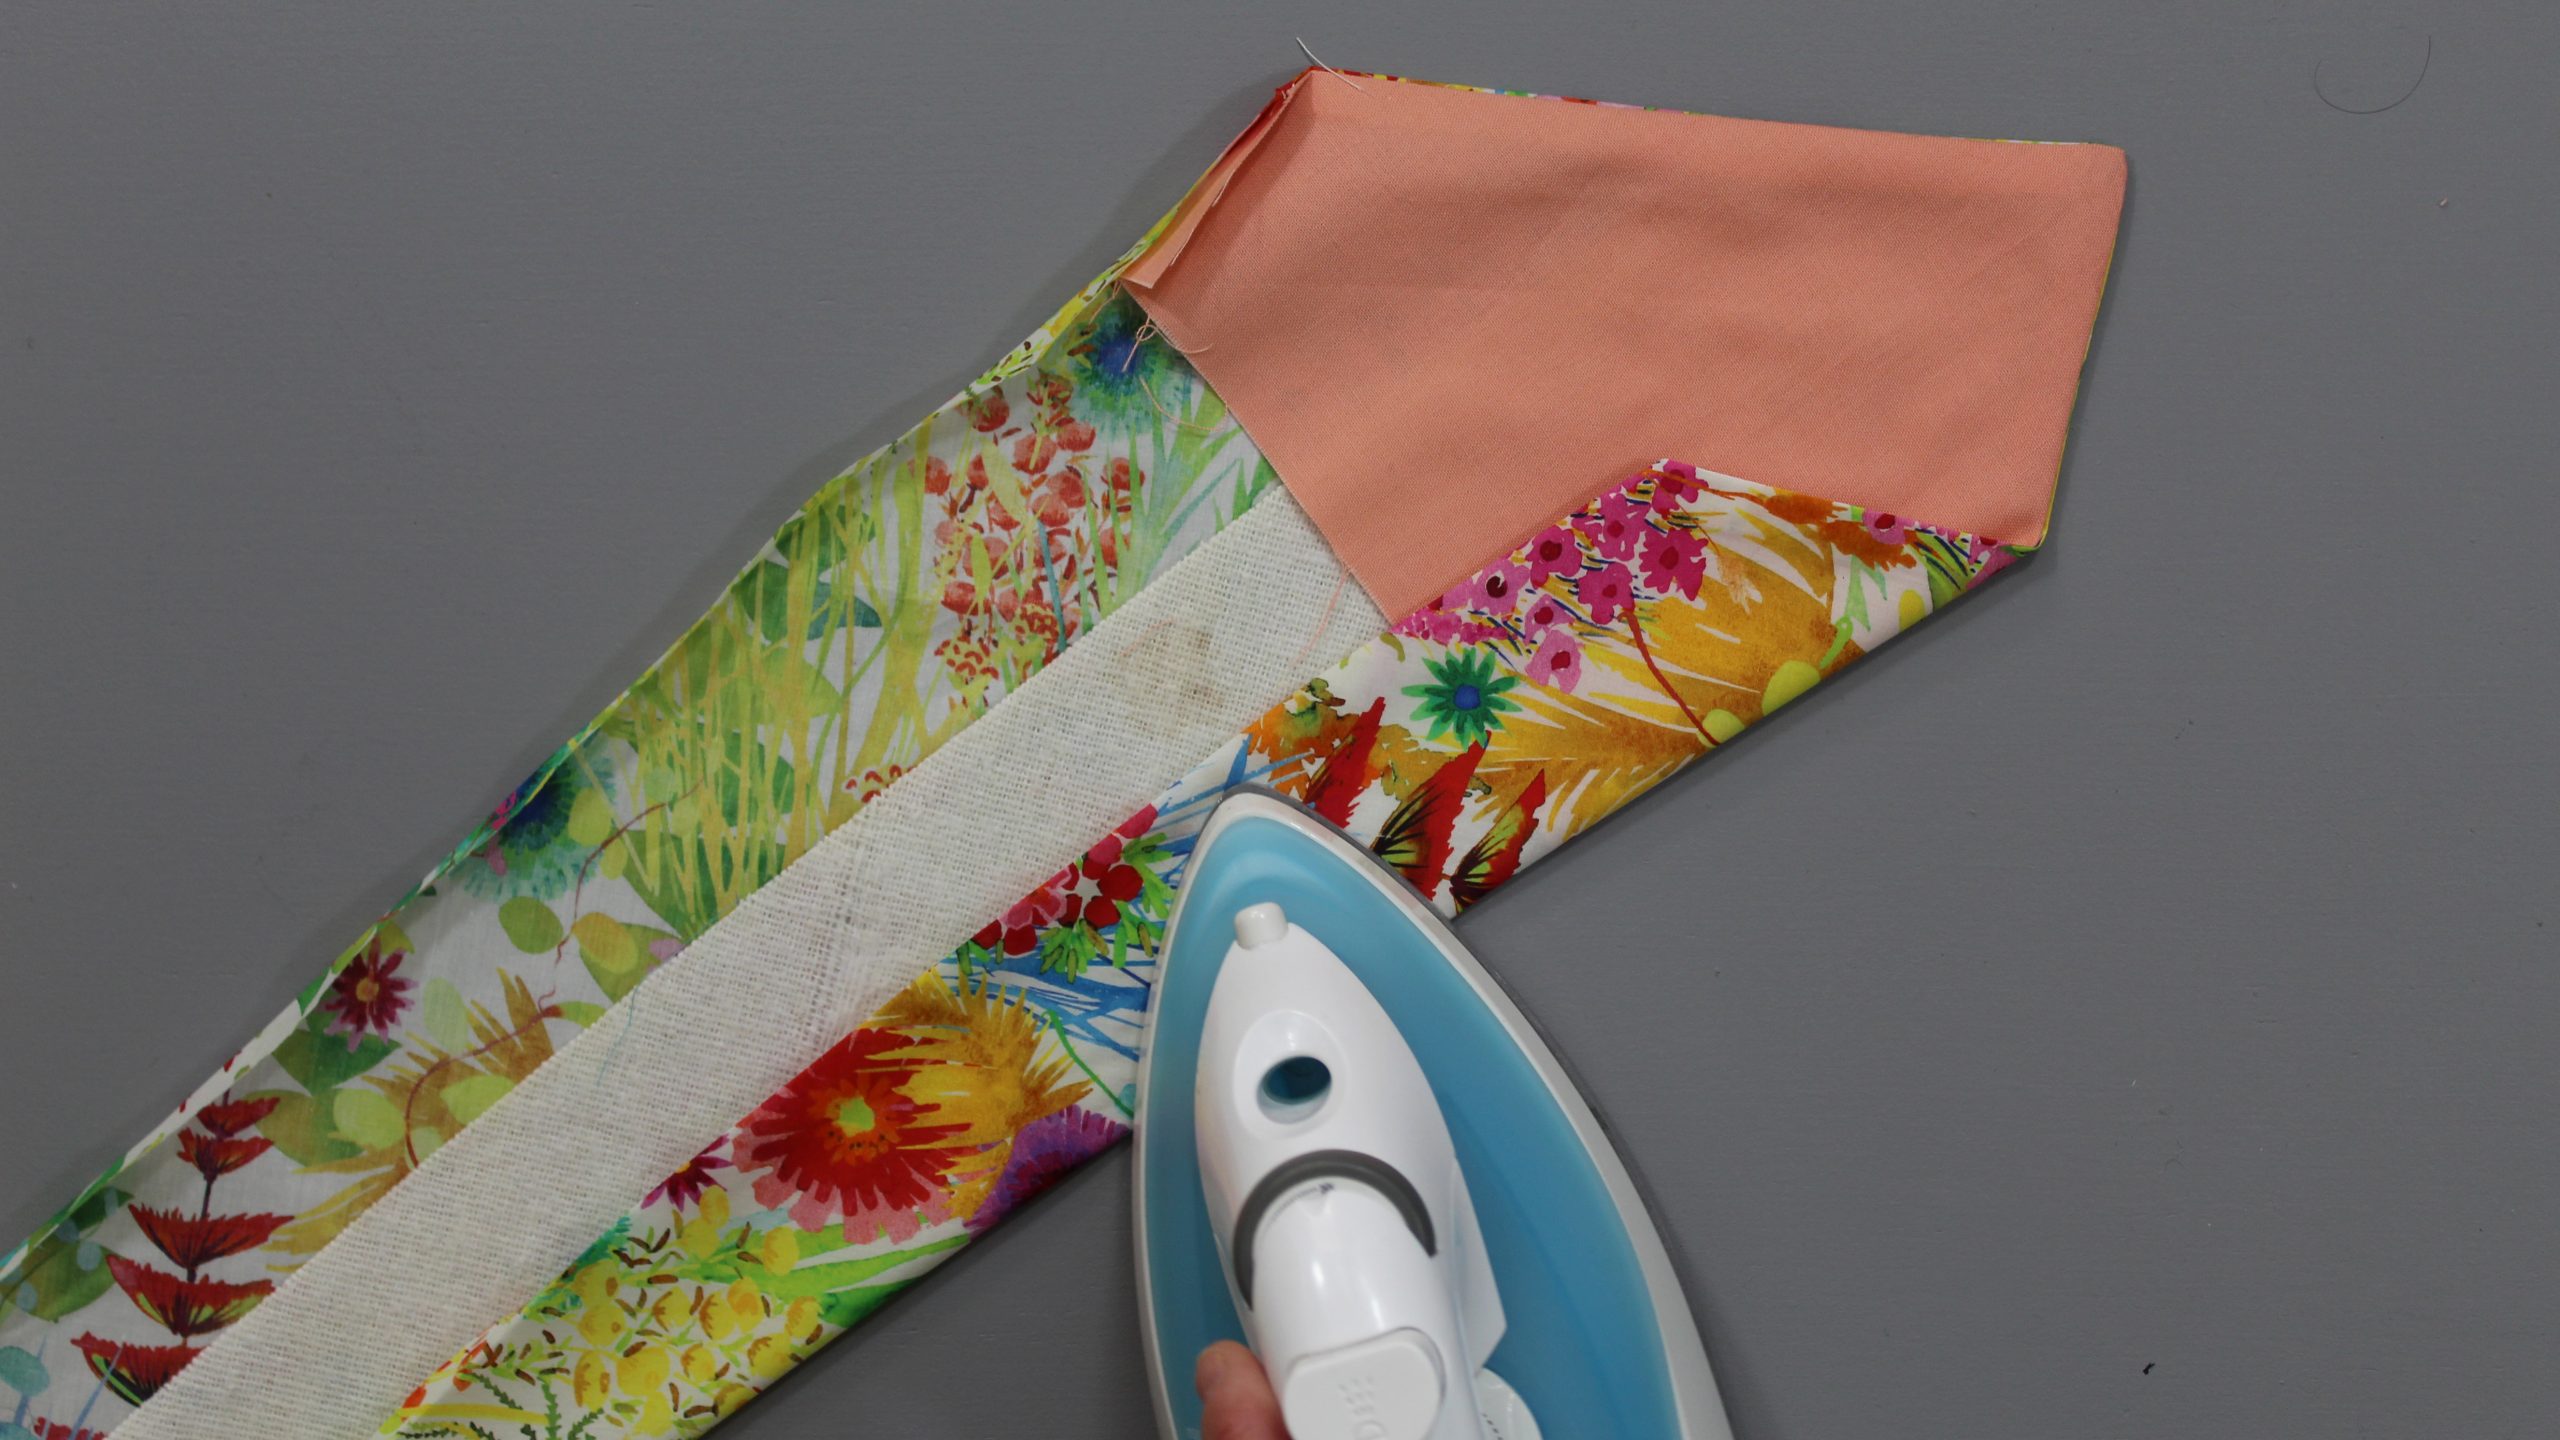
Turn and fold again toward the center and pin in place. Repeat for the other side and pin along the center.
Pro Tip: It’s easier to use the interlining from the old tie, as it will fit the new tie pattern you created perfectly. Plus, it eliminates any extra cutting and/or pattern drafting!
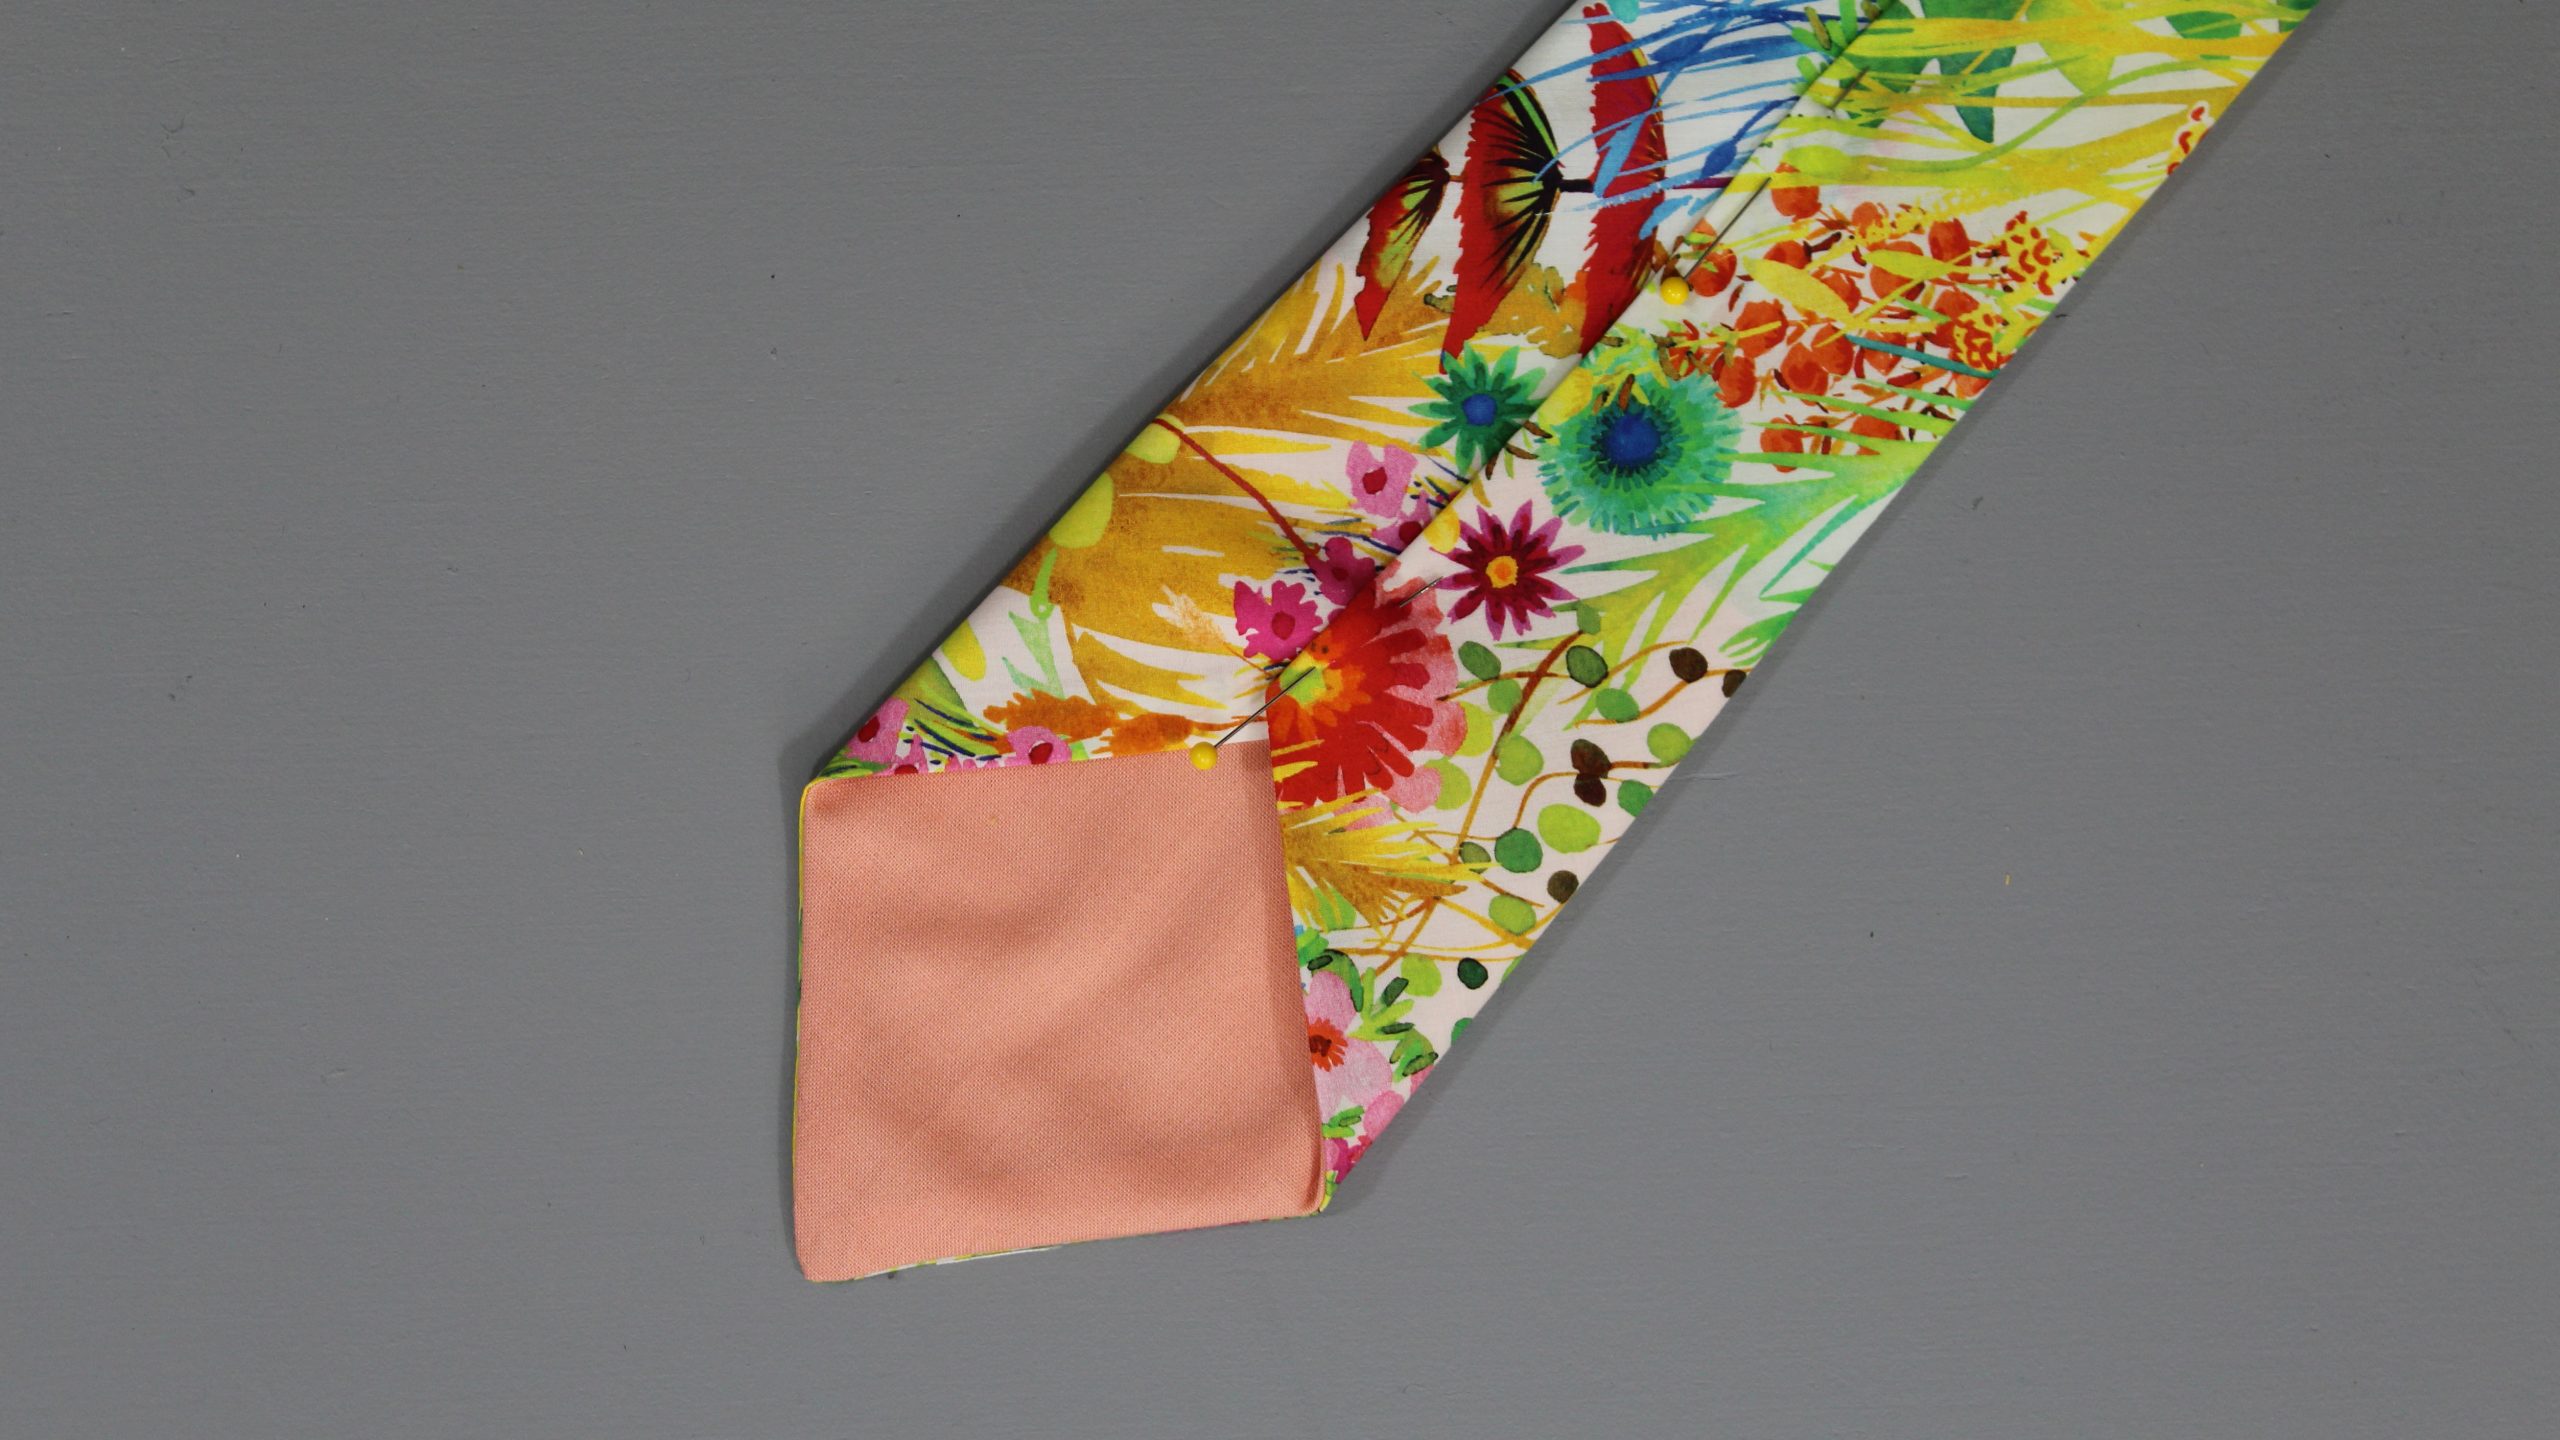
8. Hand Stitch the Interlining
Hand stitch the folded edge to the center of the tie. Begin by sewing a bar tack with a whip stitch, then stitch the length of the tie with a slip stitch. Stitch only through the interlining and not through the base fabric. Finish with a bar tack at the opposite end.
9. Press Your Tie

Carefully press your tie to set the stitches, making sure to not pull the iron as you press (so the fabric doesn’t stretch).
With that, you have your very own necktie! To make a skinny tie or even a kid’s tie, simply repeat the steps in this tutorial, adjusting the width and length to be skinnier or shorter. Just remember to make a test sample out of muslin or scrap fabric, so you can adjust if needed before cutting into your favorite fabric.
Photos by Marni Weaver.
Is there a way of making this all with sewing machine, not hand stitching it close, but on the machine please?
help me to make a tie
Gonna give this a go-thanks... and, love the fabric shown here!
Nice things