
As a garment sewer, I am always looking for new and better techniques that can make my garments look more professionally made.
Case in point — applying a waistband to a lined skirt or pair of pants. While there are a variety of methods available, the method or technique typically chosen depends on a preferred waistband style and the weight, thickness and malleability of the fabric. Putting in a waistband, frankly, is a task I usually dread doing. That is until now.
Learn how to sew a waistband with little-to-no hand stitching!
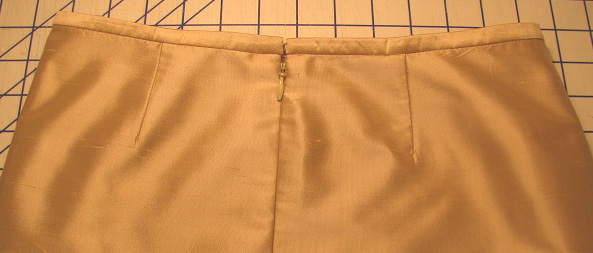
I have found a new way to add a waistband to a lined skirt that requires less hand stitching and looks much neater and finished on both the inside and public side of the garment. This technique comes from examining a skirt I bought recently as part of a two-piece suit. I just love the way the narrow waistband fits snugly and flat against the body, which is not always the case with home-sewn ones.
Most waistbands applied to a lined garment call for the lining to be attached to the skirt (or pants) before adding the waistband. Not this time. This technique calls for attaching the waistband to the fashion fabric and then attaching it to the lining. Yes, you read that right. The waistband is sewn separately to the fashion fabric of the skirt or pant, then to the lining. Fold the waistband in half to bring the lining and fashion fabric together and you’re almost there.
The secret here is getting all the fitting done just right before you begin. You must know the exact length of the waistband needed. You must also make sure the waistband itself is cut precisely. No wonky rectangle of a waistband. Furthermore, all stitching needs to be precise as well. Only even seam allowances allowed if you want it to look as good as the commercially done ones.
Here is how to apply a narrow waistband to a lined skirt or pant:
Step 1.
Begin by first constructing the skirt in the fashion fabric and then the lining fabric. Finish all fitting issues so that all side and waist adjustments are correct.
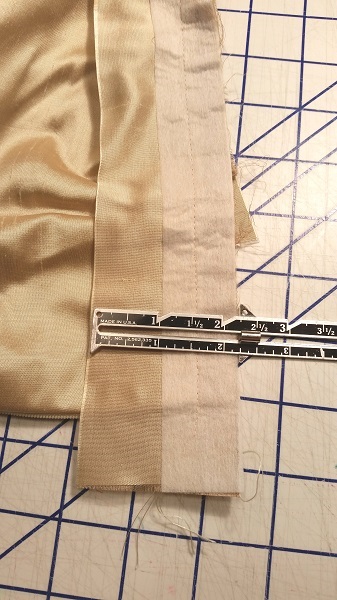
Step 2.
Make the waistband. Measure the waist to determine the length. Add to it 1 inch to accommodate two 1/2″ allowances for the ends and another half inch for ease (1 1/2″ total). Plan the width at 2 1/4″ – this is for a 1/2″ finished waistband.
Step 3.
Sew one side of the waistband to the skirt fashion fabric at the waist using a 5/8″ seam allowance. Leave a 1/2″ overhang at each end where the zipper is. Trim the seam down to approximately 3/8″. Press the seam up toward the waistband.
Step 4.
Then sew the other side of the waistband to the skirt lining at the waist using a 5/8″ seam allowance. Leave a 1/2″ overhang at each end where the zipper is. Trim the seam down to about 3/8″. Press the seam up towards the waistband.
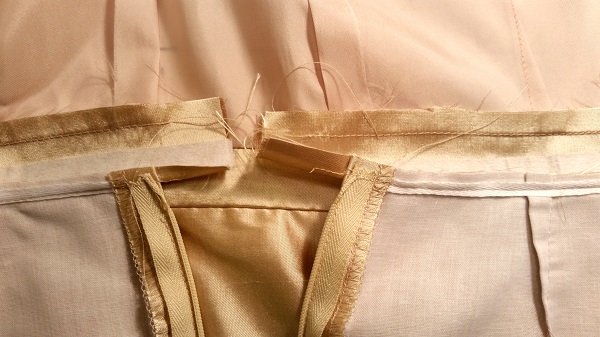
Step 5.
Turn the overhangs into the waistband, even with the line of the zipper, and press in place.
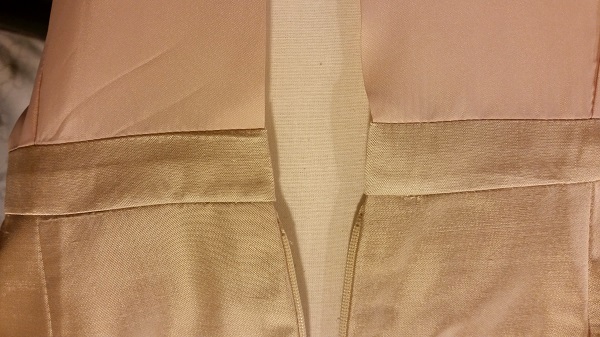
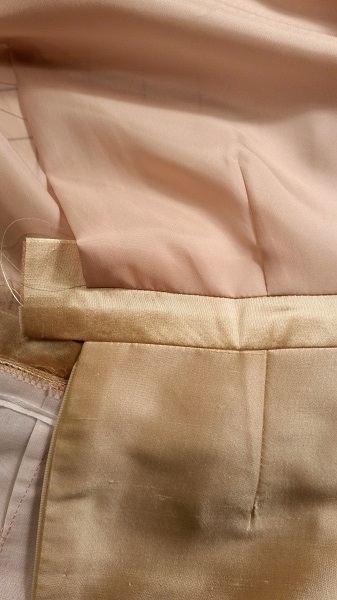
Step 6.
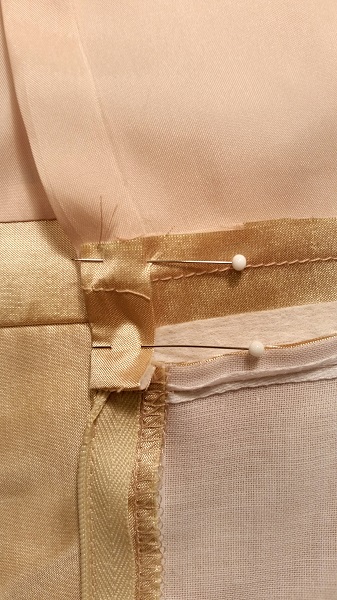
Now fold the waistband in half so the skirt and lining come together. Pin the two together at the seam line to prepare the waistband for the final sewing.
Step 7.
Using an edge foot, stitch into the seam line (stitch-in-the-ditch) all around the waist to join the skirt and lining together to complete the waistband application.
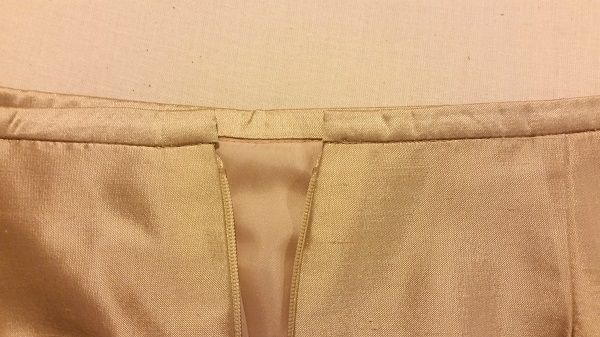
Step 8.
Seal the two ends with a couple of hand stitches. Apply a hook and eye to close the waistband.
Share tips, start a discussion or ask one of our experts or other students a question.
No Responses to “Learn a New Way to Sew a Waistband to a Lined Skirt or Pair of Pants”