
Bound buttonholes are one of those details that make a handmade garment look polished, professional and oh-so-gorgeous. You mostly find this type of closure on couture jackets and coats, along with hand pad-stitching, back-stays and hand stitching.
While it may seem like a difficult technique at first, it’s actually just time-consuming due to its precision. The elegant result is definitely worth learning though, so grab your jacket and some interfacing and let’s sew a bound buttonhole!
How to Sew a Bound Buttonhole
Level: Easy
What You Need
Pro Tip: The patch technique used here is basically a patch of fabric folded to form the little lips of the bound buttonhole. Practice on a piece of scrap fabric to get the method down. When you’re happy with the look of your bound buttonholes (the lips should be centered and symmetrical, as well as the rectangle), get out your real fabric.
Instructions
1. Draw and Baste the Buttonhole Box
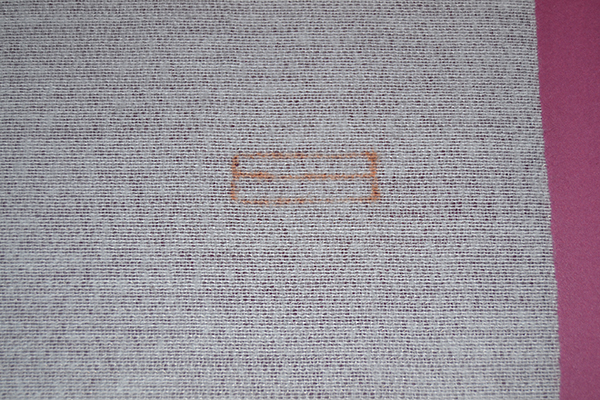
Depending on the pattern, you’ll see a line or a box to mark the buttonhole placement. The box dimension depends on your button length.
To measure the box length, add ⅜” (1 cm) to your button length. The width will be ⅜” as well, which you’ll divide by a centered line. For example, if you have a 1⅝” button, your box is going to be 2″ x ⅜” (5 x 1 cm), with a centered horizontal line at 3/16″.
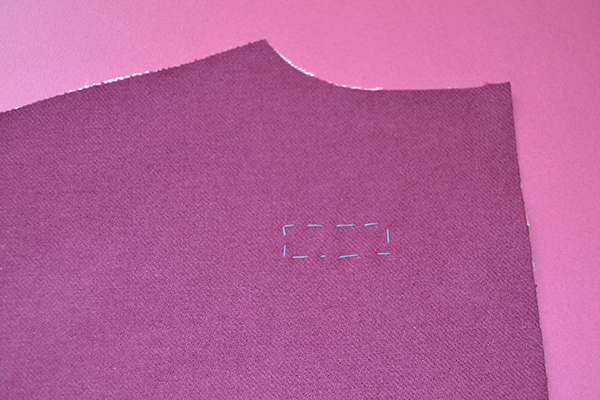
Report the box on the interfacing and baste around it.
2. Cut and Pin Your Patch
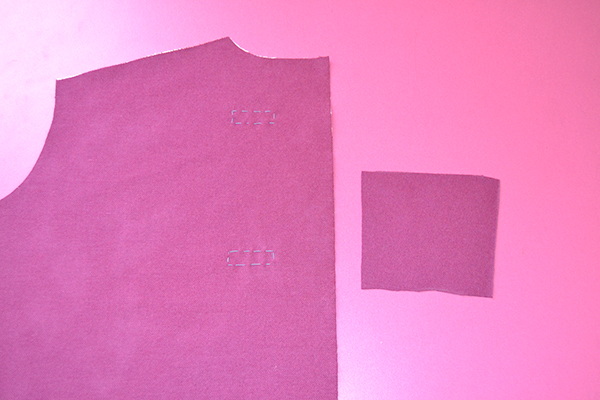
Cut a patch of fabric about 4″ x 4″ on the bias. You’ll trim the edges at the end, so don’t worry too much about the size. (It definitely doesn’t need to be a perfect square.)
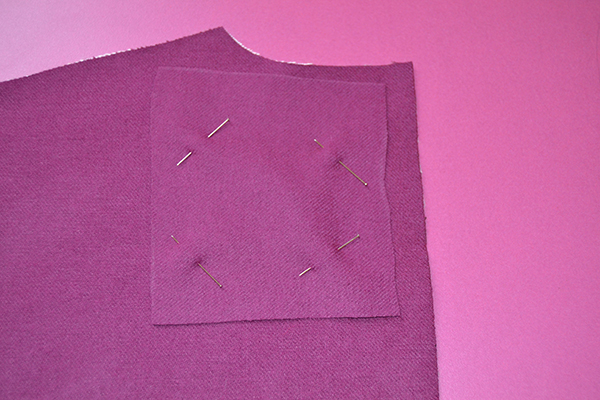
Pin the patch over the basted box, right sides together.
3. Stitch
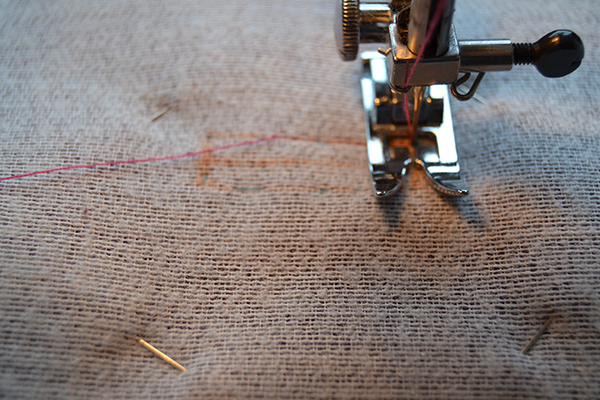
Select a short stitch length on your sewing machine. From the wrong side of the fabric, stitch around the box, starting from a long side.
Pro Tip: Count the stitches you make on the short sides to be sure they’re the same length on both ends.
4. Cut Open the Buttonhole Box
Very carefully cut through both layers (the front and the patch) from the center, and cut a V into the ends of the box. Cut as close as you can to the stitches without snipping them. (If you have small embroidery scissors, it’s a perfect time to use them.)
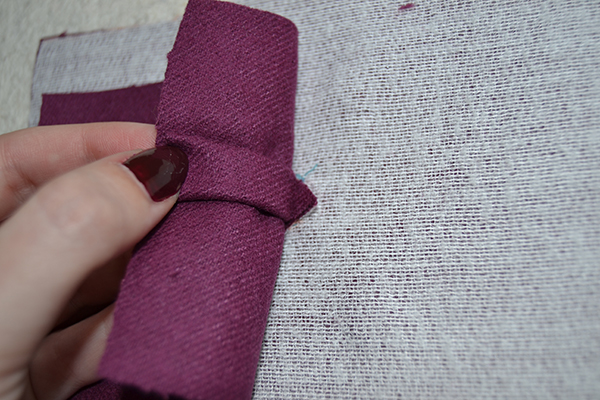
5. Pass the Patch
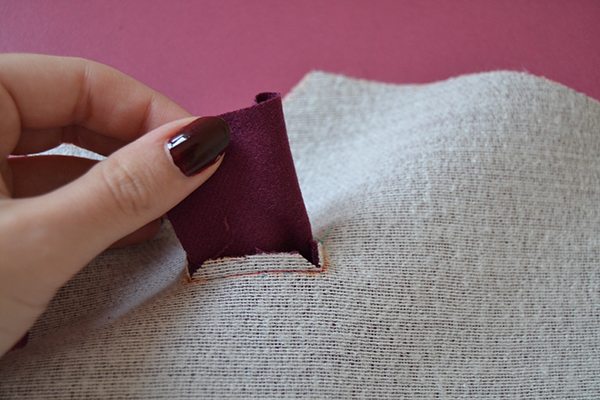
Pass the patch through the open box, then lay it flat and lightly press.
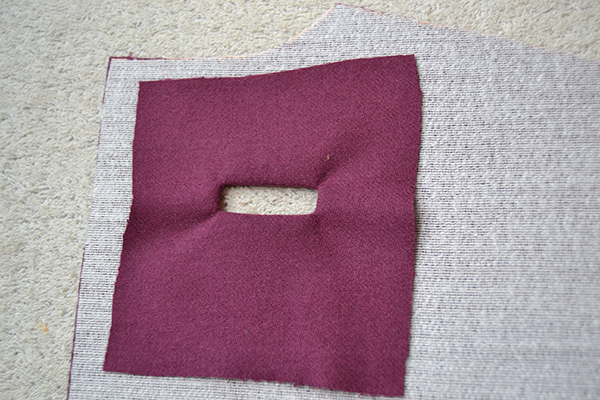
If the corners don’t lie flat, it’s because you didn’t cut close enough to the stitches during the previous step. To fix this, fold the patch back and carefully cut a little closer.
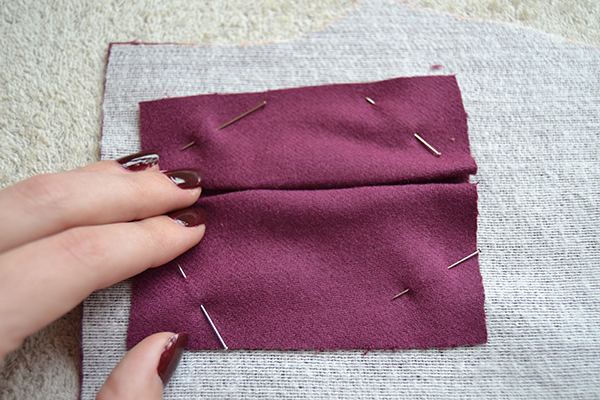
6. Make the First Lip
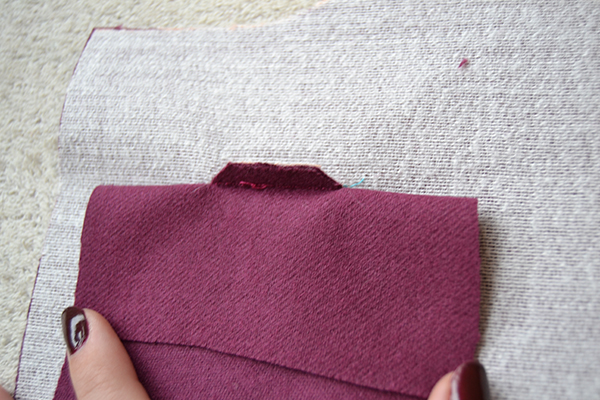
Fold the top of the patch in two so it forms the first lip of the buttonhole.
The fold should reach the center of the box. Pin in place.
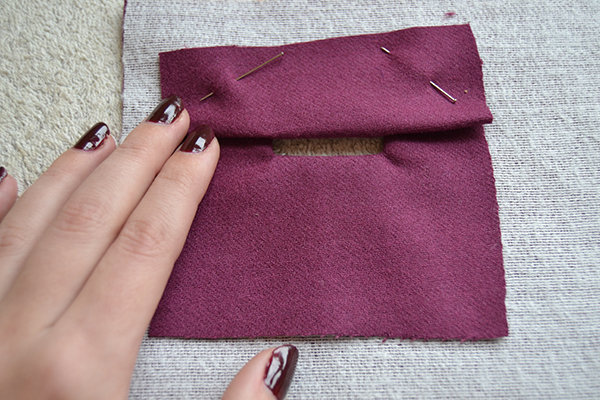
7. Make the Second Lip
Fold the bottom of the patch in two to form the second lip. Both lips should meet in the middle. Pin in place.
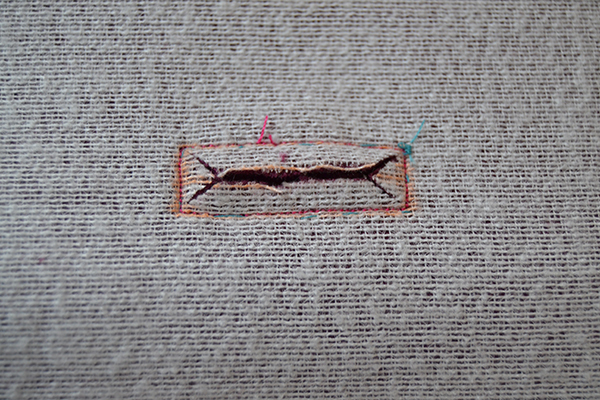
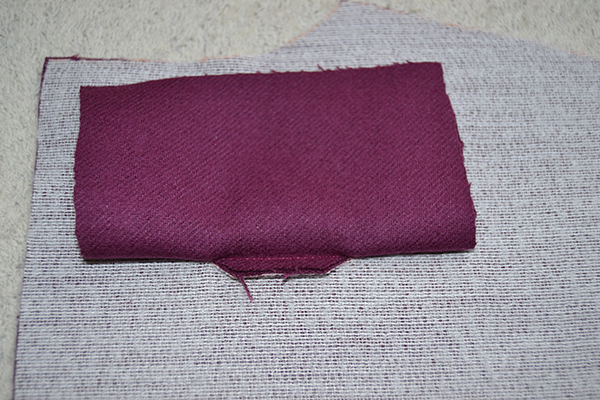
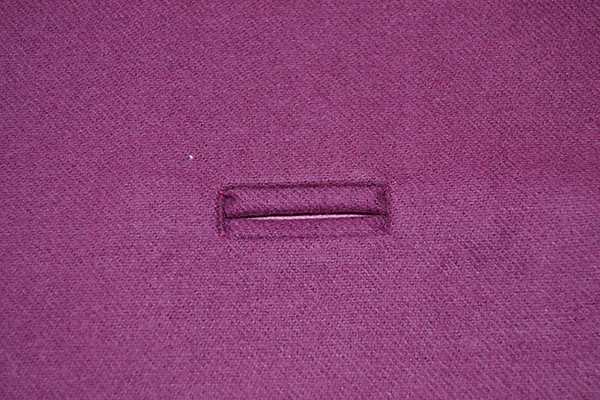
Press lightly so it keeps its shape, but make sure the edges don’t show.
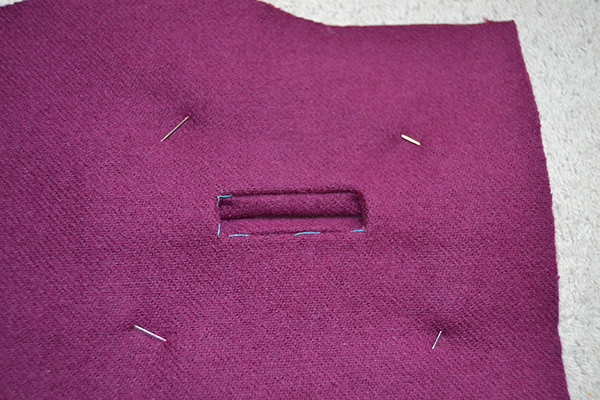
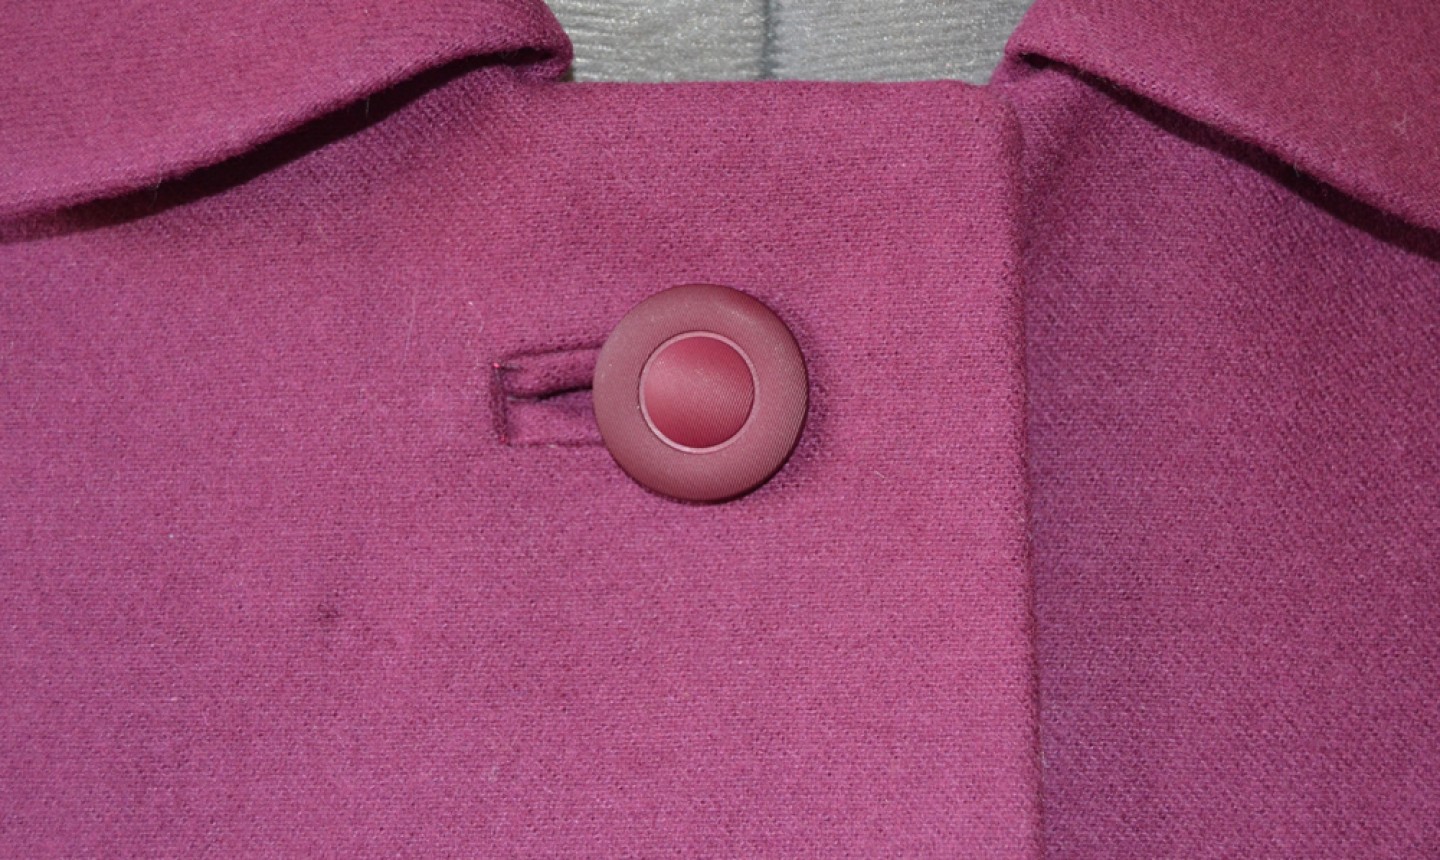
From the right side, the buttonhole should look like the image above.
8. Stitch the Triangle
You may notice small triangles at the ends of the box. Stitch these to the patch, securing the folds.
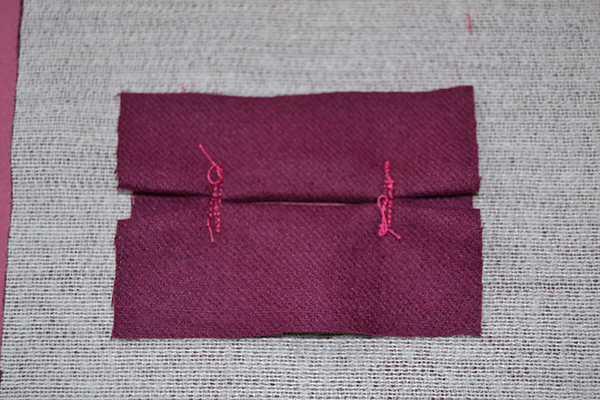
Use a short stitch length and sew as close as you can to the fold of the triangle.
9. Complete and Repeat
Remove the basting threads. Now you’re ready to make the other buttonholes! On the facing, you’ll repeat steps 3 and 4 without the patch to create an opening the size of your buttonhole, and you’ll hand stitch the facing opening to the buttonhole.
Yes, making bound buttonholes can be time-consuming. But it’s a tailoring detail that gives your jacket a couture finish and great strength. You’ll be able to wear — and enjoy — that jacket for years!
<strong>Thank you for the steps to making a bound button hole. I finally understand the process.
Will this work on lined garments? (Like a vest?). ... I'm guessing not