
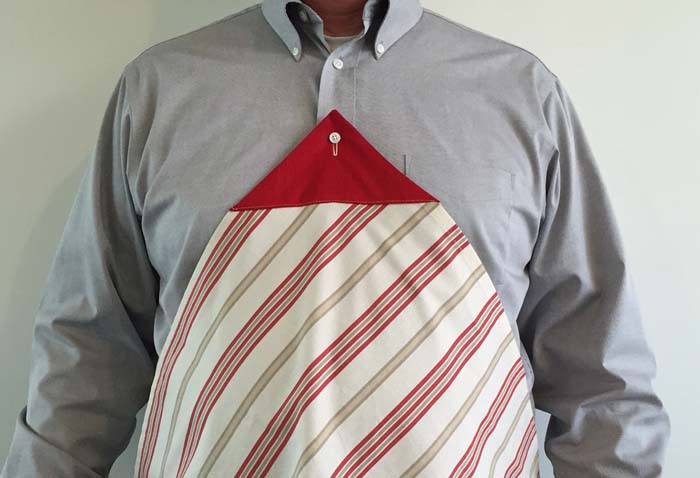
Cookout season is just around the corner and anything from barbecue sauce to cherry pie is guaranteed to land on someone’s nice clean shirt. Give your guests a button-on napkin and save their garments while using up fun and colorful fabrics from your stash.
Here are the steps to make button-on napkins — it’s almost too easy!
Step 1: Cut out your napkins and create the accent.
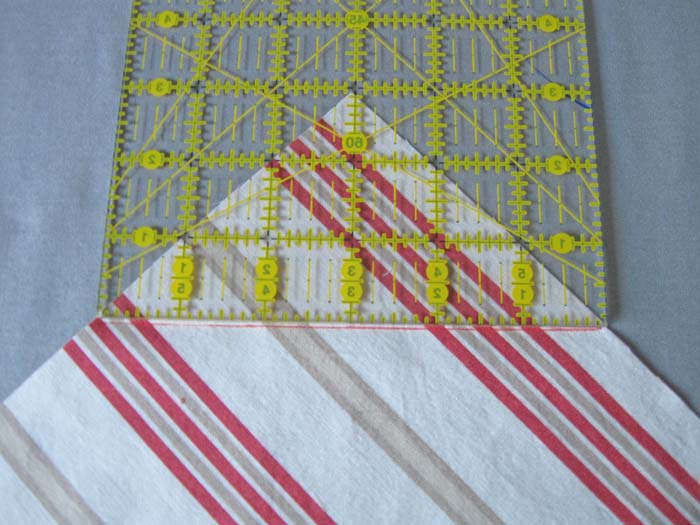
Cut fabric squares 23″ x 23″. You can make them even larger if you would like, but the 23″ square yields a finished length when worn of about 30” which is perfect coverage from neckline to lap. Next draw a perpendicular line across one corner as shown, this will be our edge line when we apply the accent fabric.
Step 2: Add the accent fabric.
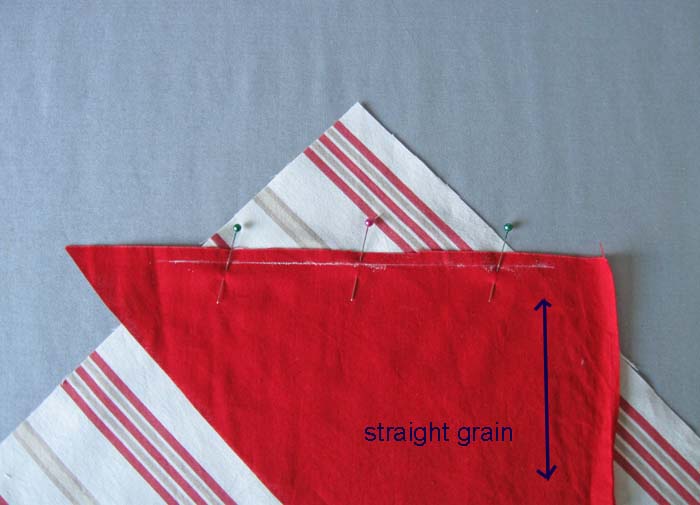
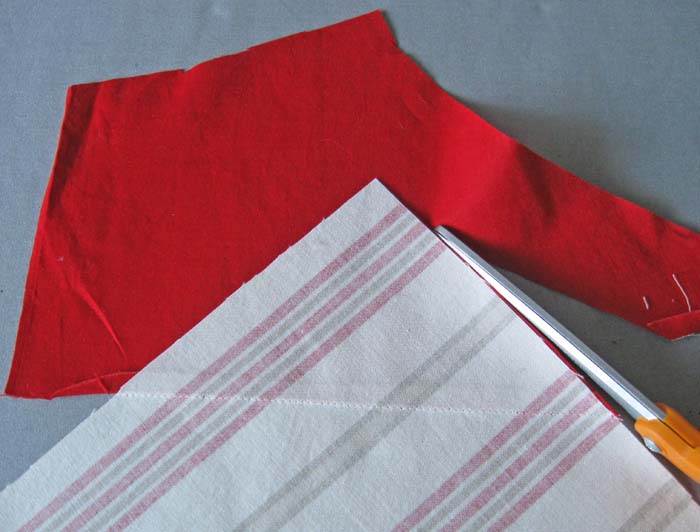
Pin the corner accent fabric to the right side of your napkin along the line you have drawn and stitch across. I like to use scraps and it doesn’t matter if they are a little misshapen. We will be trimming off the excess so as long as the accent covers the corner it will work.
If your fabric is a loose weave it is a good idea to use the straight grain as shown since we will be adding a buttonhole.
Step 3: Press
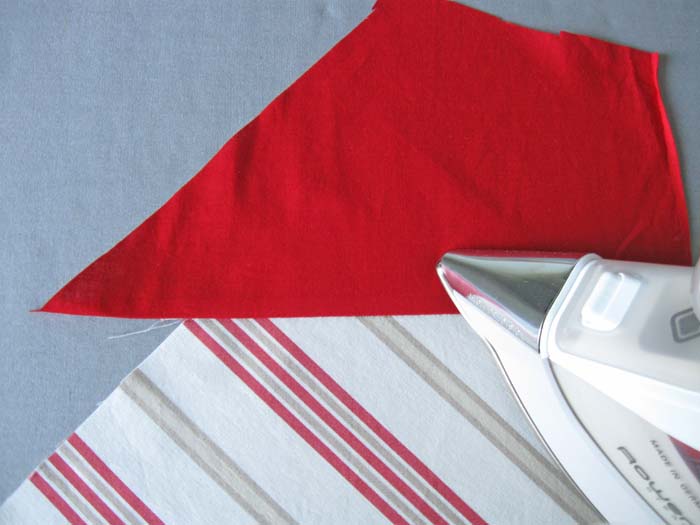
Press the accent fabric upward.
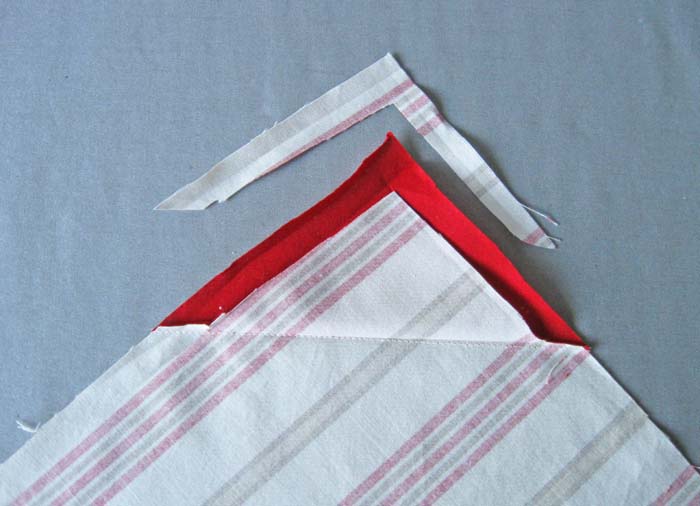
Step 4: Flip and trim.
Flip your napkin over and trim away the excess of the accent fabric using the existing napkin corner as a guide.
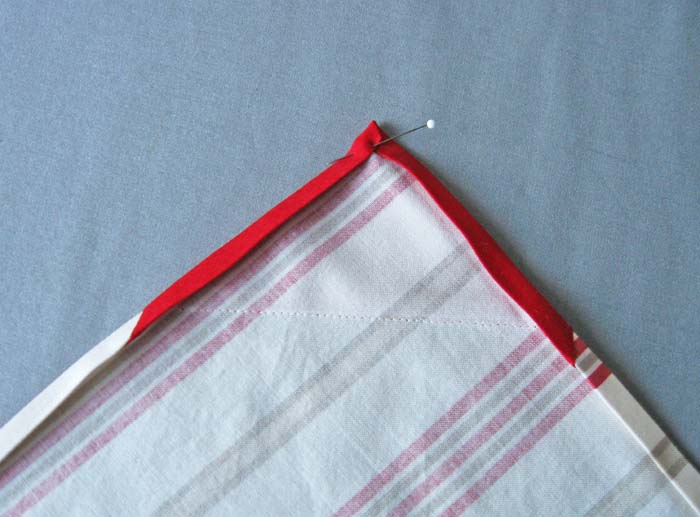
Step 5: Add some interfacing.

Do a light press on the edges by turning ¼”, press and turn another ¼”. This will show where the finished edge of the napkin will be. Fuse a piece of interfacing on the accent fabric, which will help stabilize the buttonhole.
Step 6: Trim the edge.
Trim away a bit of the napkin fabric along the accent corner to make it easier to turn and fold the napkin edge.
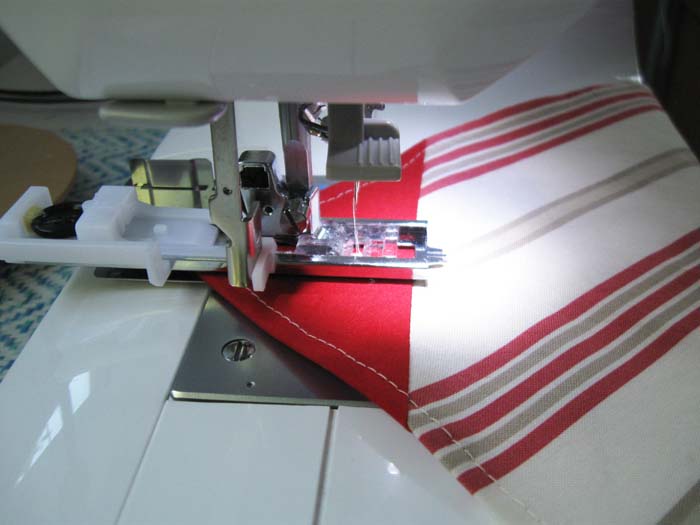
Step 7: Turn and stitch.
Turn and press ¼” twice to create a hem edge and stitch.
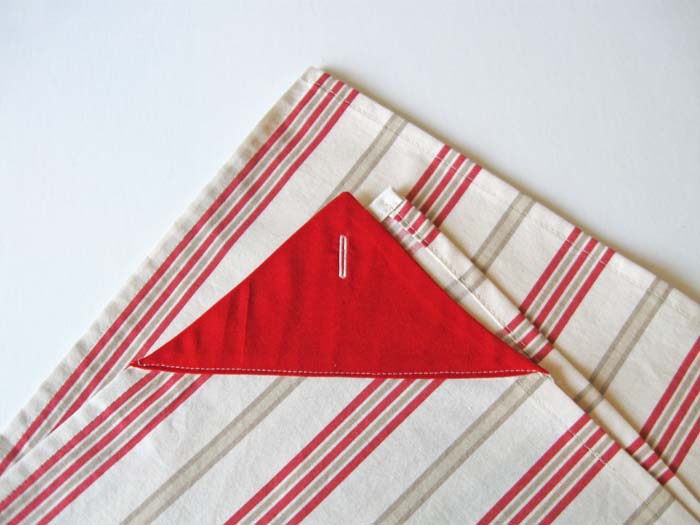
Step 8: Make the buttonhole.
Make a buttonhole in the corner, about ¾” to 1″ away from the corner. Cut open your buttonhole and your napkin is done.
You can make your napkins more absorbent or even reversible by omitting the accent fabric and just doing a two layer version that you sew inside out, then turn, press and topstitch, adding a buttonhole in the corner for the final detail.
Anyway you make the button-on napkins you are sure to save someone from the oh-so-common mustard or chocolate sauce on the shirt episode at your next backyard get together!
Share tips, start a discussion or ask one of our experts or other students a question.
No Responses to “Learn a Clever Trick: How to Sew Button-On Napkins”