Do you avoid sewing projects that require buttonholes? Is it a fear of the unknown? Many sewing machines come with an automatic buttonhole feature that makes the process a breeze, so there’s no excuse for not learning how to make buttonholes.
There are a few different styles of buttonholes, and the one that’s right for your project will be determined by your choice of fabric and buttons. The square buttonhole is used on medium to heavy fabrics, and it’s a bit of a misnomer since it’s actually rectangular. There’s also the keyhole buttonhole, which does actually look like a keyhole. It’s also used on medium to heavy fabrics and can better accommodate larger or thicker buttons. The round-end buttonhole is best for fine to medium weight fabrics.
This is a tutorial for making buttonholes using your machine.
Step 1: Mark the placement of the buttons on your garment using your favorite marking method (tailor’s tacks, tailor’s chalk, or a water-soluble pen).
Step 2: Set your machine. On my sewing machine (a Janome), the square buttonhole is setting 5.
Step 3: To get started, attach the automatic buttonhole foot.
Step 4: Next, place the button in the button holder at the back of the foot. Push the button holder together tightly around the button. This measures the size of the button and determines the size of the buttonhole.
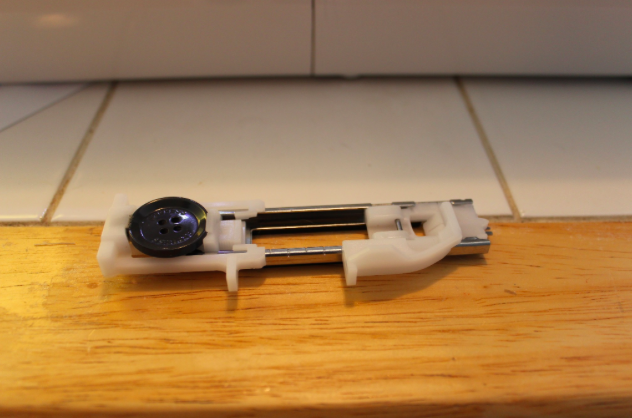
Step 5: Then, pull the buttonhole lever down as far as it will go.
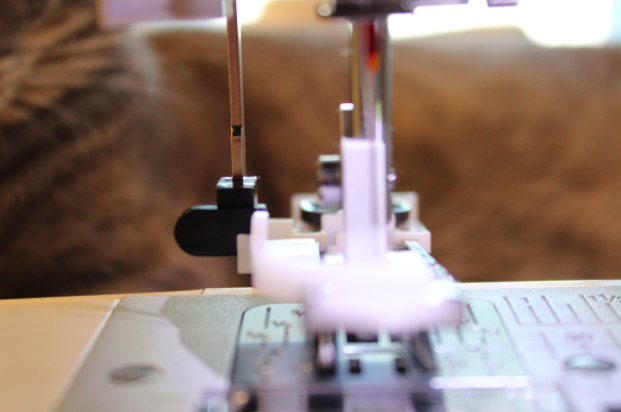
Step 6: Place your fabric under the buttonhole foot. Move the needle up and down a couple of times. Remove the fabric from the left-hand side of the sewing machine. This draws the thread through the foot.
Step 7: Place your fabric under the buttonhole foot, lowering the needle at the starting point of the buttonhole mark. Make sure you are starting at the bottom edge, not the top, of the buttonhole.
Step 8: Start the machine to sew the buttonhole. This will be done automatically, starting with the left row first.
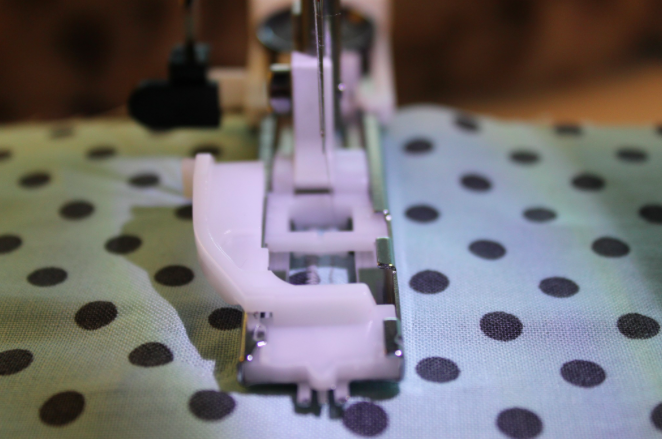
Step 9: The machine will sew the back bartack, then the right row, and finish with the front bartack.
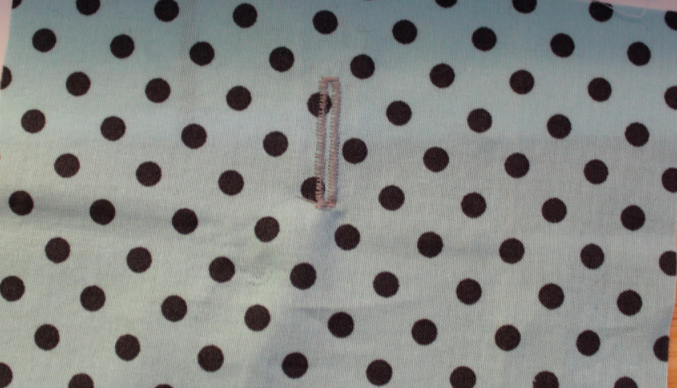
Step 10: Remove your fabric and place a pin just below the bartack at each end for every buttonhole. Cut the opening with a seam ripper or a pair of small scissors. The pins will prevent you from cutting through the bartacks (which would be extremely unfortunate).
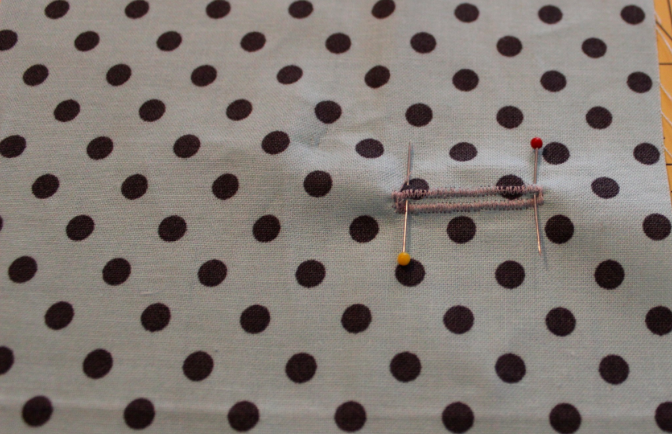
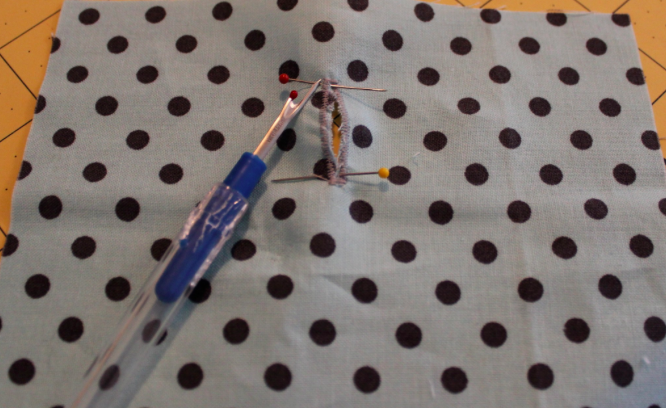
As with most sewing techniques, it’s important to test your settings first before sewing. This is especially true if you are working with thick buttons. If you find it’s difficult to push the button through your test buttonhole, you can lengthen the buttonhole by pulling back on the button holder slightly.
And there you have it! That’s how to make buttonholes using the automatic buttonhole feature on your sewing machine.

Hello, I just bought a new Janome. My buttonhole foot sew correctly on he left side, then either sew a straight stitch on the oposite side or stay stucked ? I am sewing a flanel pyjama... Any idea of what could be the cause ? It is bran new, can it need to be ajusted already ? Excuse mistakes as english is not my first language) Thank you !