
No shirt sleeve is complete without a cuff! Sewing cuffs is fairly simple, and leaves a lot of room for creativity. Learning how to sew cuffs can be quite fun as well!
Here’s a simple tutorial on how to sew a cuff:
Step 1:
For each cuff, cut two pieces of fabric and two pieces of interfacing (in an appropriate weight for your fabric).
If you are not sewing from a pattern, you can use an existing shirt cuff to make a pattern. Just trace around the cuff with tailor’s chalk and add 1/2” seam allowance on all sides.
Step 2:
Apply the interfacing to each pattern piece. (Not sure how to do this? See our post on how to use interfacing)
Step 3:
With right sides together, pin the cuff pieces together. Sew around the cuff with a 1/2” seam allowance, leaving the top edge open.
Step 4:
Turn the cuff right side out, using a point turner to get crisp edges on the cuff. Press.
Step 5:
Turn down 1/2” on the top edge of the cuff and press.
Step 5:
Pin the cuff to the shirt sleeve and sew across the top edge of the cuff, attaching it to the shirt. Edge stitch the sides and bottom edge of the cuff.
Step 6:
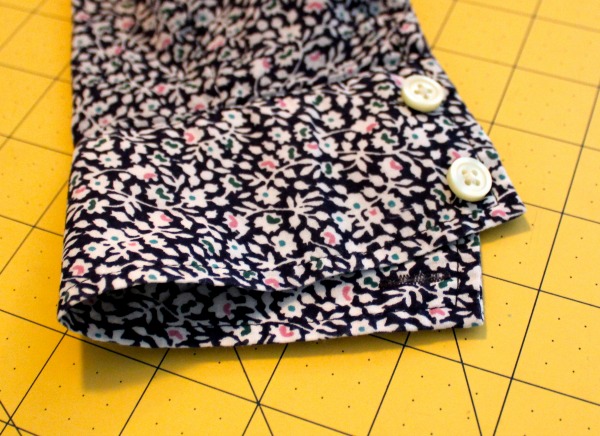
Mark the placement for the buttonholes using tailor’s chalk or a water soluble pen. Sew the button holes and sew on the buttons. (For more tips on buttonholes and creating them, take a look at our step-by-step tutorial on how to sew button holes.)
And you’re done!
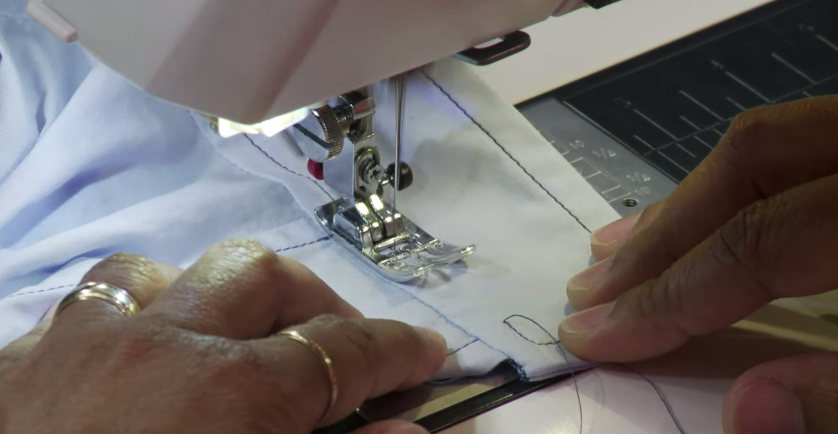
Photo via Pam Howard’s Craftsy class, The Classic Tailored Shirt
Interested in learning how to make a full, tailored blouse? The nationally-known instructor Pam Howard offers expert instruction and tips for creating a well-tailored shirt (including how to sew an excellent cuff) in her class The Classic Tailored Shirt.
Making new shirt cuffs is a great way to add a pop of color to a shirt already in your closet or upcycle clothes found at a thrift store.
Step 1:
In this case, you will only need one piece of fabric per cuff. You can also skip the interfacing, unless you feel like your shirt needs some extra body in the cuffs. Trace around the existing cuff and add 1/2” seam allowance on all sides.
Step 2:
Turn under 1/2” on all sides and press. If your cuff has buttons, mark and sew the buttonholes on the new cuff piece so that you’ll still be able to button the cuff after attaching.
Step 3:
Pin your new cuff piece to the inside cuff of your shirt and edge stitch around all four sides.
Of course, you can also remove the cuffs entirely from a shirt and start from scratch.
Don’t hesitate to get a little creative with your shirt cuffs. You can use different fabrics for the inside and outside of the cuff, or alter a pattern to include wider or skinnier cuffs. You can also experiment with contrasting thread for the edge stitching (though you’ll probably want to repeat this element on any other visible stitching on the shirt).
Betz White gave us some great tips for upcycling old shirts and cuffs in her class, Project Upcycle. For more upcycling fun, come back to the Craftsy Blog tomorrow for tips on dyeing clothes.
Share tips, start a discussion or ask one of our experts or other students a question.
No Responses to “Off the Cuff: How to Sew Cuffs”