One of my favorite details on a garment are pretty scallops. But as pretty as these curves are, if sewn poorly, they look choppy, pointy, and scream “home sewn.”
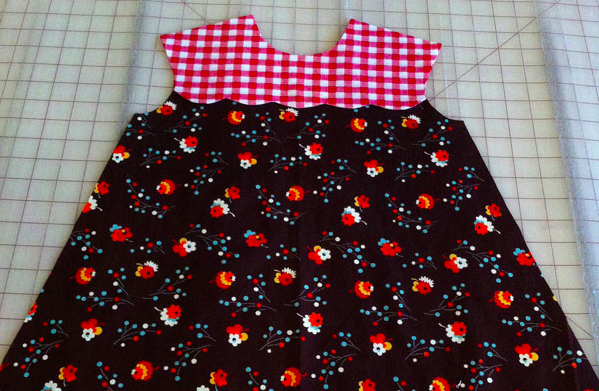
Here are some tips to follow to help you master decorative seams.
Cutting
The pattern piece you use will have clearly marked scallops to follow for your chosen size. Be sure to cut these out carefully, as you will be following these edges when sewing. Well cut scallops are the first step to perfectly sewn scallops.

Marking
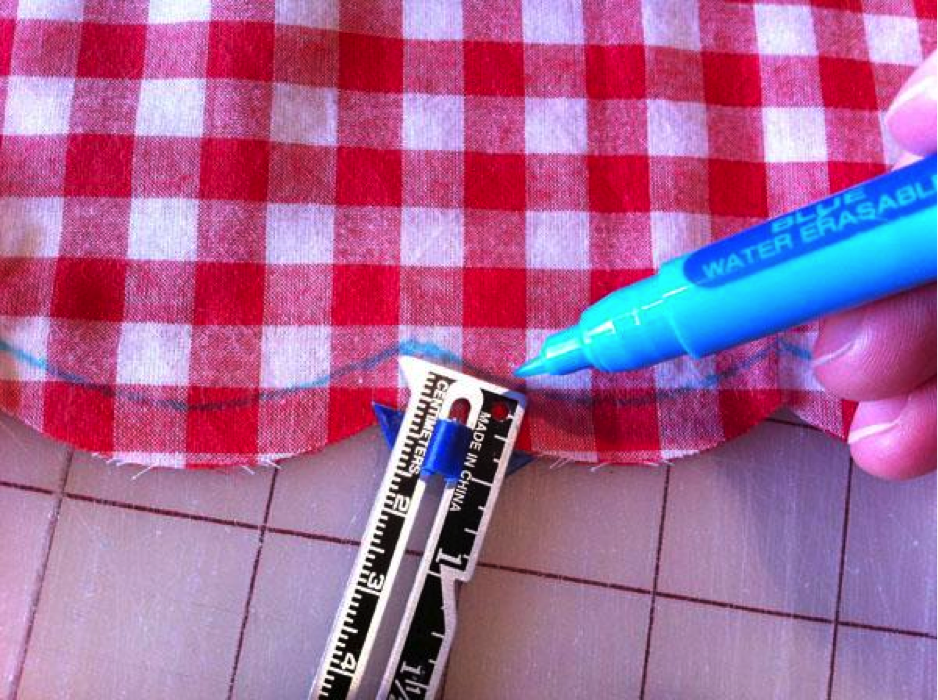
Using a seam gauge and water soluble marking tool with a fine point, mark along the wrong side of the fabric so you have a line to follow for sewing. It is very hard to follow the curves on the seam allowance markings on the machine, so marking it precisely will lead to perfect stitching.
Pinning
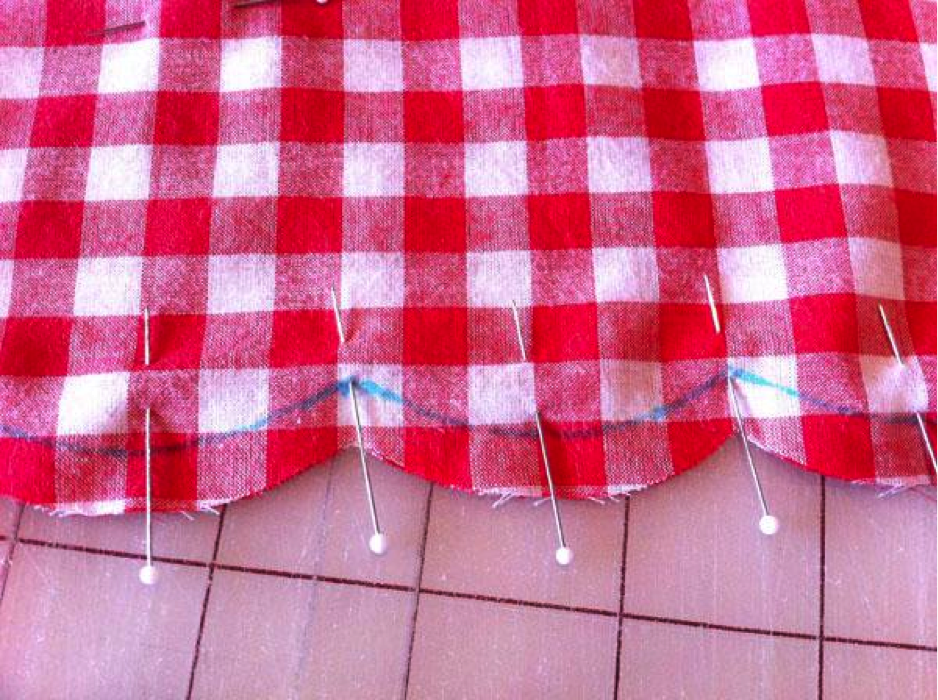
Sewing scallops is not a moment to be conservative with pins, so be sure to pin at each point as well as each curve to keep the layers in place when sewing.
Sewing
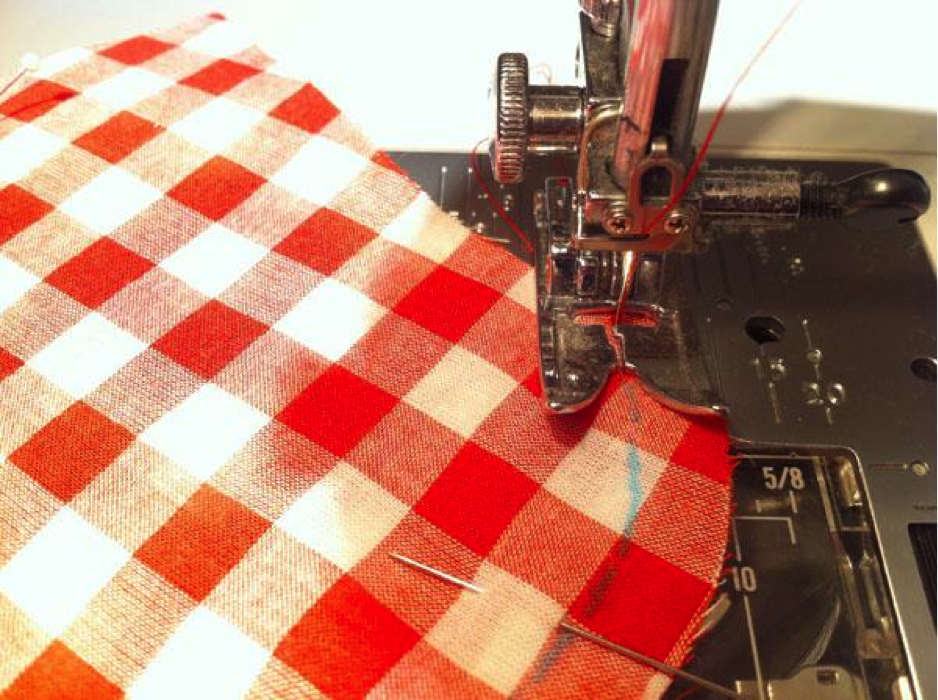
To sew curves, a shorter stitch length will make each curve more precise. Longer stitches take bigger bites, so reduce your stitch length so each step forward is smaller.
Pivoting
When marking your curves, be sure to clearly mark the points of each scallop for pivoting. Stop just short of your mark, manually turn into the point, and sink your needle into the fabric. With the needle down, pick up your presser foot and pivot the fabric until the stitch line is aligned with your presser foot. Lower the foot and continue onto the next scallop. If you are not going to hit the pivot mark, shorten or lengthen your stitch accordingly so you land directly on the marked spot.
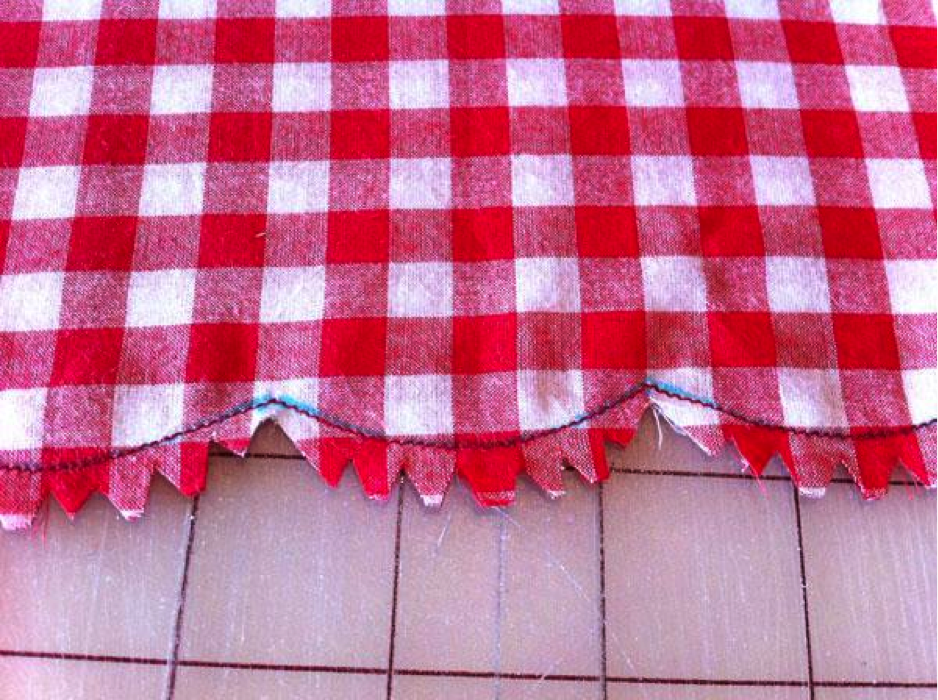
Notching and trimming
To reduce bulk for a smooth curve, carefully notch out chunks of fabric from the seam allowance around each scallop. At the point, trim up close to the stitch line, being careful not to cut too close as to weaken the stitch.
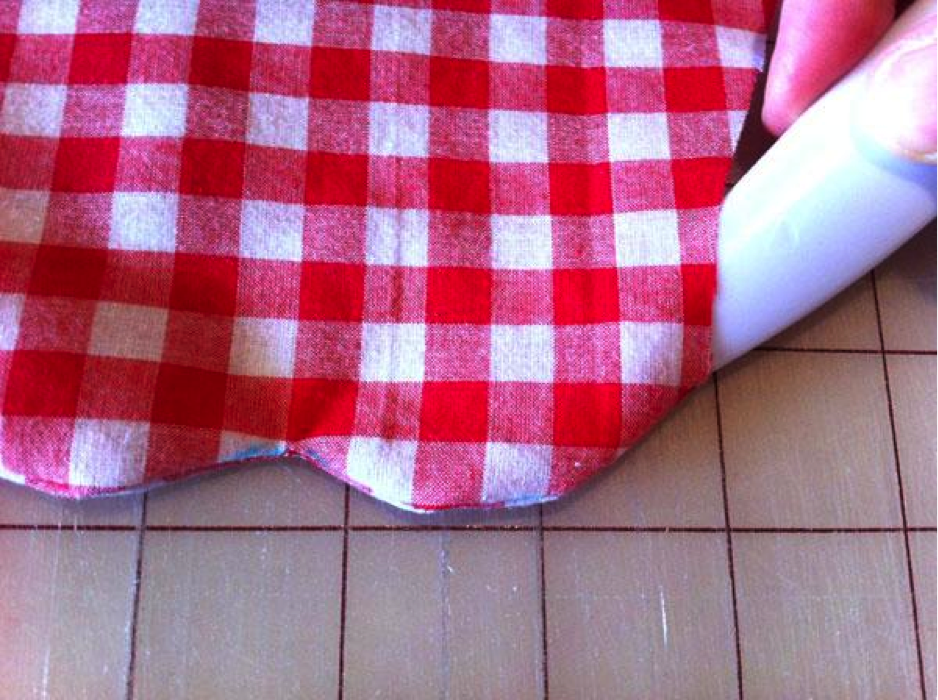
Turning right side out
Turn the scallops right side out and use a point turner or another similar tool to poke out the scallops. Finger press the stitch line and smooth the scallops flat. Be careful not to poke through the stitching with the tool. Before pressing, use water or your marker’s eraser to remove the stitch line markings as some tools are harder to remove after being pressed on with heat.
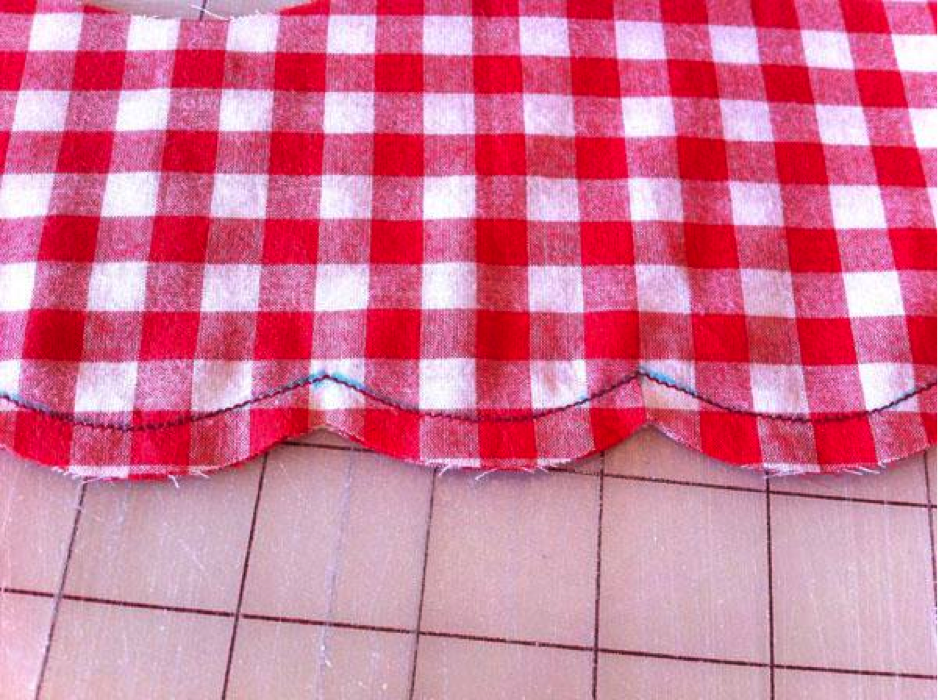
Pressing
Pressing the scallops flat will make everything crisp and professional looking. If you didn’t notch enough, you will see bumps and bulk, indicating that you should turn it wrong side out and notch and trim more.
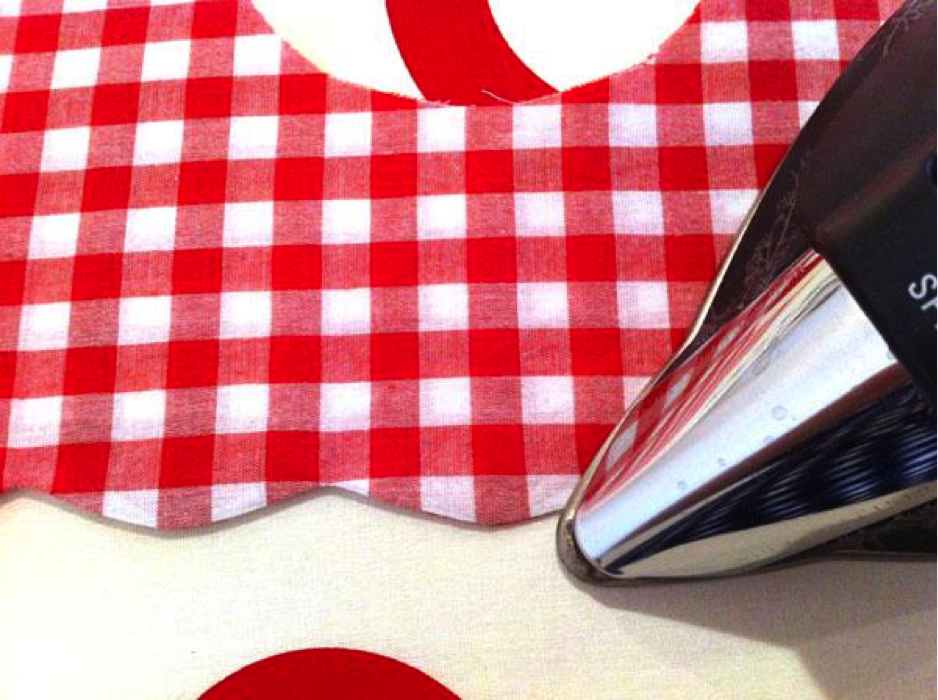
Continue on with your project and be proud of your perfectly sewn scallops! These look amazing at the hem of a skirt, or on a yoke as pictured at the top on the Lily Dress by Green Bee Patterns. Discover even more decorative finishes by enrolling in Decorative Seams with Katrina Walker.
Come back to the Craftsy blog tomorrow for a roundup of our favorite skirt sewing patterns!

Share tips, start a discussion or ask one of our experts or other students a question.
No Responses to “How to Sew Perfect Scallops”