
Chisels are one of the most basic, useful, and versatile of all woodworking tools. They allow you to shape a piece of wood to your heart’s content. But in order for a chisel to be useful, it needs to be sharp.
Today, I’ll share the first part of a quick and easy method for how to sharpen a chisel. We’ll be working on the back. Then we’ll take a look at working on the bevel.
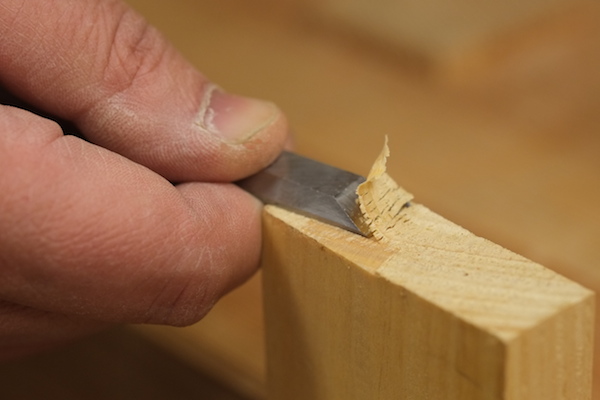
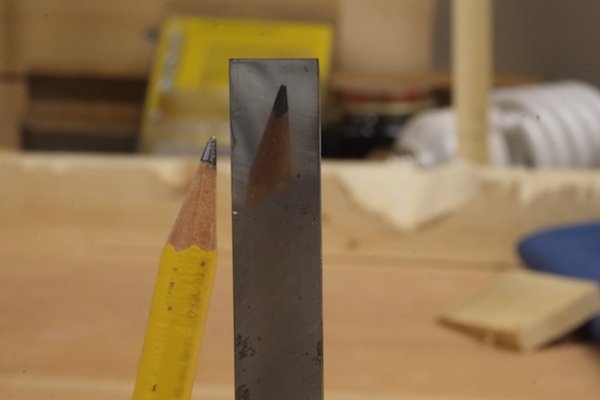
On a chisel, the two surfaces are the back and the bevel. The back is the long, flat part of the chisel. The bevel is the short face at the cutting edge. The goal of sharpening is to get these two very smooth, flat surfaces to intersect. The smoother and flatter the surfaces, the sharper your chisel will be.
This may seem like a weird, unfamiliar thing to you, but if you’ve ever sanded a piece of wood with coarse and then fine sandpaper to get a smooth surface, sharpening is really the same thing, except with metal.
How to sharpen a chisel
Equipment you’ll need:
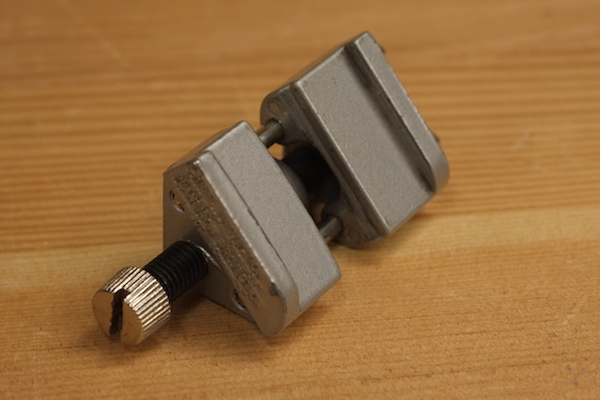
- A honing guide. There are many different kinds. This one is inexpensive and easy to use.’
- Some scrap wood to make a setting jig.
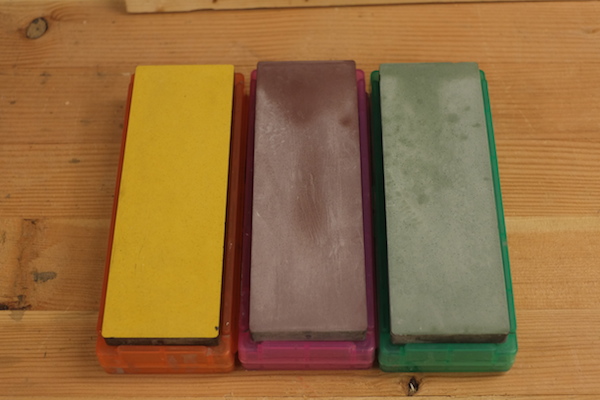
- Sharpening media. You will have three types of sharpening media: a coarse grit, a medium grit, and a fine grit. In this example, we will be using waterstones that are 1000 (coarse), 5000 (medium) and 8000 (fine) grit. You can use sandpaper, oilstones, diamond plates or waterstones. Which one you use is not important, and the differences between these will be covered in a future post.
- Optional: a magnifying glass to look at the edge of your tool.
Step 1:
The first step is to flatten and polish the back of the chisel. Even if the chisel you have is brand new, it will not be as flat and polished as it could be.
Start by rubbing the back of the chisel on the coarsest grit sharpening media. You only have to work on the 1” of the back that’s closest to the edge, but make sure you’re putting enough downward pressure on the chisel so that the chisel stays flat on the sharpening media.
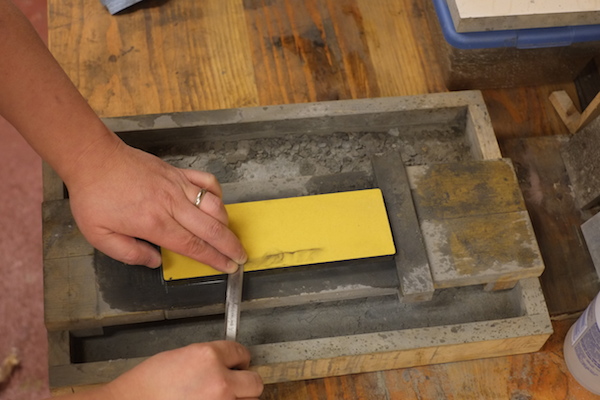
You’ll quickly see that the back will start to have a somewhat mirror appearance. Take your time and make sure that the entire area has the same appearance. A magnifying glass may help you see what is happening as you sharpen. If you can’t get to the very edge, don’t worry. Just get as close as you can. This process usually takes 10 minutes or so, but it only has to be done once.
Step 2:
Next, repeat the process on the medium grit sharpening media. Since you’ve taken the time to make sure the 1” area on the back that you’re working on was well covered in the first step, this step will take less time, but make sure that the whole area is covered.
Step 3:
Finally, use the fine grit sharpening media to cover the same area. Again, this won’t take very much time. The back of the chisel will really look like a mirror at this point. In the photo above, the difference between the first 1” of the back at the cutting edge and the machine marks from the chisel as it came out of the package can clearly be seen.
Share tips, start a discussion or ask one of our experts or other students a question.
No Responses to “Chisel Sharpening Made Easy: Flatten & Polish”