

Fact: you can never go wrong with a handmade gift. But if your recipient lives far away, navigating how to ship your homemade goods can be totally stress-inducing, especially a painting. What if it’s too big for an envelope? Or it gets wet in transit?
Don’t fret — with these simple tips, your art will arrive in pristine condition.
Shipping Methods
When shipping your artwork across the country, you’d think you could choose between an envelope or a parcel, depending on the size. But despite it being more cost-effective, an envelope isn’t the smartest idea: Mail that’s shipped this way goes through rollers during the sorting process, so a rigid painting is likely to get ruined.
Ideally, you want the art to stay completely flat during the entire shipping process, so parcels are the best choice. They’re sorted with boxes and rigid packages that aren’t meant to be bent, so it’s way less likely they’ll be mishandled.
Size Categories
Another aspect to keep in mind when shipping your painting is its size. There are two categories: small and large. Small paintings are anything that measure 11″ x 14″ or smaller and can be shipped in a flat cardboard mailer. Large paintings are bigger, and it’s better to send these rolled up in a cardboard mailing tube.
How to Ship a Small Painting
What You Need
Instructions
1. Back It and Bag It
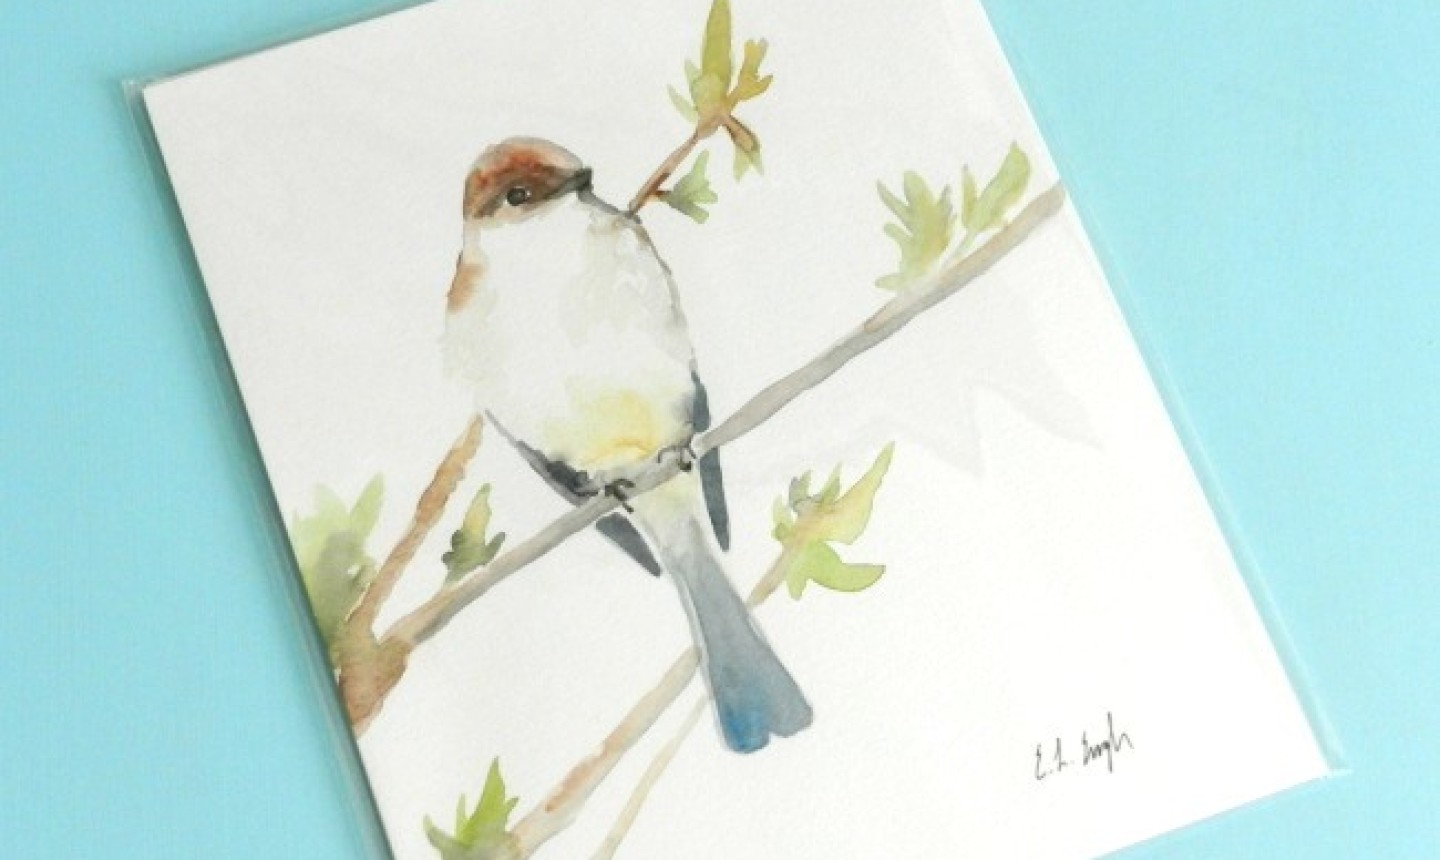
Place a cardboard backing that’s the same size (or slightly larger) than your painting into a sealable plastic bag. (The bag should only be slightly larger than the backing.) Insert the painting in front of the backing. Seal the bag tight so moisture doesn’t penetrate your bag.
2. Use a Mailer
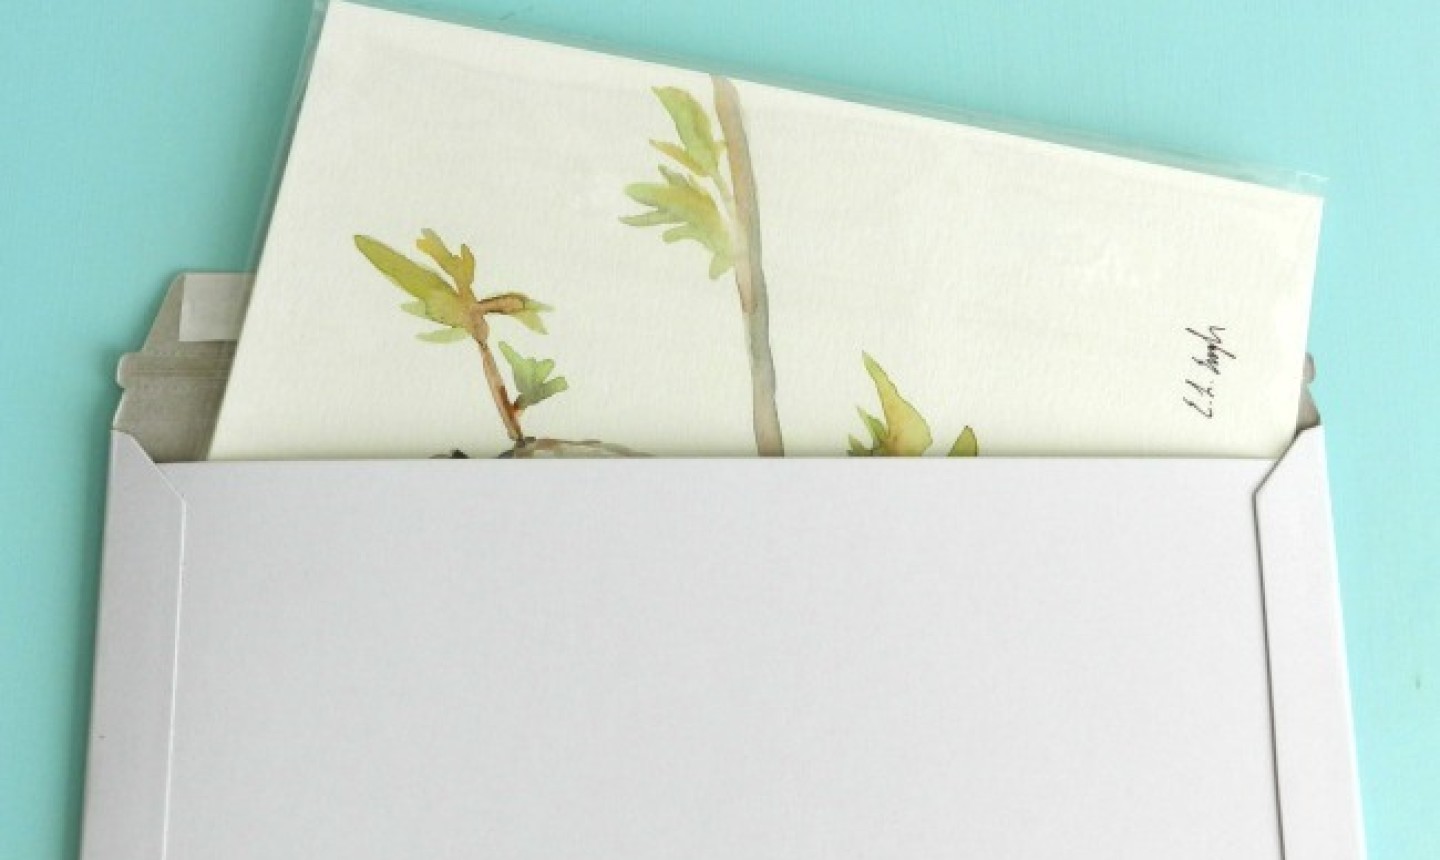
Carefully slide your painting into a rigid cardboard mailer. Fold over the flap and seal it.
Pro Tip: It’s always a good idea to apply clear packing tape along the edge of the flap as well, to prevent it from ripping open in transit.
3. Add the Labels
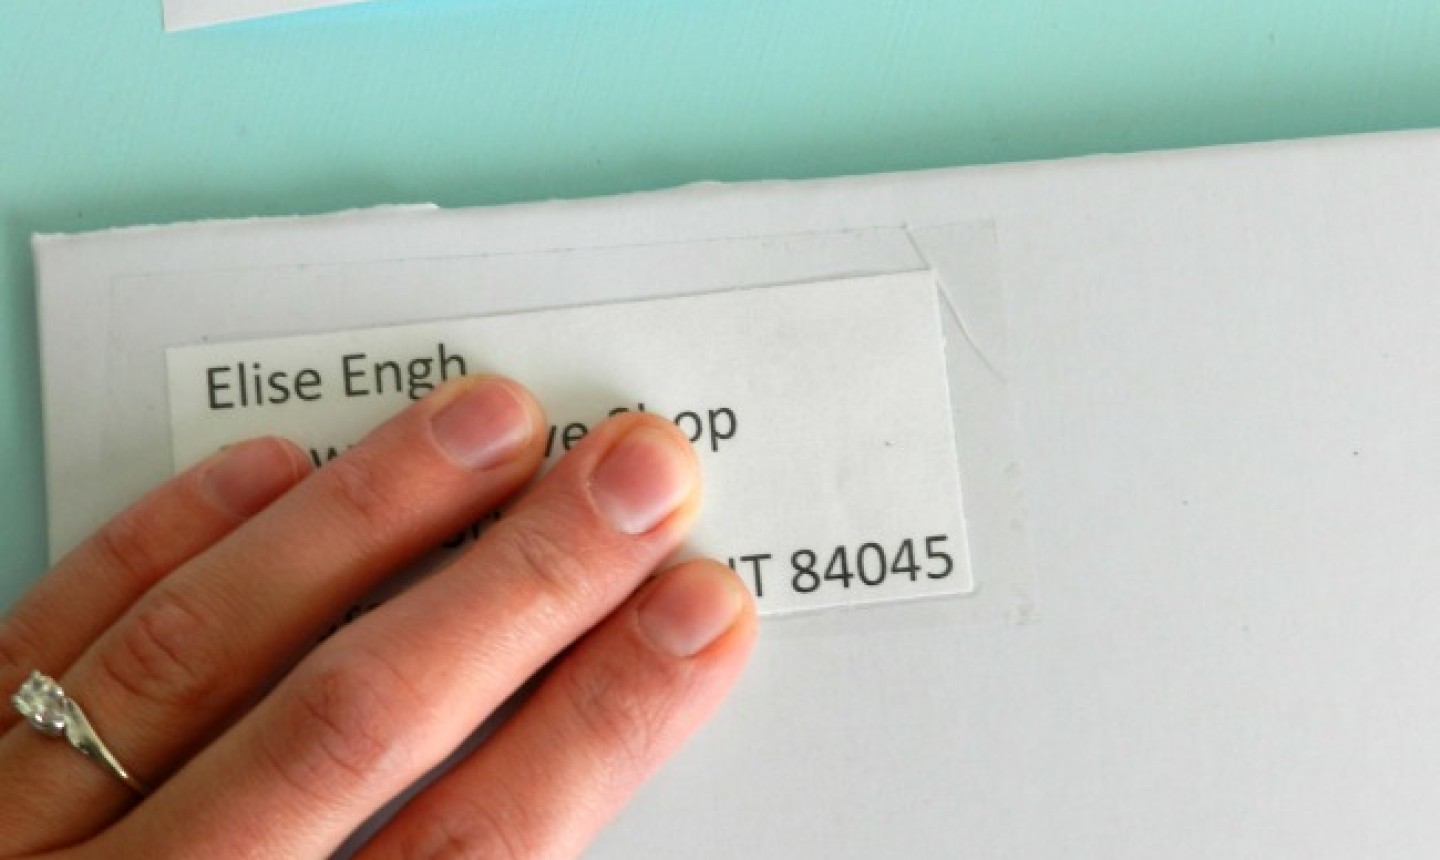
Apply labels on the front of the mailer. You can use fun sticker labels or, if you want to be more economical, print the addresses on computer paper and tape them down with clear packing tape.
Pro Tip: Make sure you cover any computer-printed labels with tape so they don’t get ripped or smeared from moisture. Never write your labels on with a marker or pen unless you also cover those with tape. They can easily smear during the shipping process, and you want to keep your addresses legible!
How to Ship a Large Painting
What You Need
Instructions
1. Roll It Up
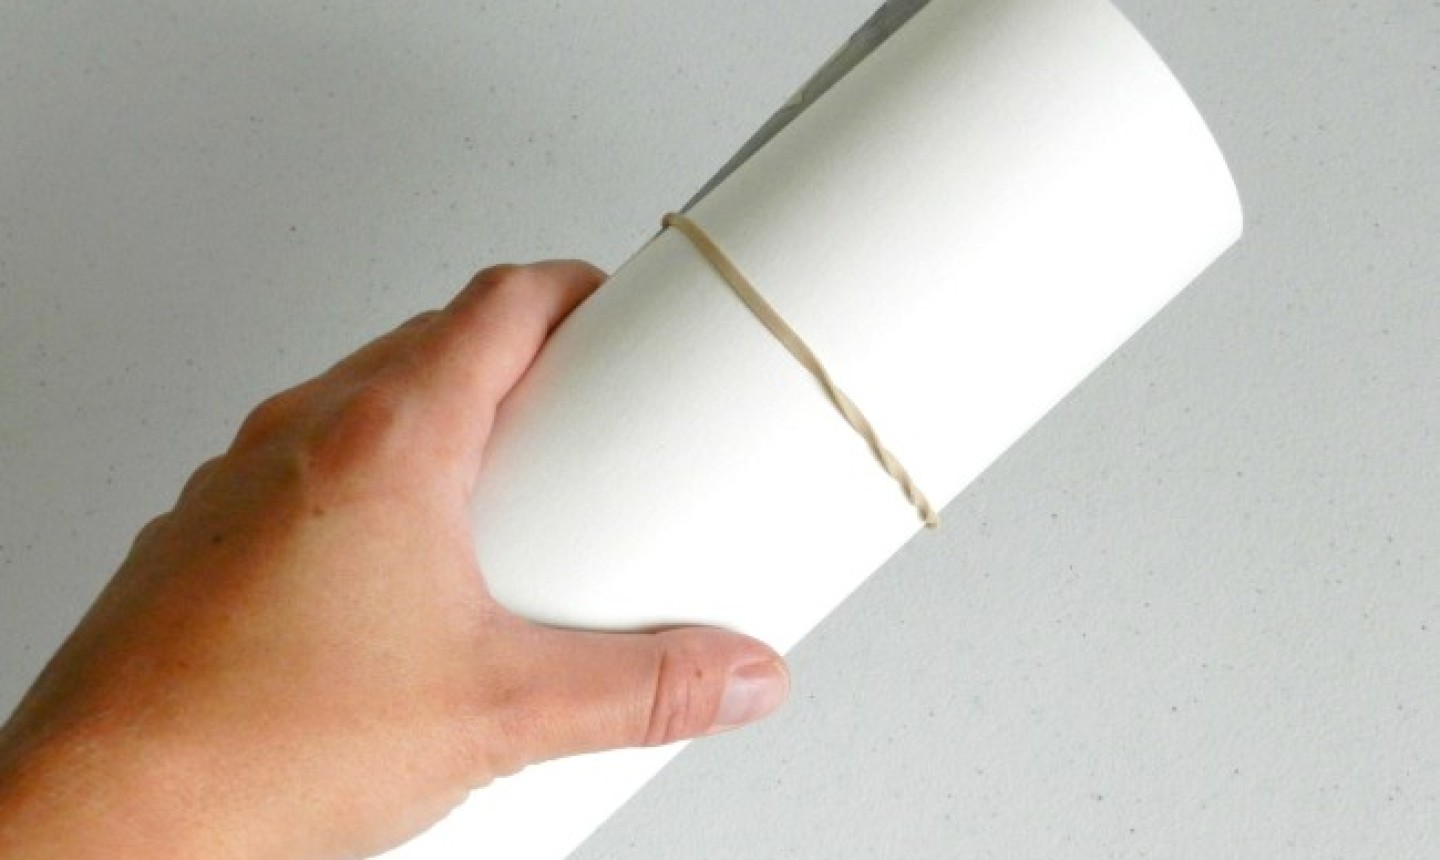
Carefully roll your painting and secure with a rubber band on each end. Place your painting in a clear plastic bag to ensure it won’t get wet.
2. Use a Mailing Tube
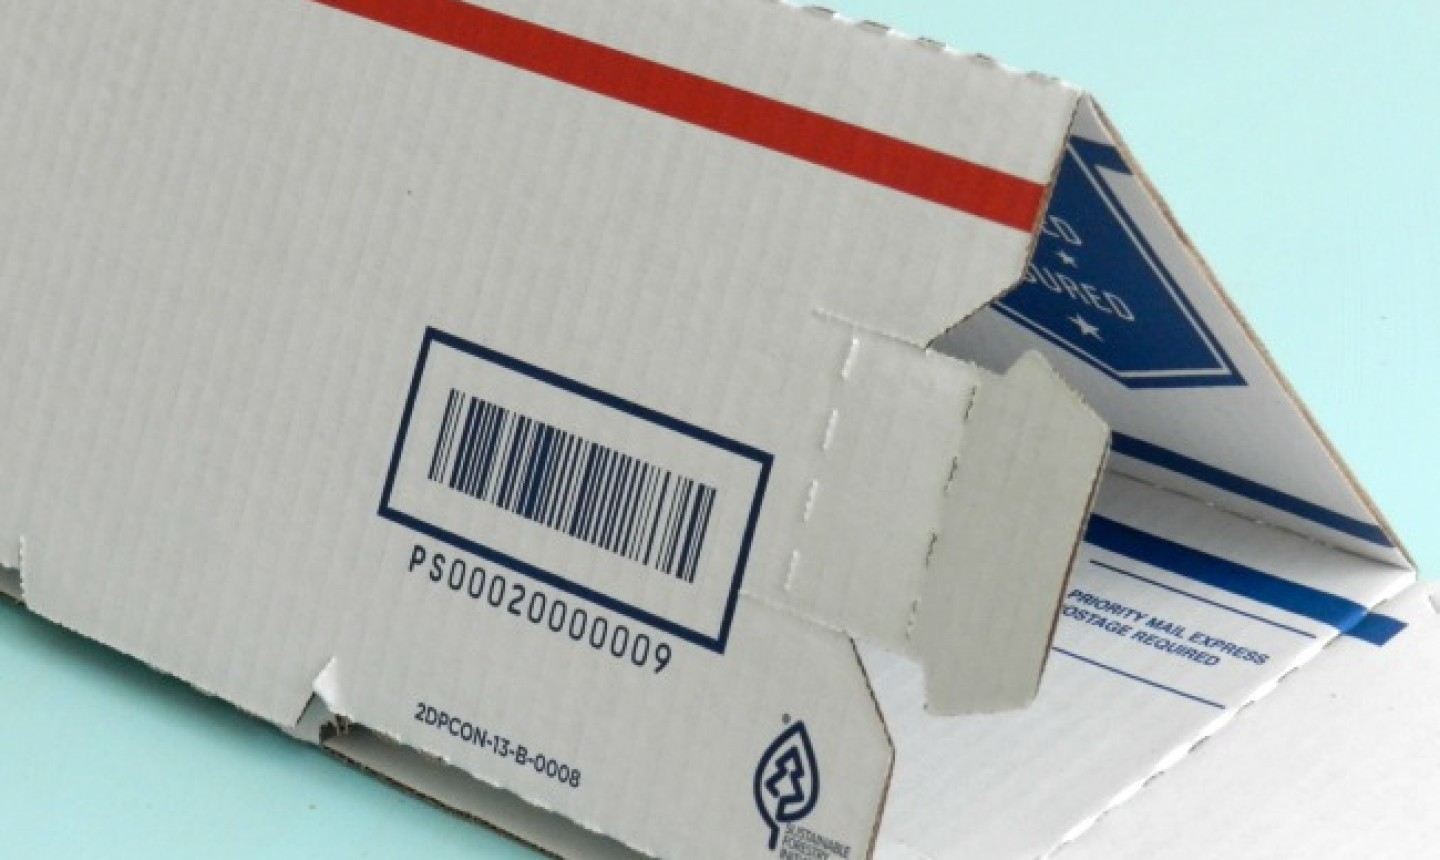
Place the painting into a mailing tube. (You can use round or triangular ones, like what’s shown above.) Seal all the seams and both ends with packing tape.
3. Add Your Labels
Place your labels on the outside of the tube securely with tape, and you’re ready to ship!
How can you ship a large pairing that cannot be rolled up? It’s on canvas ..
Would you recommend laminating a watercolor picture?