
There’s nothing worse than picking a dreamy fabric to work with, only to have it turn into a total nightmare when the edges start to fray. By the time you get to the hemming stage, it can feel like over ¼” of your seam allowance has — poof!— vanished into thin air.
Unfortunately, fraying is an all-too-common occurrence, especially when working with sheer and lightweight materials. But don’t give up on these finicky fabrics — we’ve got a secret way to contain the fray. And while It adds a bit more prep time to your project, it works. Once you try it, you’ll never fear the sheer again.
How to Stop Fabric Fraying
Level: Easy
What You Need
Instructions
1. Cut Your Pattern Pieces
Cut out all the pattern pieces with an extra ⅜” added to the seam allowances. This means seam allowances go from the traditional ⅝” to 1″.
2. Cut the Interfacing
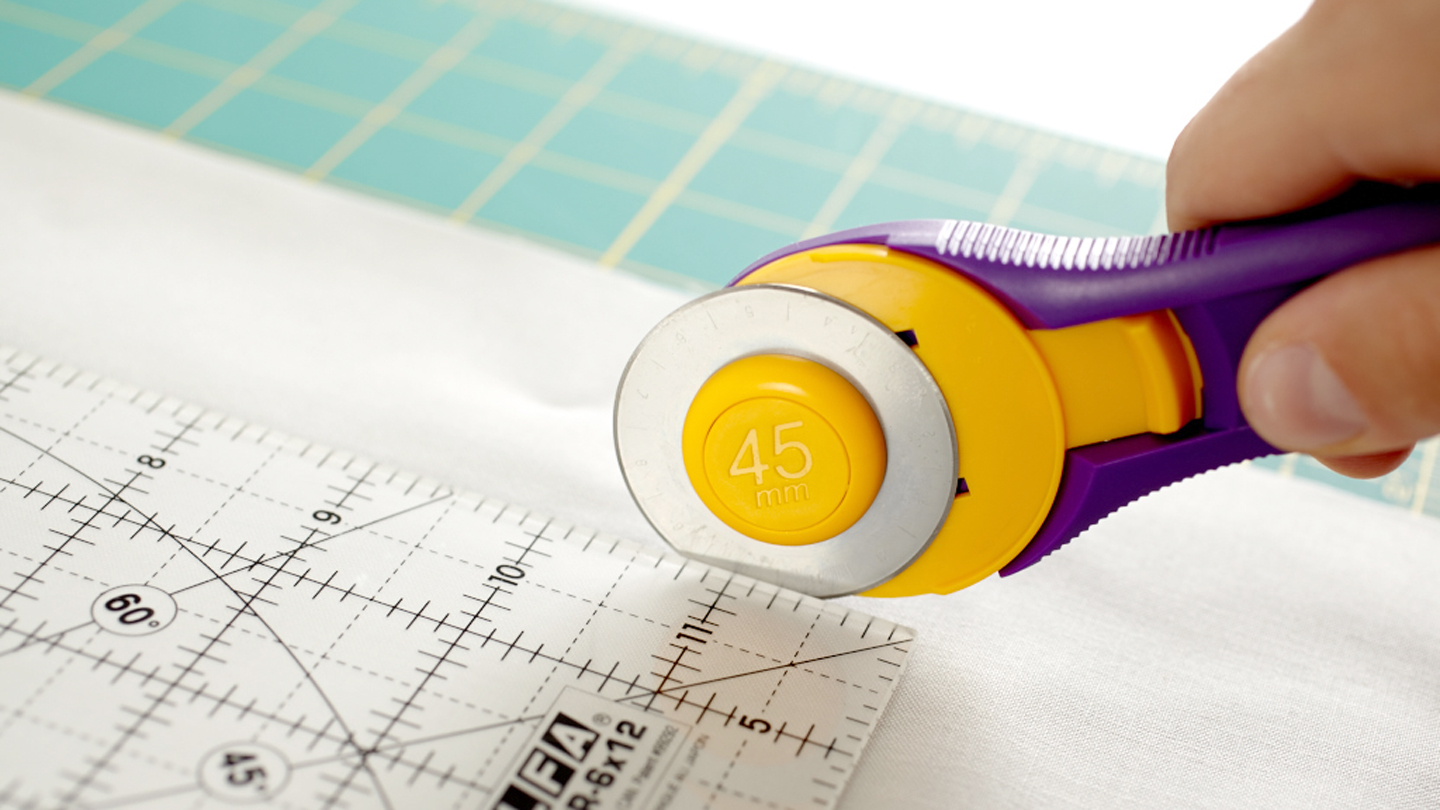
Using a clear ruler and a rotary cutter, cut ¼” strips of lightweight fusible interfacing — lots and lots of them.
3. Iron the Edges
Iron the fusible interfacing to all the edges of your pattern pieces. This seals the fabric edges and will prevent (or at least dramatically minimize) any fraying.
Pro Tip: If your fabric is slippery, lay a strip of interfacing glue side up on your ironing board. Place the wrong side of the fabric over the interfacing, lining up the raw edges. Press and fuse the two pieces together.
4. Stitch a Seam
Now, let’s deal with that extra seam allowance we added in step 1. We’re going to make a French seam — these work well with delicate fabrics and create a beautiful finish.
Rather than sew your French seam wrong sides together using a ¼” seam allowance, sew it with a ⅝” seam allowance. Then, trim the seam down to between ⅛-¼” to get rid of the ironed-on interfacing.
Continue with your French seam as usual — excessive fraying is officially contained.
Pro Tip: If doing this for every seam feels excessive, target where fraying is the most problematic. Hems are usually the last step in garment construction and are most vulnerable, whereas shoulder seams are less likely to fray.
I'm using my new Cricut Maker to cut my fabric. The fabric is mounted to a sticky mat. Iron-on interfacing won't work for me, in this instance. I'm going to try starching. Any other ideas?
Excellent tip that I would have never thought Of on my own!
Or just spray starch your fabric before you cut it. That will reduce fraying a lot.