
I have spent the past three months or so sharing a lot of quilling tips and projects to introduce Cratsy blog readers to the art of quilling, with the hope you may be enticed to pick up a quilling tool and a few strips of paper and giving it a twirl yourself. There is, however, something I haven’t mentioned for fear of scaring you away: quilling can be incredibly messy.
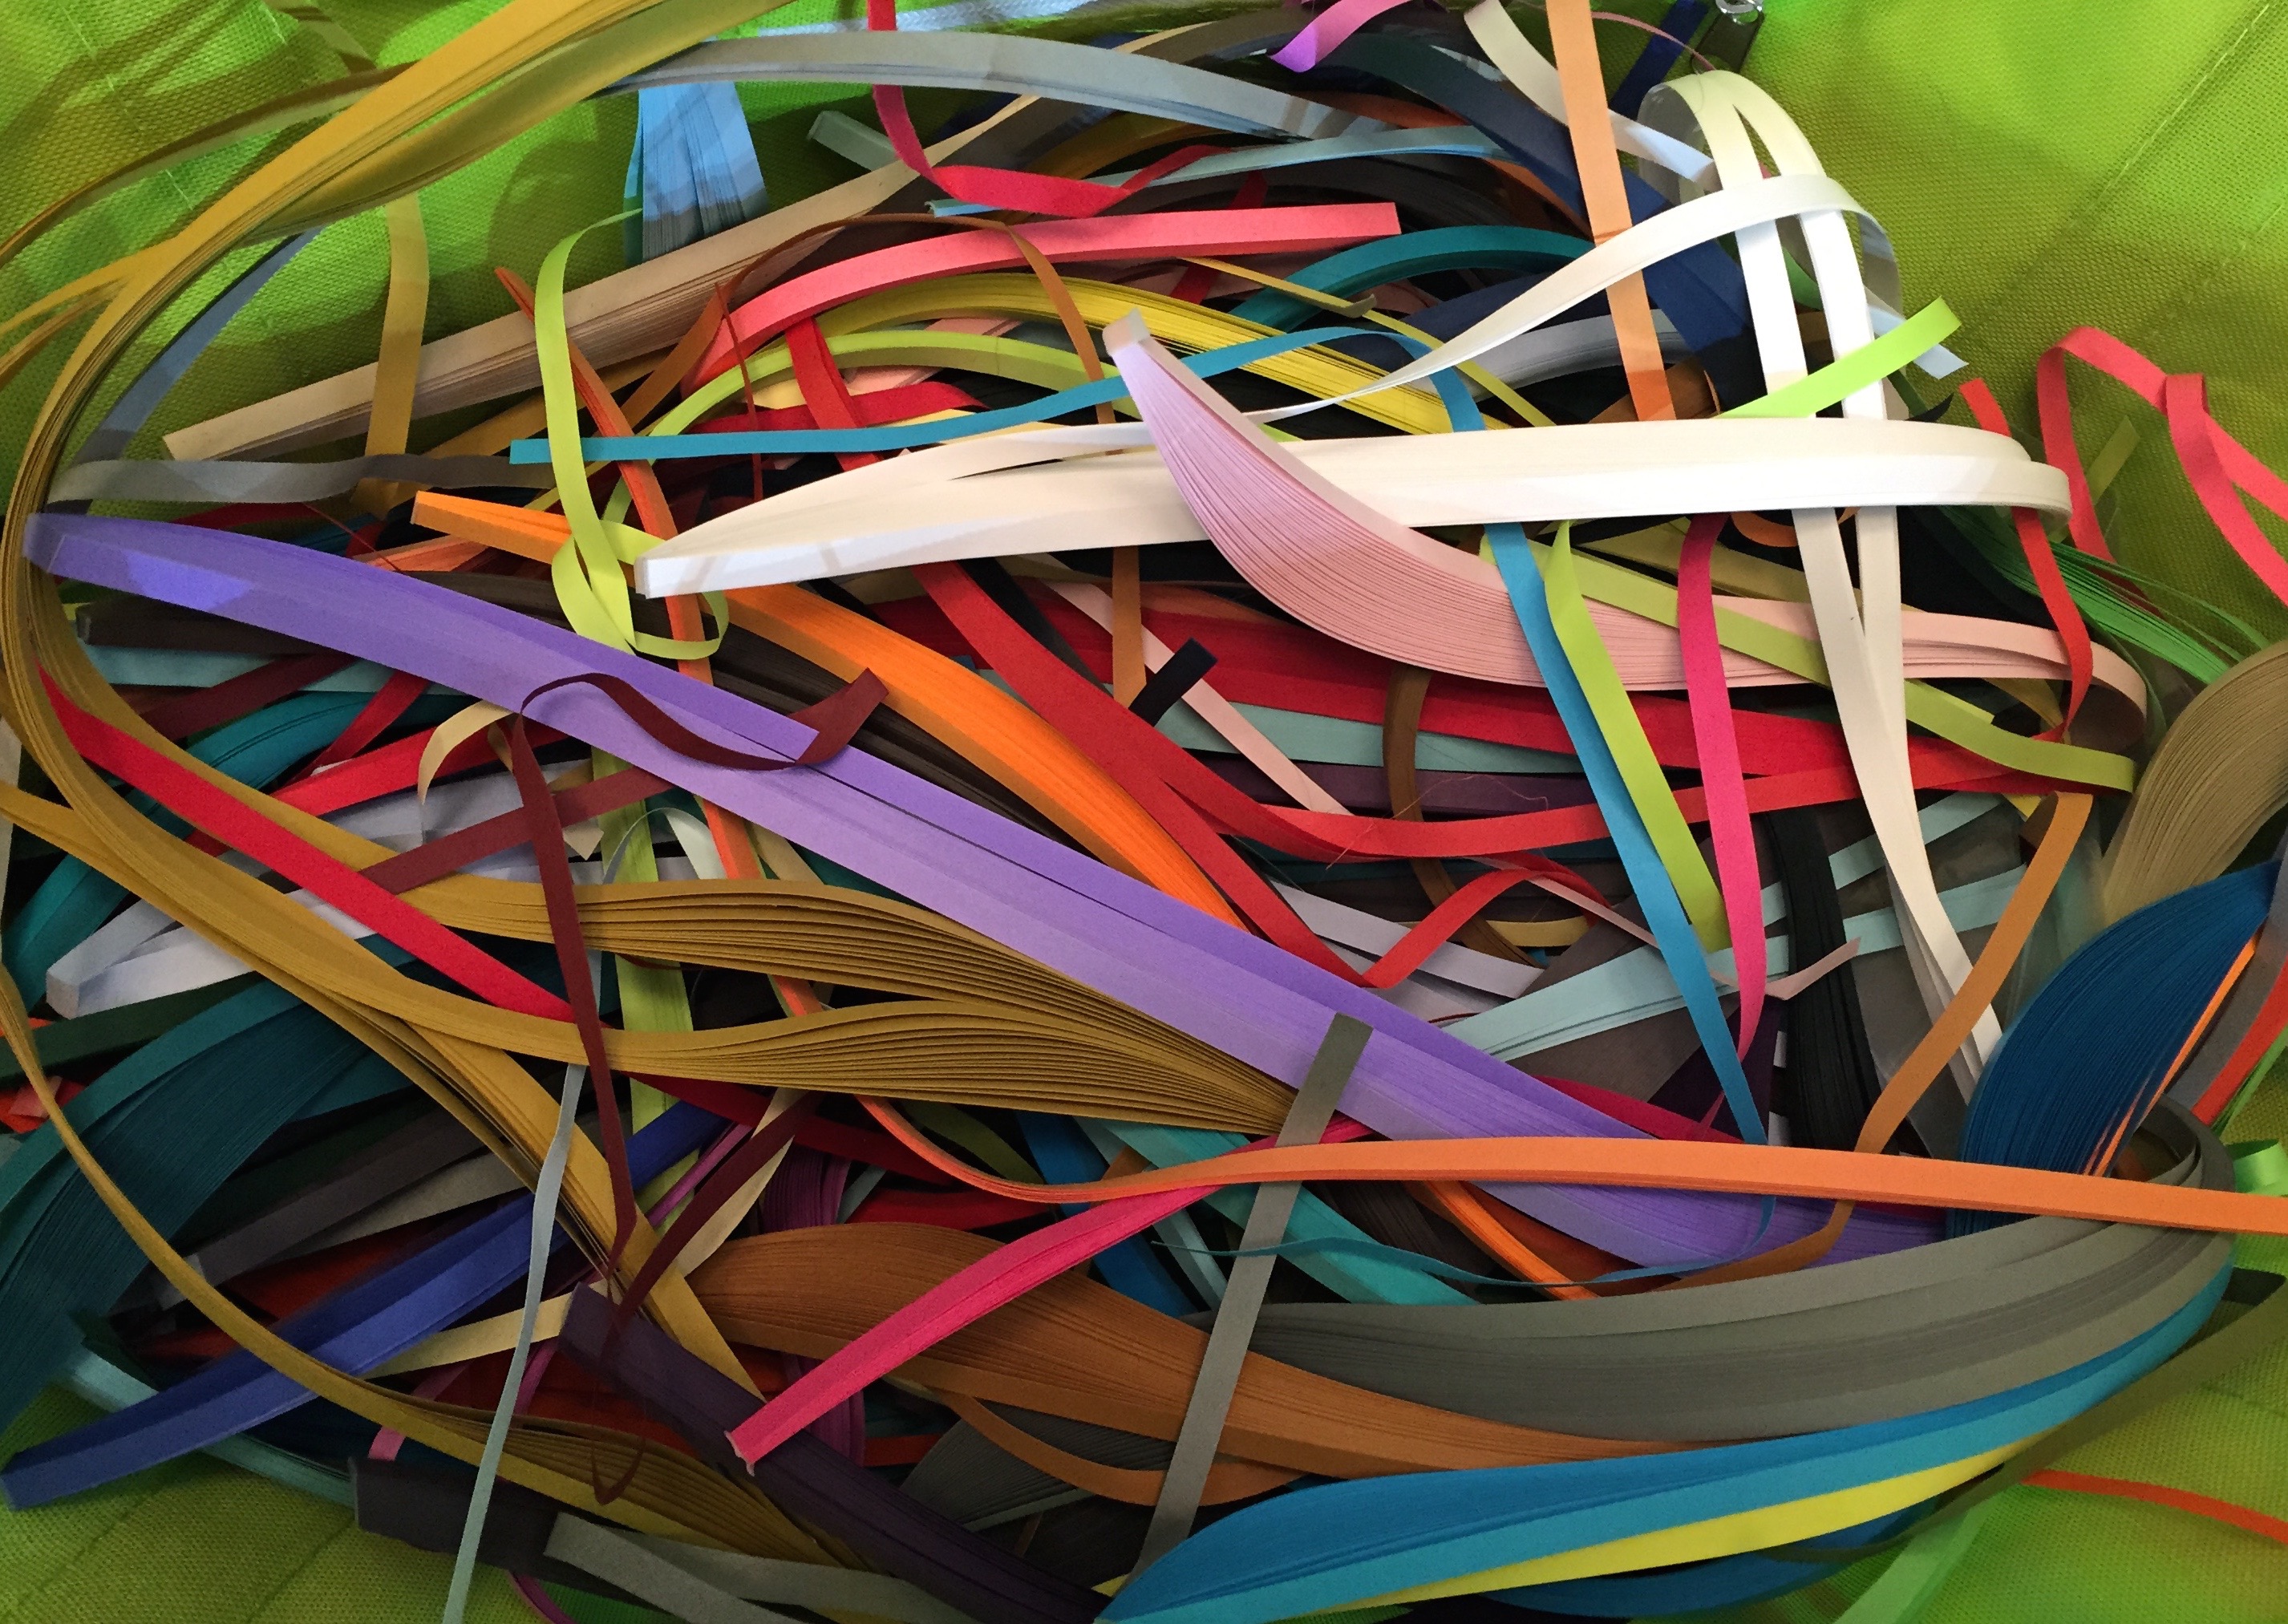
Image via Little Circles
The above photo, sadly, is one that I took just this morning of my old traveling quilling tote. All of that beautiful paper just heaped together in one big mess. How could anyone ever find the color that they need? Luckily, this is not my day-to-day reality any longer.
Since leaving my day job to open my studio and make quilling my full-time gig, I have had to get creatively organized. Today I want to share three of my favorite ways to clean up your quilling space and keep your precious paper in perfect order (plus a bonus travel tip so your strips never have to look like mine!).
For small or rented spaces: the hanger method
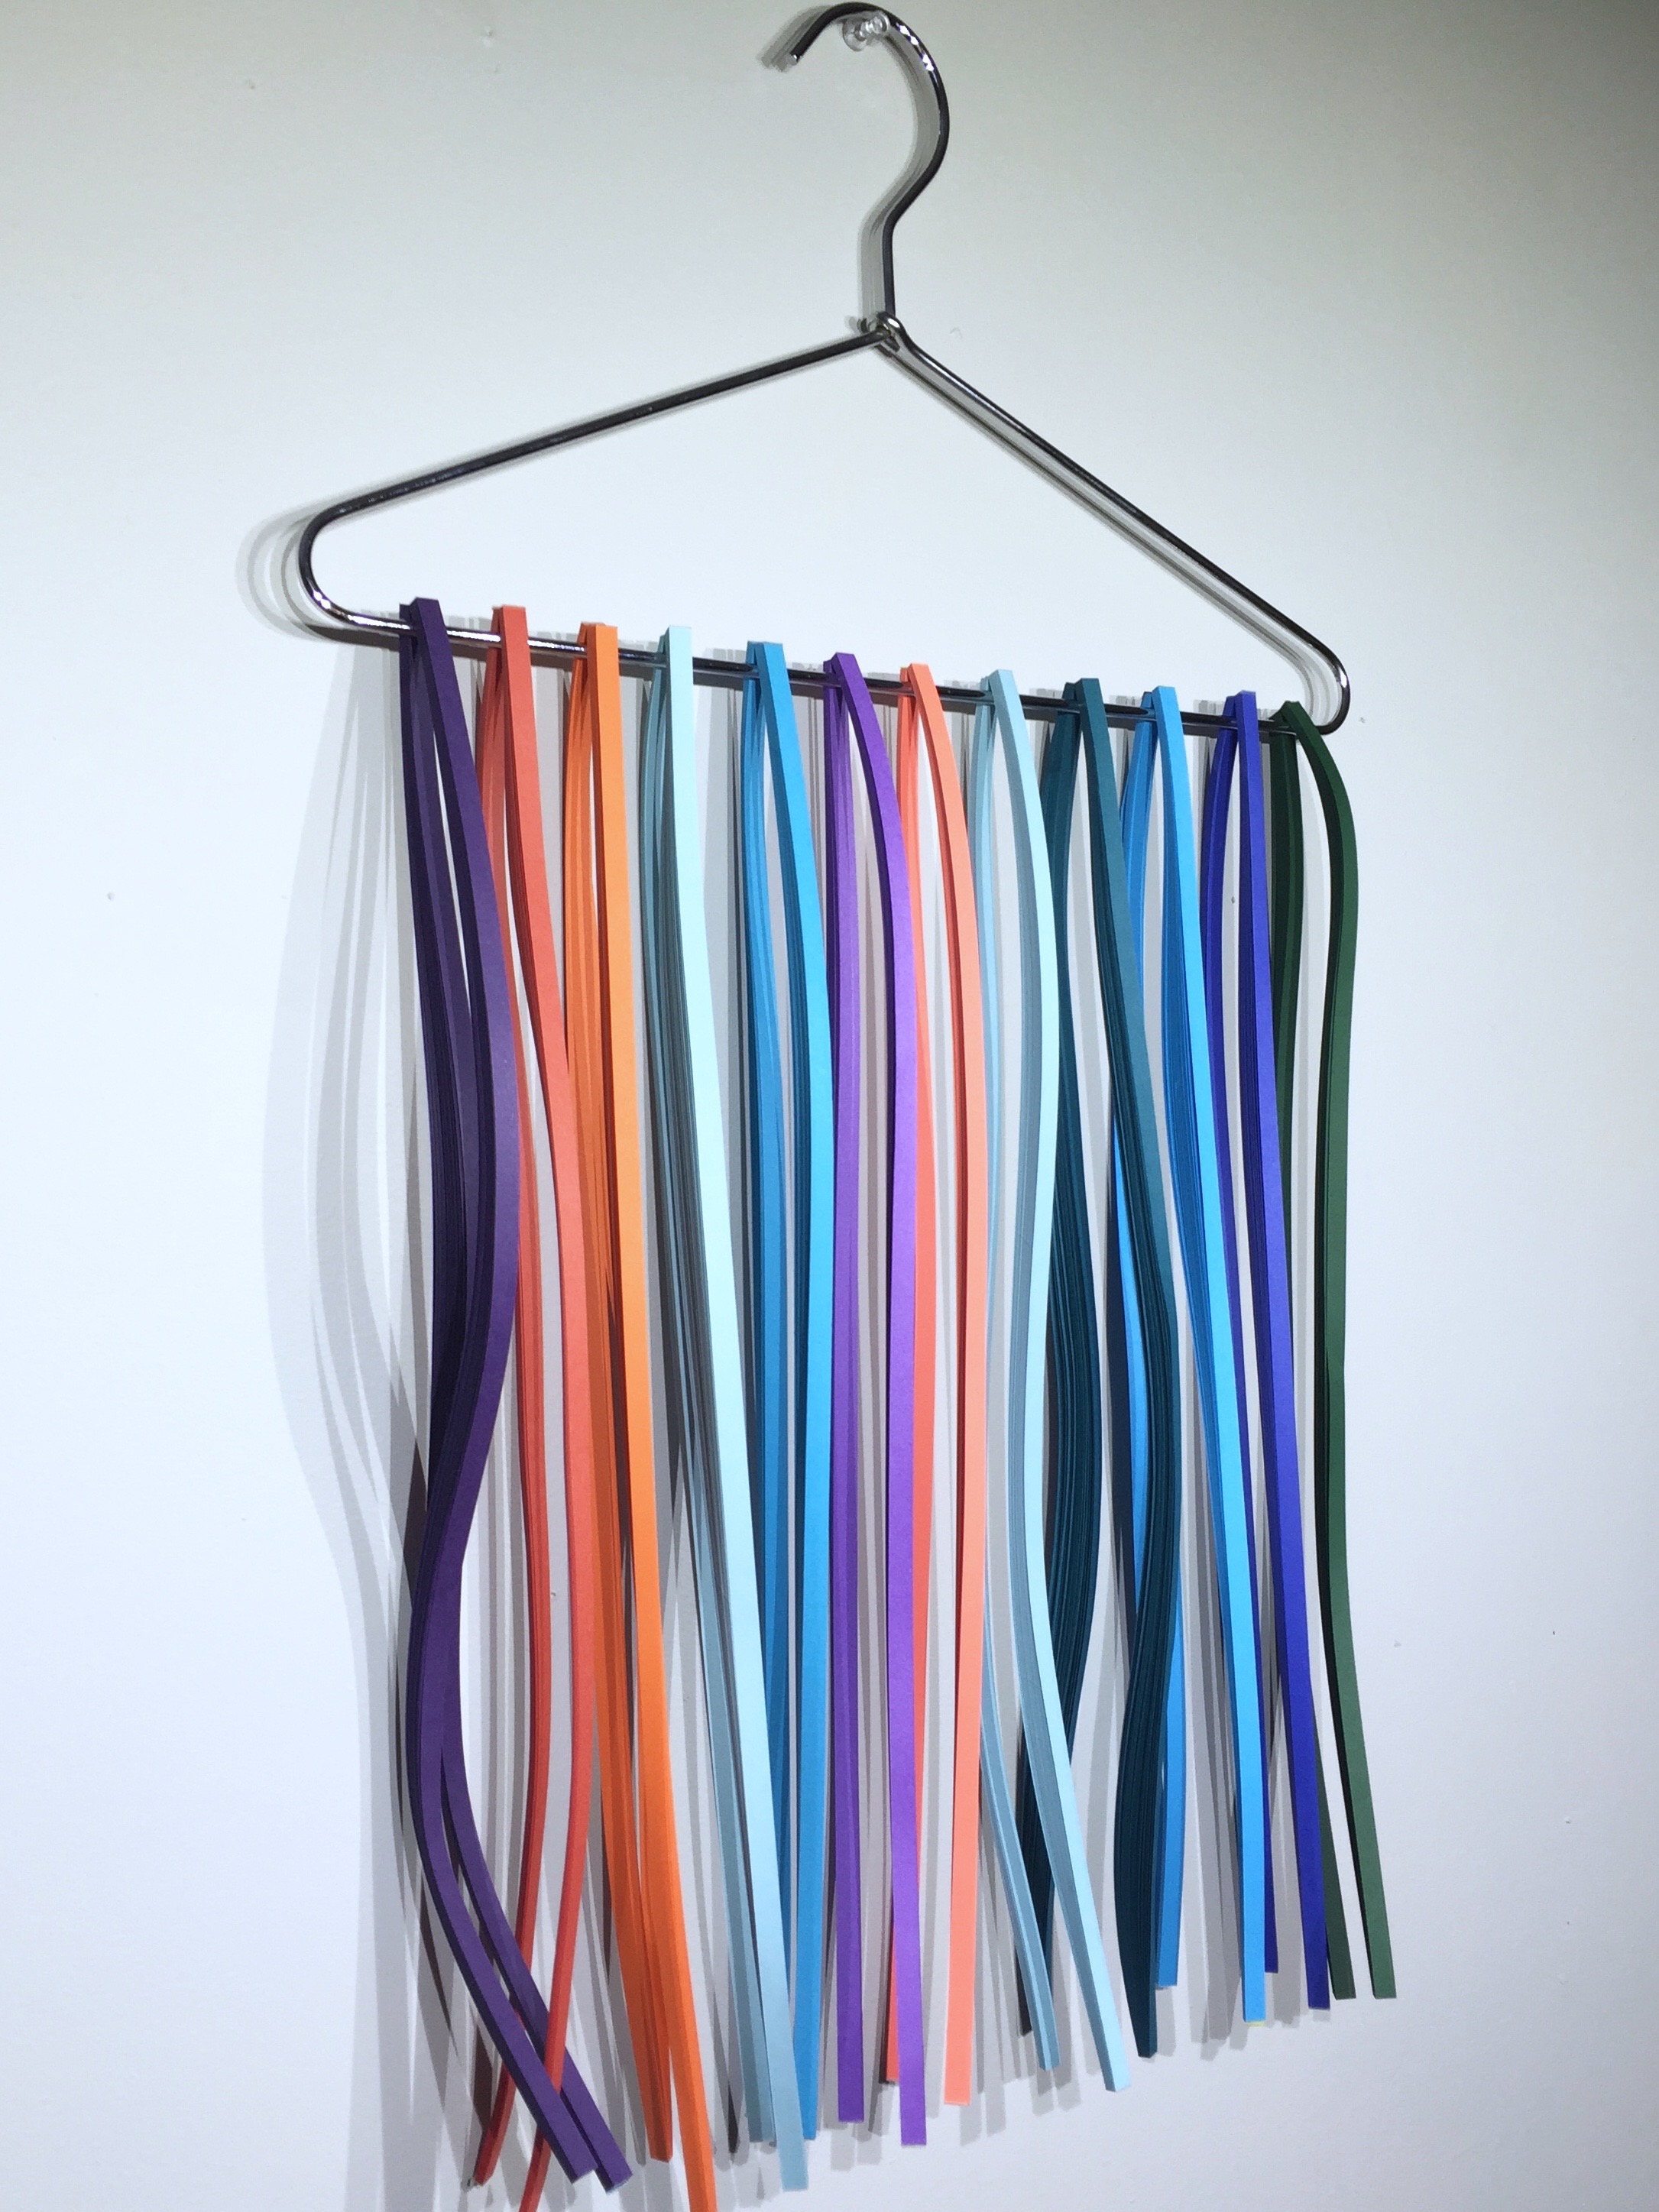
A few years ago, my family and I were fortunate enough to have the opportunity to live in Hawaii on the island of Oahu. To live near the beach in this expensive state, my family of four had to rent and live in a small apartment of just 400 square feet. I was very actively quilling at the time, so I had to get extremely creative in storing my goods. That is how the hanger solution was born.
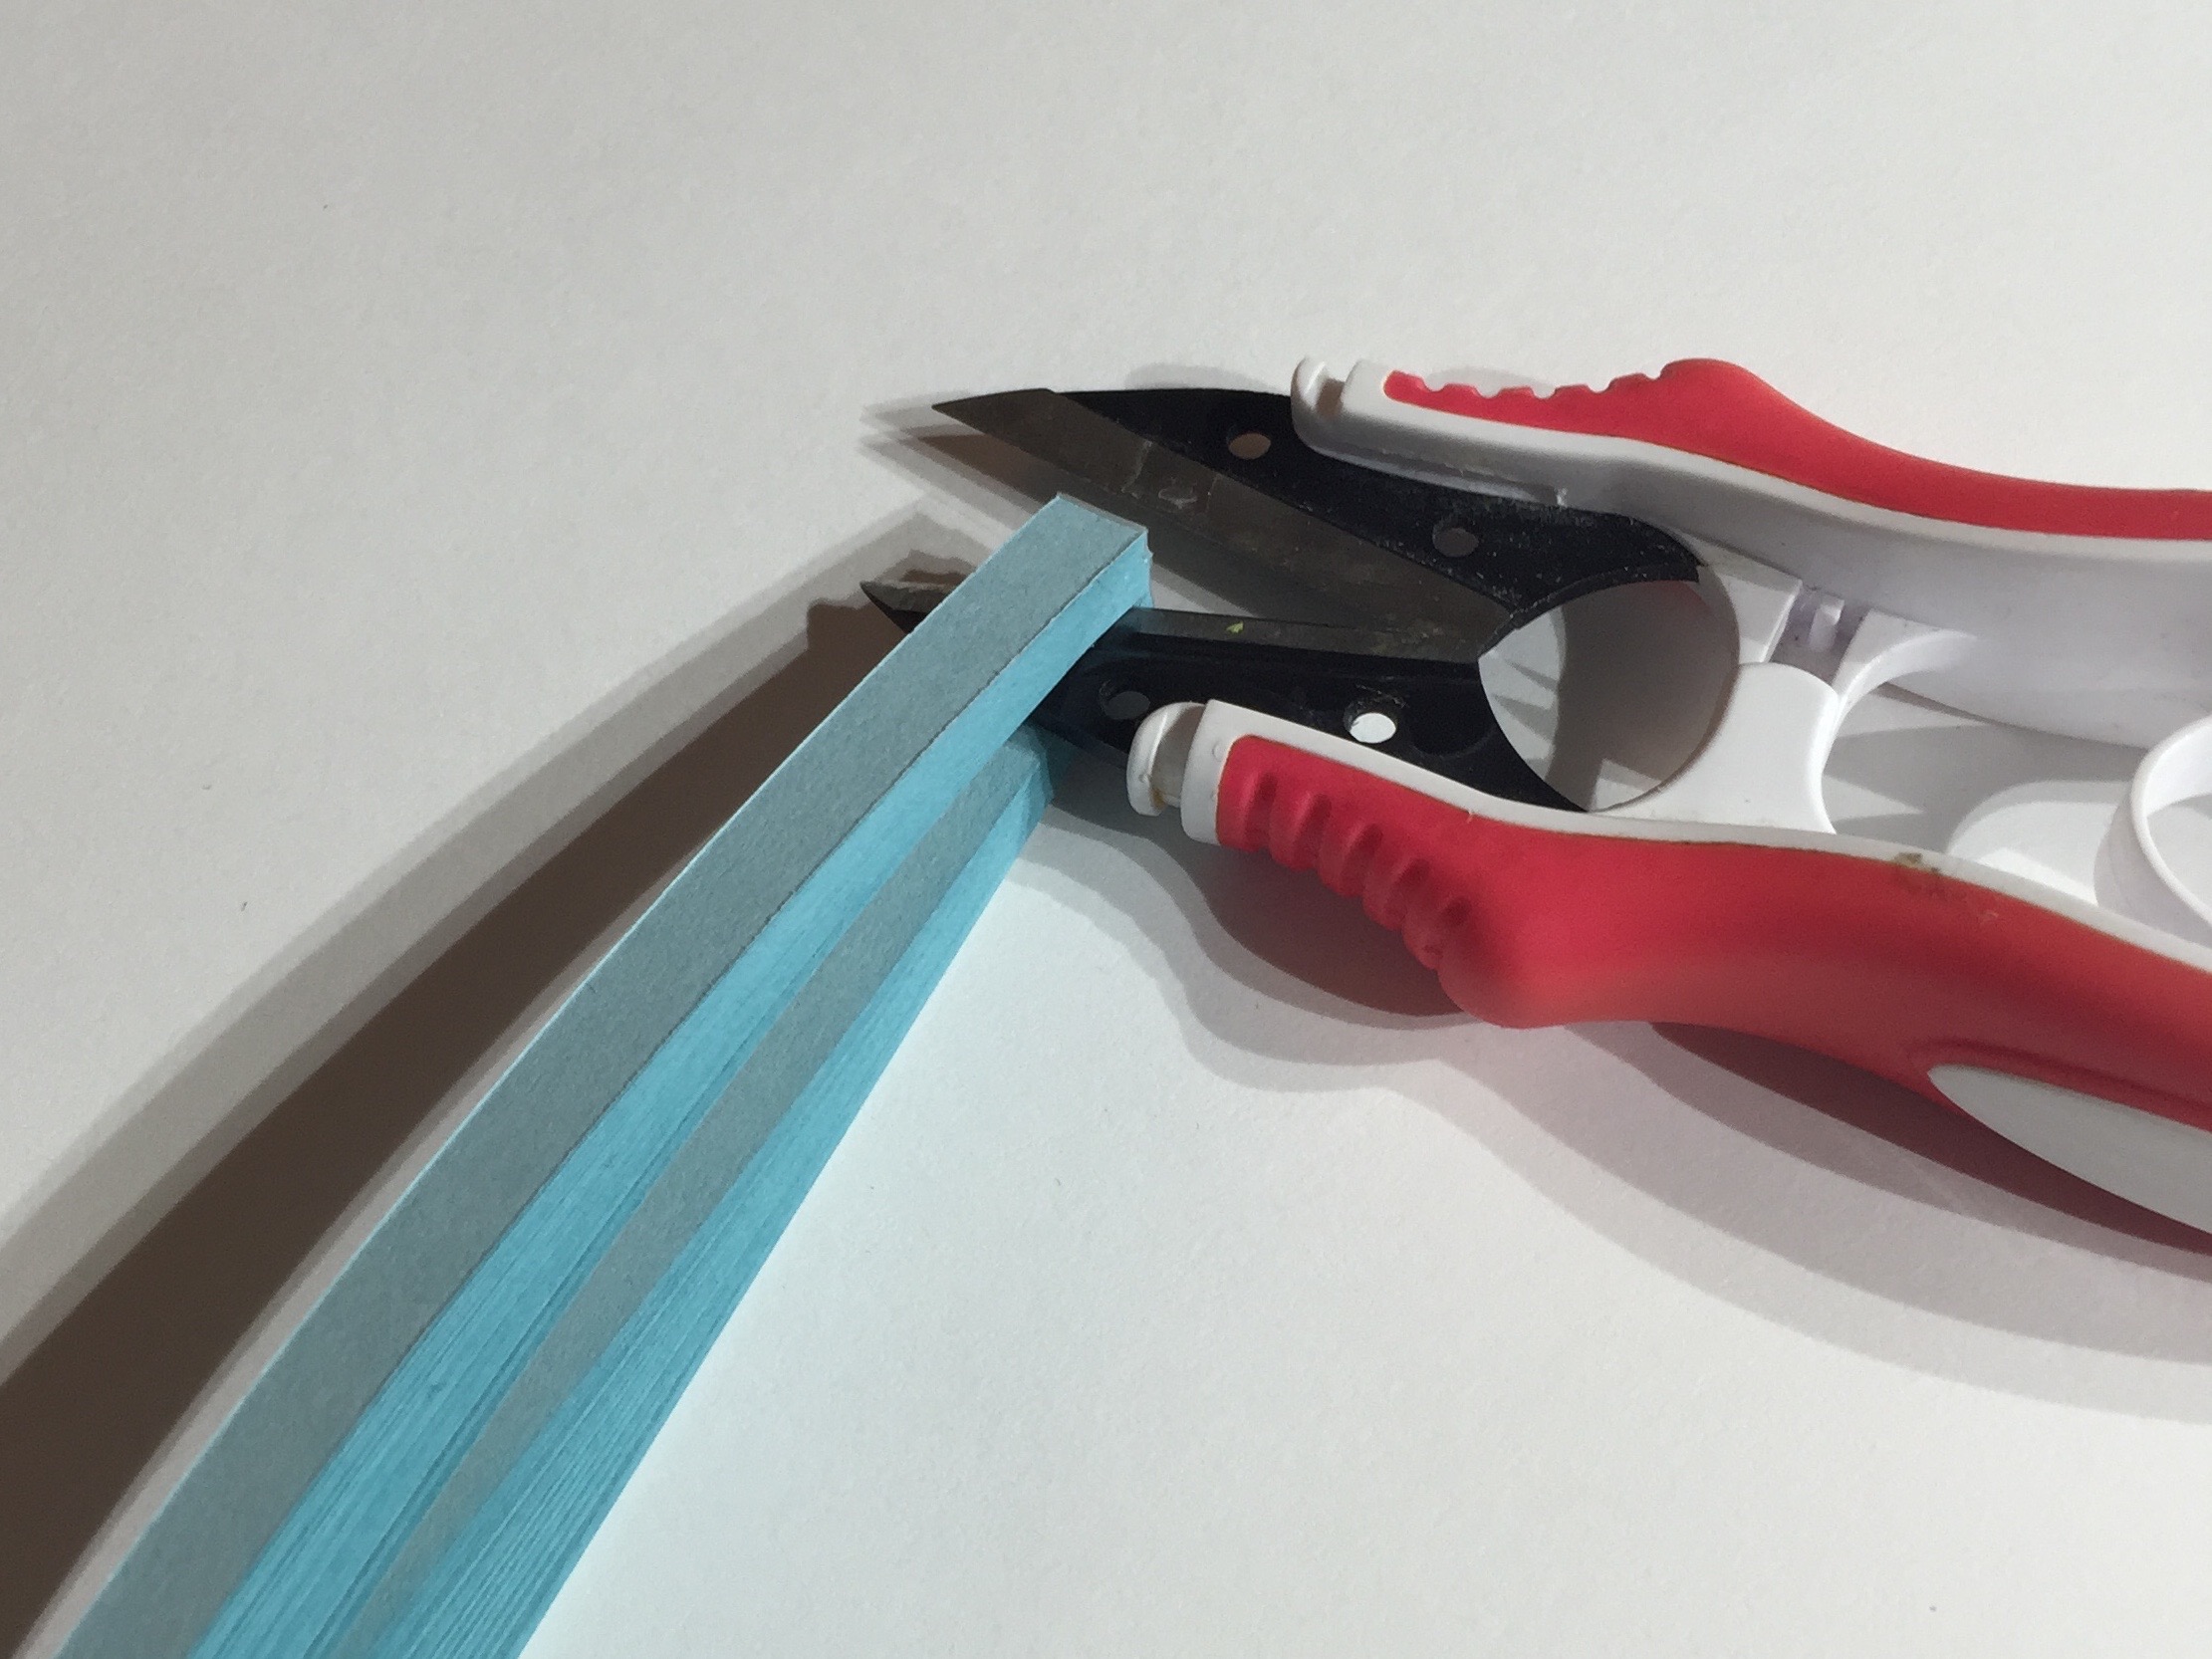
Simply cut a set of quilling strips in half on one end using scissors to drape over a hanger. Please note that it is very important to divide them with scissors versus tearing them apart with your hands; strips can come loose when doing it this way and create even more chaos.
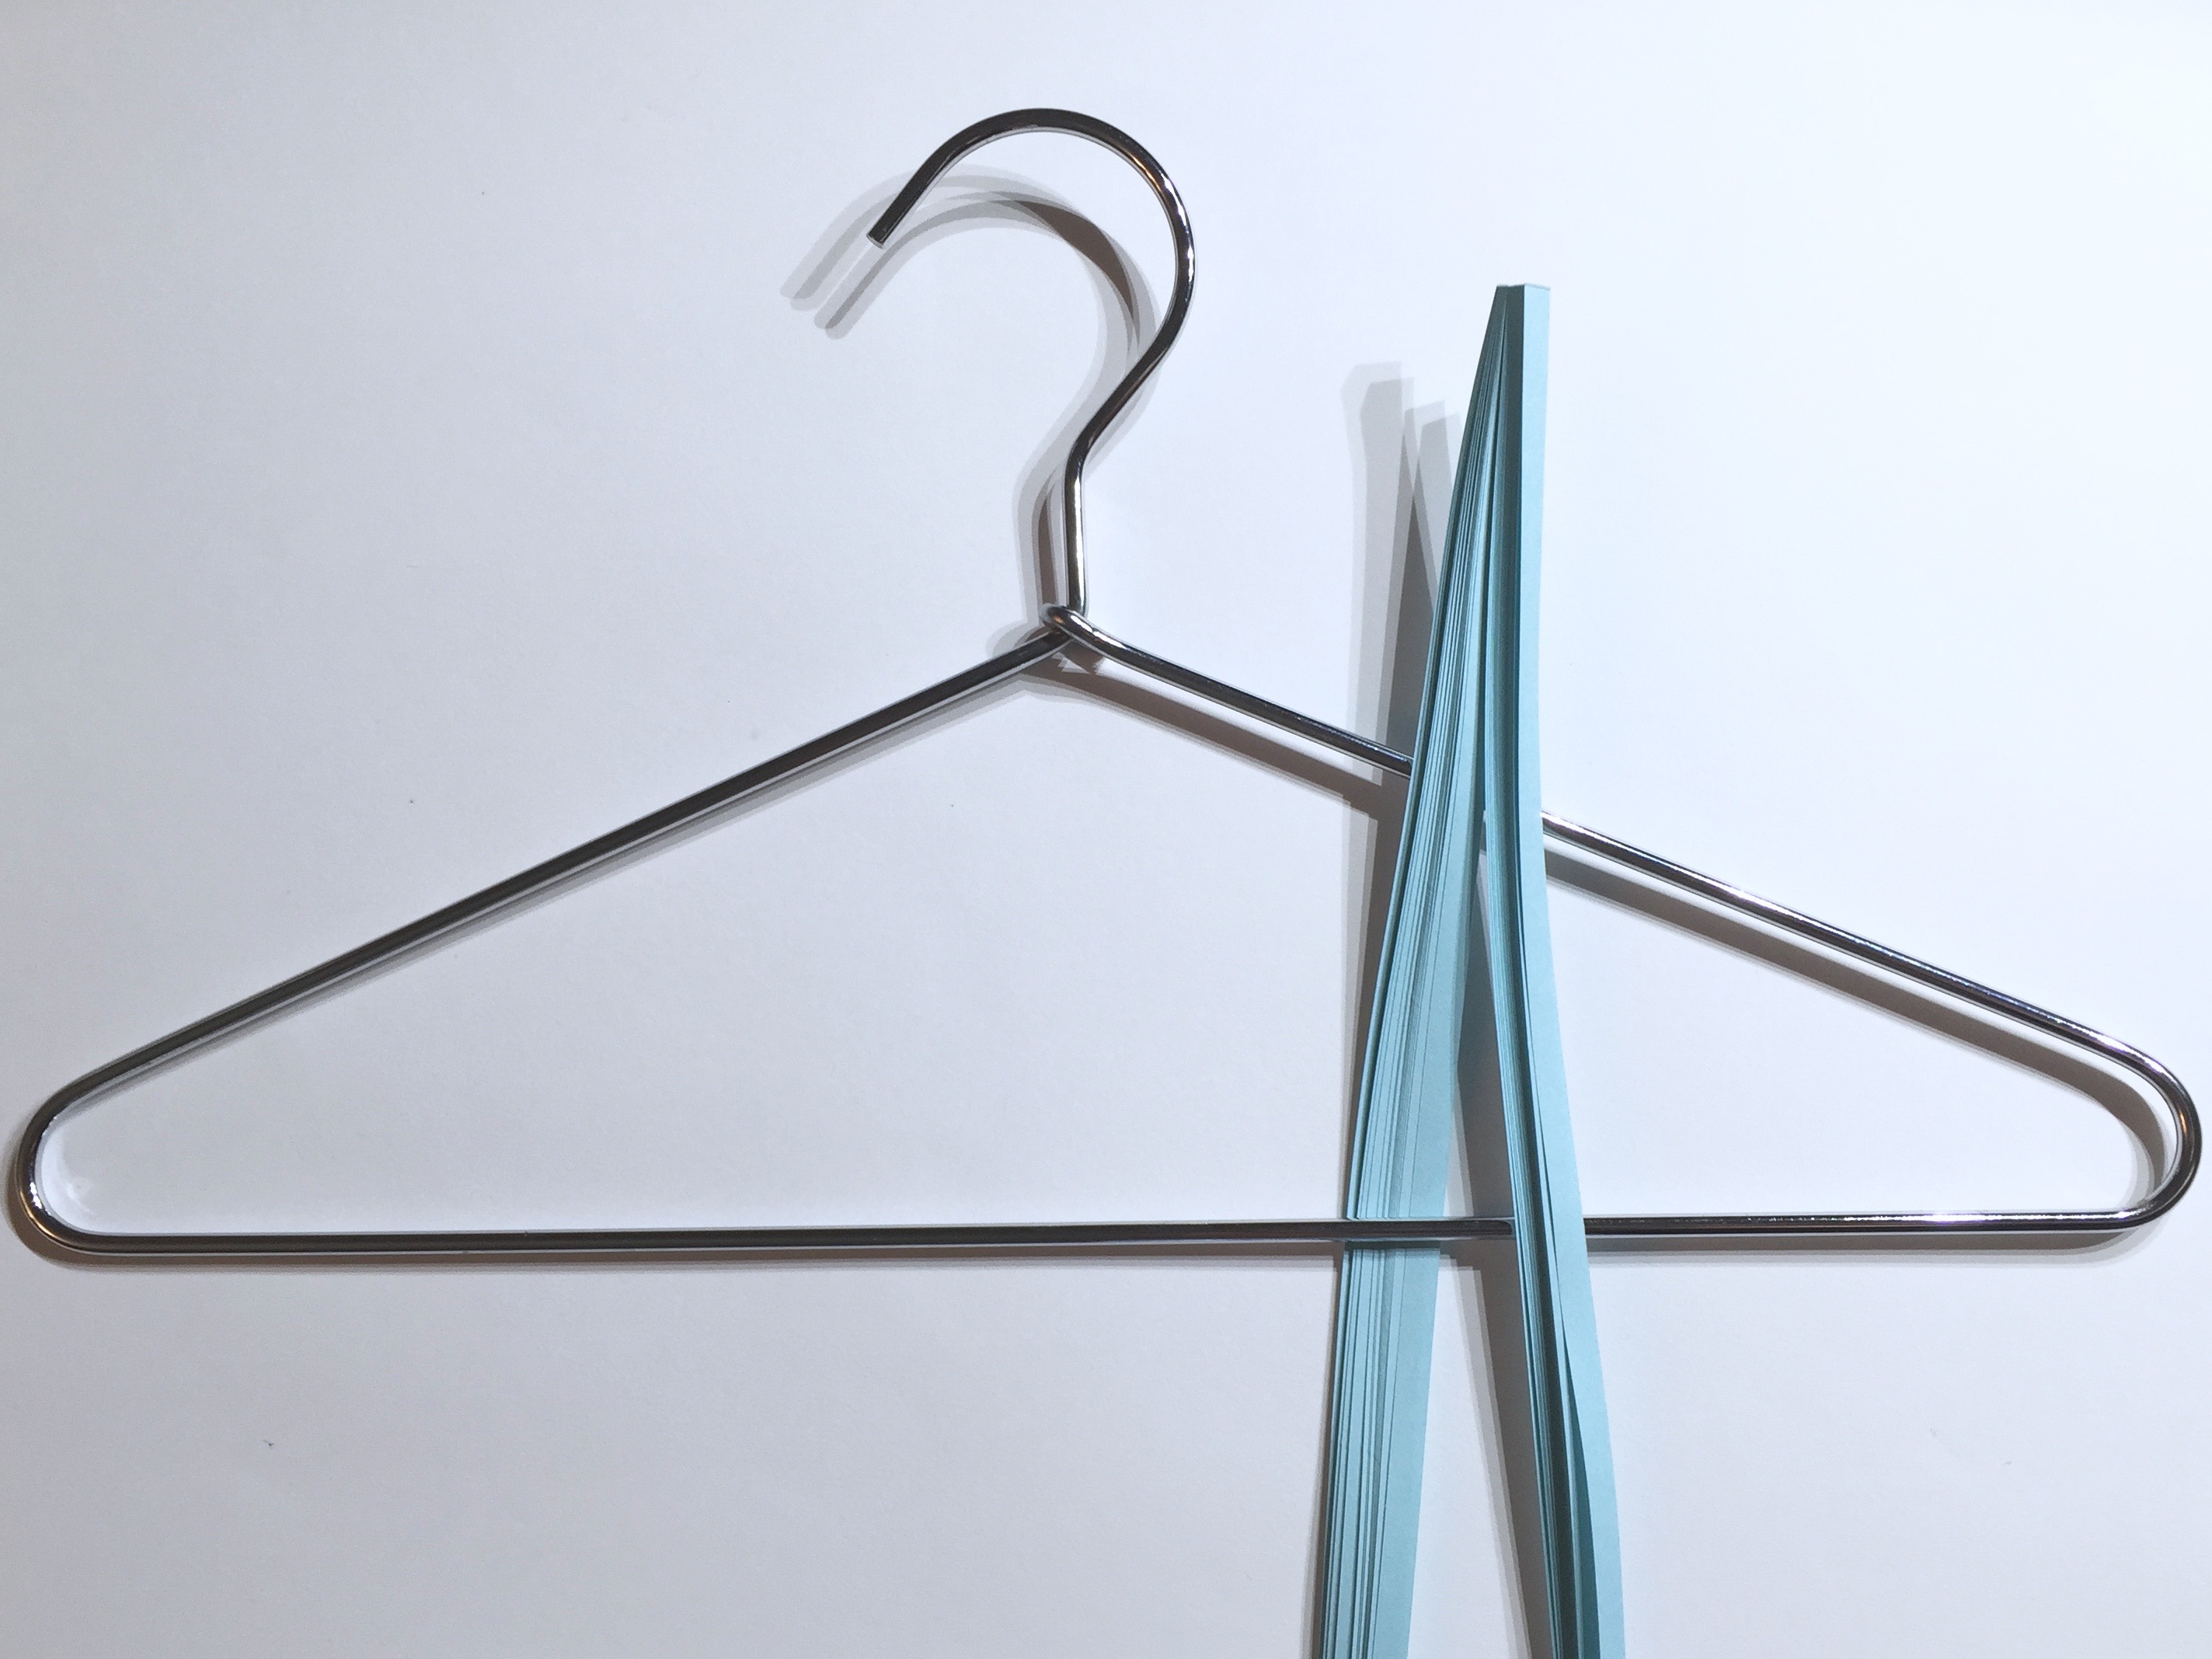
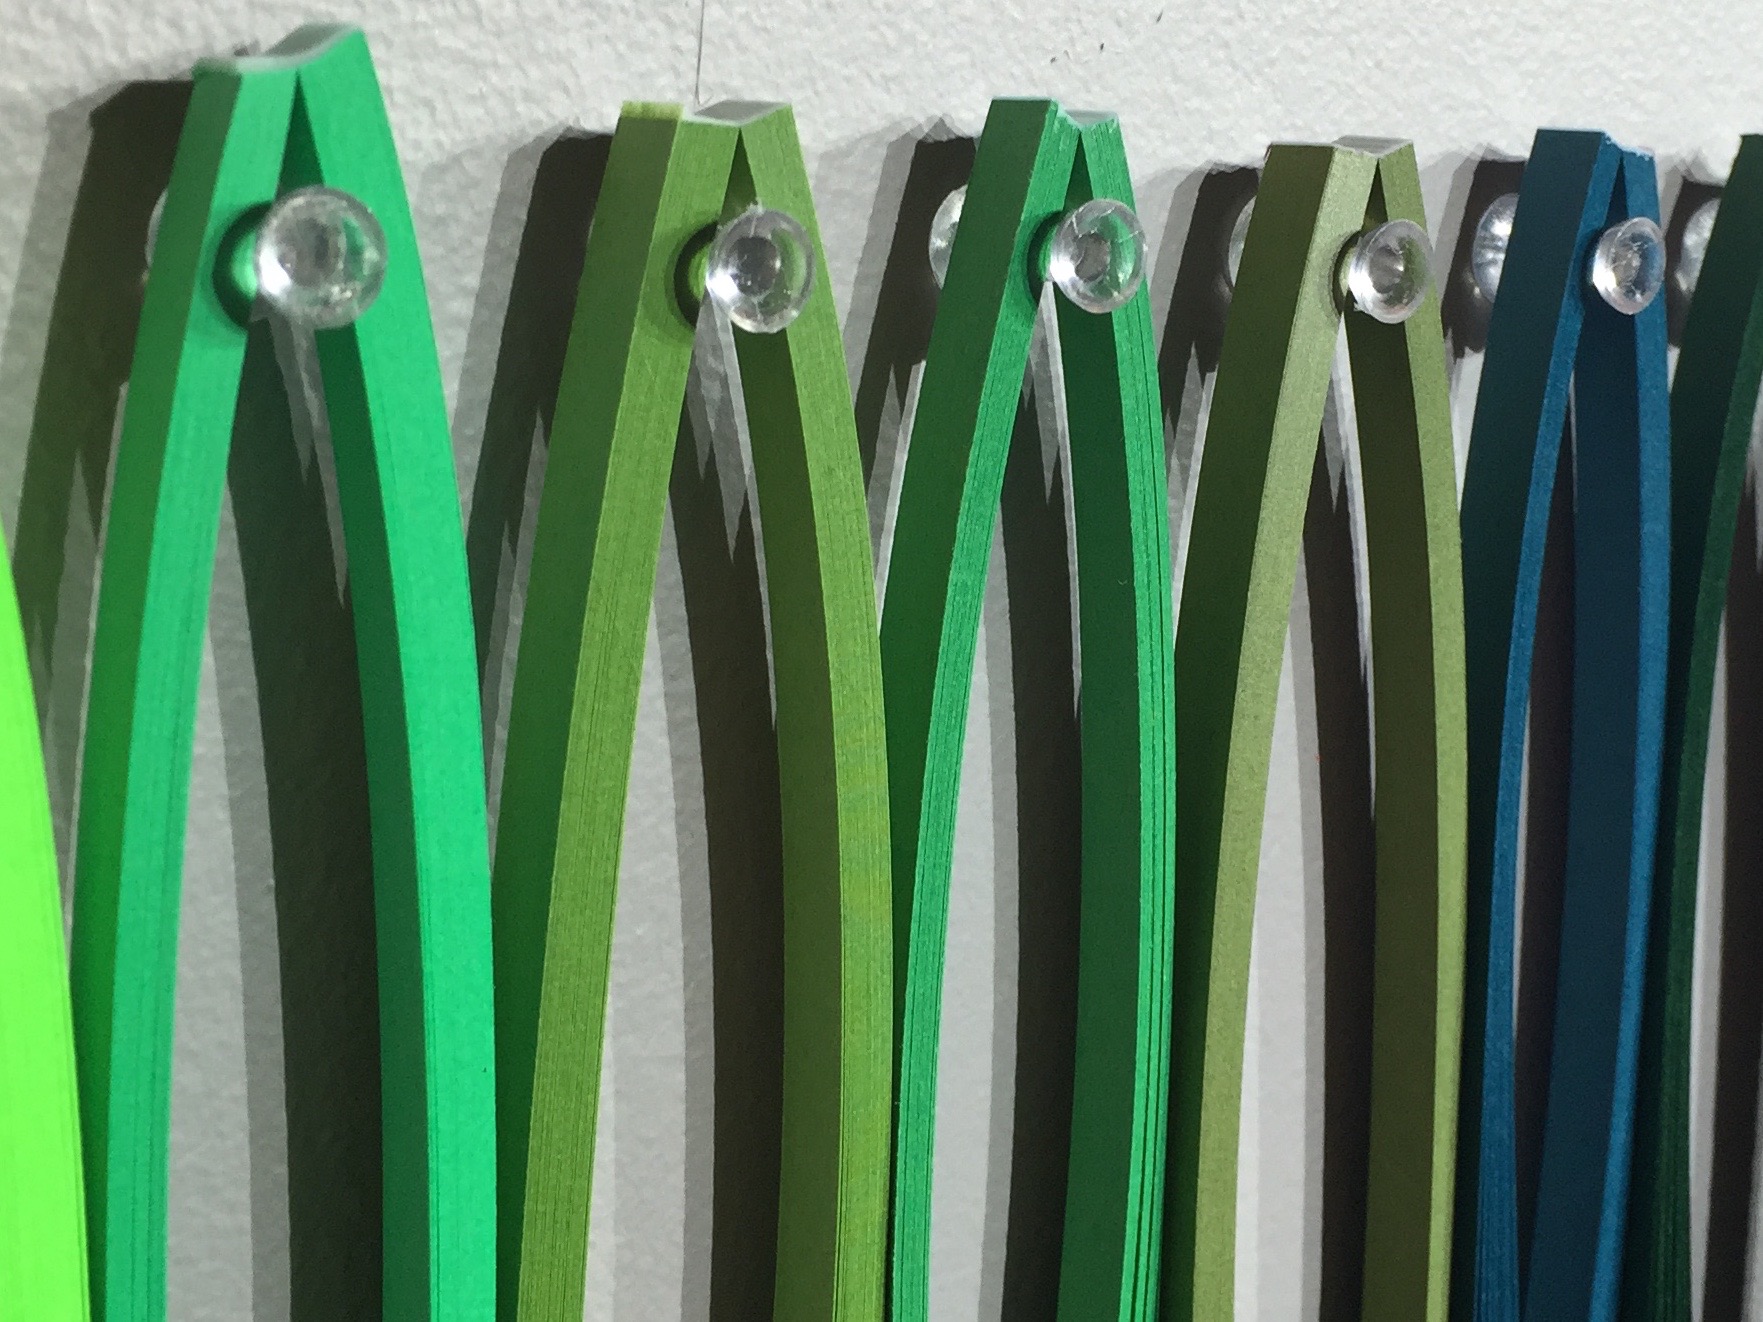
After you split your strips, you can place them all on one hanger or divide them on to multiple hangers, depending on how much you are working with. I have a lot of colors, so I chose to hang my six hangers on a wall in our apartment. They were lovely to look at and I had just a few small holes to patch before we moved out. If this is not an option for you, they can easily be hung up in a closet, too.
When space is not an issue: the tack solution
Once we left the island and returned home to open my studio and quilling business, I had a little more freedom when coming up with a storage solution. I wanted something that was both practical and pleasing to look at, since people often stop by to see what I am working on.
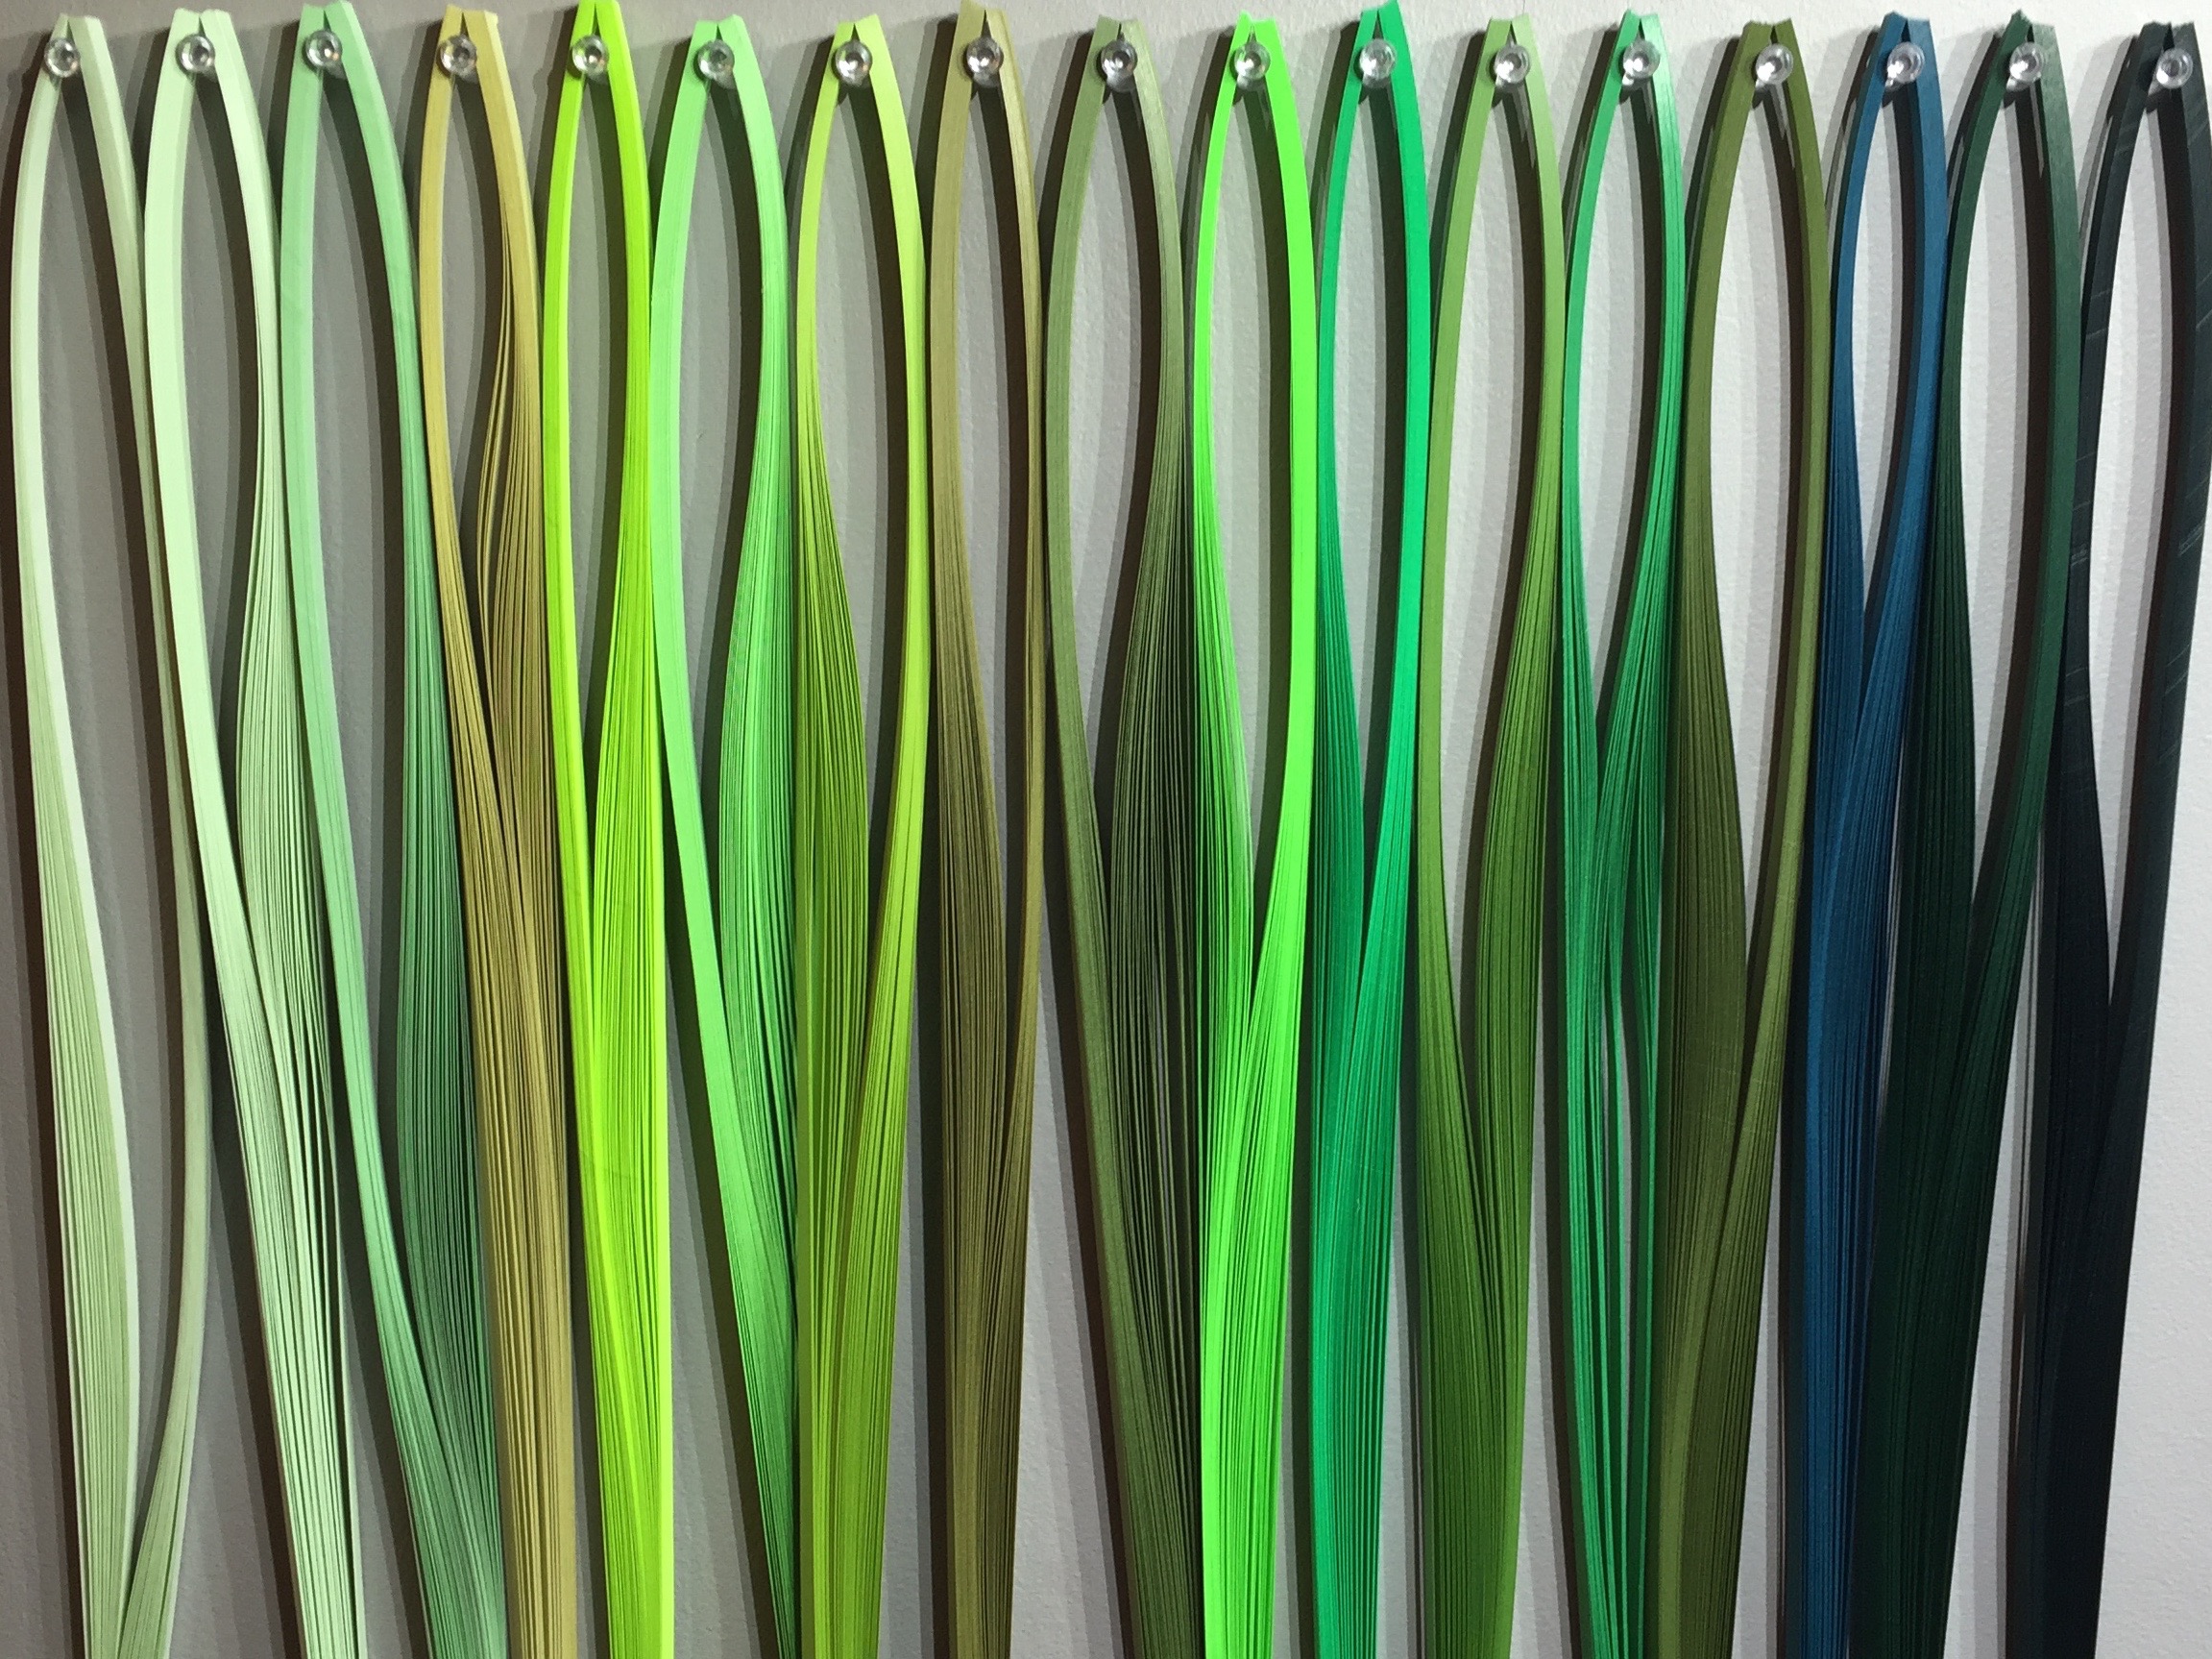
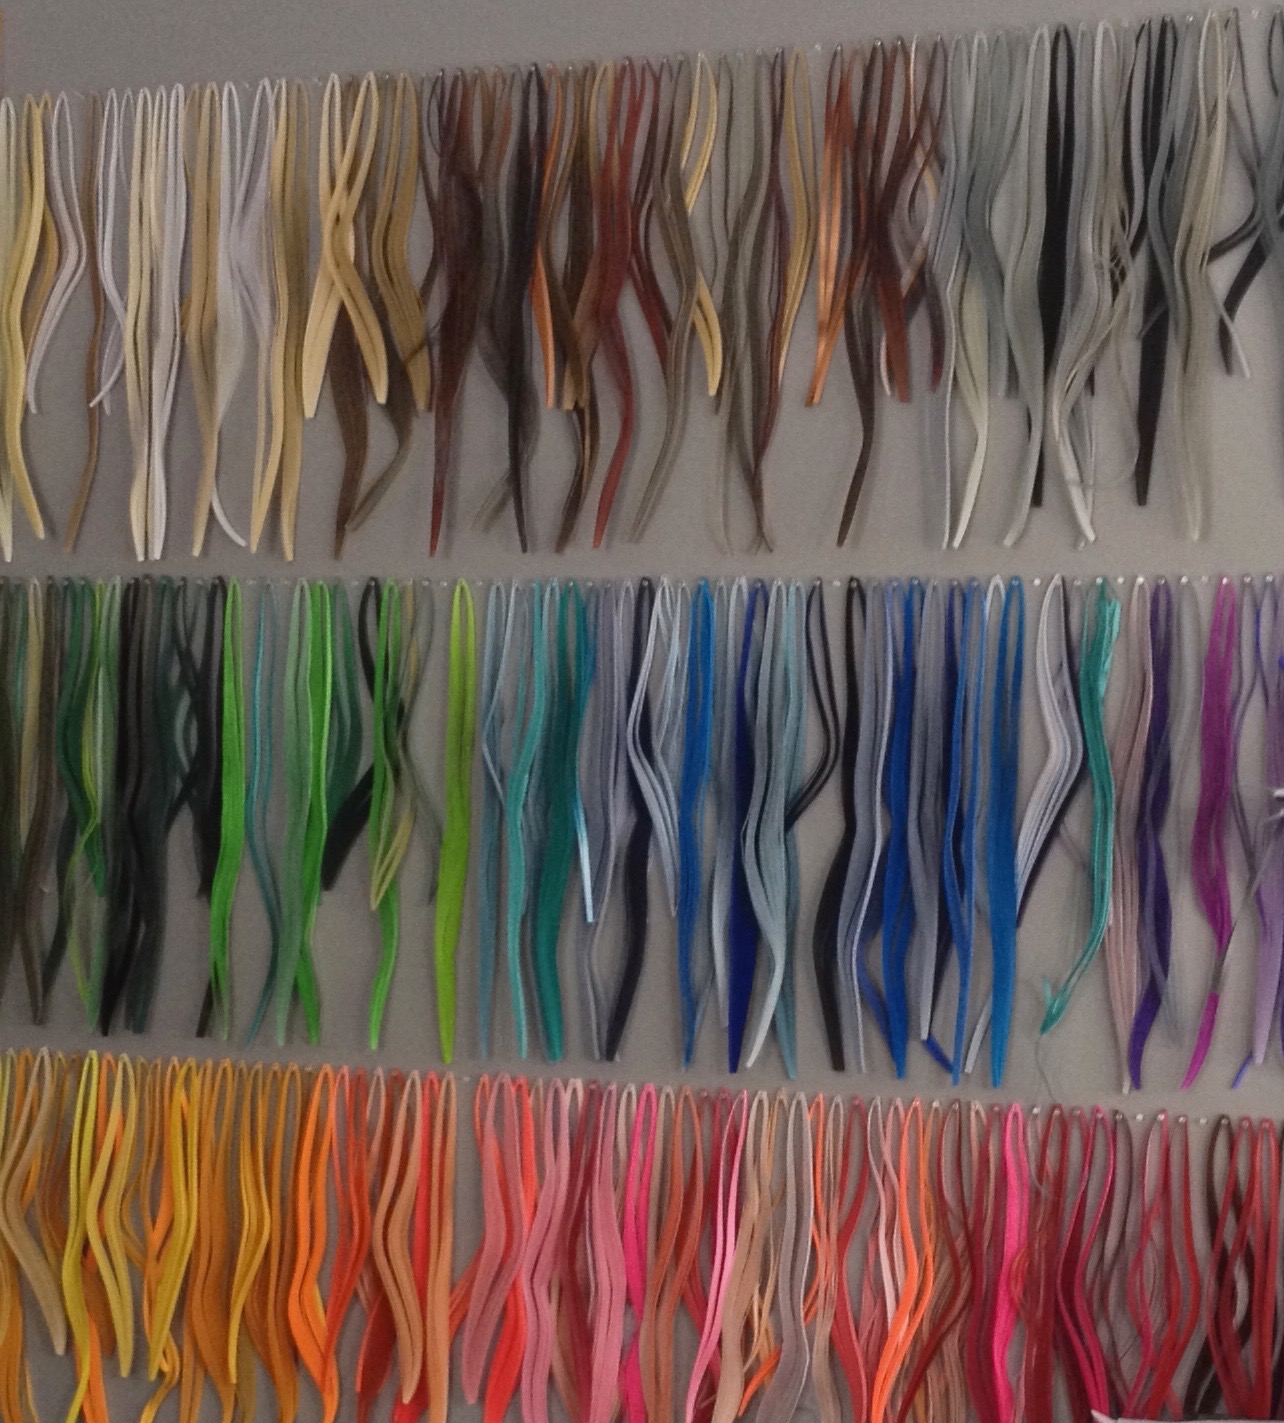
Using a pencil, a ruler and a level, I placed clear tacks along a straight edge in three rows and then displayed all of my paper in groupings of color families. The result is a very appealing display that takes up only a small amount of physical space.
For nomadic quillers: the repackaging method
Truth be told, I never quill in my studio unless someone is stopping by to specifically see me do so. I would much rather have the ability to quill wherever the mood strikes me: in the dining room while my husband cooks dinner, in front of the television on a Friday night or even at my treadmill desk when I feel the need to move. This means I need the ability to bring all of my colors with me in a relatively easy manner. Thus, my very favorite storage solution came to be.
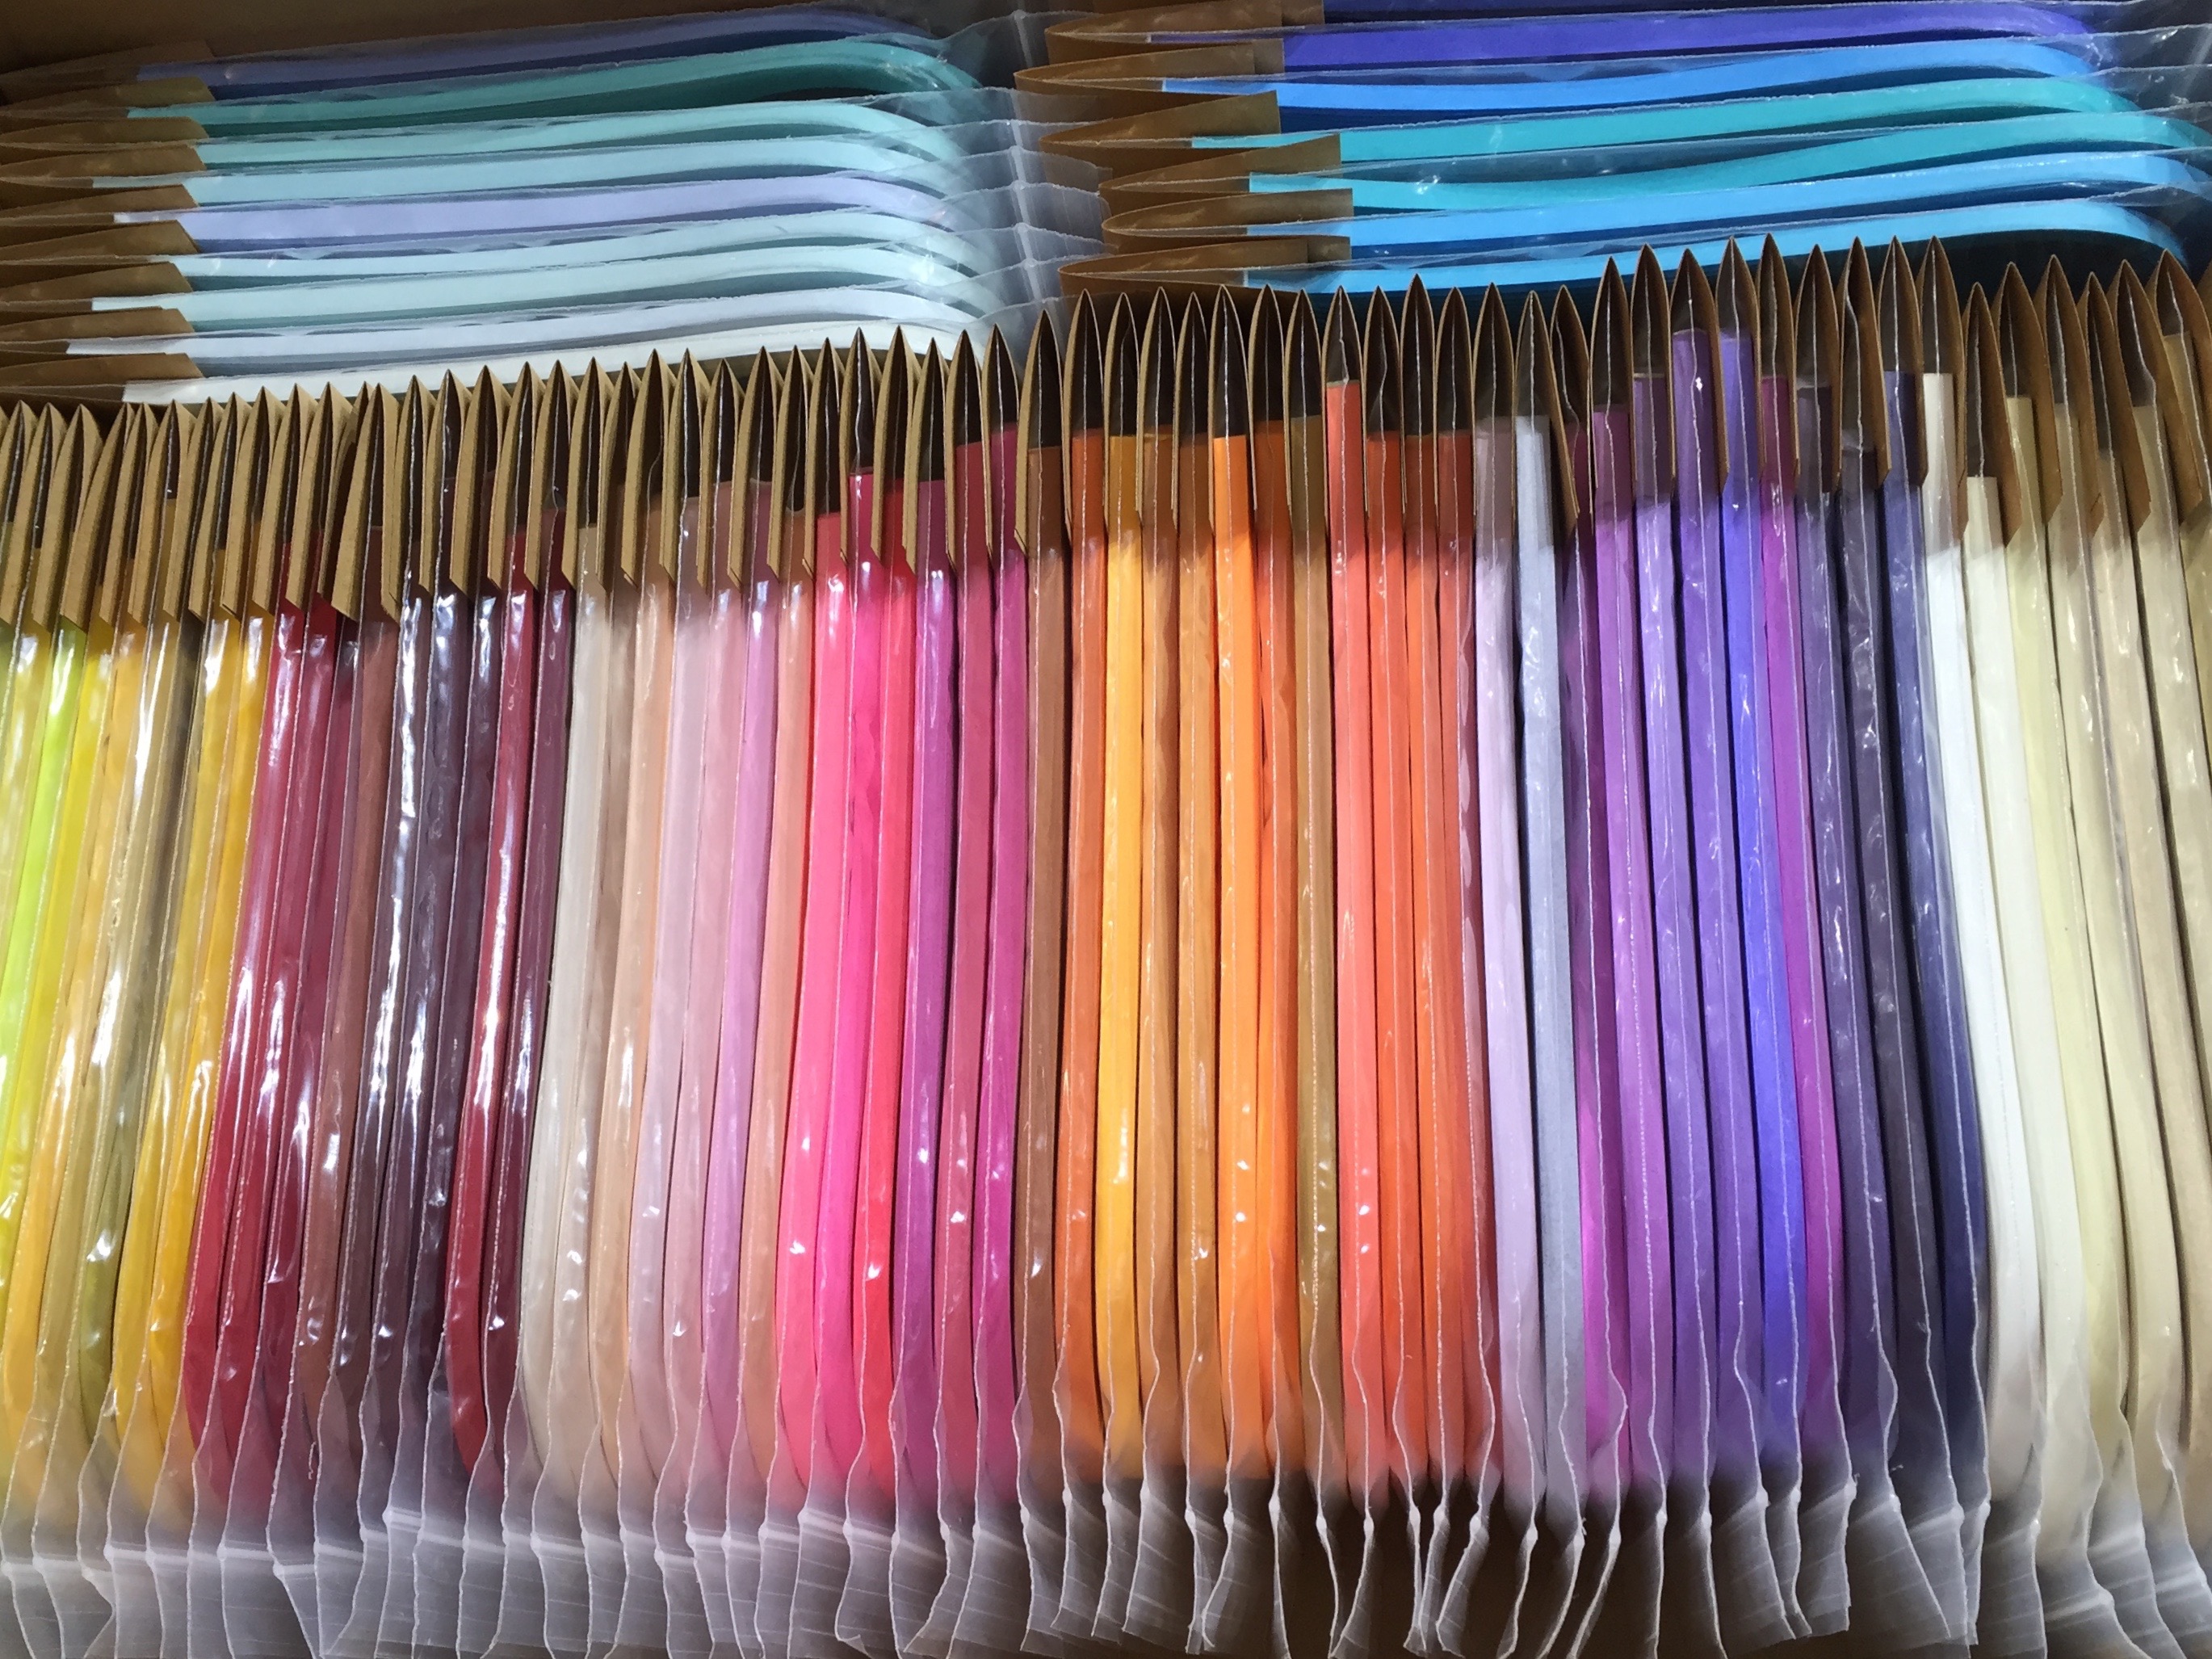
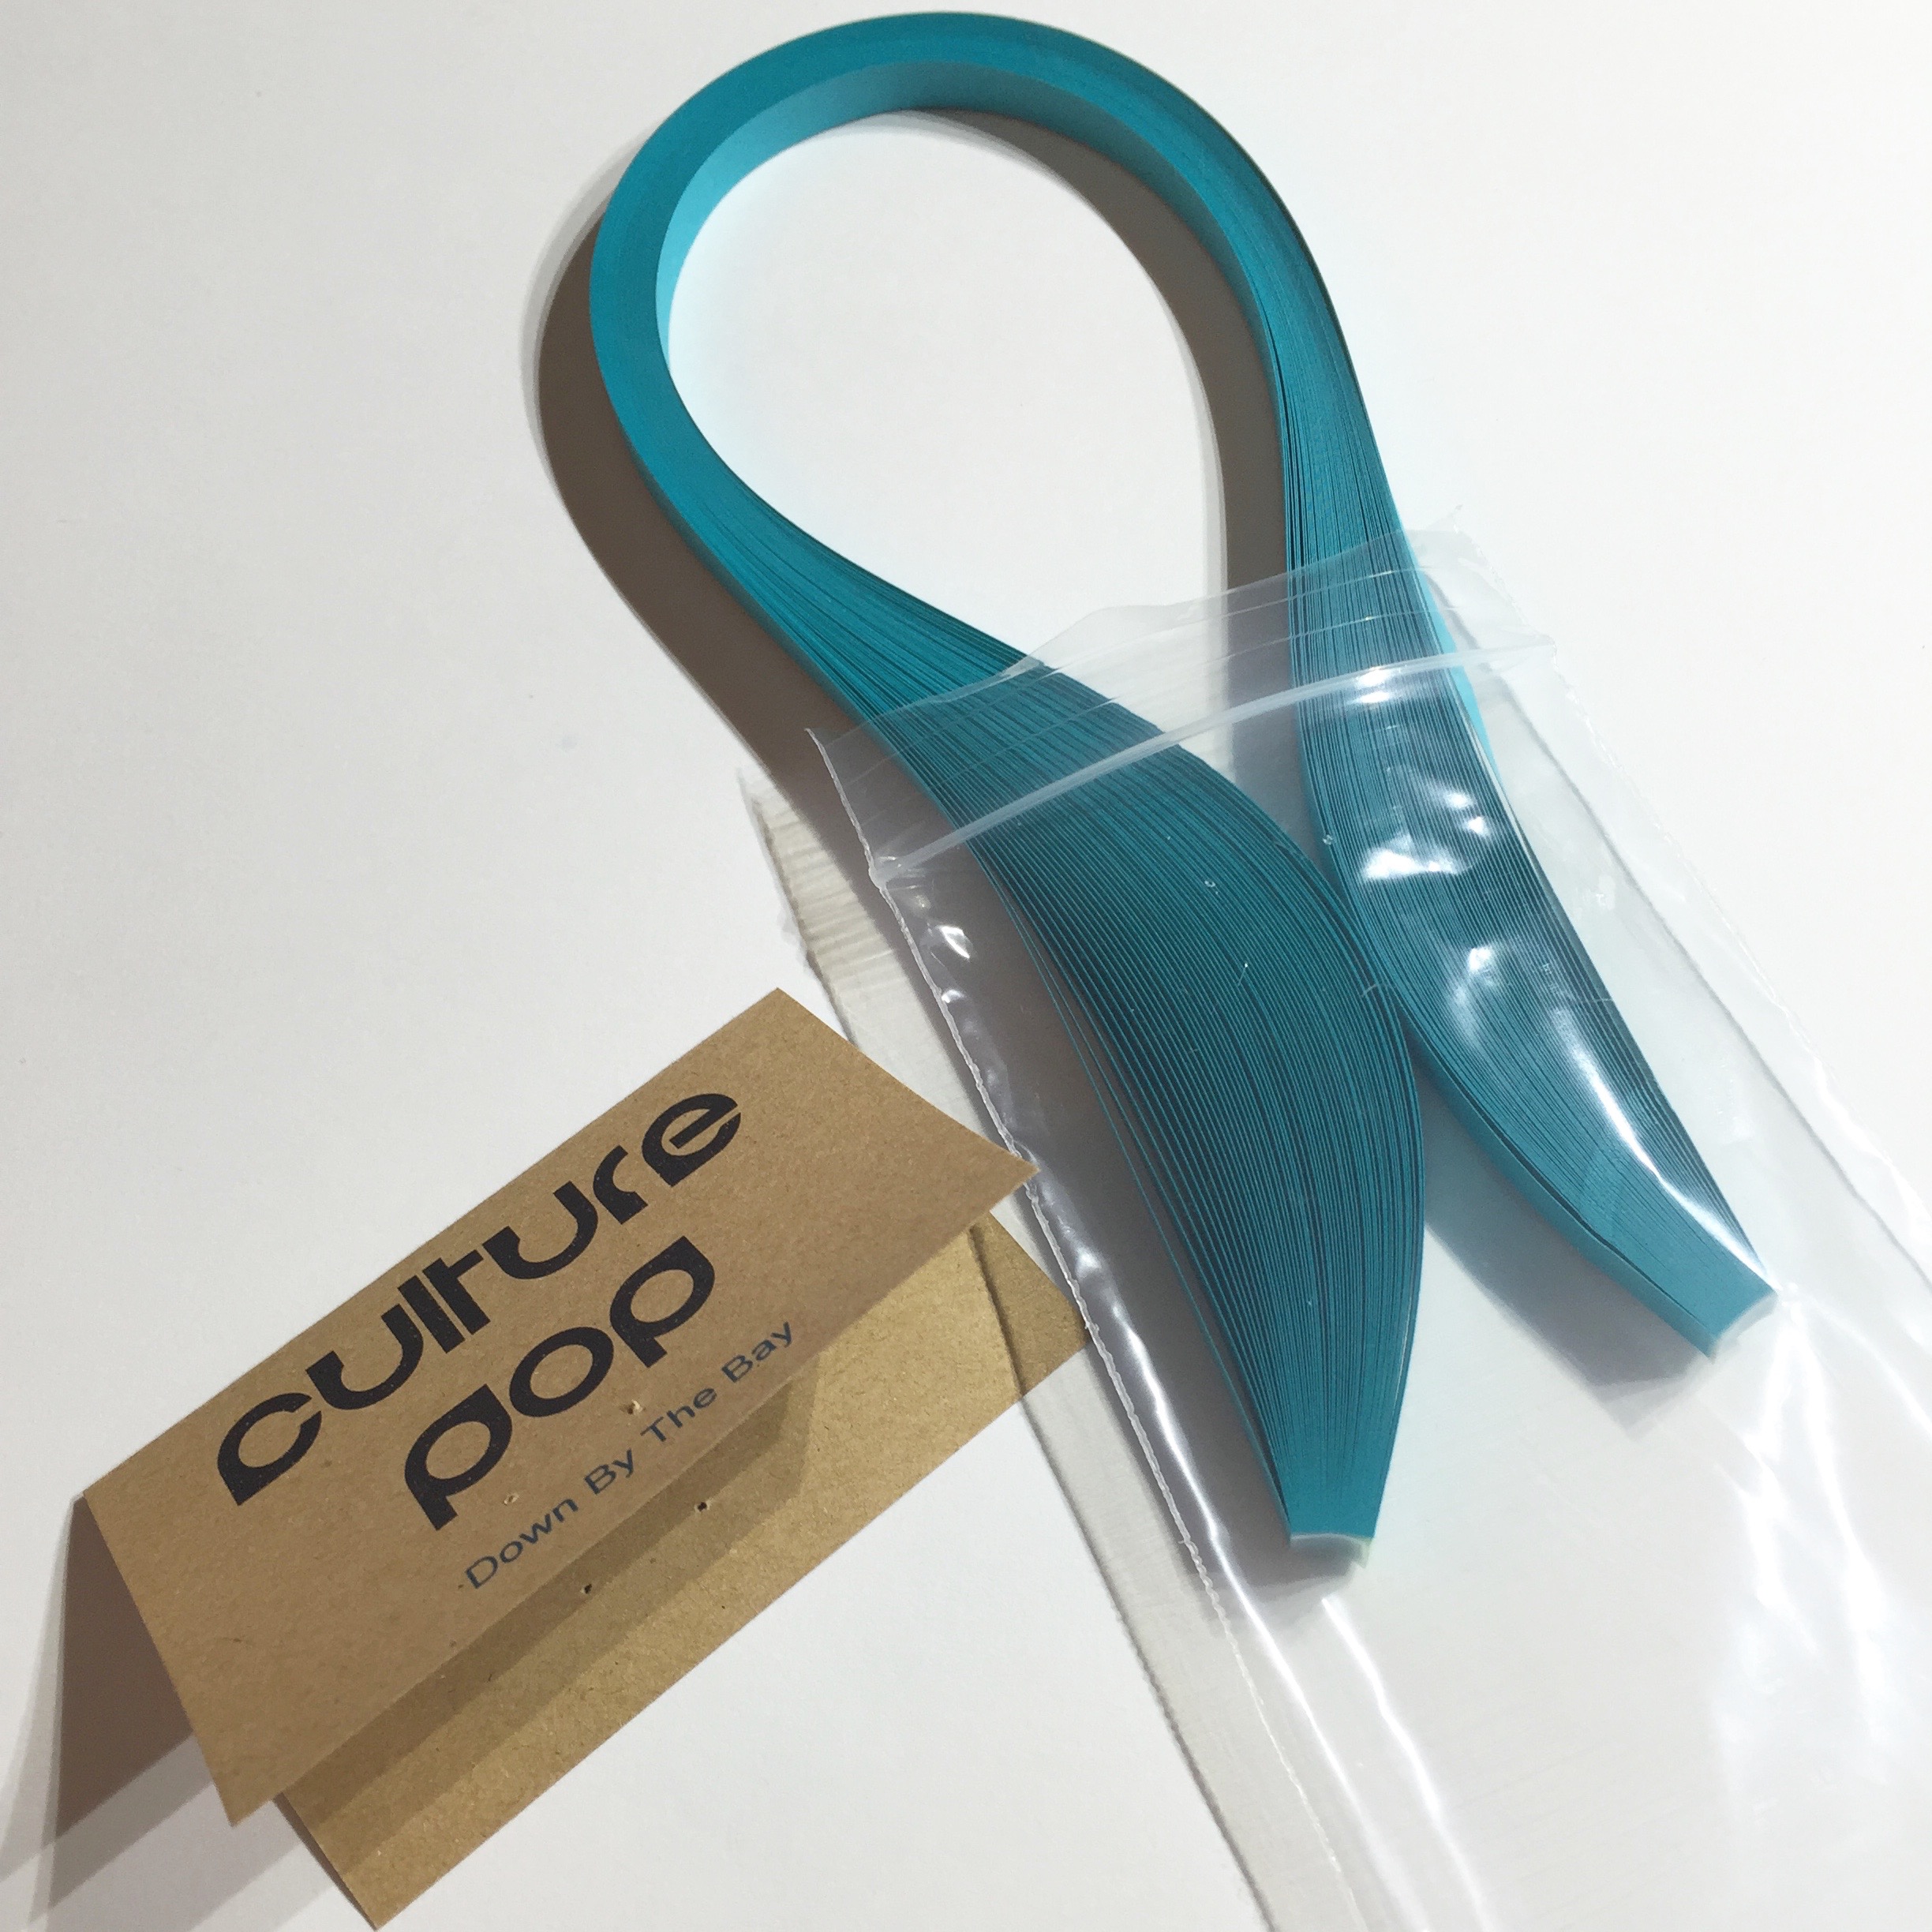
The above photo looks similar to quilling paper when it arrives in the mail from the supplier. However, if you were to take a closer look, you may notice that everything is a little backwards. This is for an excellent reason! By switching everything around, you have the ability to keep track of all of your colors and have access to your paper in a very tidy way.
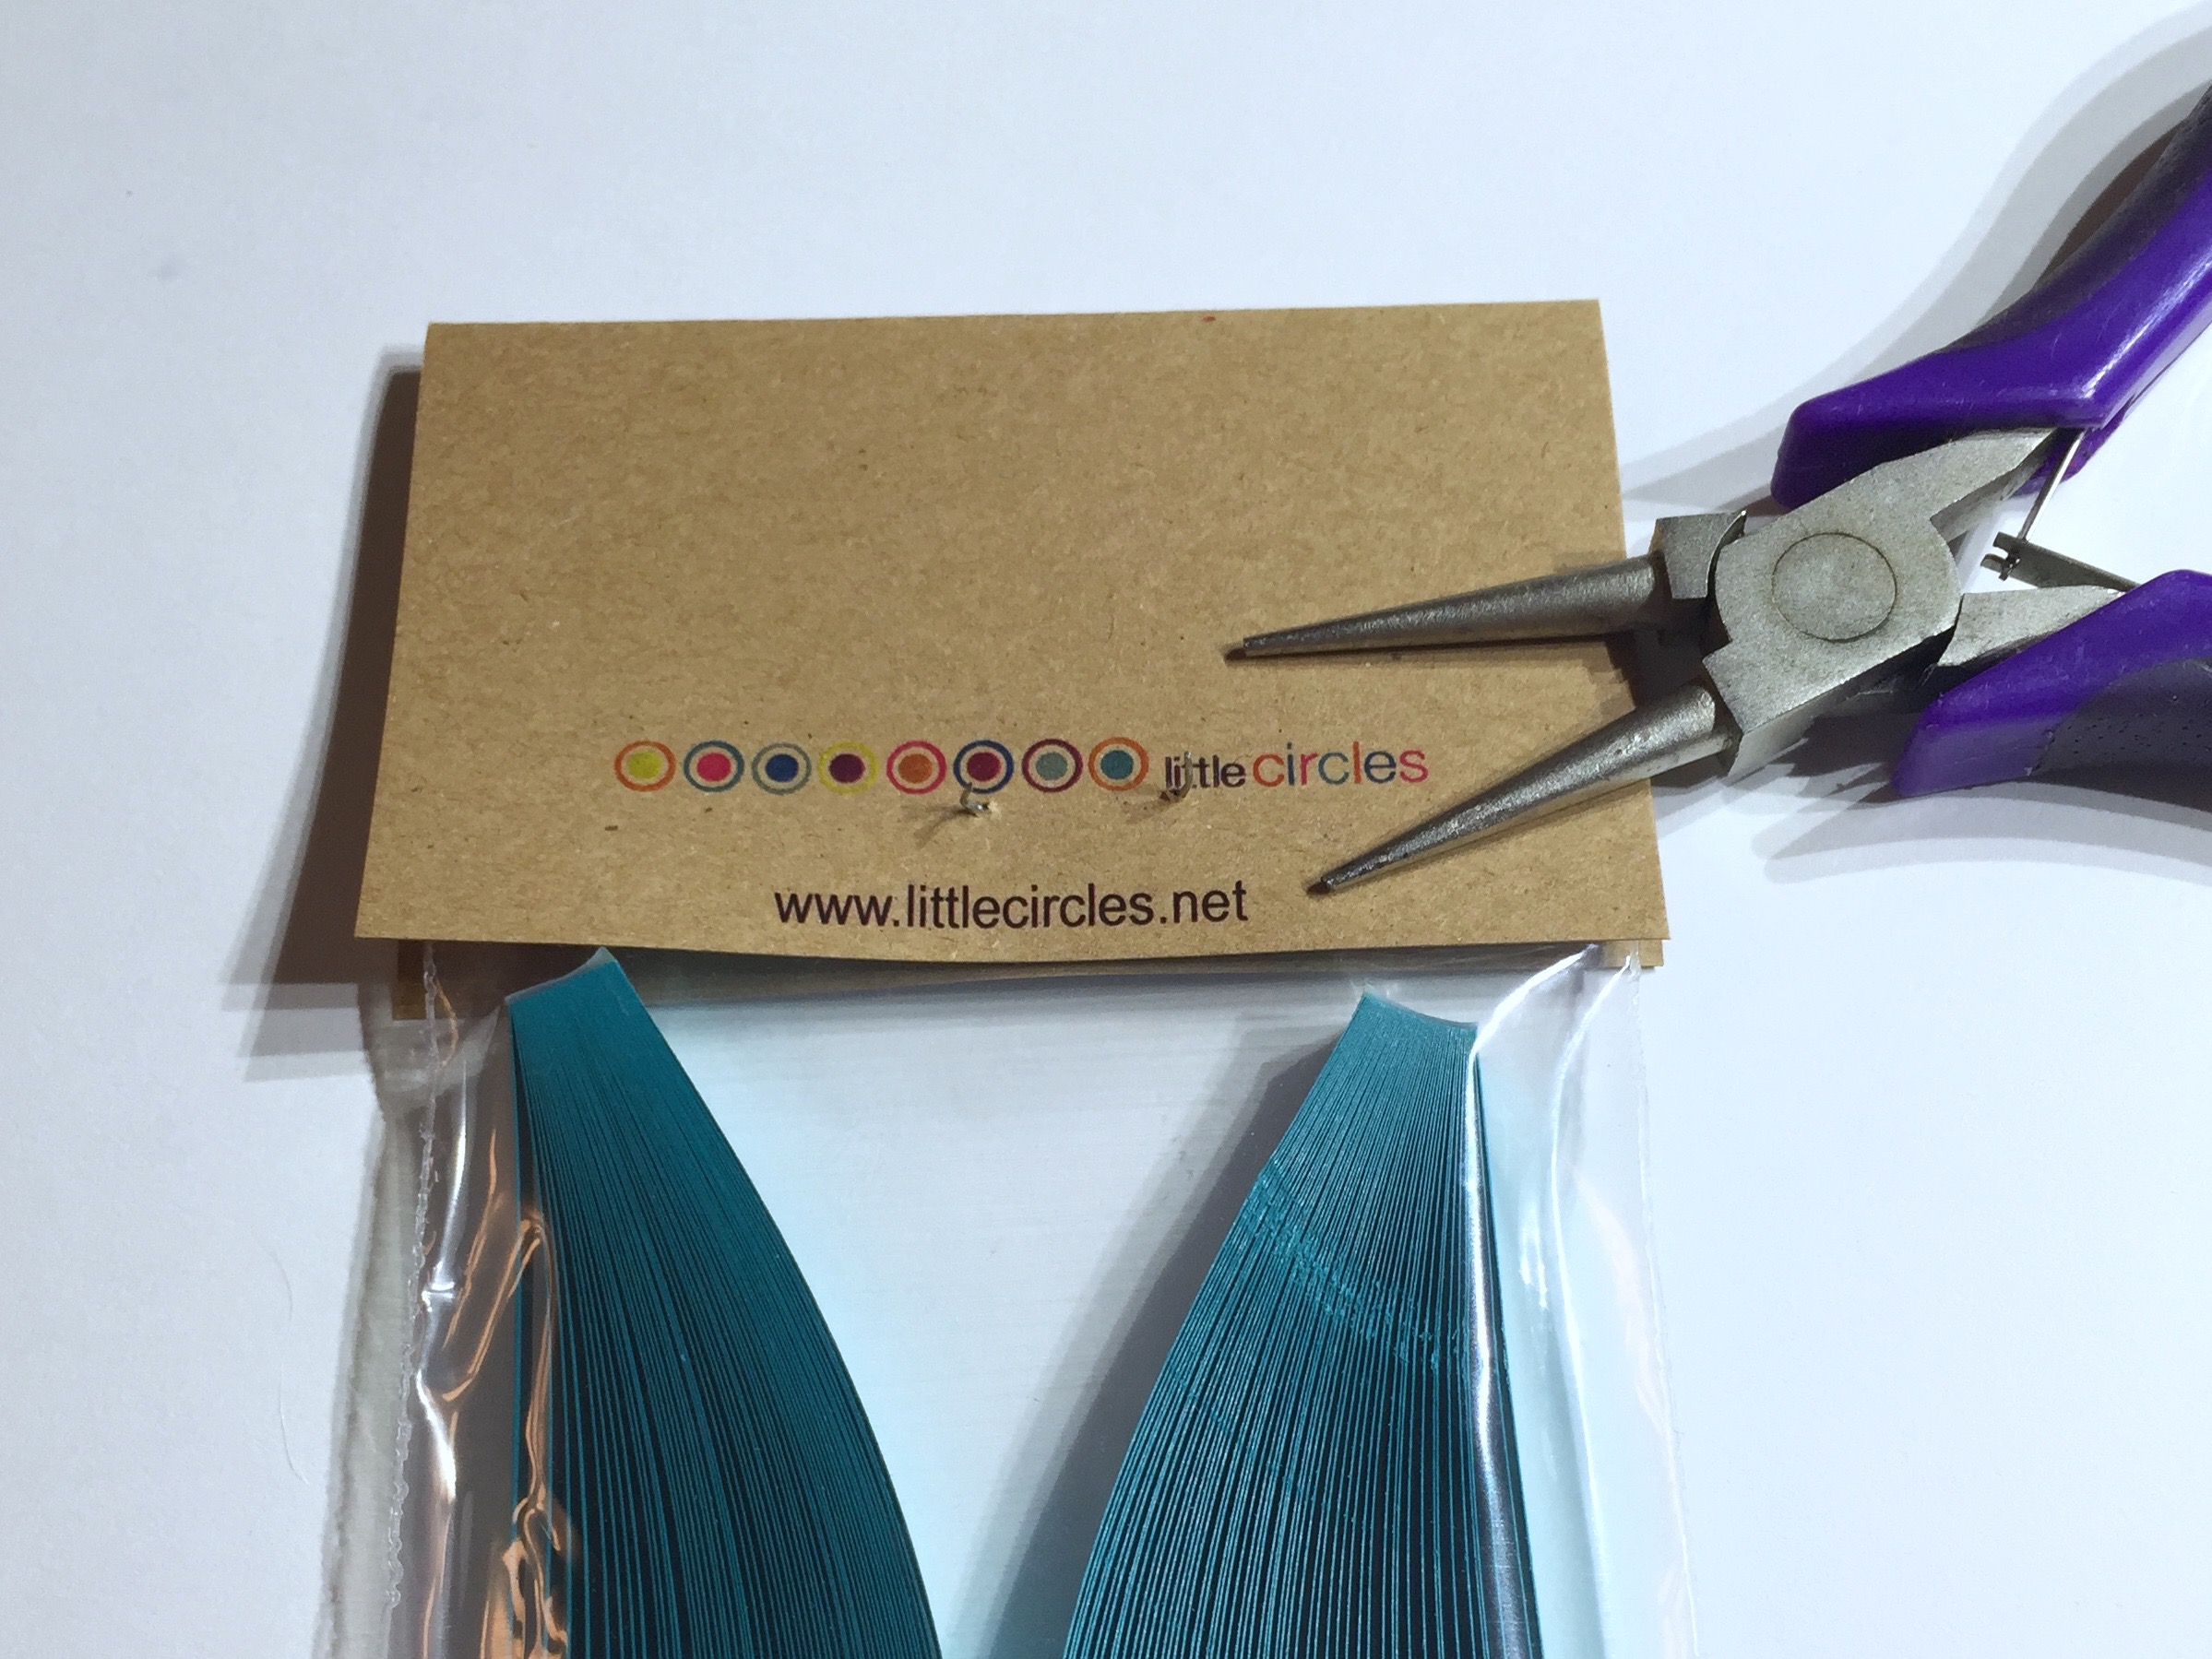
When you first set up this system (or whenever you add a new color to your stock), gently remove the staple from the pack of quilling strips. If you have a staple remover, please use it — otherwise a set of needle nose pliers can be of help.
Next, remove the quilling paper from the bag and then reinsert it upside down. Then you can reattach the label on the opposite end: This will not only help you identify your colors, but the staple also serves as a barrier to separate your strips and keep them even more uniform. Plus, you can more easily access your quilling paper on the resealable end. Note that not all quilling paper comes in resealable bags like the strips I use, but they are pretty easily found from office supply shops.
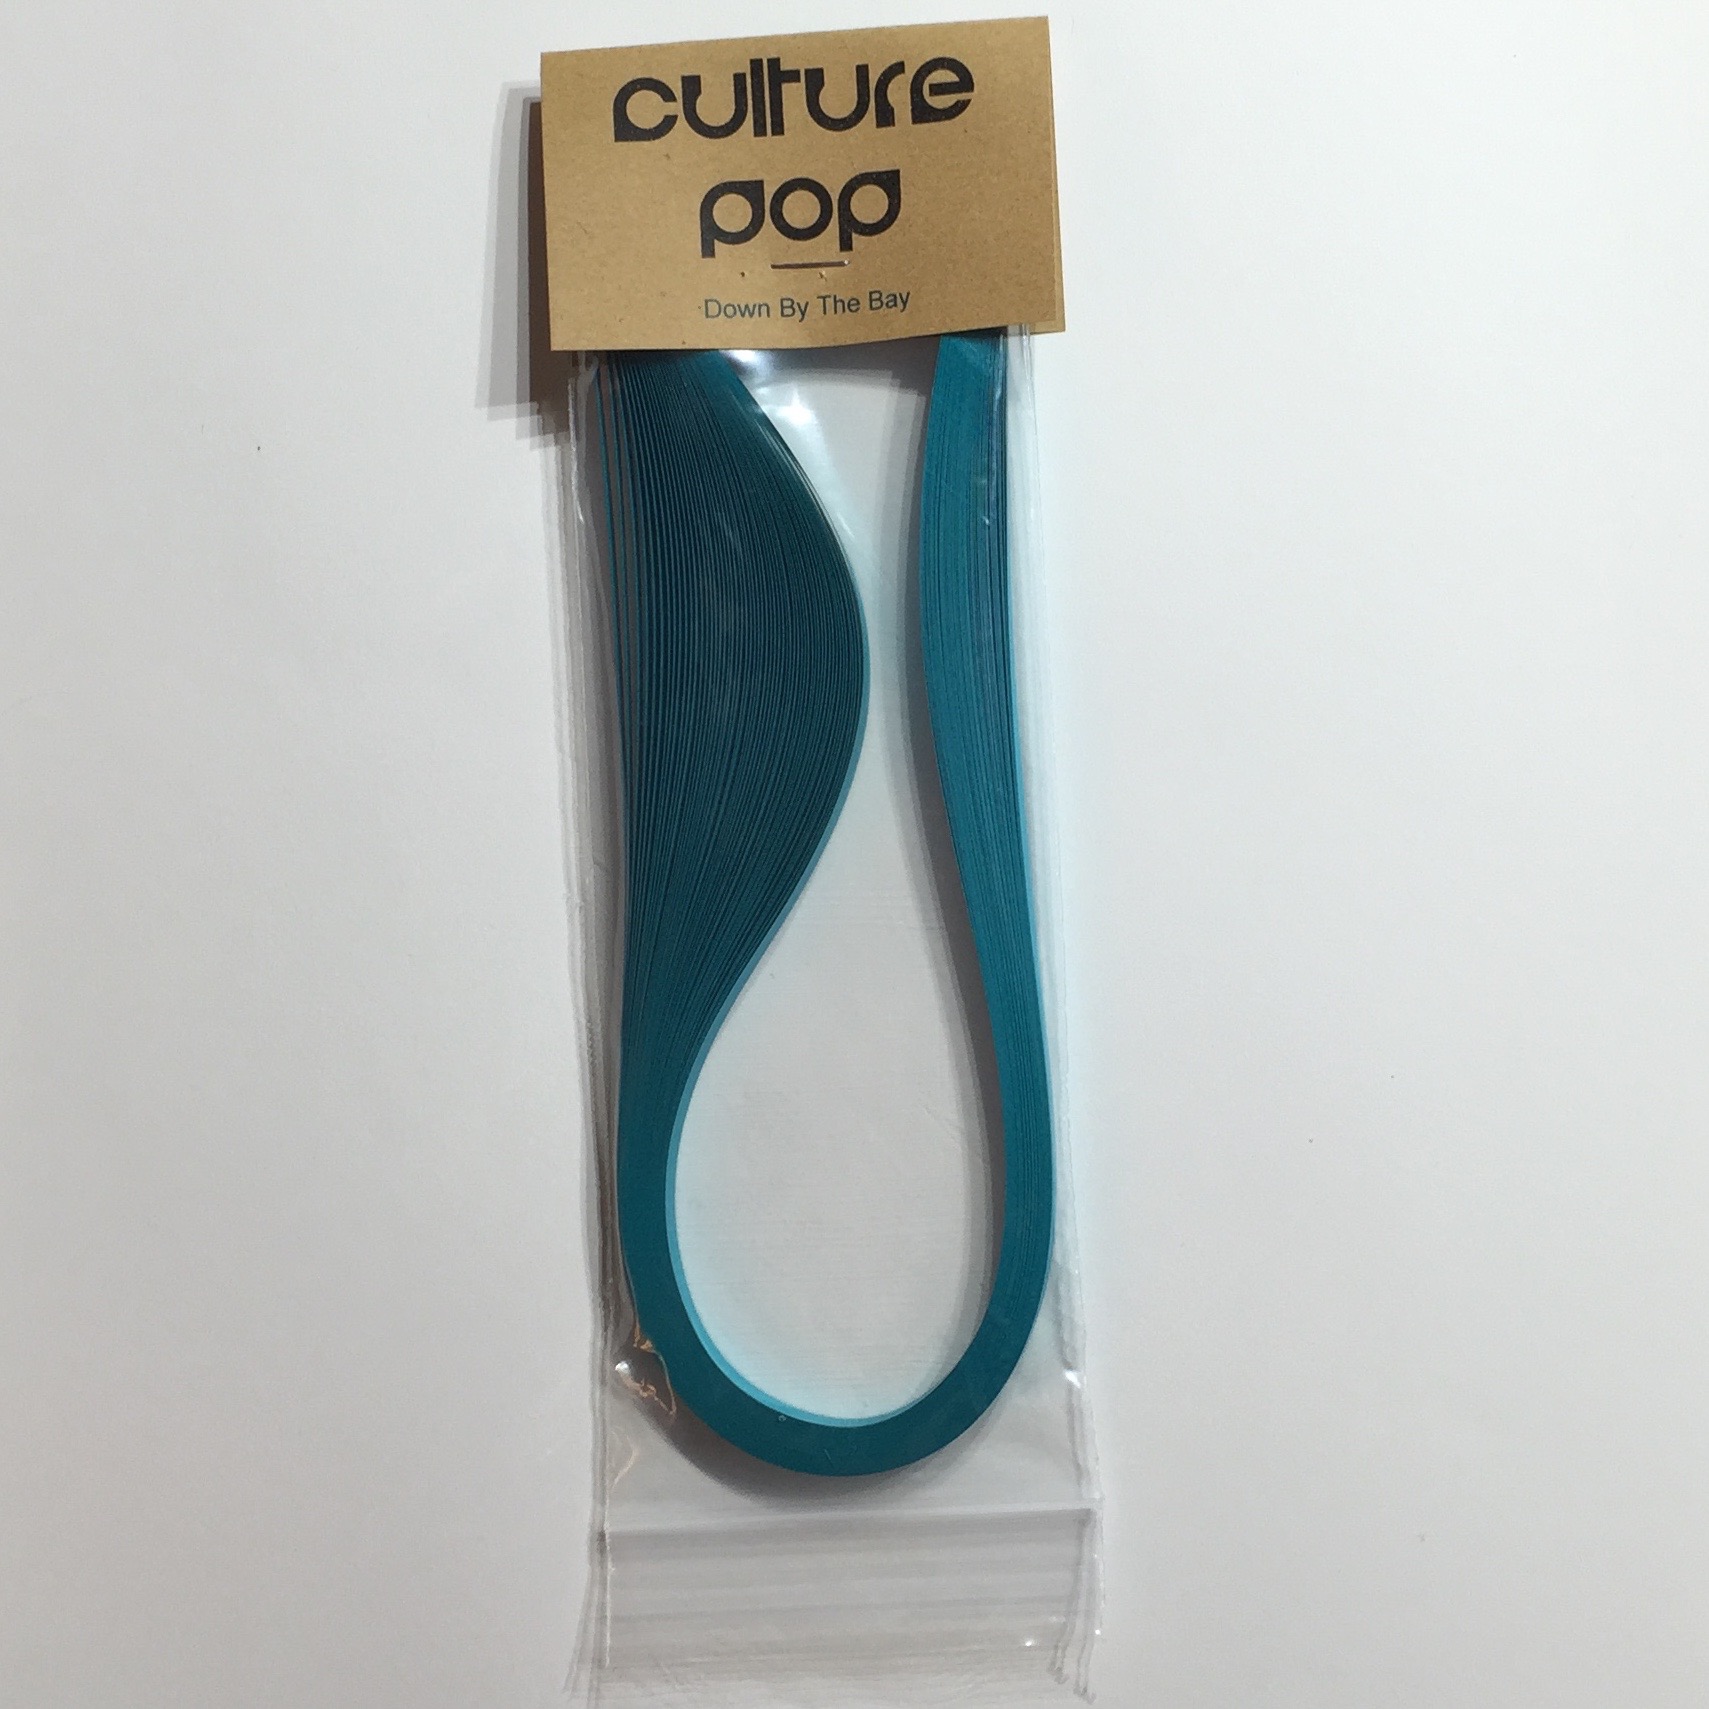
Once repackaged, your strips should look like the above photo. From here, they can easily be stacked side by side in a drawer or a movable cart. I choose to use two cheap paper lid boxes that I can cart around with me. I work with about 120 colors, so this simple storage solution lets me easily see all of them at once and access each with absolutely no mess.
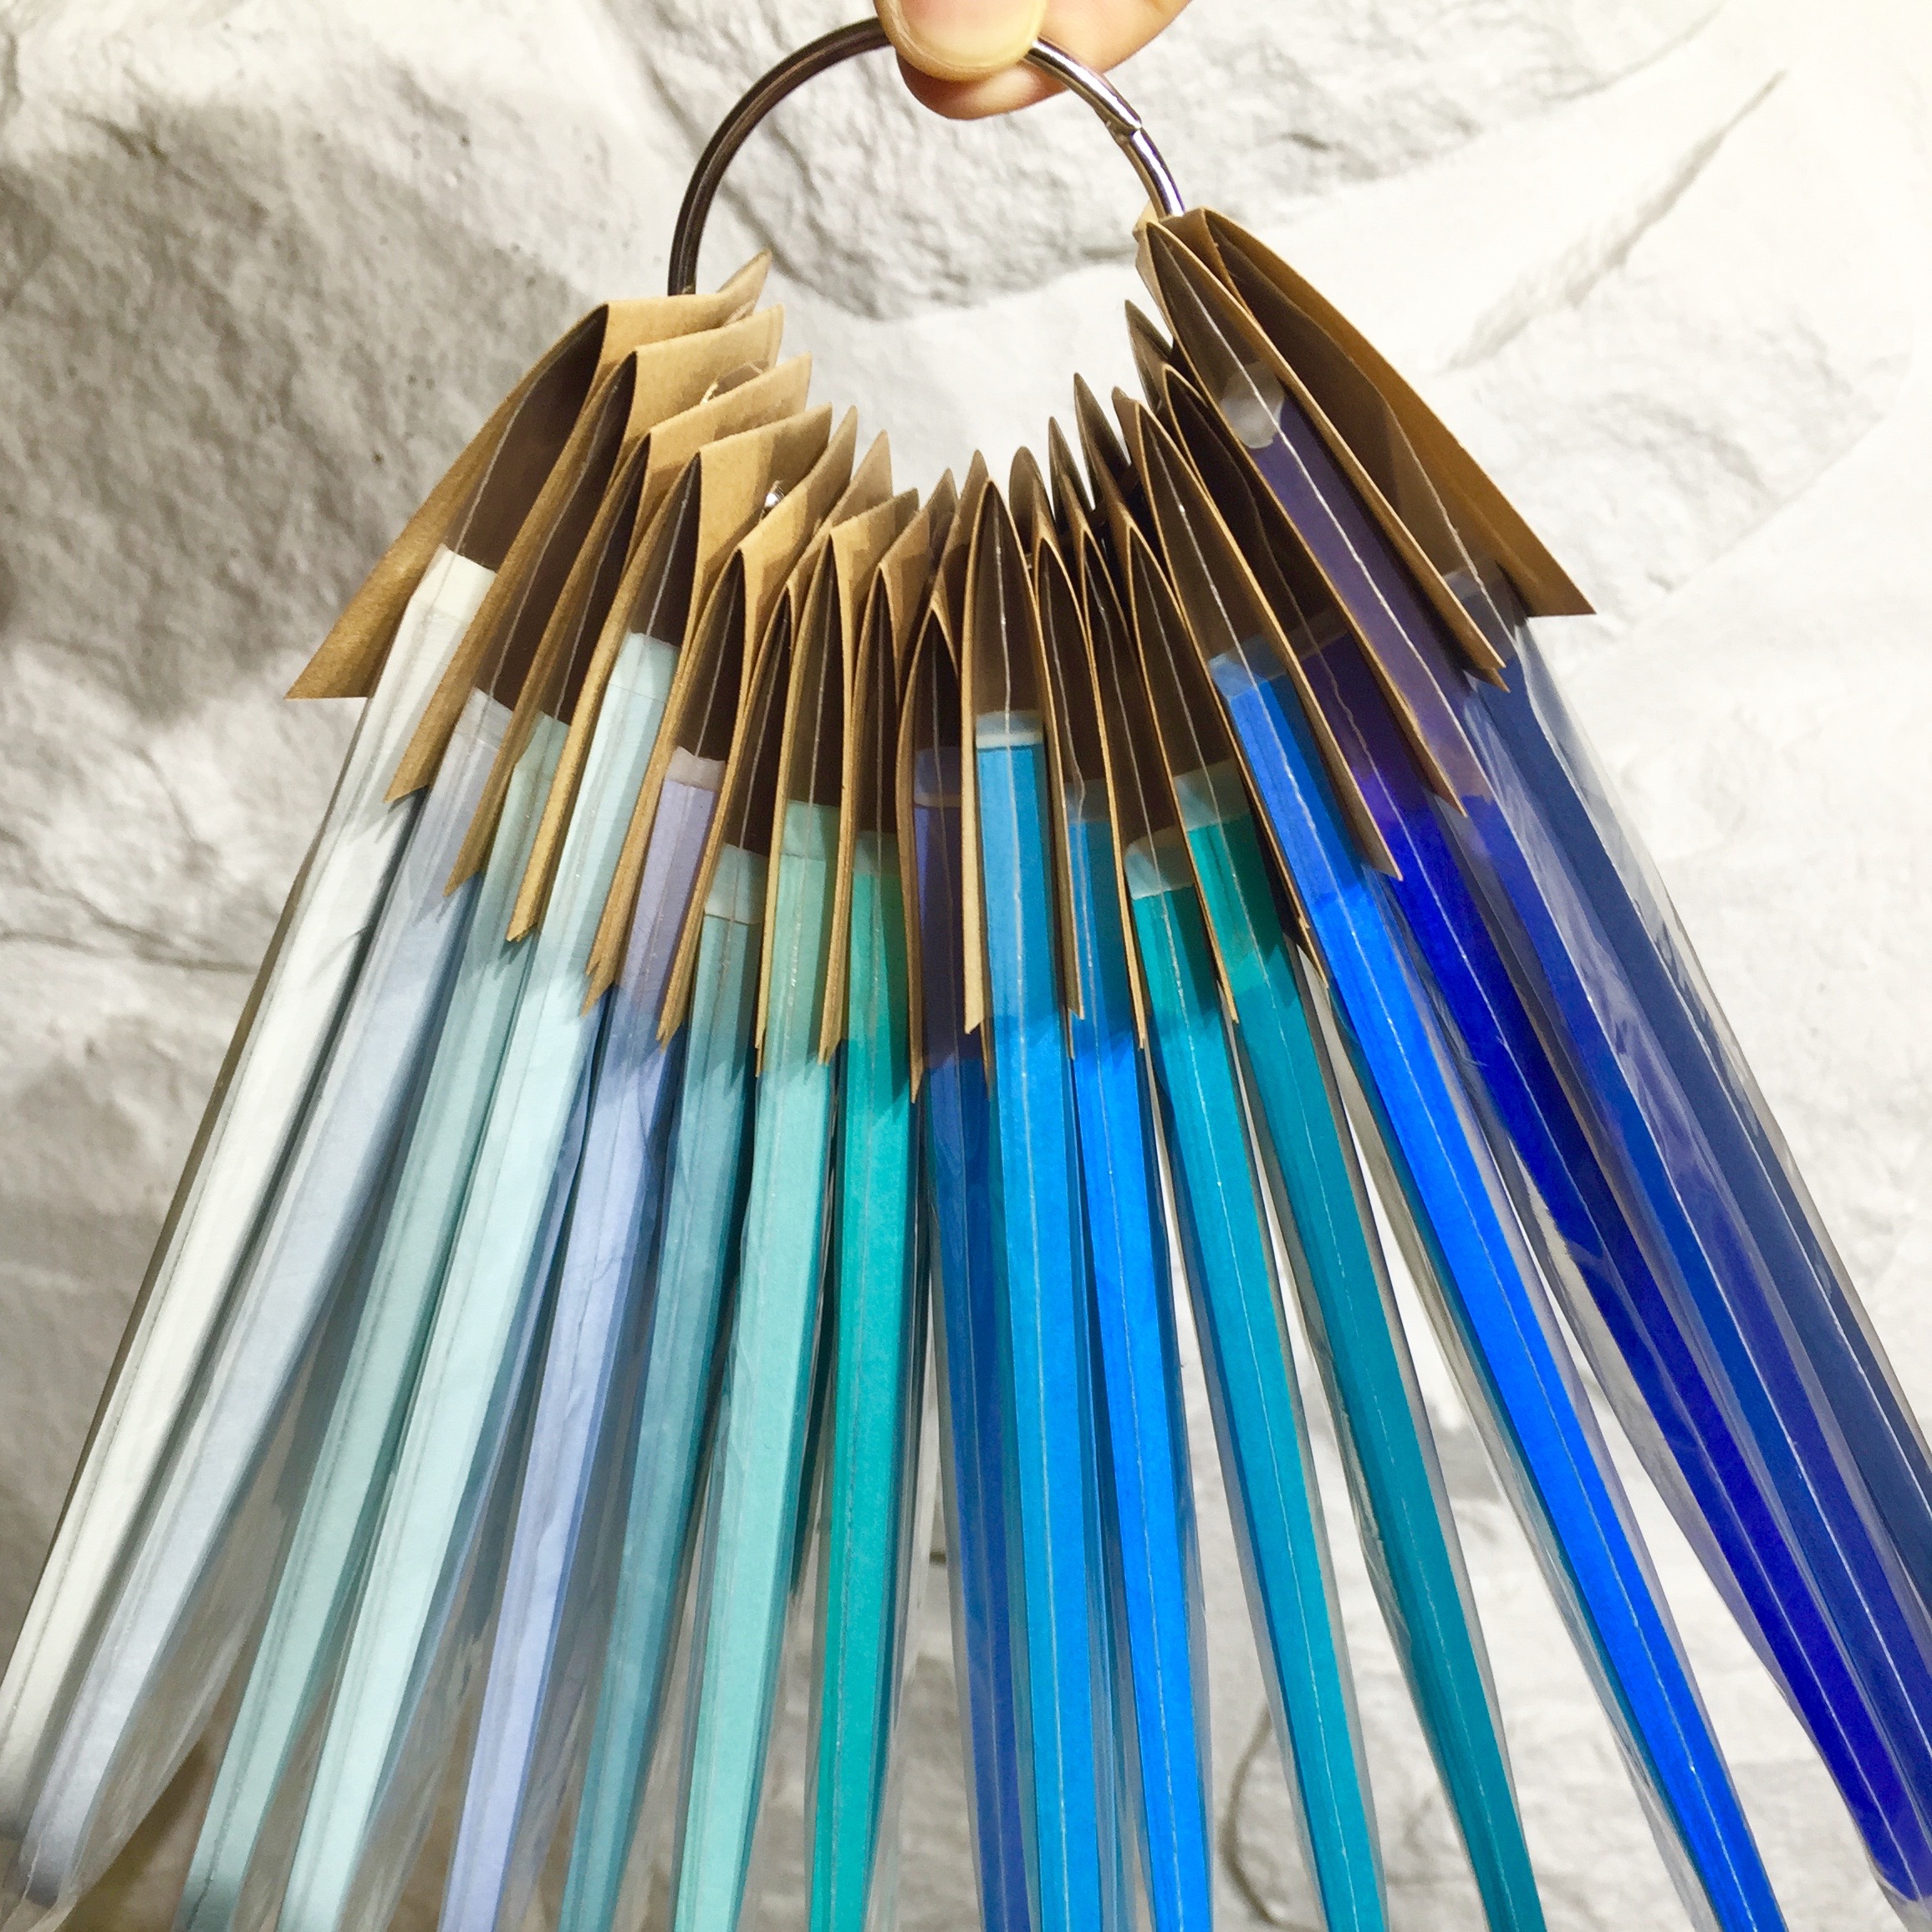
Quilling while traveling: the hole punch solution
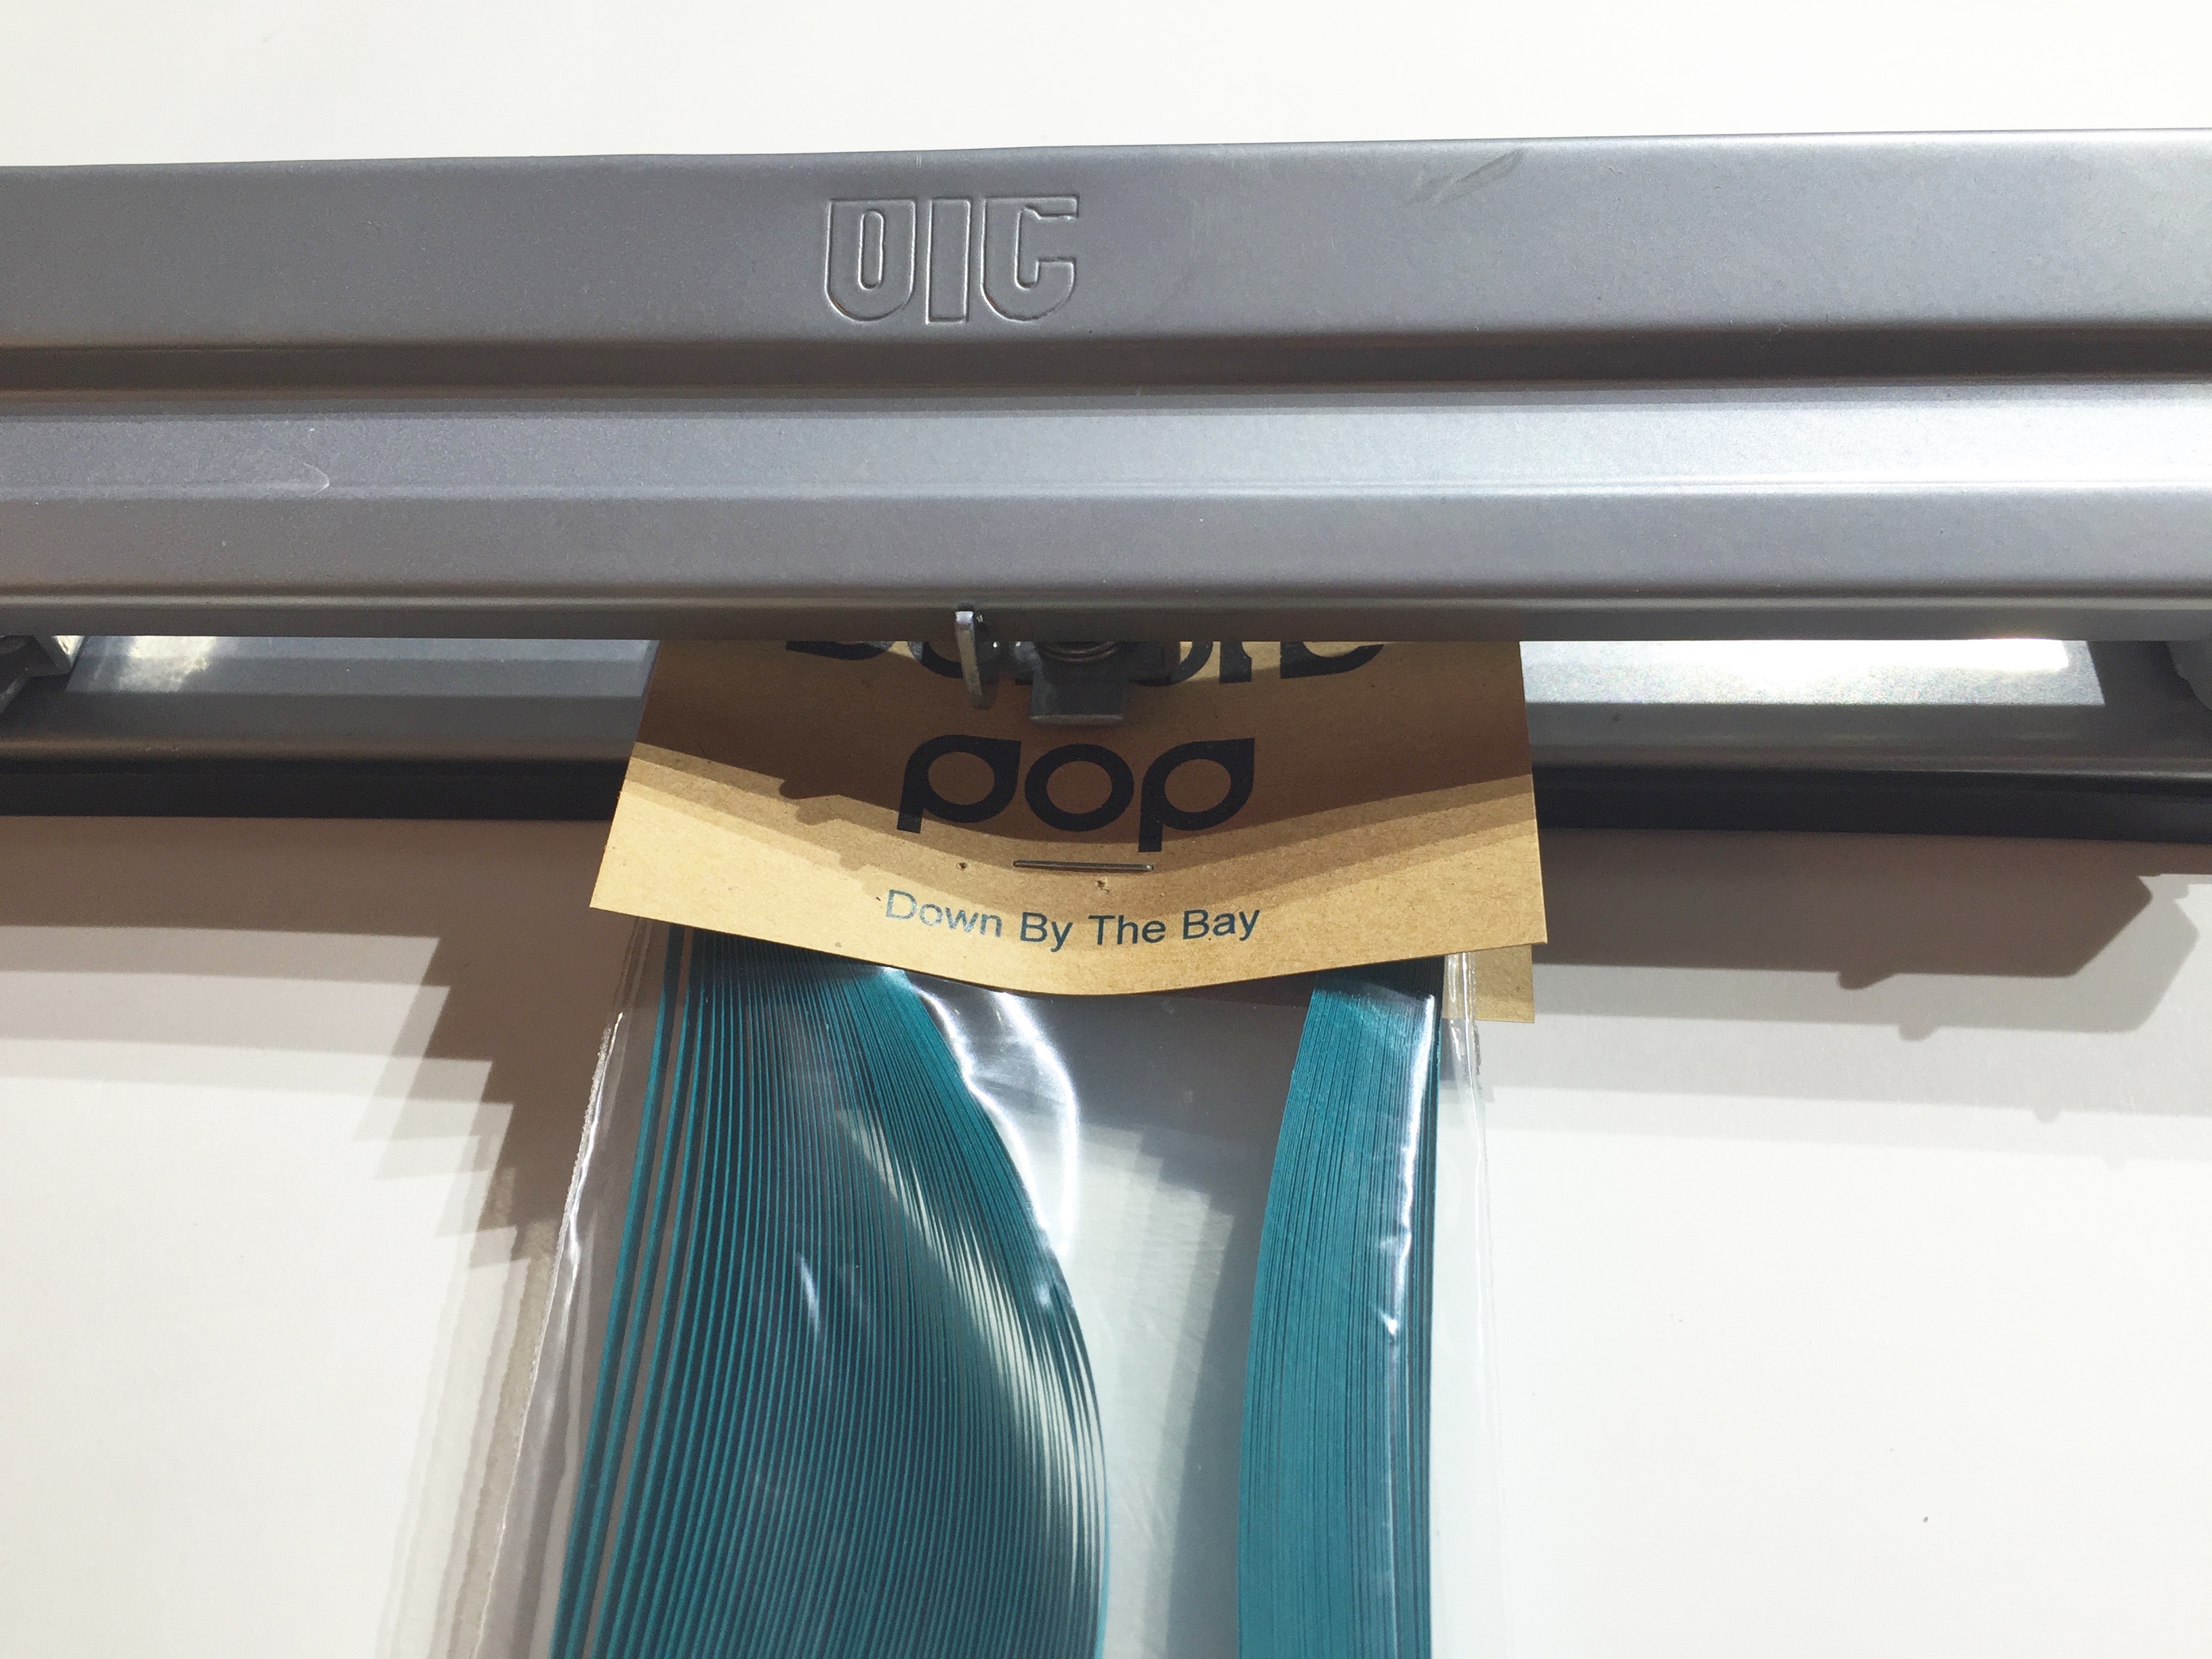
I already shared my messy quilling travel tote, and I am happy to report that the chaos (and that tote) are a thing of my past since I began relabeling and storing my paper using the tip above. It’s rare that I find it necessary to travel with every color of paper I own, so with the small addition of a hole punch, I can easily grab whatever colors I need and be on my way. Simply string them up on a ring and you’ve got a very mobile and easily accessible solution.
No matter where you live, how much space you have or the size of your quilling paper stash, hopefully one (if not all) of these quilling storage solutions can be as helpful to you as they have been for me!
Share tips, start a discussion or ask one of our experts or other students a question.
No Responses to “4 Clever Ideas for Organizing Your Quilling Paper”