
True or false: You’ll never learn how to temper chocolate because it’s too hard.
Answer: False! Tempering white, milk, and dark chocolate is easy. All you need is some patience, and a good candy thermometer, and you’ll be tempering chocolate like a pro in no time.
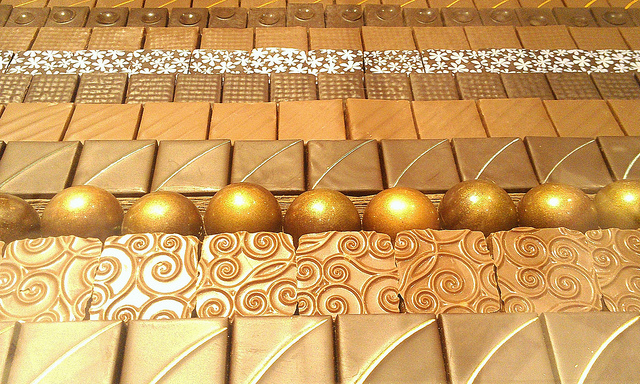
Photo via CakeSpy
Tempering is a method of heating and cooling a substance.
It’s used for many different substances, including metals. But on the food and cooking front, when you refer to tempering, you’re probably talking about chocolate.
When you temper, you first raise the heat, making the chocolate melt, then reduce the heat, letting it cool. When it cools, stable crystals of cocoa butter form. When brought back to a working temperature after this process has occurred, this is what allows the perfect snap on a candy bar, and the impeccably glossy, smooth texture on candies and finished baked goods.
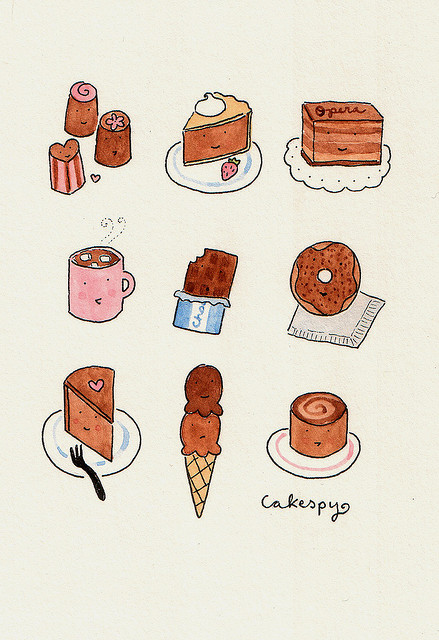
Illustration via CakeSpy
Tempering is not necessary when the chocolate is going to be used as a flavoring or ingredient in a recipe, such as chips in cookies or a ganache filling between cake layers. However, if the chocolate will be used as a candy coating or will be used front and center in your cake decorating, tempering is an important process in ensuring a polished, lovely result. Not only is is glossier and harder than untempered chocolate, but it’s more durable and is less likely to “bloom” or form those weird white spots that you may have noticed form on chocolate that’s been refrigerated or chilled.
The tempering process is guiding the chocolate through a series of temperatures, and incorporating more crystals into the chocolate when it is warm so that when it cools, it has a stronger structure.
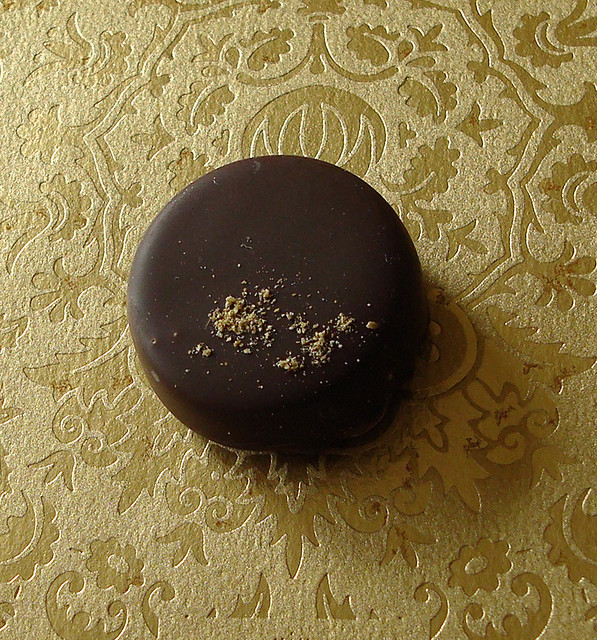
Photo via CakeSpy
How to temper chocolate
The method detailed here is referred to as the “seed” method, in which part of the chocolate, referred to as the “seedm, is reserved from the initial heating process, and then added in to the melted chocolate to help it cool and form crystals. The temperatures are specific, but the process is actually quite easy. You’ll see some slight ranges on the temperatures depending on the source, but these are the ones trusted by esteemed chocolatier Ghiradelli.
Step 1: get your chocolate prepped.
If you have coins or morsels, you’re ready to go. If you’re working with chocolate from a bar, be sure to cut it into small pieces.
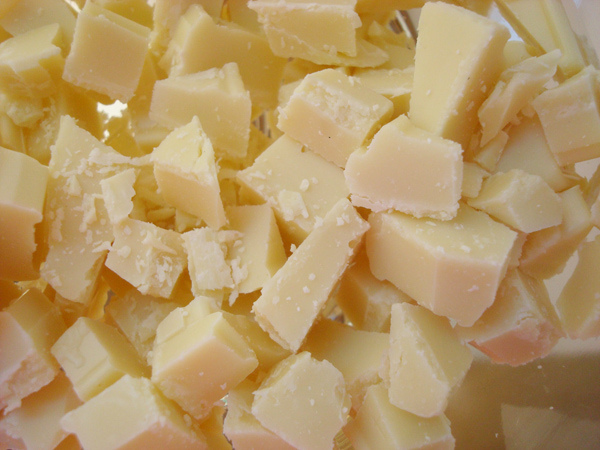
Photo via CakeSpy
Step 2: Separate the chocolate into two parts: two thirds and one third.
Now, melt the larger portion. This can be done in a microwave or a double boiler, but it tends to be easier to monitor the temperature in a double boiler. This part of the process is simply melting chocolate. However, you’ll carefully monitor the temperature so that you can remove it from heat once it reaches it melting point. Be aware that the different types of chocolate have different melting points.
Melting points:
- Dark chocolate: 120 degrees F / 49 degrees C
- Milk chocolate: 116 degrees F / 47 degrees C
- White chocolate: 114 degrees F / 45 degrees C
Step 3: Once the chocolate has reached the melting point, remove from heat.
Then, add the remaining 1/3 of the chopped chocolate. Not only will the “new” unmelted chocolate help to cool the melted mixture, it will also add new crystals to the melted chocolate, giving it structure.
At this point, you want to continue stirring continuously until these respective temperatures have been reached:
- Dark chocolate: 84 degrees F/29 degrees C
- Milk chocolate: 81 degrees F/27 degrees C
- White chocolate: 79 degrees F/26 degrees C
Step 4: Once you have reached this temperature, there’s just a little more work to do.
The chocolate now needs to be raised to a working temperature. This can be done by applying heat to the bottom of the double boiler again (the top is off). Once the water reaches a boil, place a kitchen towel over it to capture steam, and place the bowl with the somewhat cooled chocolate on top. Stir and monitor the temperature. Once it’s one or two degrees lower than the working temperature, remove the bowl, as the temperature will continue to raise slightly from the residual heat.
- Dark chocolate: 89-90 degrees F/32 degrees C
- Milk chocolate: 86-87 degrees F/30 degrees C
- White chocolate: 82-83 degrees F / 28 degrees C
Step 5: The moment of truth. It’s time to test your chocolate to see if it’s properly tempered.
You want to test by dipping a clean object (not food) into the chocolate. A spoon or knife works well. Dip it into the chocolate, and remove and let sit for a few minutes. If it begins to harden and turn glossy, you’re ready to use your tempered chocolate to create beautiful candies or cake decorations.
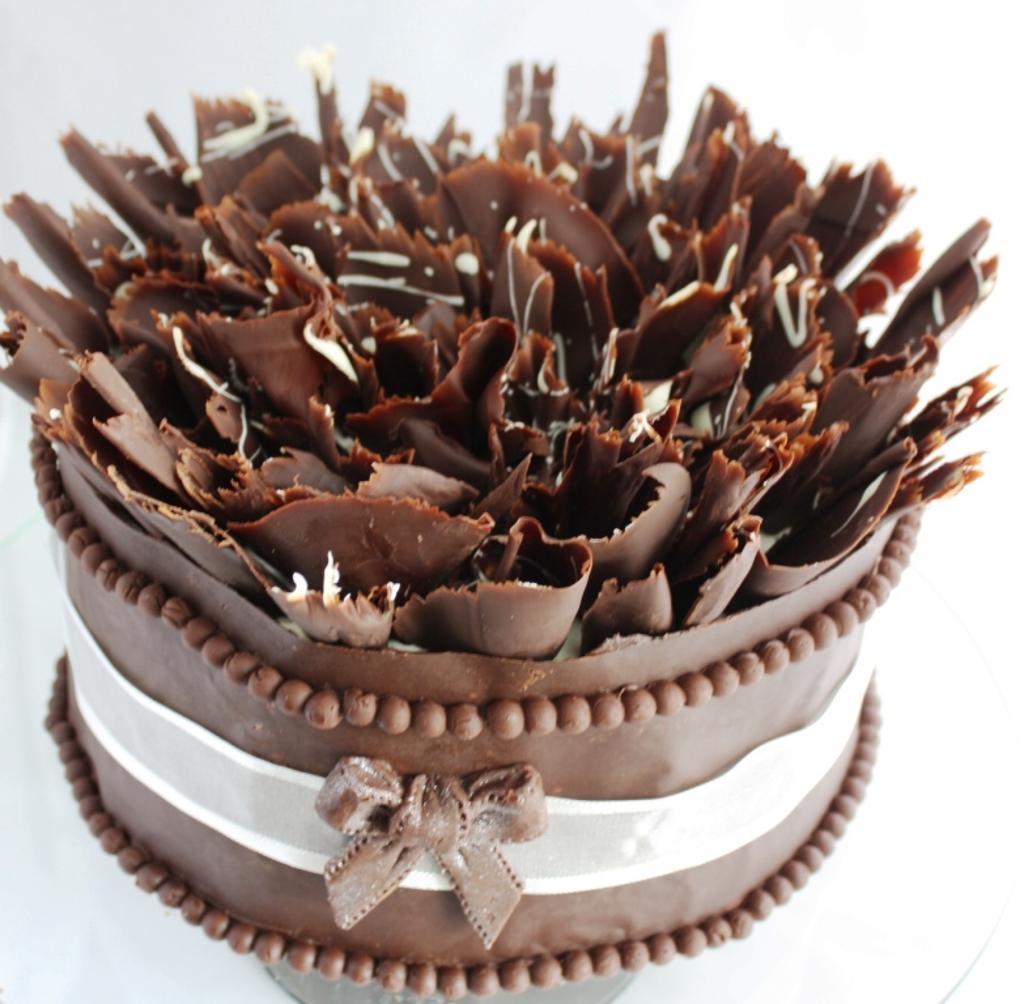
Cake via Nancydevries
Keep the chocolate warm to work with it. If you don’t need to use all of the tempered chocolate at once, keep it well covered at a constant temperature between 60 and 65 degrees F. You don’t want to chill it, as this can cause the dreaded “blooming” mentioned before — white spots that form on the chocolate.
Share tips, start a discussion or ask one of our experts or other students a question.
No Responses to “Temper Without the Tantrum: Tempering White, Milk and Dark Chocolate”