
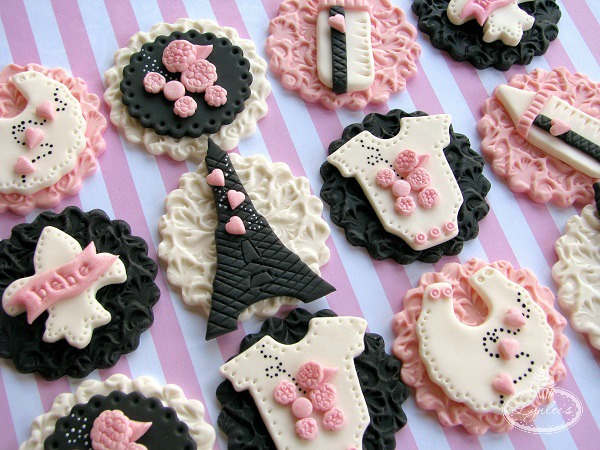
Adding texture to your fondant greatly accentuates an overall cake design and especially a collection of cupcake toppers! There are a variety of tools and fondant texturing techniques that can be used to impress a theme-related pattern or simply additional interest.
Here are a few tips and tricks on how to texture fondant.
[box type=”shadow”]Take your fondant texturing to the next level in the Bluprint course Designer Fondant Textures with Marina Sousa and learn to make adorable miniature fondant creations to embellish your textured toppers in Sheryl Bito’s Tiny Cupcake Toppers course![/box]
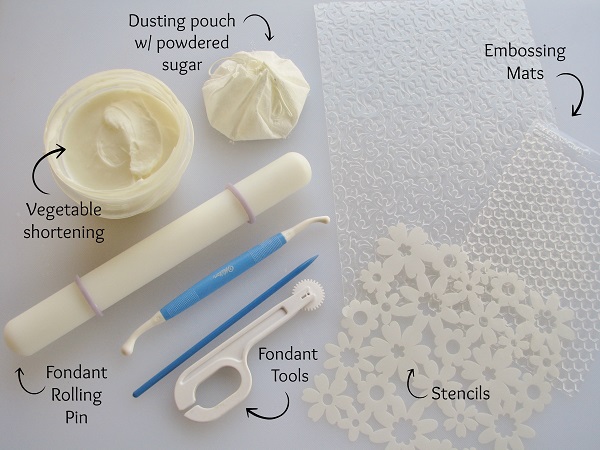
Materials for texturing fondant
- Impression mats
- Stencils
- Fondant rolling pin
- Fondant modeling sticks
- Fondant ball tools
- Rolling embossers
- Decorating tips
- Cutters
- Spatulas
- Vegetable shortening for impression mats
- Dusting pouch with powdered sugar
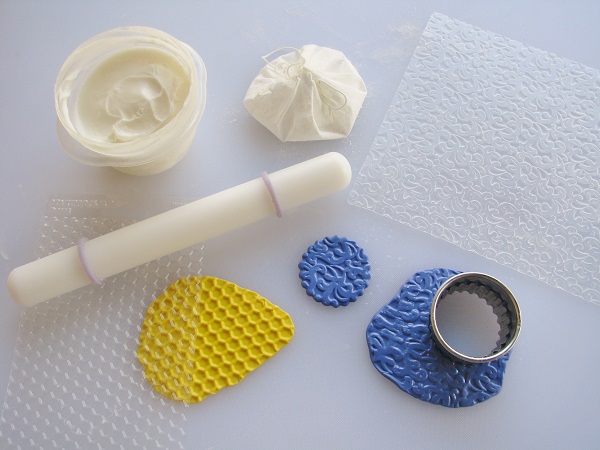
How to texture fondant with impression mats
One of the easiest ways to add texture to fondant is with the use of impression mats. These plastic or silicone mats contain various patterns that allow you to emboss designs directly onto the fondant. From bricks to basketweave to wood-grain, there is a large range of markings and ornamentations that can take your designs to the next level.
Step 1:
Dust your work space with powdered sugar and roll out your fondant over it with the rolling pin.
Tip: As you do this, keep in mind you want to roll the fondant thicker than your final result so that it does not become super thin as you emboss the pattern.
Step 2:
Spread some vegetable shortening over the surface of the fondant to ensure it does not stick to the mat.
Step 3:
Place the impression mat over the fondant and use the rolling pin to emboss the pattern.
Tip: Take a look at both sides of your mat and select the one you would like to use by determining how you would like the pattern to be embossed on your fondant. For example, the honeycomb fondant in the image shows the honeycomb pattern impressed into the fondant. Inversely, if you turned the mat upside down, the lines in between would be impressed and the honeycomb pattern would be protruding.
Step 4:
Gently remove the mat from the fondant. Punch out your desired shape with a cutter or use the fondant to cover your cupcakes or cakes.
Tip: Make sure not to pull the fondant in any direction, as it will distort the embossed pattern.
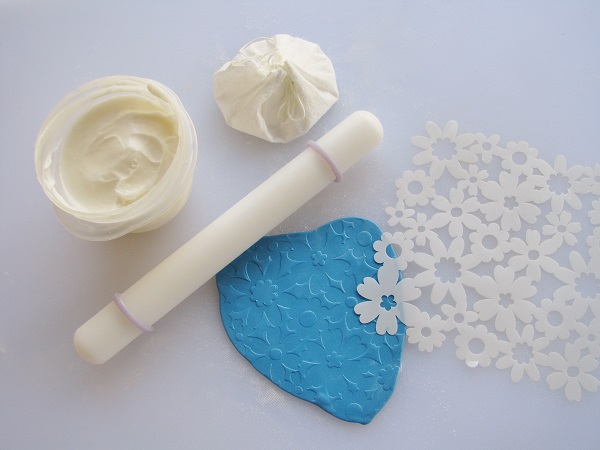
How to texture fondant with stencils
Another way to add texture to your fondant is with the use of stencils. Much like the impression mats, stencils can add a pattern to fondant with the use of a rolling pin, but it also offers you additional possibilities, such as painting or shading in the exposed areas. To use stencils, follow the steps above from the impression mats, but wait to remove the fondant if you are embellishing it.
Tip: If painting or adding shading or shimmer to the exposed fondant areas, you might want to use the vegetable shortening sparingly or wipe any excess off carefully to allow the paint or other materials to adhere properly to the fondant.
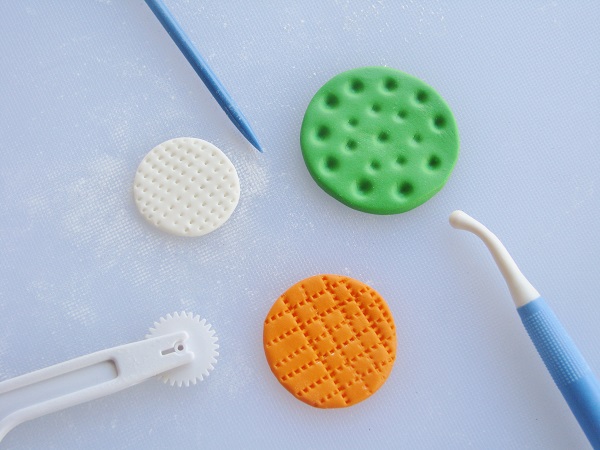
How to texture fondant with modeling tools
Though embossing mats and stencils are the simplest ways of adding texture, there are a variety of tools that can be used to alter the surface of fondant. The image above displays three different fondant tools that were utilized to make patterns and decorations by simply indenting it in a variety of manners.
There are numerous tools that can be used to form patterns and add texture to your fondant, such as cutters or other materials, like lace! The key is to be creative, but simultaneously understanding the time investment required for your specific project.
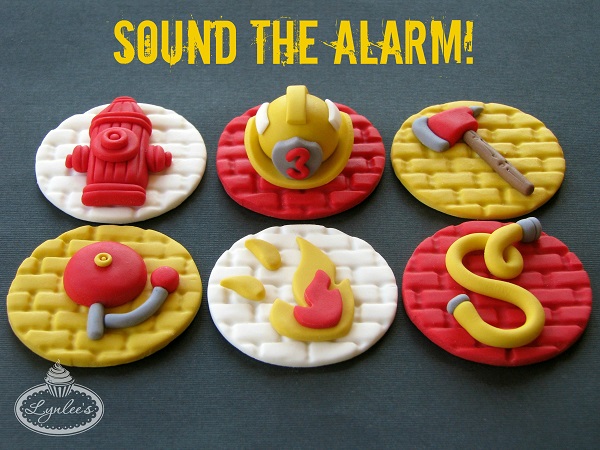
The brick pattern embossed onto these firefighter fondant toppers with the use of an impression mat add dimension and interest to the themed accents.
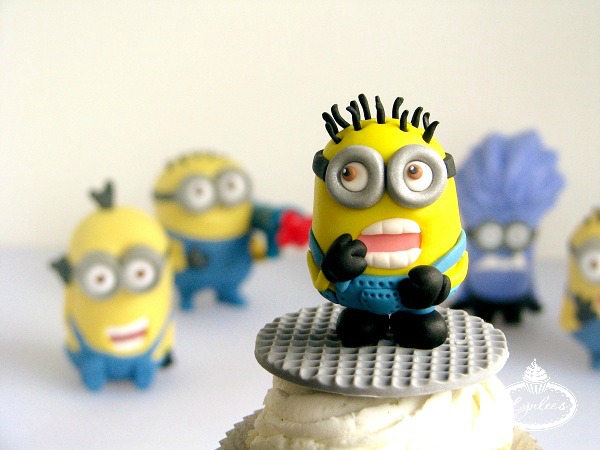
The fondant minion in this image could be inserted directly into the icing or placed over a smooth topper, but the textured disc achieved with the use of an embossing mat accentuates the three-dimensional figure and adds interest to the entire design.

Texture is incorporated into this golf design in a variety of techniques. The argyle pattern was assembled with multicolored diamond fondant shapes achieved with a miniature cutter, then additional lines were added with the indentation of an icing spatula. The dots mimicking a golf ball pattern are indented by hand with a small modeling stick.
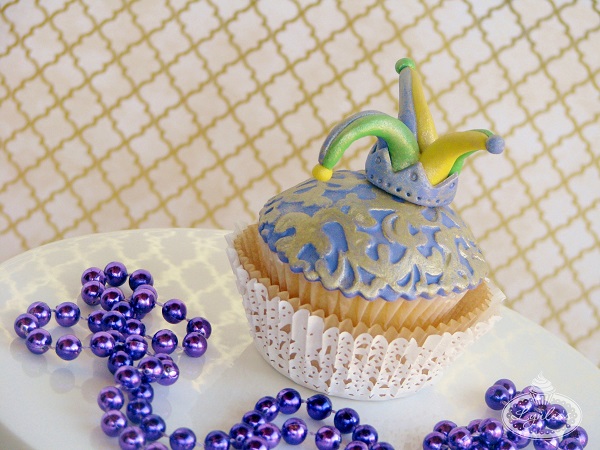
Though this damask print on this Mardi Gras cupcake was embossed with an impression mat, a stencil could have been utilized and especially facilitated the painting process!
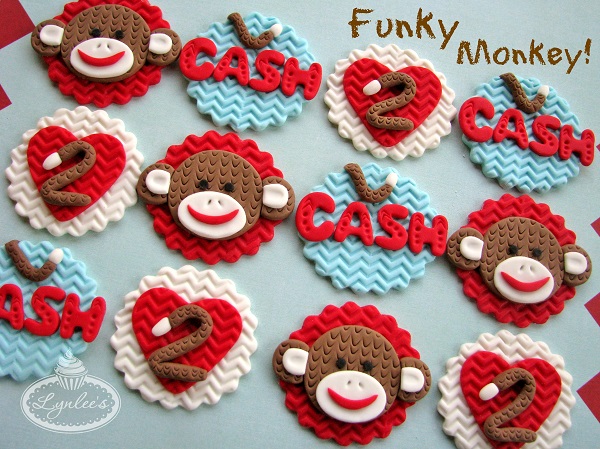
While a chevron pattern was embossed on the bottom of these fondant toppers with the use of an impression mat, the need for a pattern resembling that of a knit sock monkey was unavailable. Therefore, creativity was required and the texture was achieved with the use of a teardrop cutter by simply impressing the very bottom of the tool.
Share tips, start a discussion or ask one of our experts or other students a question.
No Responses to “Texture Your Fondant World: 3 Fondant Texturing Techniques to Try”