
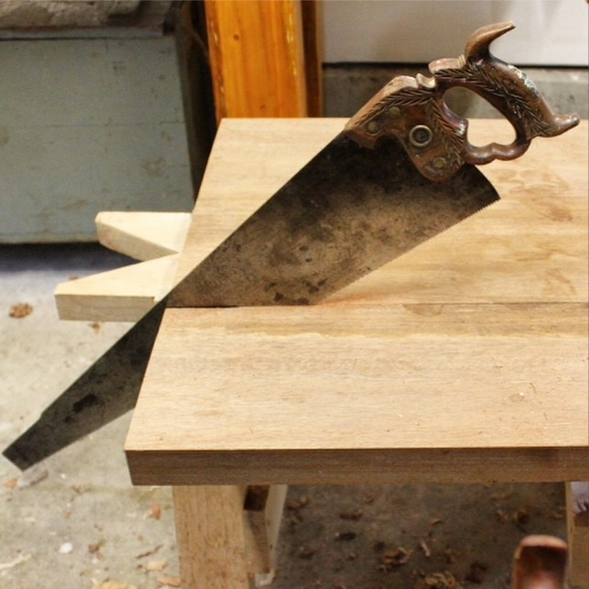
My neighbor, a precious guy in his 80s, walks by my wood shop every afternoon as he walks his dog. Yesterday, he asked what I was doing with that “old timey” handsaw. I chuckled and went back to work.
There is nothing “old timey” about the saw I was using, in fact, it was brand new and I was testing it out for the first time. The saw cost more than I paid for my used table saw, and it, with a few others, just might completely replace that old table saw. Few people believe me, but using a handsaw is actually one of my favorite things about woodworking.
Sawing right to a line and fitting hand-cut dovetails on the first try are two of the most rewarding achievements I have in my wood shop, right up there with putting the final coat of finish on a completed piece.
I could write pages about the dangers of table saws and the horrors of living without fingers, but the most dangerous tool in any shop is always the one you are using. My good friend nearly lost his thumb trying to catch a chisel that rolled off the bench, and there isn’t a single power switch in his shop. So whatever tools you use, be aware of what’s going on around you, use the proper safety measures and equipment and use the tool you want to get the job done well.
Speaking of a job done well, there are only three things you really need to know when it comes to being a good sawyer.
Let’s discuss how to use a handsaw properly:
1. Use the right tool for the job.
There are a few aspects that make a certain saw the right one for the job. No matter the job, you need a sharp saw. In my experience, the number one deterrent for people getting hooked on hand tool woodworking is that they are using dull or improperly sharpened tools. Having a sharp saw doesn’t mean you have to break the bank either.
Until a few weeks ago, the most expensive saw I had in my shop was a $25, 120-year old Disston I got at an antique store. Before I learned how to sharpen it (which I’m still not very good at, by the way), I practiced sawing with my Stanley Fat Max saw I got from Home Depot. That said though, when I first got into hand tool woodworking, a love for sawing came last because, though my Stanley saw was sharp, it had a plastic handle that was not fun to use for long periods of time.
You’ll also want to narrow down the type of sawing you’d like to do: are you making a rip cut or a cross cut? A rip cut goes down along the grain of the wood. A cross cut slices across the grain. Properly sharpened saws are filed differently so they can specialize in rip or cross cuts.
When first starting out, I think it is easy to get confused, so here is what I suggest: Get two saws to start out; a hybrid filed panel saw and a hybrid filed dovetail/small tenon saw. Buy a new saw from a reputable maker or pay a professional to sharpen your antique store/flea market/Ebay/inherited treasures.
2. Hold the saw properly
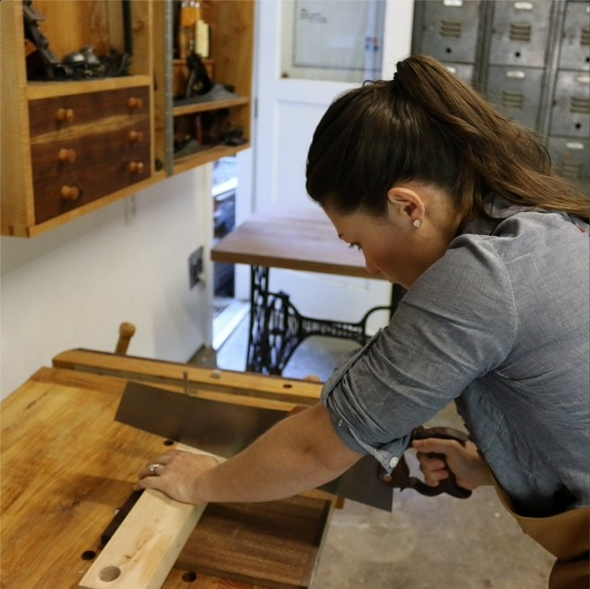
Remember the good ol’ days when you and your friends used your hands to make pretend guns to shoot at everything in site? Make a pistol hand. This is basically how you should hold a saw. Your pointer pointing right down the line you’re going to saw and your forearm, elbow and bicep perfectly in line with the cut.
Your body is positioned in a way that your arm can move straight back and forth in line with the cut. Keep both eyes open and relax. Place the thumb of the hand not holding the saw right where the tip of the saw meets the line of your work. Use that as a guide as you draw the saw back several times to begin your cut. Now push the saw gently forward. Use the whole saw, end to end, don’t just use the middle.
Chris Schwarz said something that totally changed my sawing game. He said to pretend like the saw handle is a baby bird. If you squeeze it, you will crush that poor, helpless baby bird. If your knuckles are white, relax your hand. Tensing up and holding the saw with a death grip will cause your cuts to wander.
3. Hold the workpiece properly
While you are sawing, it is crucial that your board is clamped down tightly, as near to the place you are making your cut as possible. If your work is slipping all around, your saw will, too. And, if you have a sharp saw, you are very likely to cut yourself this way.
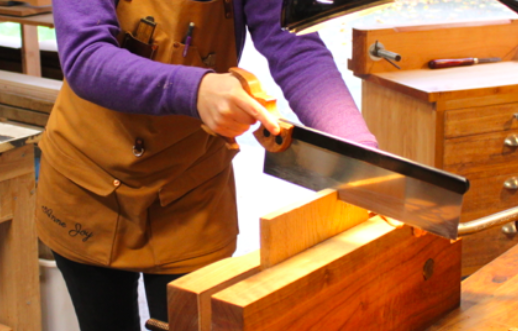
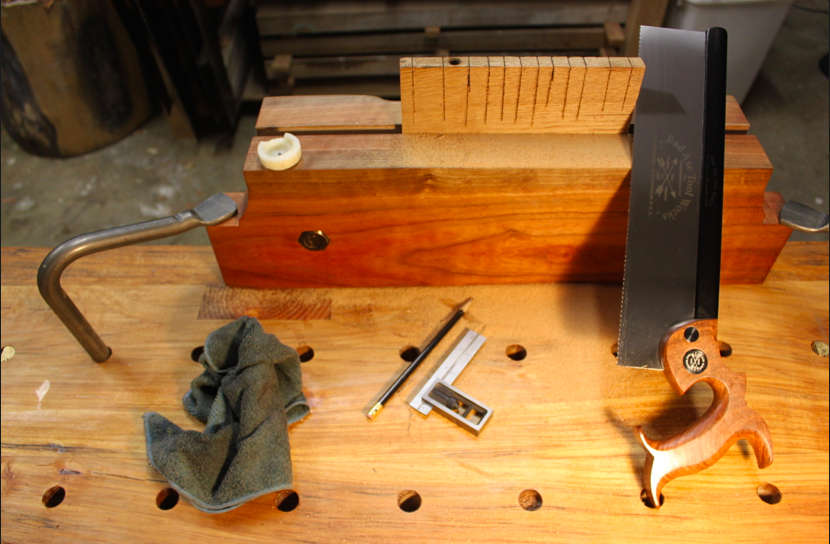
This doesn’t have to look like Fort Knox. If you are using a Western-style saw, it cuts on the push stroke. For crosscuts, if you put the saw up against something, like the bench hooks I’m using in the picture below, your work is held tightly by the opposing pressure. A makeshift bench hook can be made by screwing three scraps of wood together in the general shape. You can also make or buy them.
If the board isn’t held securely, as you saw, the board will “chatter,” or vibrate, as you move into the cut, making it nearly impossible to saw. So if you don’t have a good bench with a vise, or saw benches (also known as saw horses), just use clamps to secure your workpiece to something that will hold it in a convenient way for sawing. When I first started out, I used scrap lumber, a pile of bricks, and some Quick Grip clamps with my Stanley saw. Soon after, I moved on to a stump, which currently still serves as my second sawbench.
As you get more serious about sawing, use your newfound sawing talent to build a workbench, a pair of sawbenches, a couple bench hooks and a Moxon vise.
Help yourself out
Add some wax to the sawplate when you are sawing. Any kind of wax will do. I use burnt up tea lights. It will help lubricate the cut and keep the sawplate cool as it cuts. It will also help protect your blade. Whenever you are finished using your saw, before you put it away, wipe off all the sawdust and wipe the saw down with oil to help condition the handle and keep the saw plate from rusting. I soak a dusting cloth in Jojoba oil and it works wonders. Mineral oil works too, but tends to attract more dust.
Practice, practice, practice
Draw straight lines down and across every scrap in sight. Practice cutting the line in half with your saw. Relax. Try again. And again. Sawing well is all about practice. Some people are more natural beginners, some people spend longer figuring it out, but every good sawyer needs to practice. Practice cutting at least ten lines a day for a month. That is a maximum investment of 20 minutes. Then we’ll see who needs a tablesaw.
Share tips, start a discussion or ask one of our experts or other students a question.
No Responses to “Sawing Secrets: How to Use a Handsaw”