
Last time, we learned about how to choose a rasp for shaping wood. Today, we will learn how to use a rasp quickly and efficiently to shape wood into curved forms.
Using a rasp
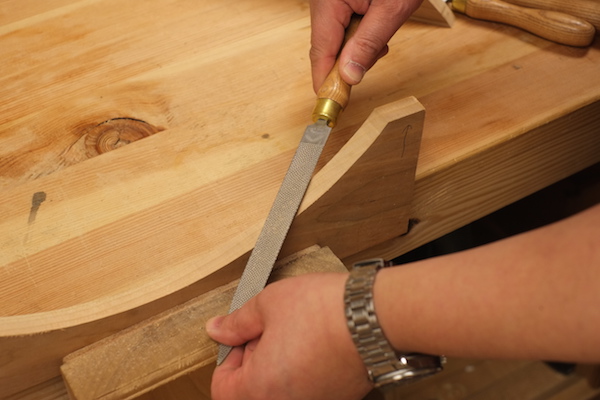
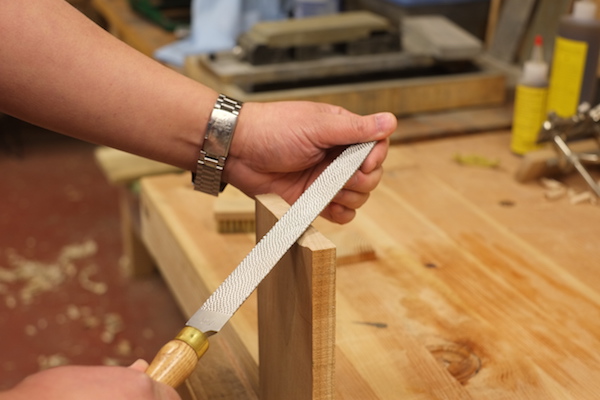
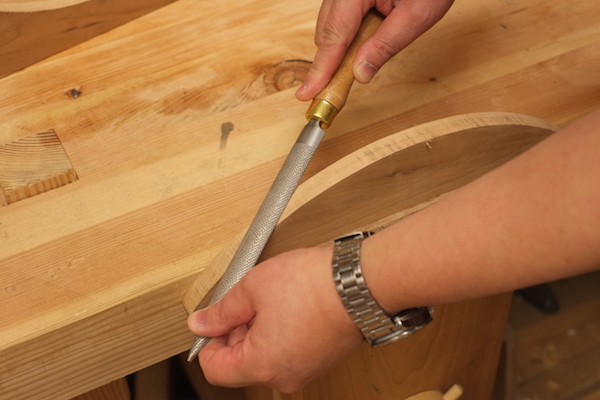
To use a rasp, hold the handle in your dominant hand, and the tip of the rasp with your other hand, as seen in the photo below. Push the rasp through the area to be shaped, but focus more on pushing forward rather than downward into the wood. Let the tool do the work.
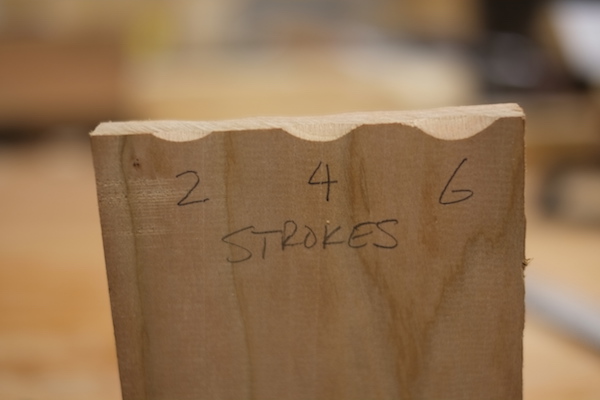
Especially with the coarser rasps, you’ll be surprised to see how much wood is removed. In the photo below, I used a large, fairly coarse rasp to remove wood from this piece of cherry lumber. You can see how much wood was removed with just a few strokes. Six strokes with a coarse rasp removed almost 1/4” from the corner of this board.
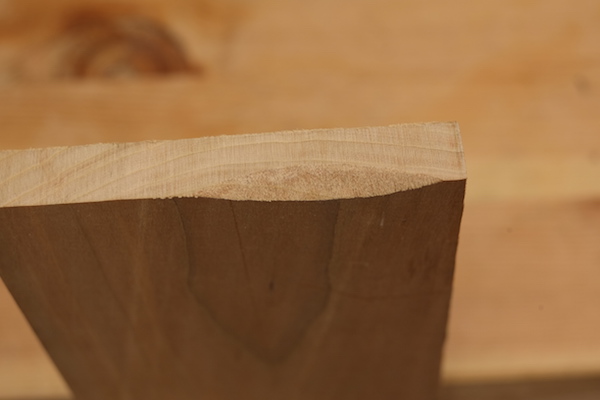
I used the same coarse rasp on the board shown below. You can still see marks left from the teeth of the rasp, but the surface isn’t too bad.

Once we’ve gotten to the shape that we want, we can then move to a rasp with finer teeth to refine the surface. This will take relatively little time, because all we’re doing at this point is smoothing out the marks from the coarse rasp, as opposed to removing wood.

You can see that the surface is much improved. We could use an even finer rasp to further clean up the surface.
Sanding and final steps
The wood may still need sanding or scraping, but the amount of sanding or scraping is going to be minimal, and you can start at a relatively high grit. Most woodworking projects need sanding to 220 grit before applying finish.
On the cutting boards that I wrote about earlier, I started sanding with 220 grit sandpaper after using rasps for the final shaping of the curved ends. If you weren’t using rasps for this purpose, you might have to start sanding at a relatively low grit and work your way up through the grits until your final sanding stage. The result may be the same, but it will be much dustier and much more annoying with the added sanding.
Of course, removing some wood from the corner of a board is fairly simple. Where rasps really come into their own is in shaping curves in wood. But some thought is needed to achieve the best results.
Shaping curves in wood
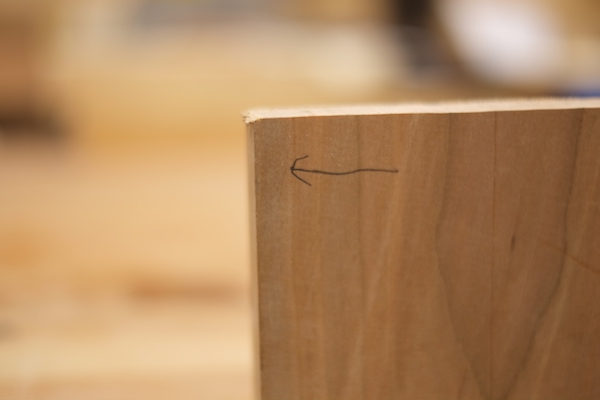
Remember, wood has grain, and even though rasps don’t need a lot of technical skill to use, you can still get some tearout if you are rasping across the grain, as in this example. There’s blowout at the corner because the rasp was moving in the direction of the arrow, and the fibers at the end of the board were torn away because there was no support at the end of the board.
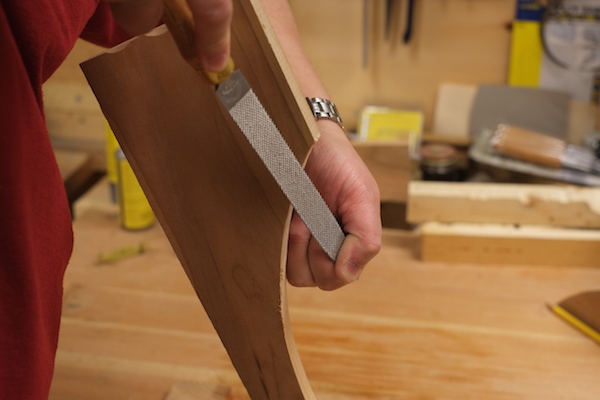
The best way to figure out which direction to push the rasp in is to align the board so that the grain is horizontal. Then push your rasp downhill in relation to the curve. Here’s an example on a convex surface.
Rasping downhill reduces tearout because the wood is always supported by other wood fibers in back of it relative to the direction of the rasp’s travel. The same concept applies when using a rasp on a concave curve.
Since this is a concave curve, you’ll want to use the rounded side of the rasp. But the concept of rasping downhill remains the same. If I was on the left hand side of the curve, I would turn around so that I was pushing the rasp towards the bottom of the curve, from left to right.
Of course, you don’t have to clamp the board so that the grain is horizontal to use a rasp. The board can be clamped any way you need to make your body position easy and comfortable. Just make a mental adjustment when looking at the grain of the board to figure out the best plan of attack with your rasp.
With these tips, you’ll be able to quickly use rasps to clean up and shape curves in your projects. The best thing to do is to get a few rasps, and have at it on some scrap pieces of wood. It won’t take very long to learn and use the techniques described above. They will become second nature very quickly.
Share tips, start a discussion or ask one of our experts or other students a question.
No Responses to “How to Quickly and Efficiently Use a Rasp to Shape Wood”