
The seam ripper is a must-have in every sewer’s toolbox, whether brand new to the game or a veteran of the craft. All sewers make mistakes, and do-overs are a natural part of the sewing experience. Ripping out seams is a tedious task that can be messy, but it doesn’t have to be. It is very easy to learn how to properly use a seam ripper.
While there’s no right or wrong way to remove stitches, there is a relatively simple method that makes the dreaded task lightening fast and leaves the seam clean.
Follow these simple steps to learn how to properly use a seam ripper:
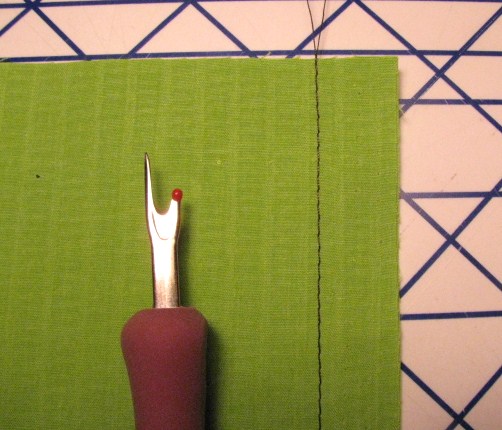
Step 1:
It begins by creating a thread tail long enough to grab a hold of with one hand. Starting at one end of the seam, simply pick out enough stitches, one by one, with the seam ripper until enough thread has been extracted from the seam.
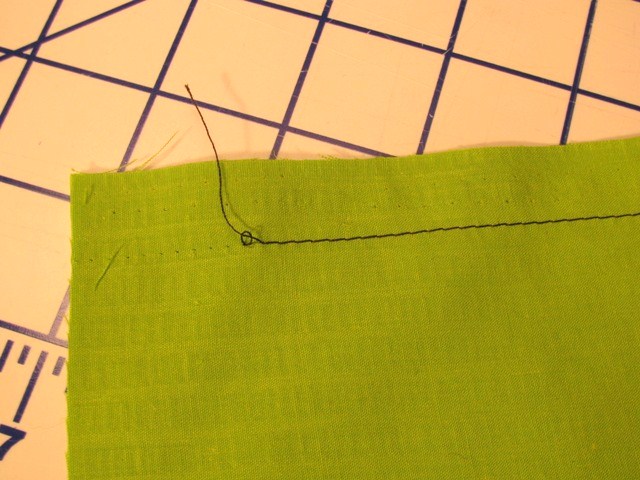
Step 2:
Grab a hold of that newly released tail and pull in the direction of the seam hard enough until it breaks. Good job, you are on your way!

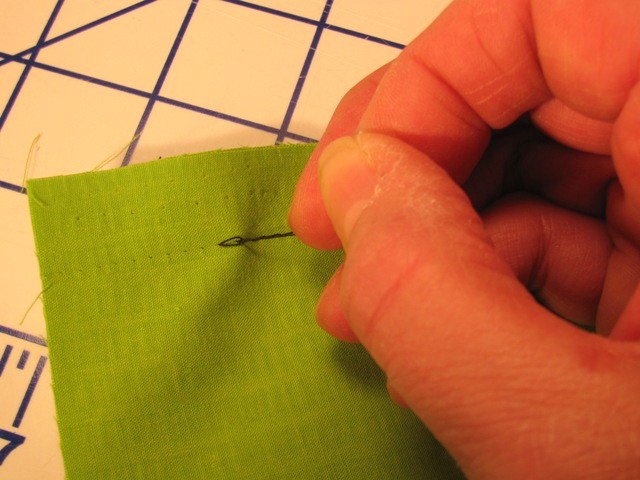
Step 3:
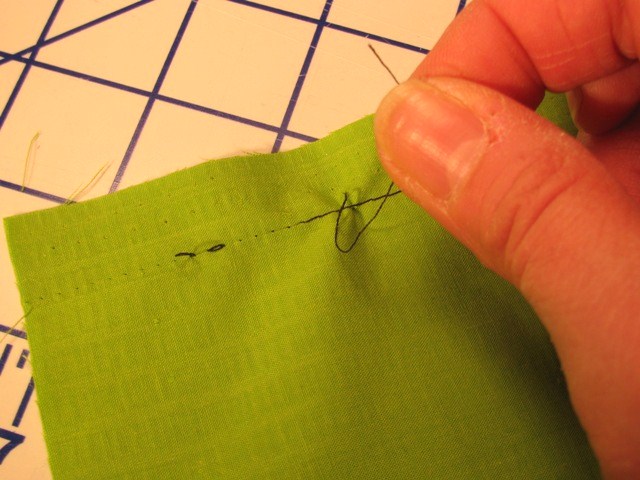
Turn the seam over to the opposite side of the seam. Grab hold of the loosened stitches, which should form a new tail long enough to grab a hold of, and pull in the same manner as before until the thread breaks. Turn the seam over again and repeat the process as many times necessary until the full seam has been ripped out.
In a few minutes the seam is open. The best part is no thread or stitch residue remains to be picked out. The opened seam is clean and ready to go!
Note: This process is efficient and fast on any straight stitched seams. It works well on most fabrics, but is not recommended on very delicate fabrics, as the pulling action may tear the fabric. Always test first to be certain the fabric can handle the pulling of the threads. Unfortunately, this method is not suitable for stitches with width, such as zigzag or overcast stitches.
Every sewing dilemma has a solution if you look hard enough for one. This one is easy and once you get the hang of it, you will never go back to the tedious method of picking out a seam, stitch by stitch.
Check out the Craftsy class 40 Techniques Every Sewer Should Know to learn more helpful sewing tips and tricks!
You might also enjoy my post on unexpected tools for the sewing room.
Have you used this technique before?
Is this you?

Share tips, start a discussion or ask one of our experts or other students a question.
No Responses to “How to Properly Use a Seam Ripper”