Die-cut machines are very popular in scrapbooking right now. These machines give you endless options for creating elements to add to your scrapbook layouts.
One of the best ways to utilize your machine is to make creative scrapbook titles from die-cut letters. You can save a lot of money by creating these titles yourself, instead of buying premade titles or stickers in the store. Whether you are cutting out single letters or entire titles all together, here are some tips for maximizing your die-cut letters and titles on your scrapbook pages.
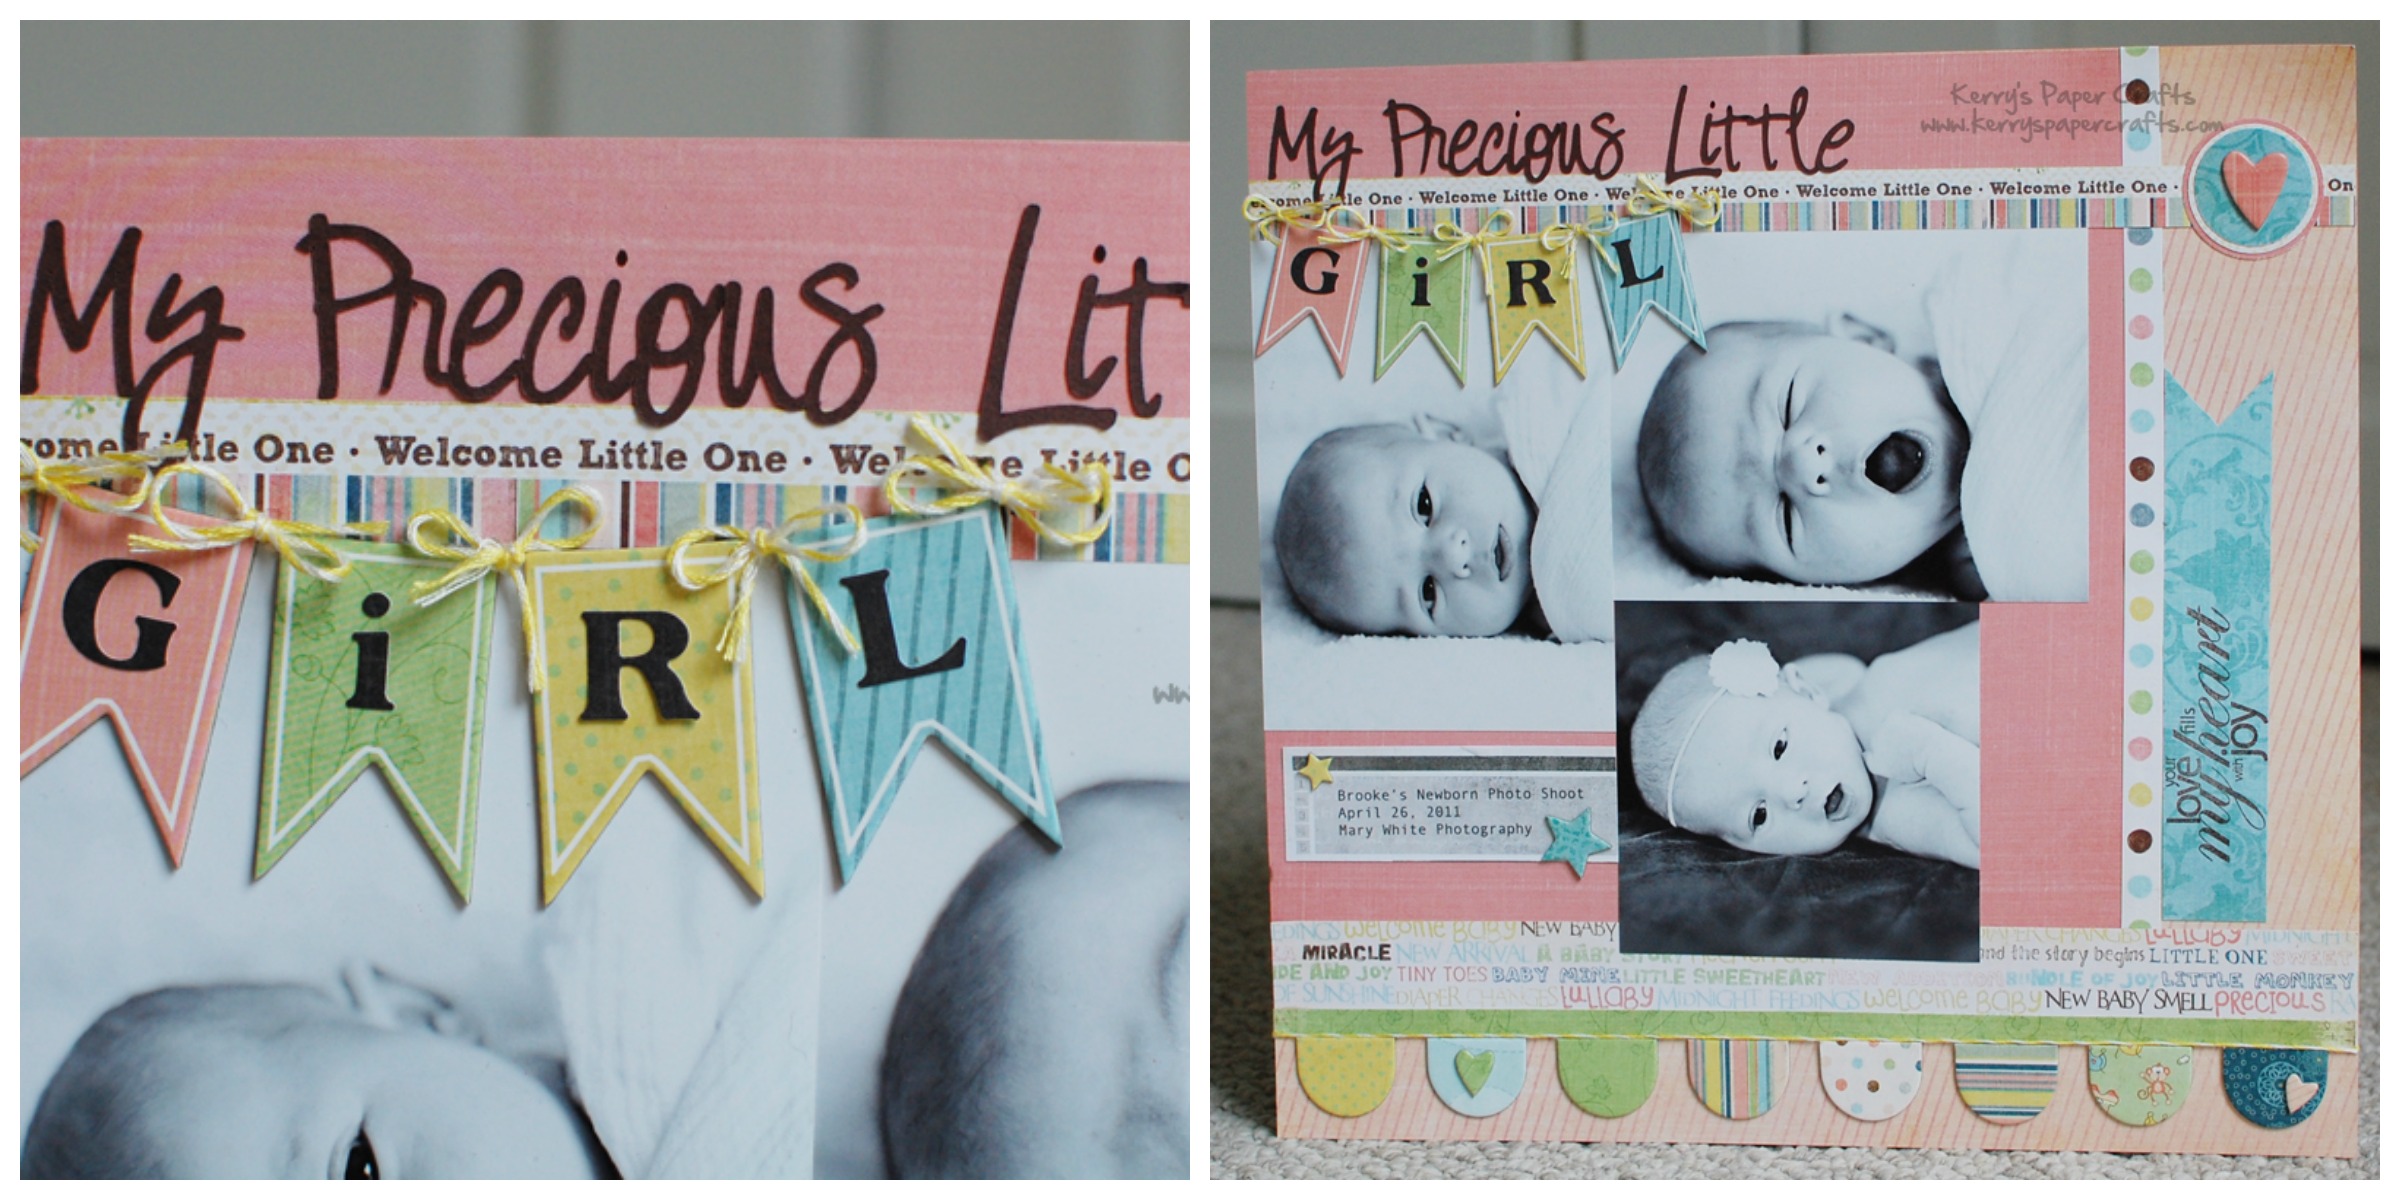
Tip #1: Mix die-cut letters with stickers
You can instantly add more texture to your layout by combining a die-cut title with letter stickers. One of the best ways to do this is to use chipboard stickers.
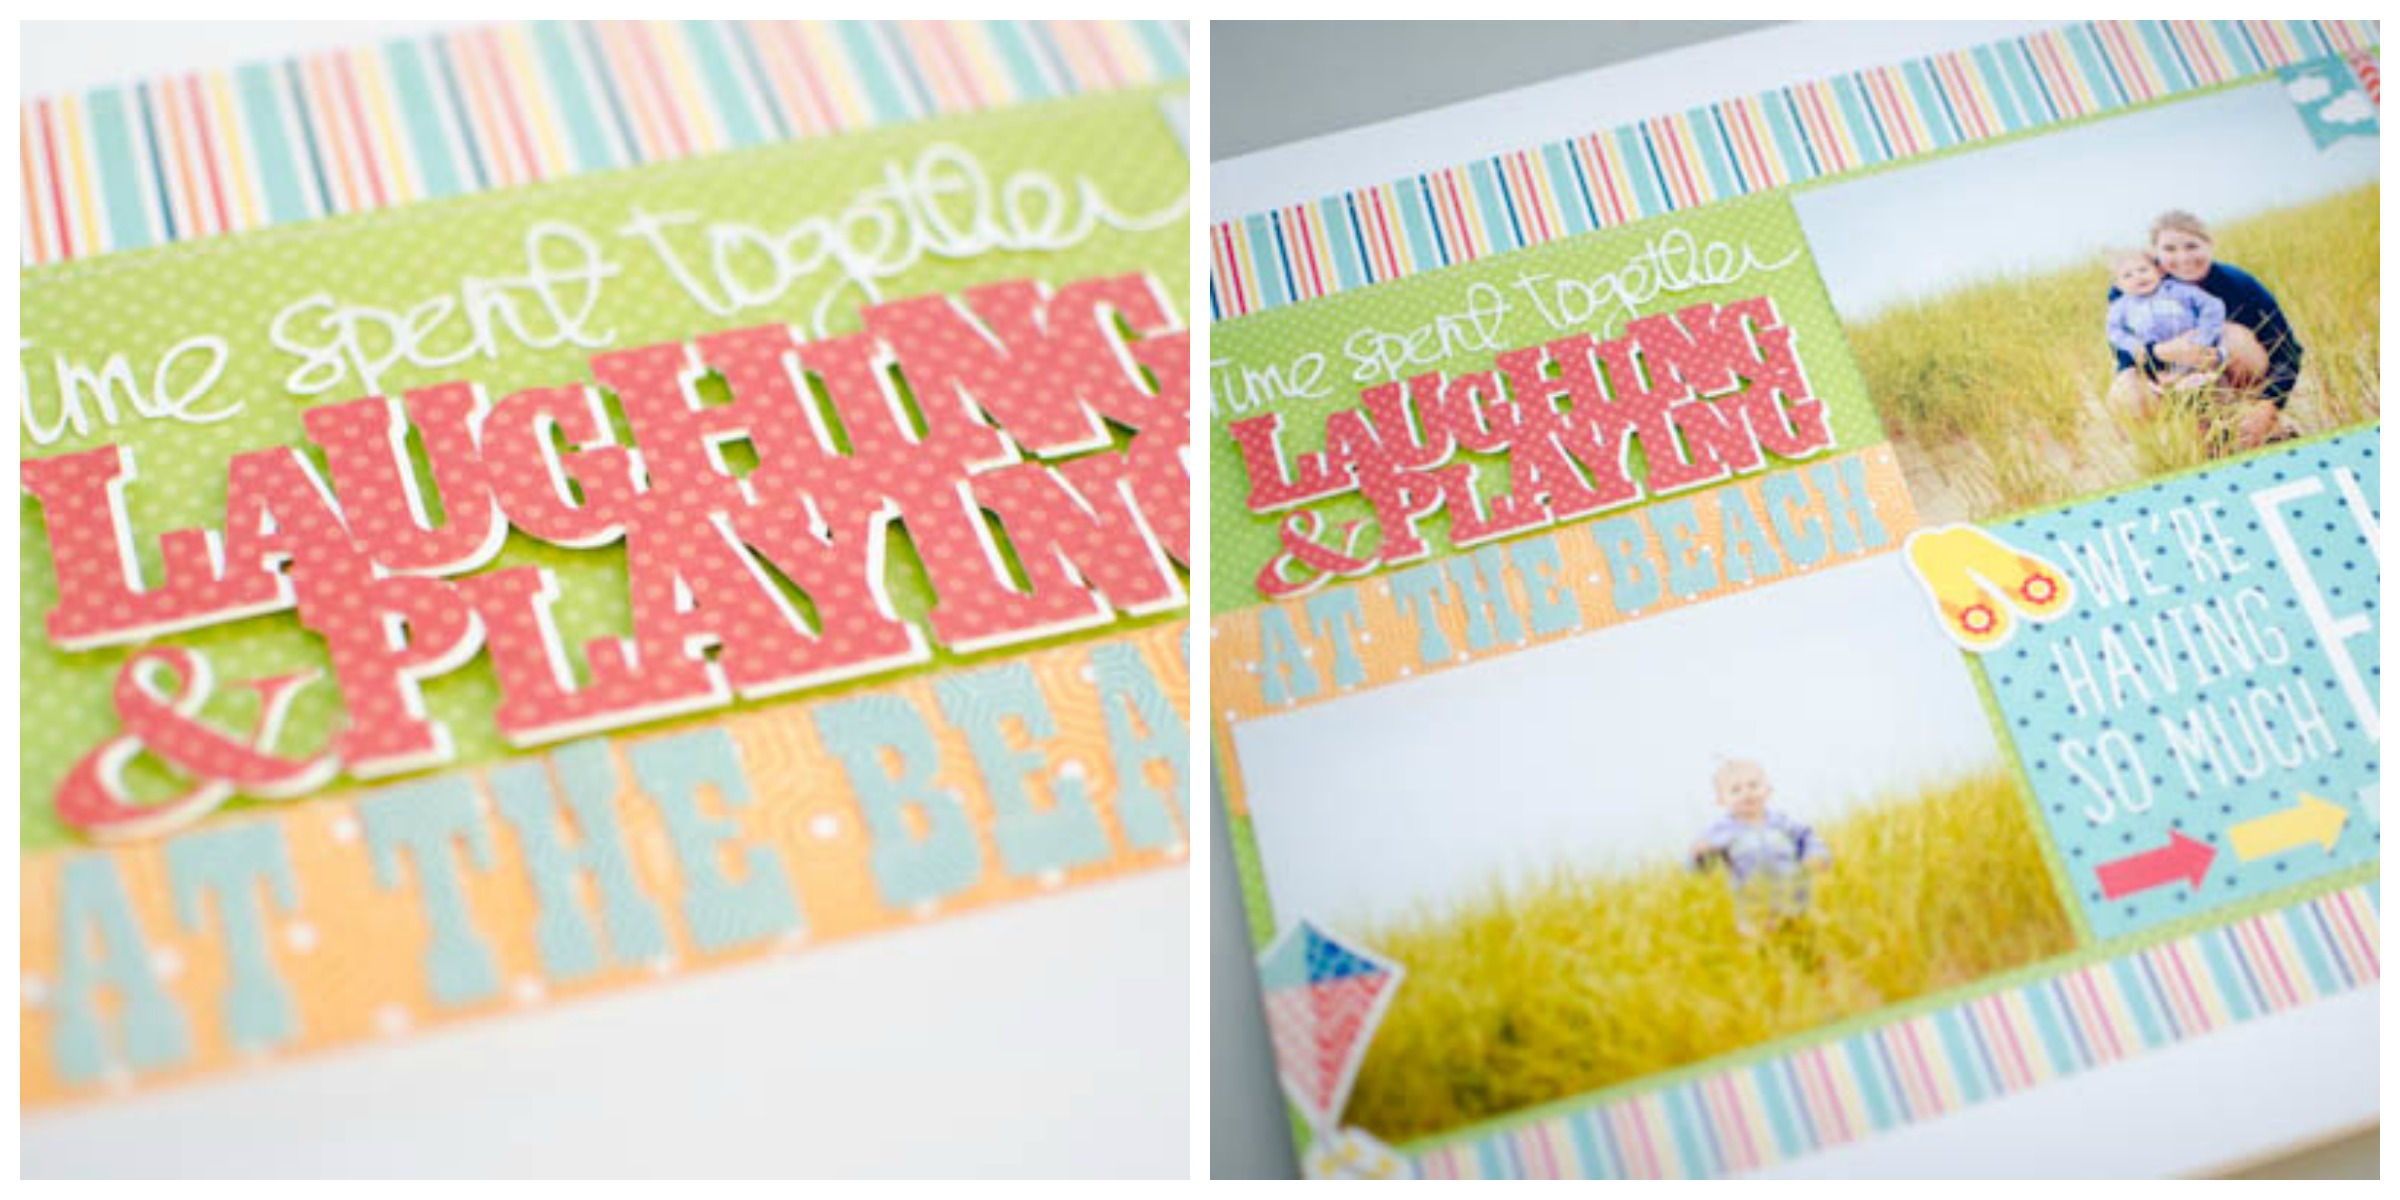
Tip #2: Add dimension
One of the challenges with using paper or card stock for your die-cut letters is that they can fall flat and get lost on your page. If you would like to make your die cut stand out, try popping it up with some foam adhesive. This will lift the title up off the page and create visual interest.
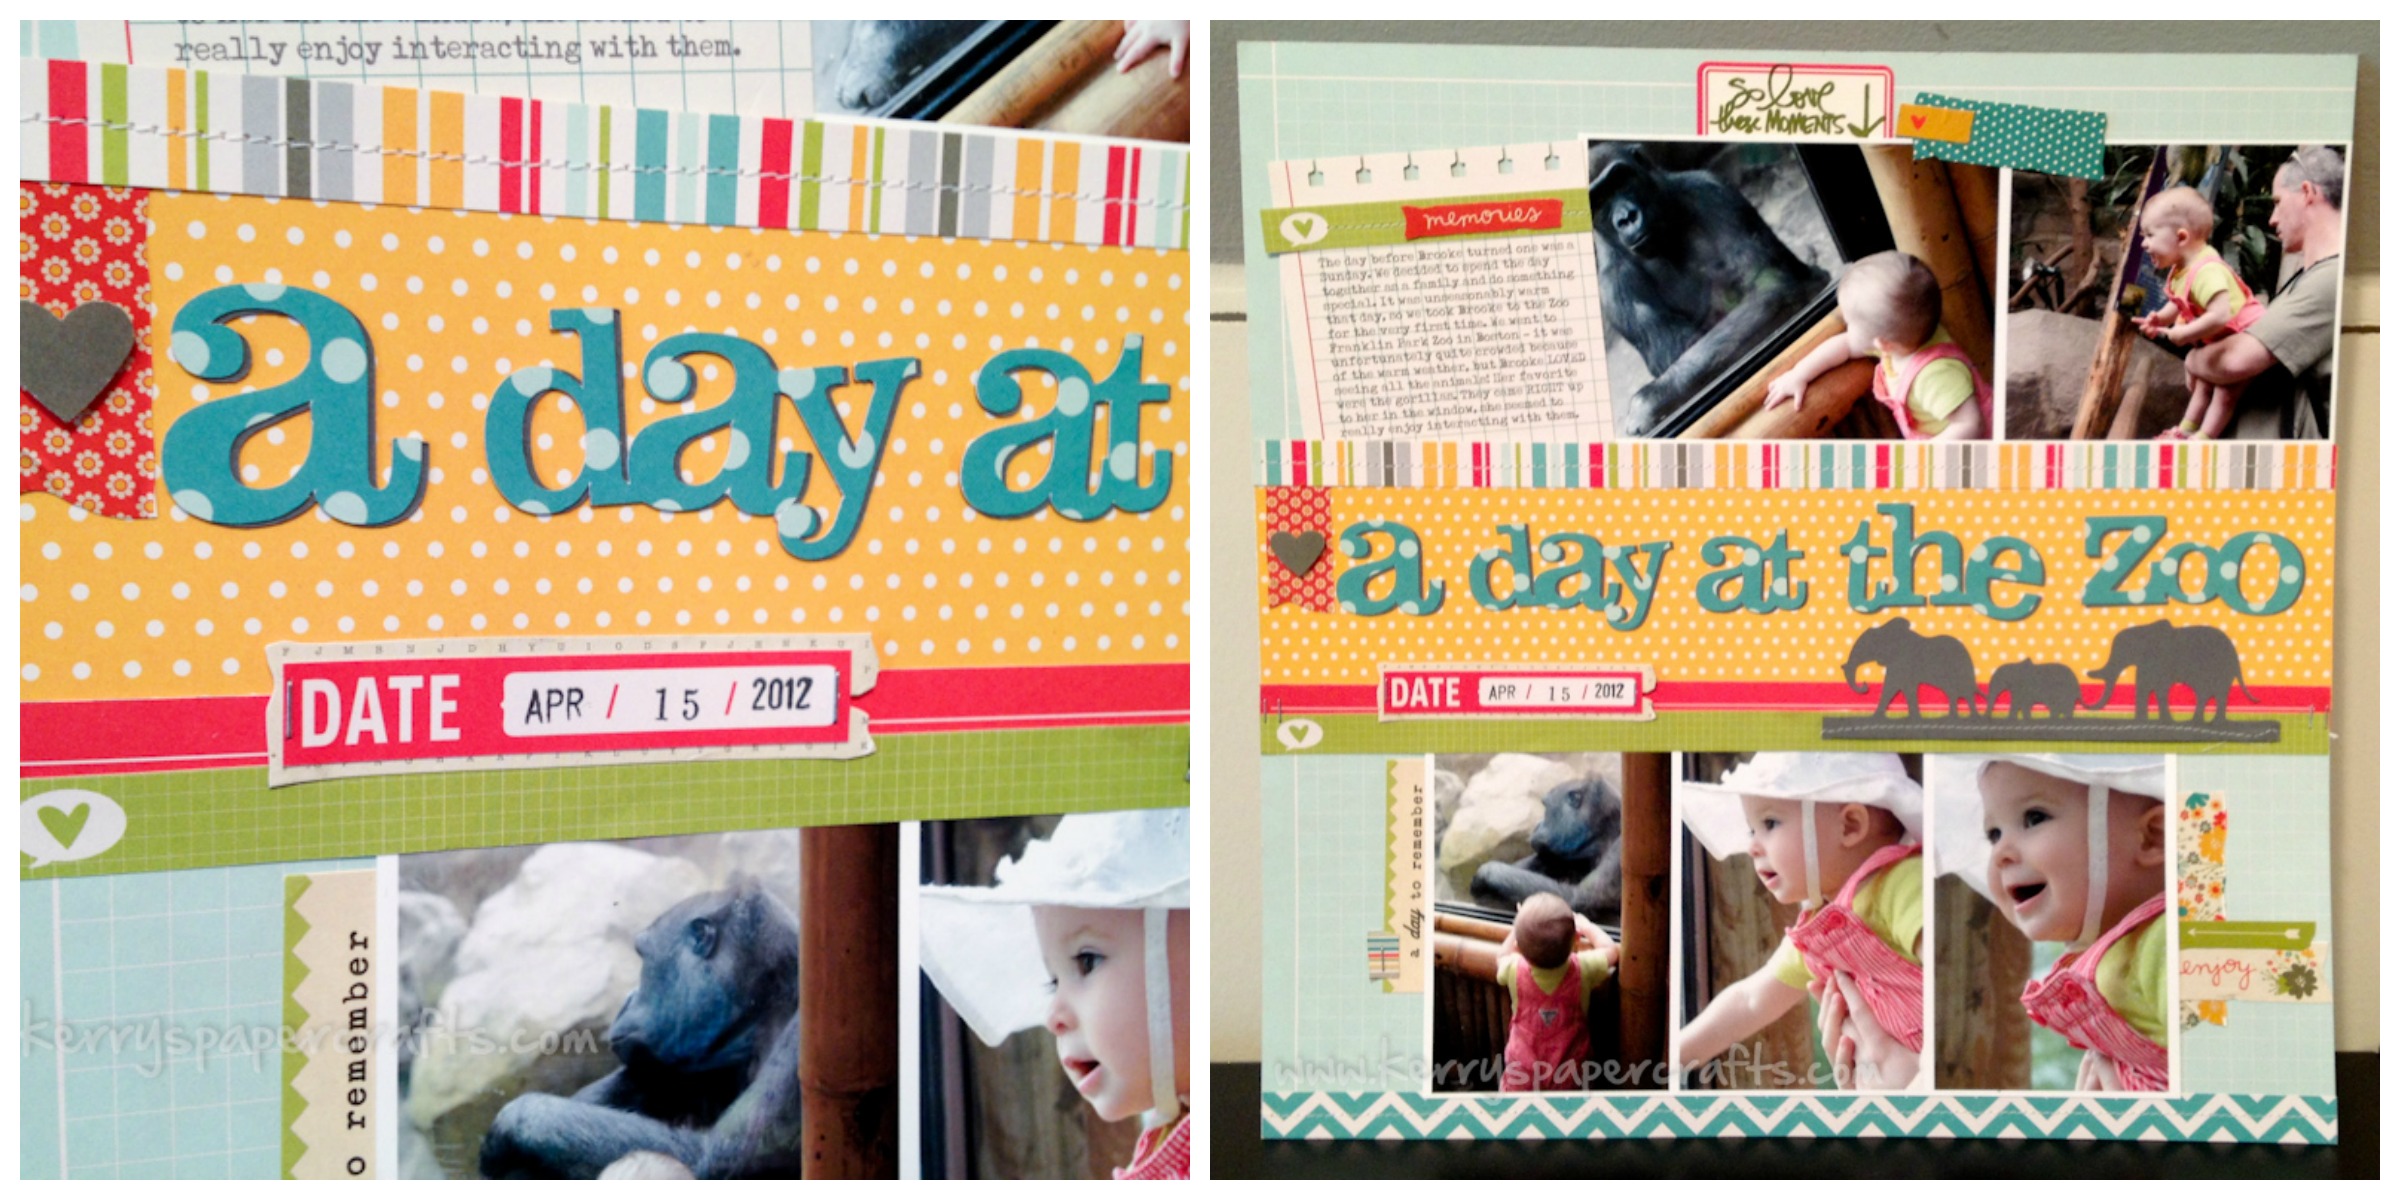
Tip #3: Add dimension without adding bulk
If you don’t own any foam adhesive, or would rather not add any bulk to your layouts, you can still create a dimensional look. Try cutting your title twice, with the second layer being cut from a darker shade card stock (black or brown usually look best). When you adhere the title to the page, layer it on top of this second copy. Be sure to offset the darker copy of the title just a bit, to give the impression of a shadow. You will be surprised at the instant dimension this adds to your die cut. It will stand out on your page for sure!
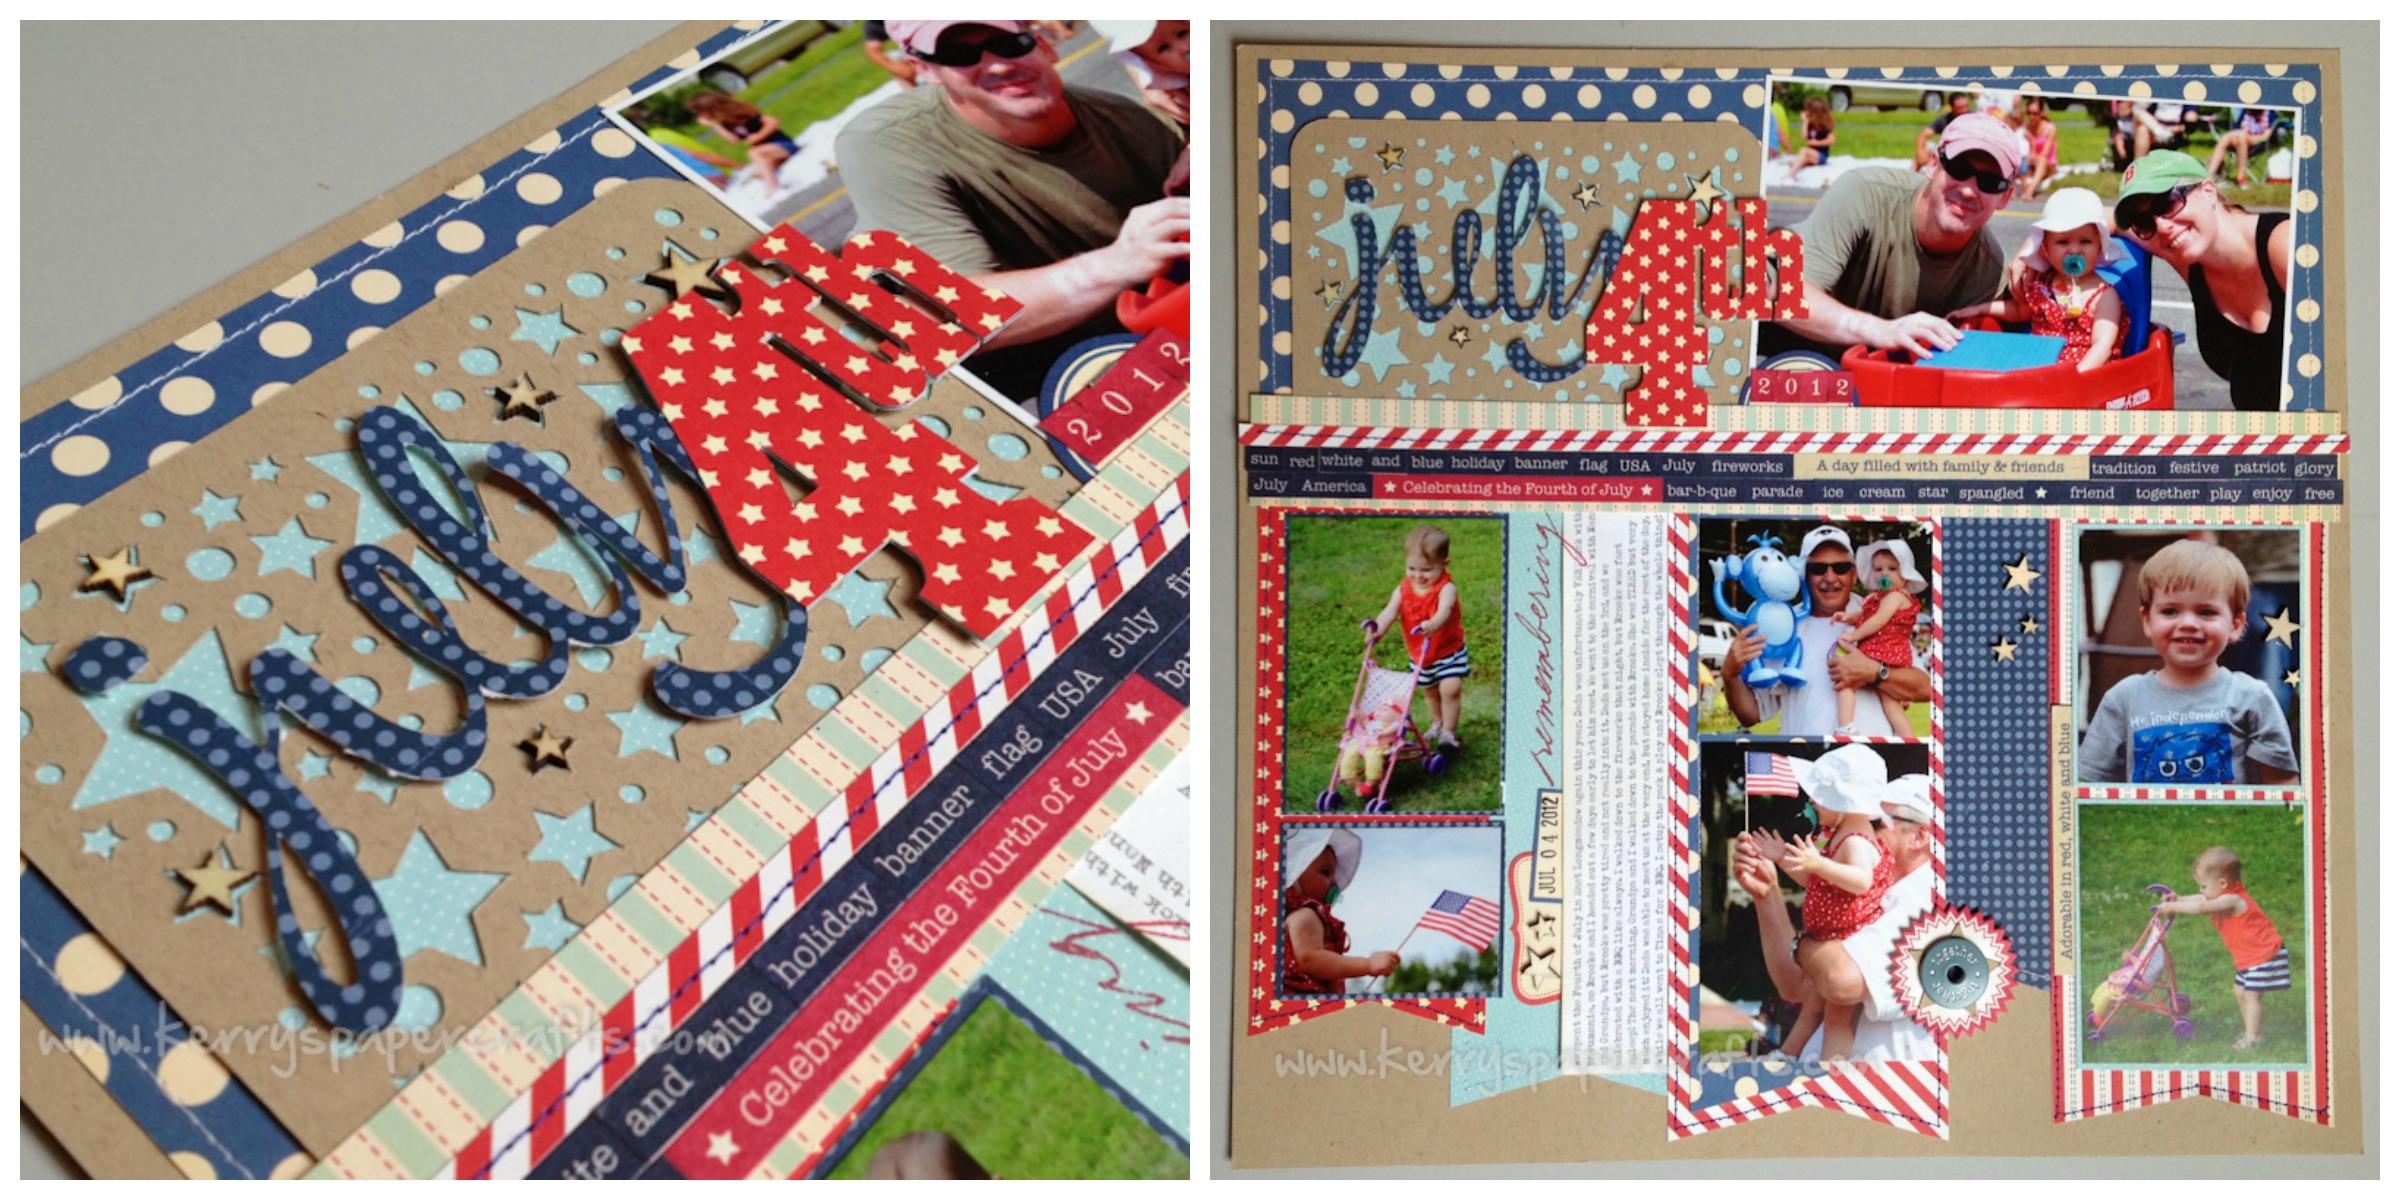
Tip #4: Be brave with patterned paper
When it comes to die cuts, you are NOT married to solid card stock! To achieve a bold and textured look, try using patterned paper for your title. Keep in mind, you want to choose a paper that has a small, repeating pattern to it. I find that tone-on-tone with subtle patterns work best, otherwise your title will get lost and be too distracting. In the example below, I’ve mixed two different patterned papers for my title. (HINT: I’ve also combined Tip #2 with this title by adding foam adhesive to the back of “4th”. )
Tip #5: Get inky!
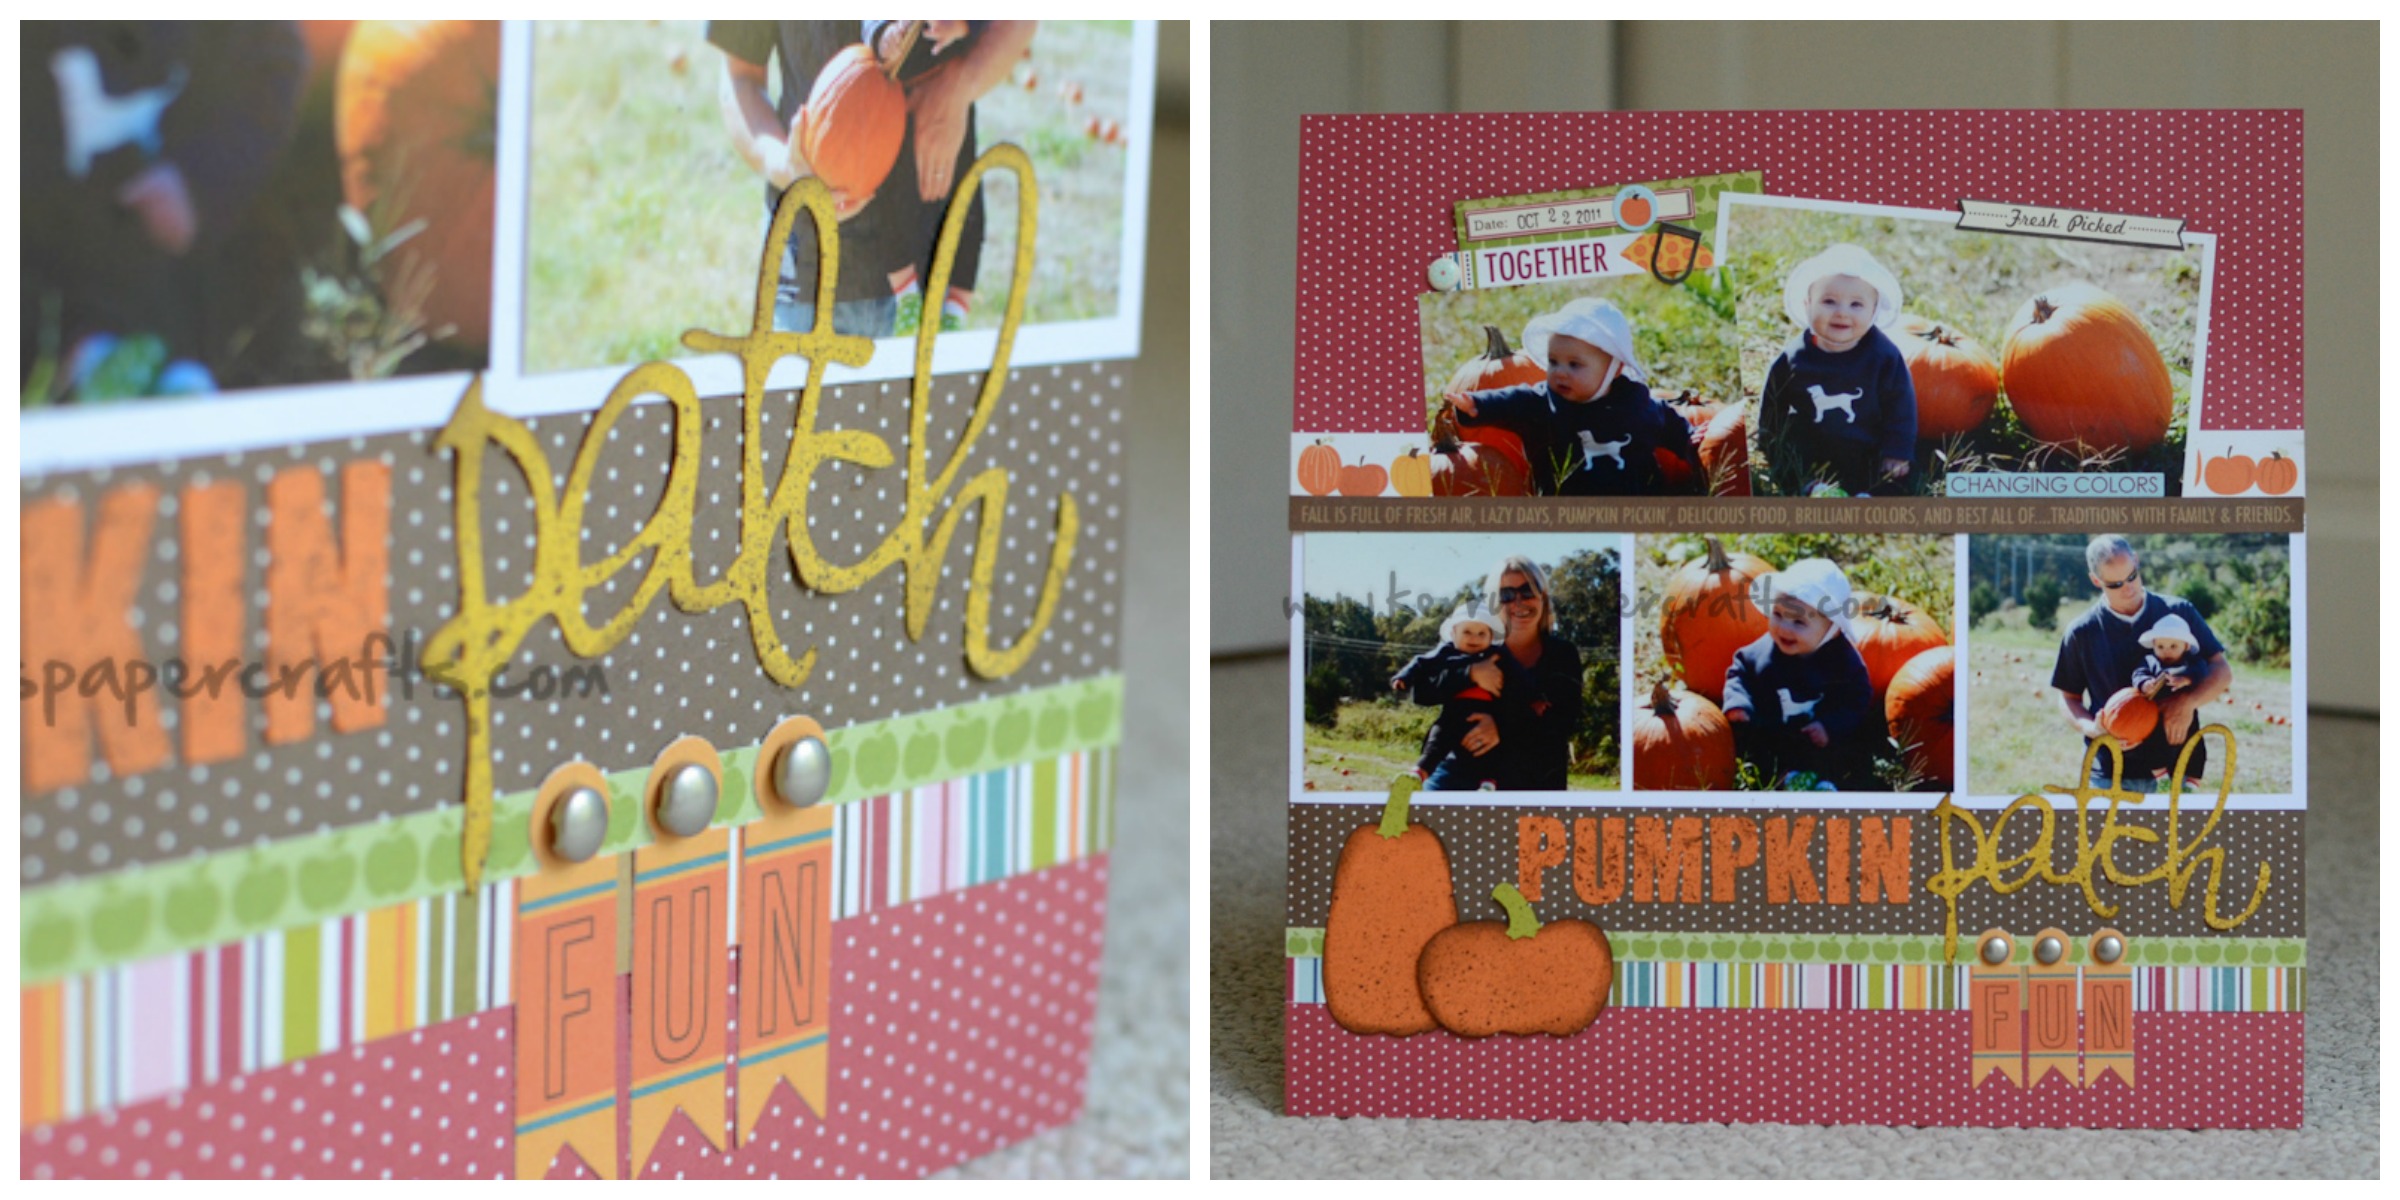
One of the easiest ways to spruce up your letters is to simply add color with ink. If you have spray mist, or stamp pads, you can easily achieve this look. For spray mist, simply spray the mist over your title from a distance — a subtle, random pattern of color will provide instant texture. Another way to add color is to sponge ink onto the edges of your title. Simply take an old sponge and rub into an inkpad. Dab the sponge along the edges of your die cut — this will provide shadow and depth to each letter.
Tell your story with style! Sign up for the online paper crafts class Standout Titles & Creative Journaling with Lisa Andrews to discover top tips for setting your scrapbook pages apart with creative techniques for titles and journaling.

Share tips, start a discussion or ask one of our experts or other students a question.
No Responses to “Make the Most Out of Die-Cut Letters: 5 Top Scrapbooking Tips”