
In the many years I’ve been creating cards, one of the most frequently asked questions I’ve received after delivering an embossed card is “How did you do that?” Non-card makers are always impressed by heat embossing, which is a basic paper-crafting technique used to create raised images or sentiments. It’s easy and requires only a few supplies.
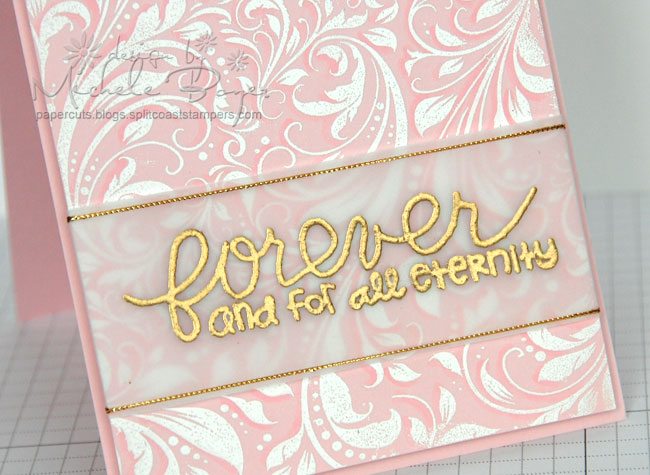
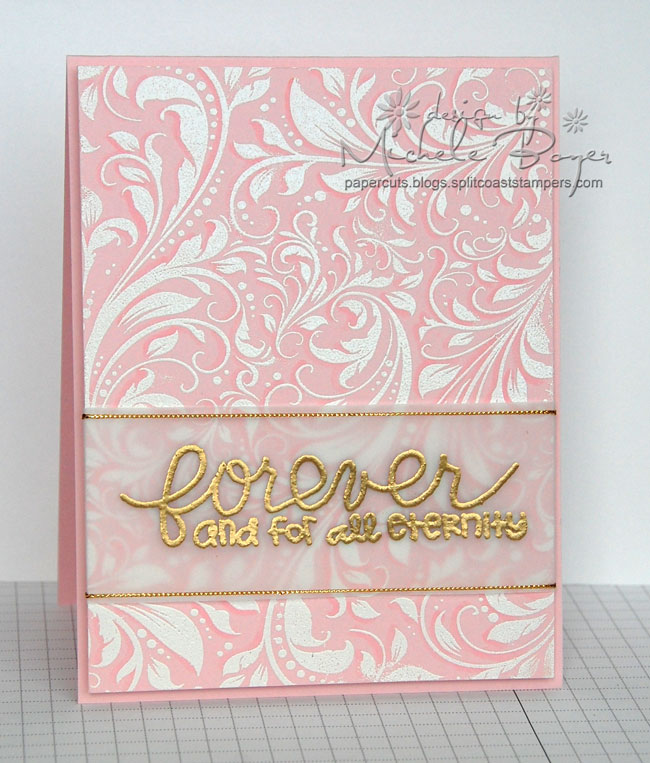
Use embossing powder to add dimension, shine and interest to a handmade card.
Embossing powders are available in a wide variety of colors, textures and formulas. Among the most common are white, clear and black. Powders are available in fine detail, matte finishes, sticky powders for use with glitter, foil, microbeads and much more.

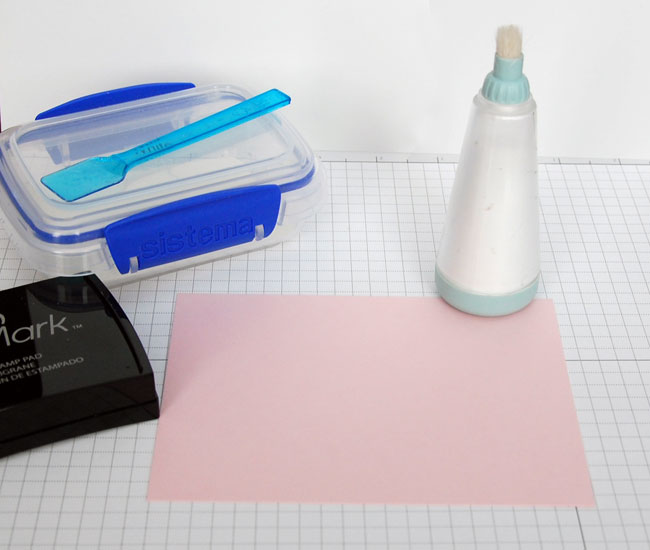
Supplies you’ll need:
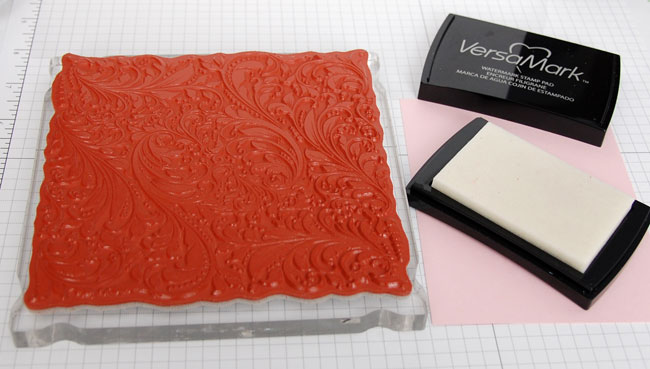
- Background and sentiment stamps (I used My Favorite Things Garden Flourish background and Paper Smooches Pretty Phrases)
- VersaMark ink
- White and gold embossing powders
- Heat tool
- Powder tool or pouch
- Card stock and vellum
- Double-sided tape
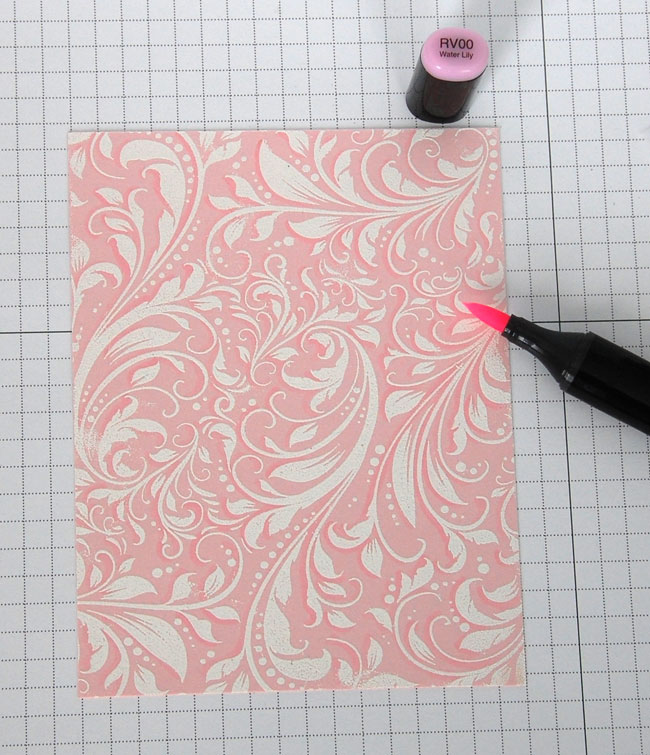
- Copic marker slightly darker than card stock
- Scrap paper
Embossing powder tutorial
Step 1:
Cut card stock to 4″ x 5 ¼”. Liberally apply powder over entire surface.
Step 2:
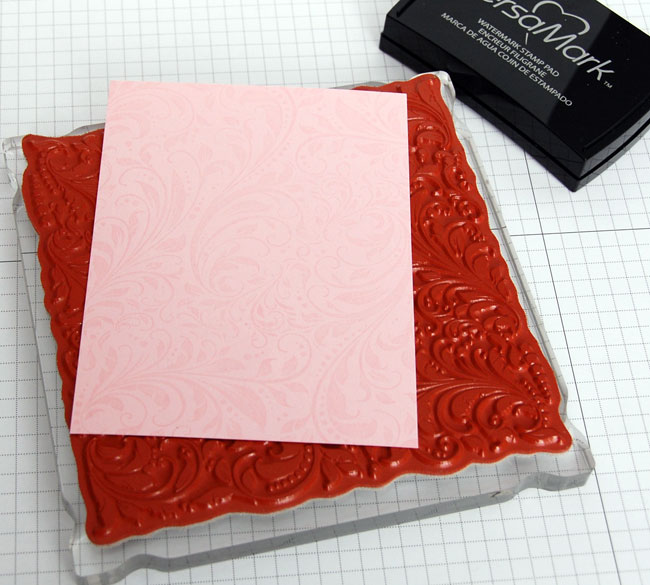
Apply VersaMark ink to background stamp.
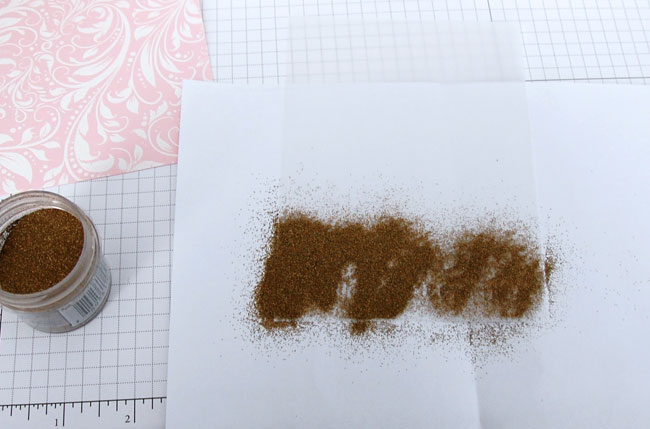
Step 3:
Lay paper over stamp and apply pressure over entire surface to transfer ink to paper. It may be helpful to lay scrap paper over the card stock and apply pressure using a bone folder.
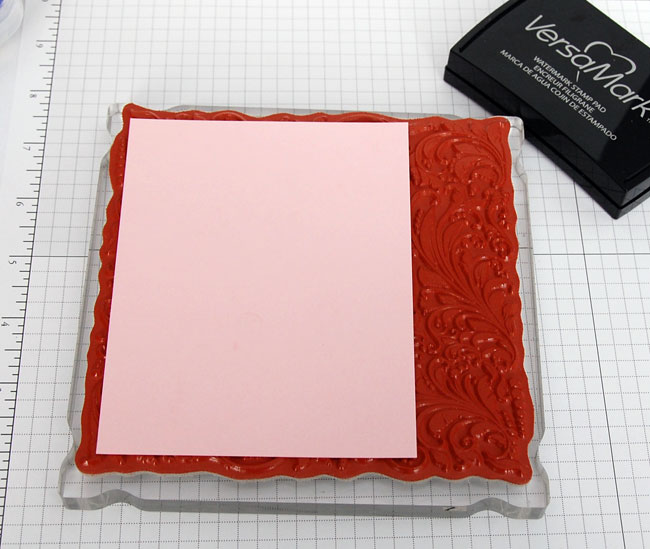
Once paper is removed from the stamp, you should see a very light impression of the design (shown above). Be sure to clean the VersaMark ink from the stamp.
Step 4:
Sprinkle white embossing powder over entire surface of card stock. Tap off excess.
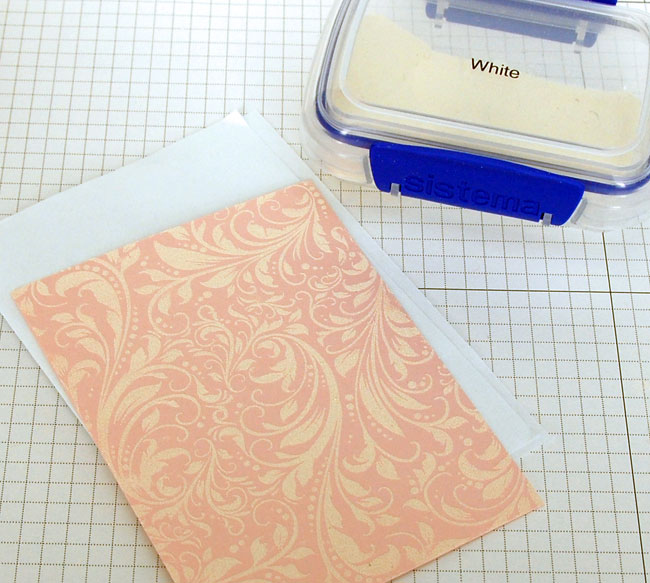
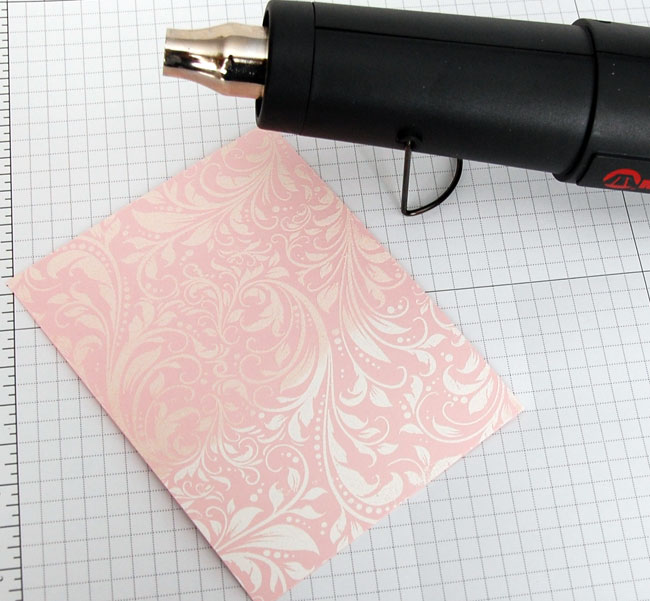
Step 5:
Preheat heat tool for about 20 seconds, then begin to heat-set the embossing powder, holding the heat tool approximately 2 inches from paper and moving in a circular motion. As the powder melts, the color will become more vibrant and glossy.
Step 6:
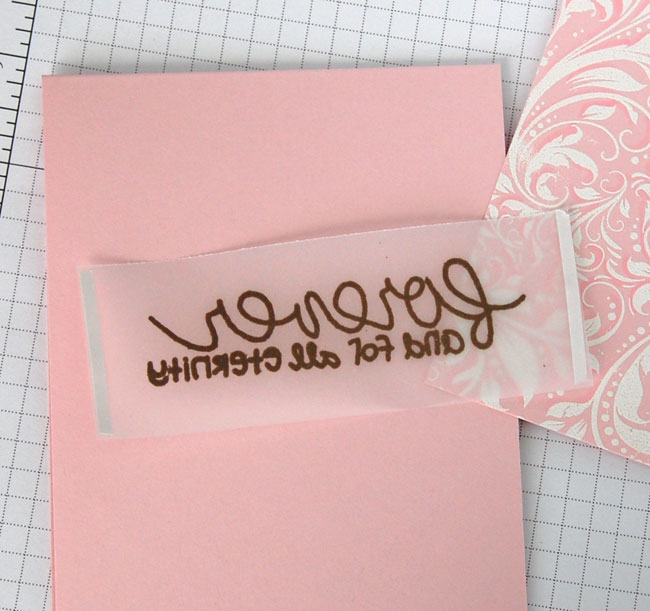
Cut vellum to about ¾ inches to 1 inch wider than card stock panel. Liberally apply powder to vellum and stamp sentiment using VersaMark ink.
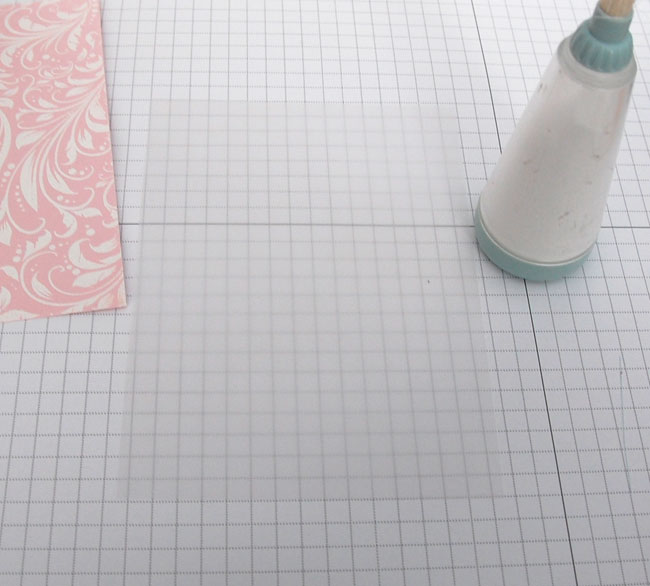
Step 7:
Apply gold embossing powder over stamped sentiment. I place my card stock (vellum) on scrap paper or hold over a coffee filter before pouring.
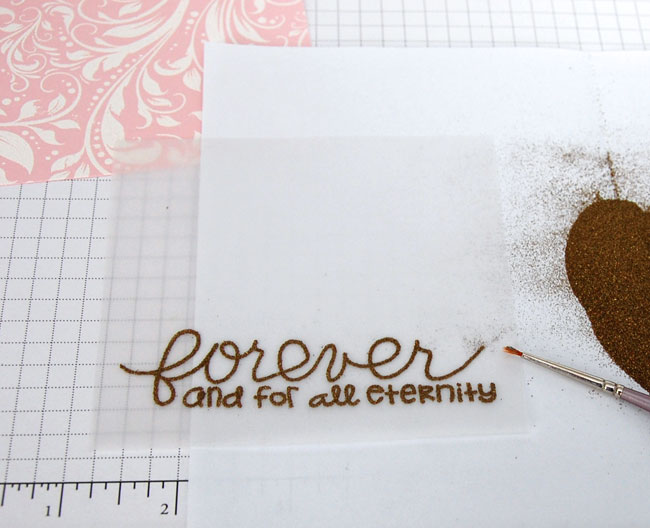
Step 8:
Tap off excess powder. Use a small brush to remove any powder from unwanted areas. In very tight spaces, I used the tip of a craft knife to carefully push tiny specks of powder into or away from stamped/powdered lines.
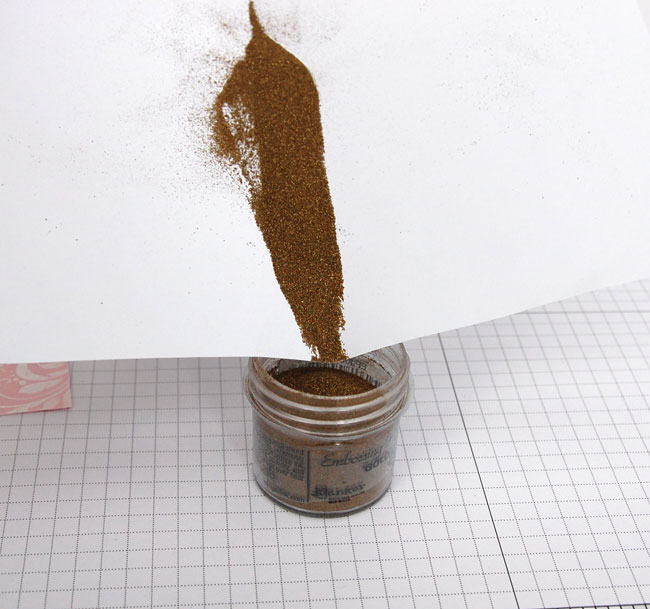
Step 9:
Return excess powder to container.
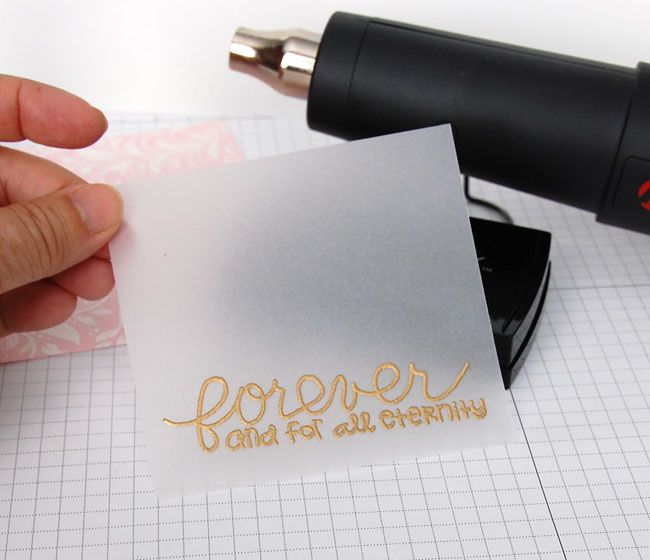
Step 10:
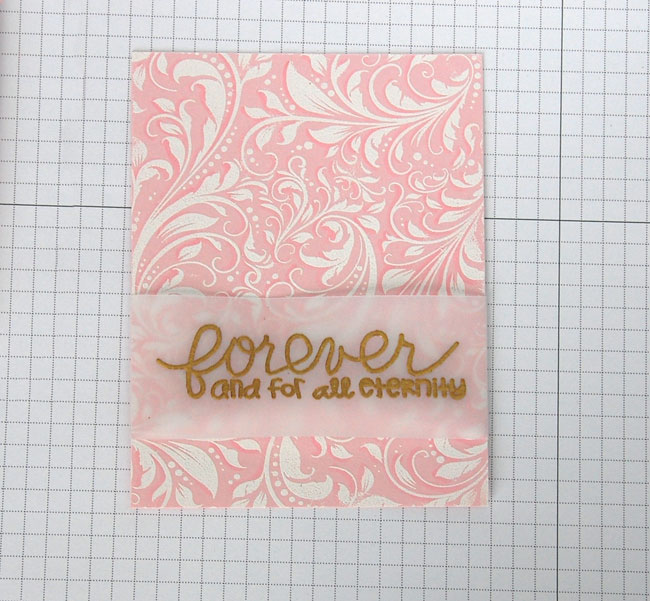
Heat-set embossing powder by pre-heating heat tool and moving heat quickly across the area. To minimize warping, it may be helpful to also hold heat further away from the paper.
Step 11:
To add just a bit of dimension/detail to the background design, I traced most of the flourishes along the left side using a Copic marker.
Step 12:
Trim vellum to desired height. To adhere the vellum without adhesive showing through to the front, apply double-sided tape to the left and right back edges.
Step 13:
Remove adhesive backing, place sentiment in desired position and fold edges to the back.
Step 14:
To finish the card, I adhered two lengths of gold cord over the top and bottom edges of the vellum strip, securing edges to the back with additional double-sided tape. The completed panel was then adhered to a standard 4¼ x 5½ inch card base using foam tape.
Share tips, start a discussion or ask one of our experts or other students a question.
No Responses to “How to Use Embossing Powder for "How Did You Do That?!" Reactions Every Time”