
Watercoloring with dye inks is all the rage, but did you know that you can watercolor with pigment inks, too? Because pigment inks don’t tend to be as bright and vivid as dye inks, the results are soft, subdued, and quite beautiful in their own right. tutorialSo, if you love the look of watercolor but want to create something a bit more understated, then watercoloring with pigment inks is a paper craft technique that you should try!
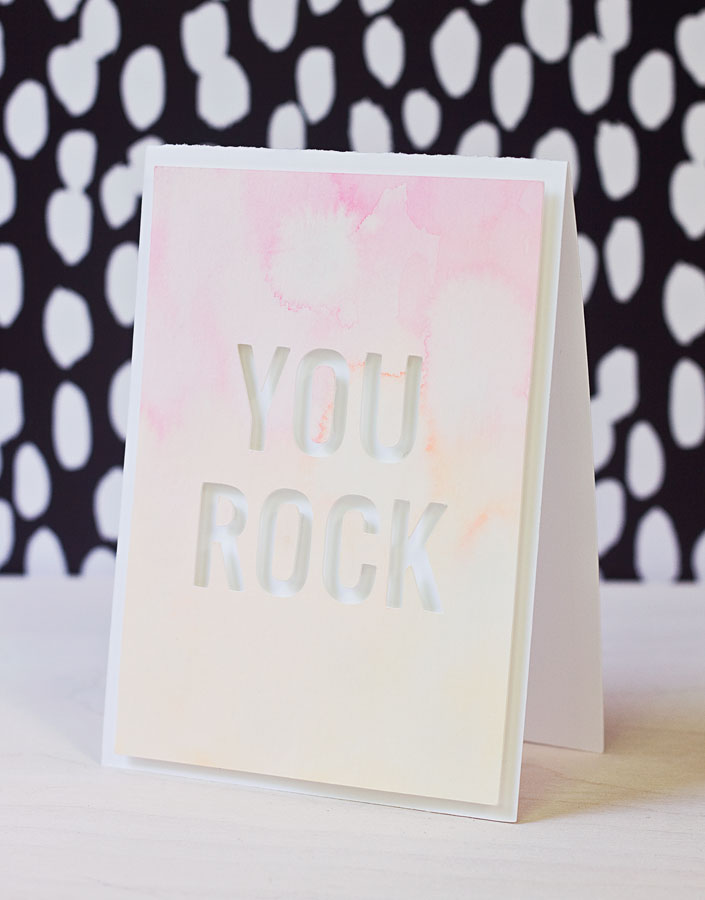
How to use pigment ink to create a watercolor effect
Here’s what you’ll need:
- 9”x12” watercolor paper
- A card base cut from white cardstock
- Paper cutter or scissors
- Painter’s tape
- A hard surface, like a thick piece of cardboard
- Pigment ink in a variety of colors (I used Tsukineko Warm Radiant Neons)
- A large acrylic block or similar surface
- Watercolor brushes (I used a 3/4” filbert and a #10 round)
- A cup and water
- Paper towels
- A digital die-cutting machine (I used a Silhouette Cameo) OR a manual die-cutting machine plus a metal word die
- 3-D foam squares
- A QuickStik craft tool (optional)
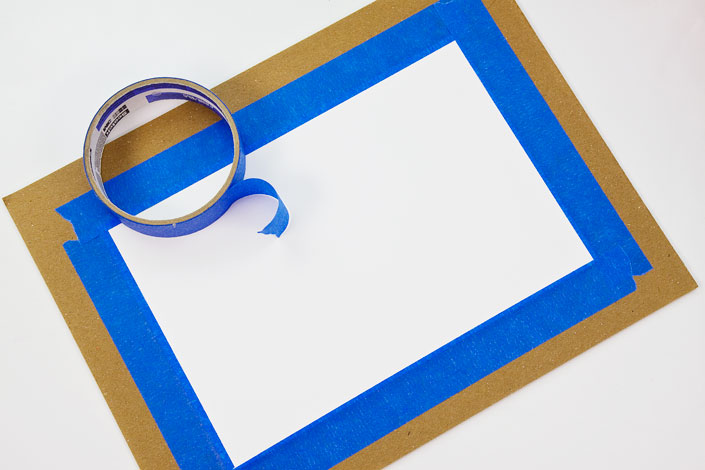 Step 1:
Cut a piece of 9”x12” watercolor paper in half with a paper cutter or scissors. Tape the paper to a stable surface with painter’s tape to help prevent the paper from warping after water is added. I used a thick piece of cardboard, but you could also use an old cutting board, a clipboard or a hard piece of plastic.
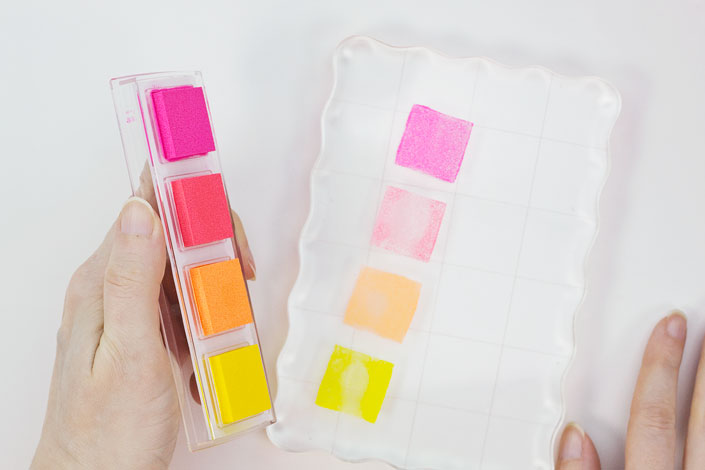 Step 2:
Smoosh your inks onto an acrylic block. A piece of acetate or a craft mat would also work.
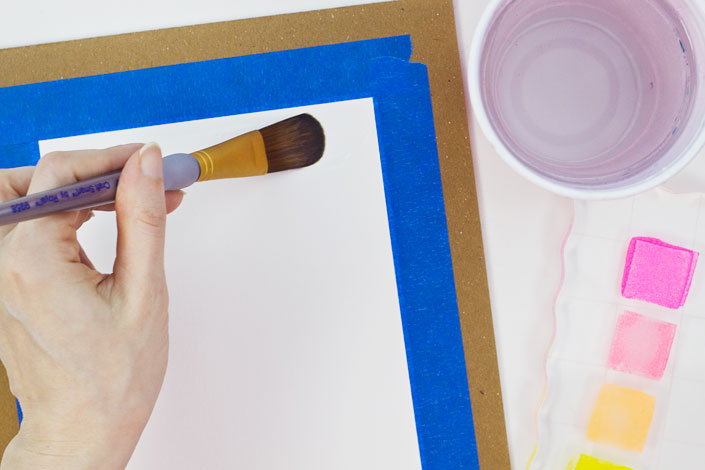 Step 3:
Fill a cup with water and thoroughly wet the watercolor paper with water using a large brush. I used a 3/4” filbert for this.
 Step 4:
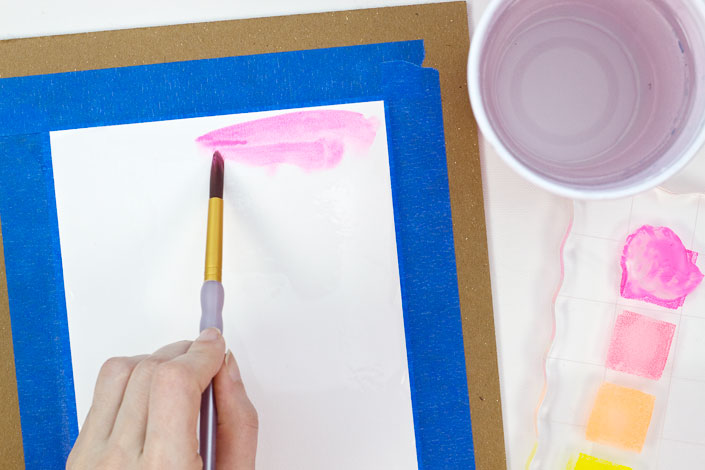
After you’ve covered the watercolor paper with water, take a smaller brush (I used a #10 round), dip it into the water and then into the ink. Start painting on the surface of the paper. Paint down a few inches with the first color. Then, rinse your brush and continue painting with a second color, overlapping slightly so the colors blend. Repeat this process with the remaining colors until the entire area is painted.
 Step 4a:
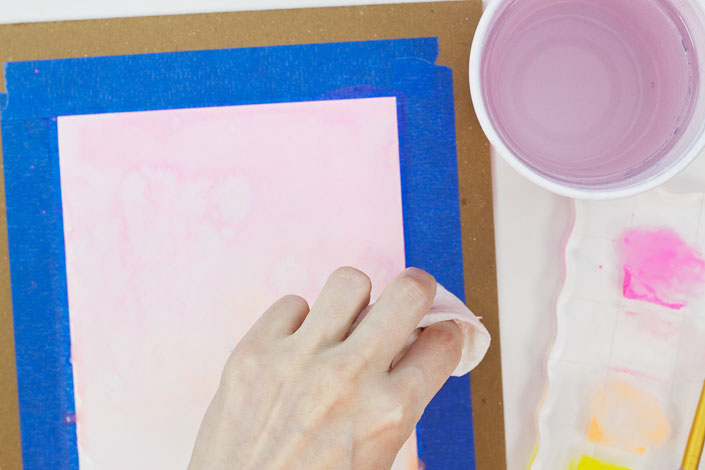
If you notice areas where water is pooling on the paper, use a paper towel to absorb the excess water.
 Step 5:
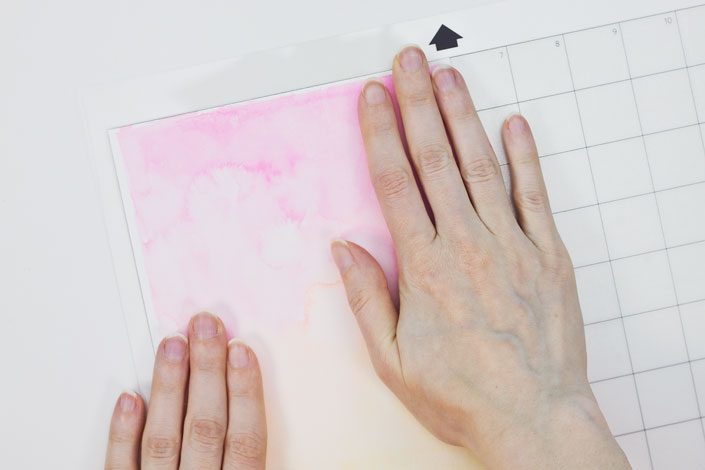
Allow the watercolor to dry completely. Then, remove the painter’s tape and the paper from the cardboard and, if using a digital die-cutting machine, adhere the paper to a cutting mat. I recommend using a new or still pretty sticky mat for this so the paper is sure to adhere well during the cutting process. Cut your design according to the heavy cardstock settings, if using a Silhouette (Blade 7 // Speed 1 // Thickness 33 // Double Cut).
If using a manual die-cutting machine and metal die, cut the watercolor paper to slightly smaller than the size of your card base. Then, position the die on the paper where you’d like your die cut to be and run everything through the die cutting machine.
 Step 6:
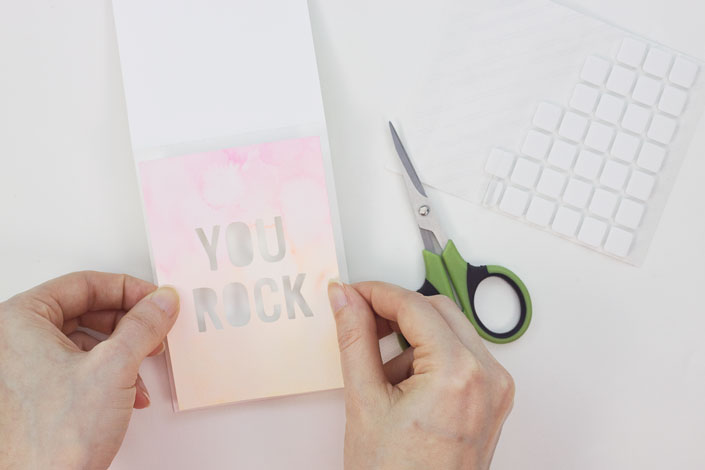
Cover the back of the die-cut piece with 3-D foam squares (or foam tape). Cut the squares into pieces to cover areas that are smaller and/or more narrow than the squares. Adhere the piece to a card base.
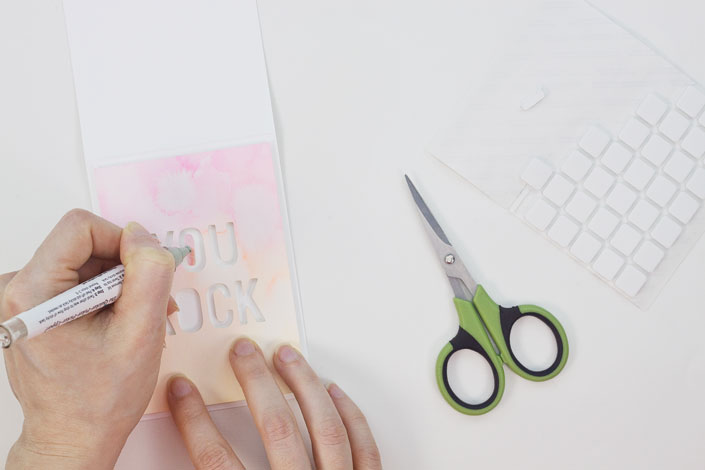 Step 7 (optional):
If your design contains letters like “O” or “R” that have small interior pieces, cover the back of each piece with 3-D foam adhesive that has been cut to fit and use a QuickStik or similar craft tool to help position and adhere the pieces to the card base.
Share tips, start a discussion or ask one of our experts or other students a question.
No Responses to “Watercoloring With Pigment Ink? Yes, You Can!”