
Funky, curly, or formal, there are letter cutters for every cake occasion. Probably the most popular are FMM Block Alphabet Tappits, but learning how to use Tappits can be tricky. Not to worry, though! A few simple changes to your Tappit routine should have you tapping them out quickly and easily. This tutorial is the last word on letter cutters!
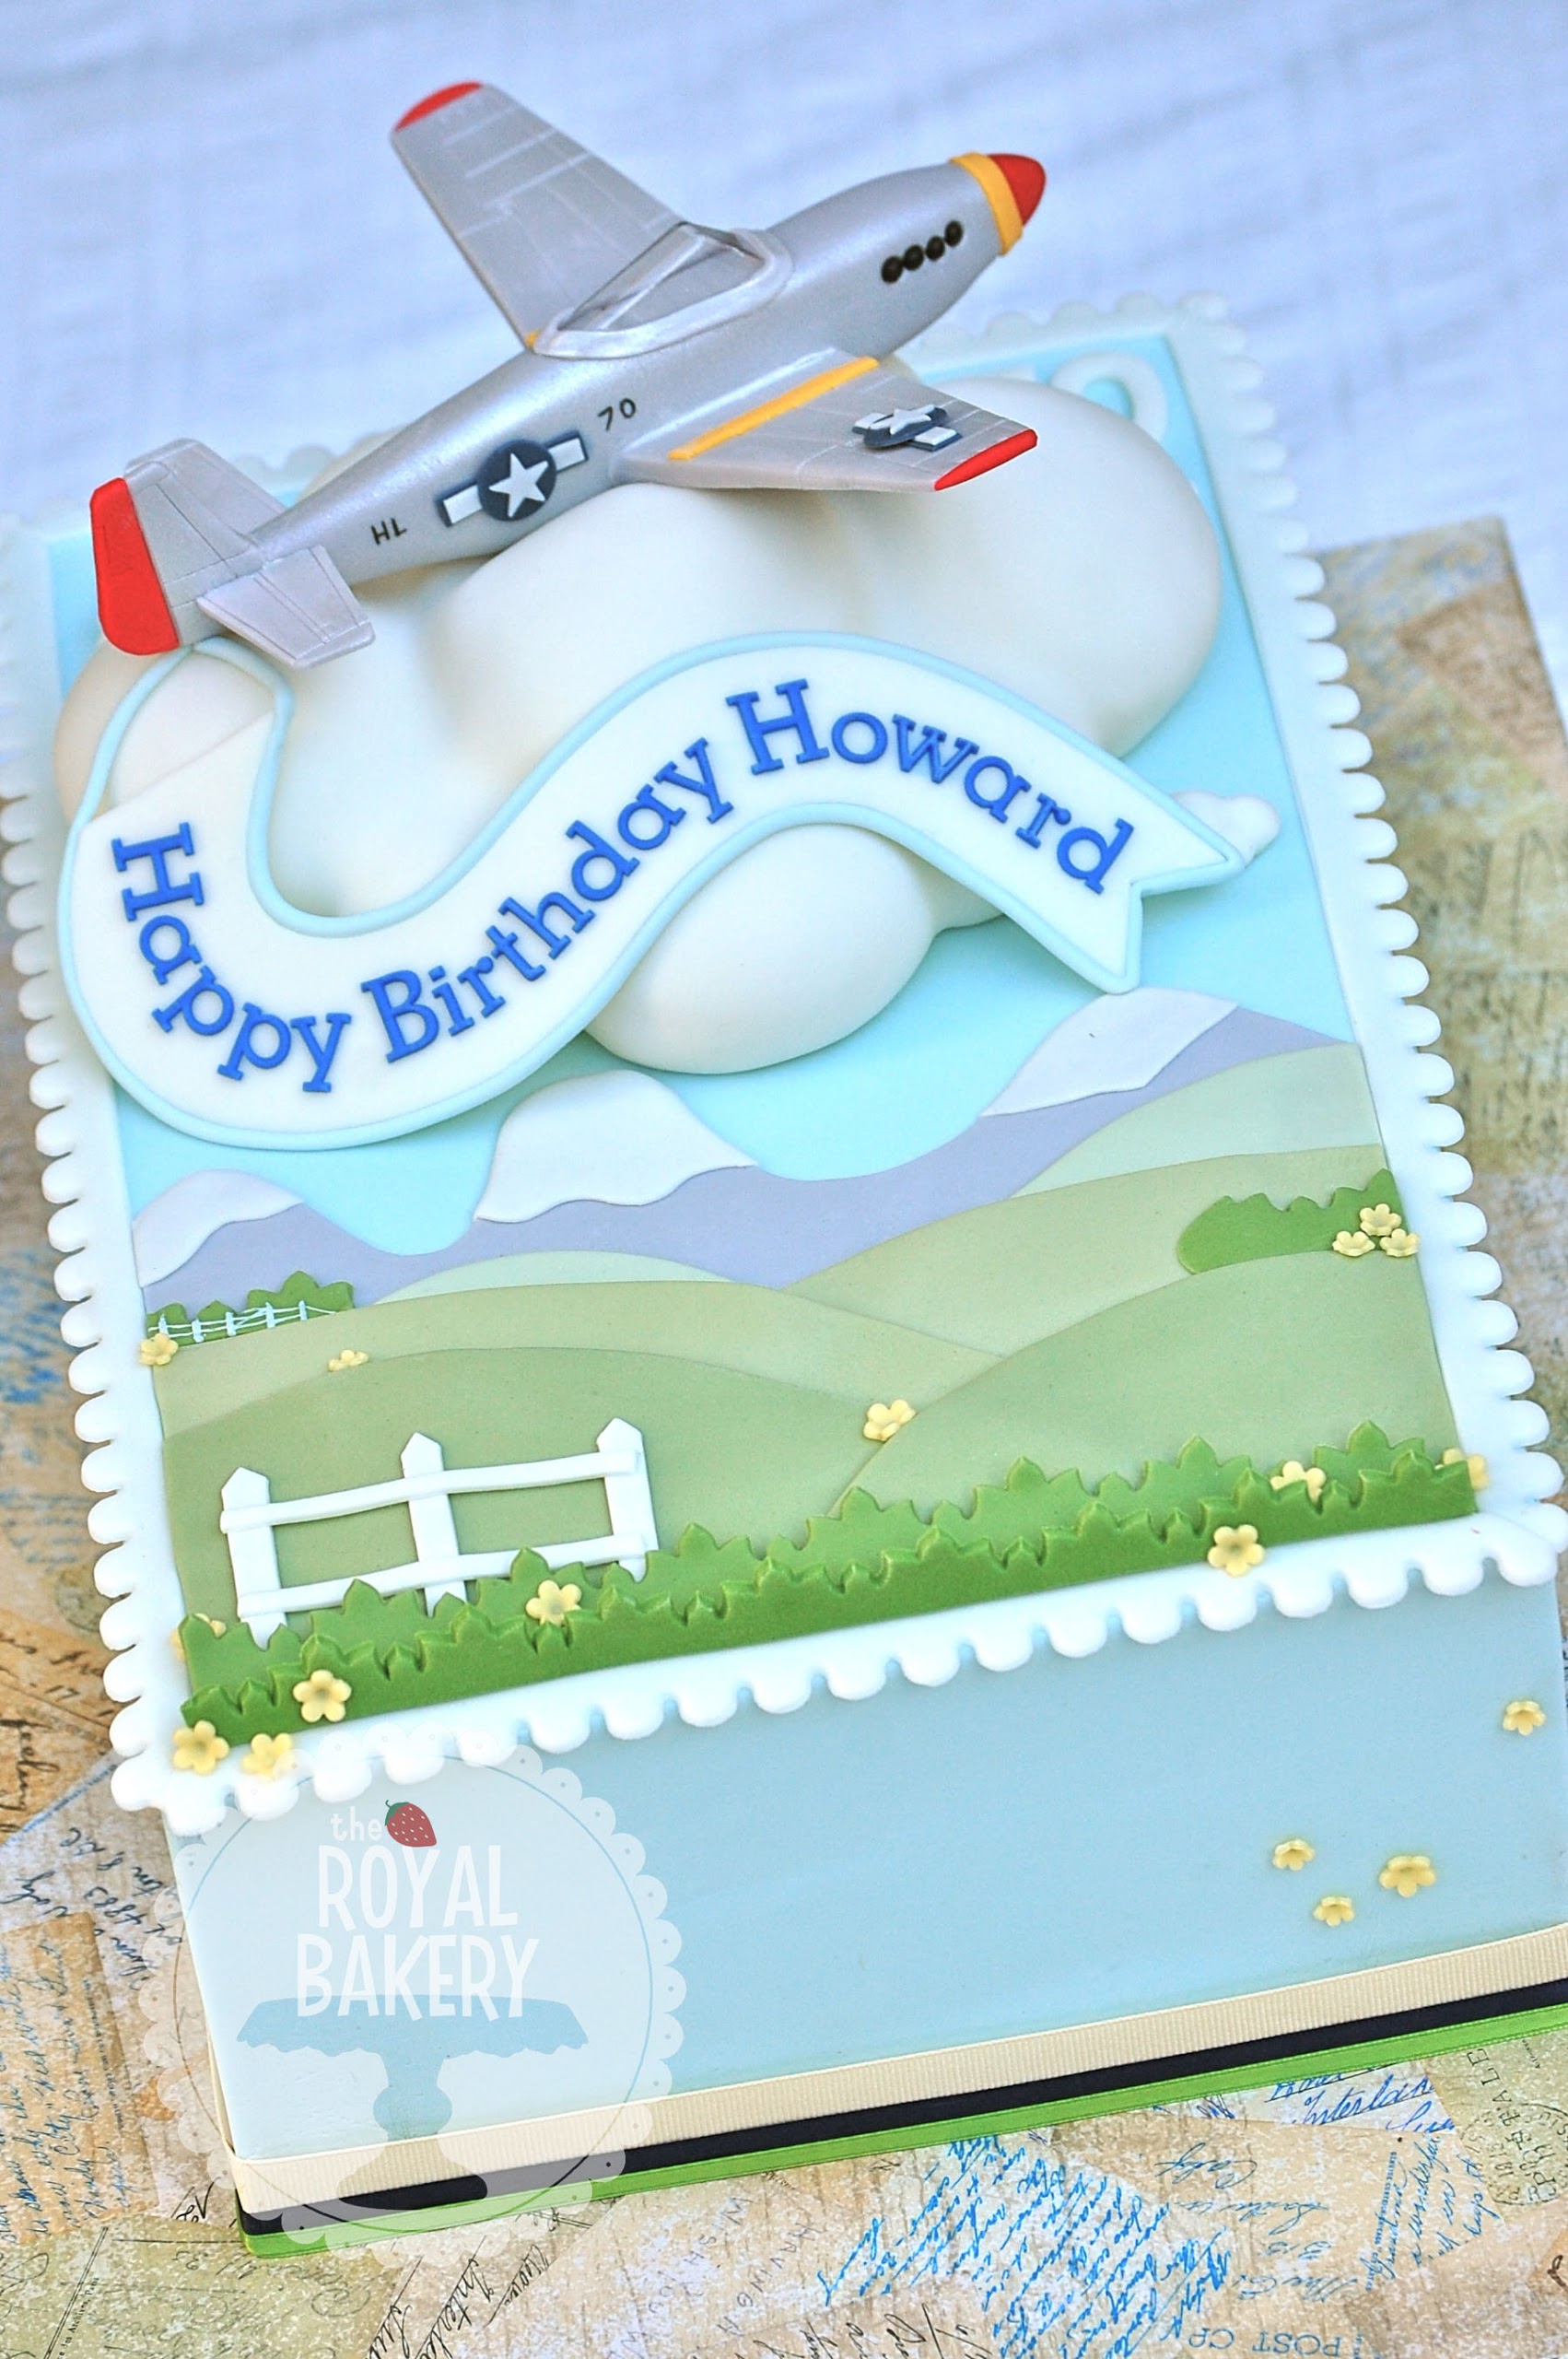
Photo via Royal Bakery
How to use Tappit letter cutters:
Note: My fondant of choice for cutting out letters is fondant from Wilton. It’s firm, keeps its shape well, isn’t sticky and dries quickly.
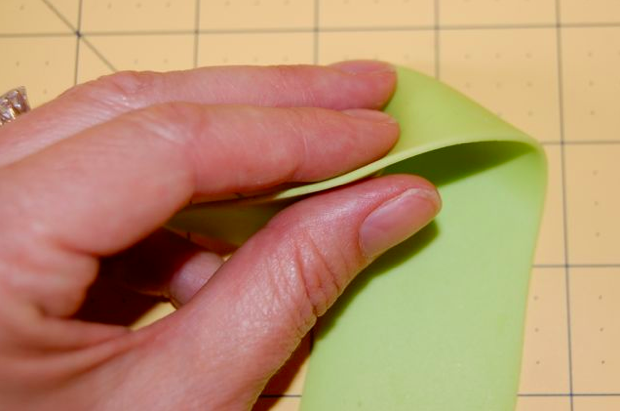
Step 1:
Roll out the fondant to a thickness of around 1/16th of an inch. Let the fondant sit and dry out for around 10 minutes.
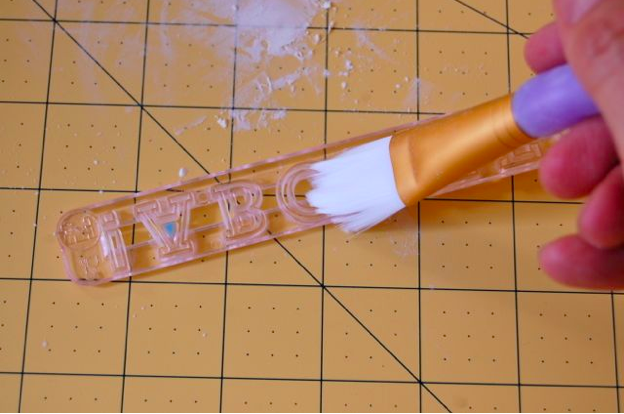
Step 2:
Dust the cutter with a little cornstarch on a large brush. Tap out the excess.
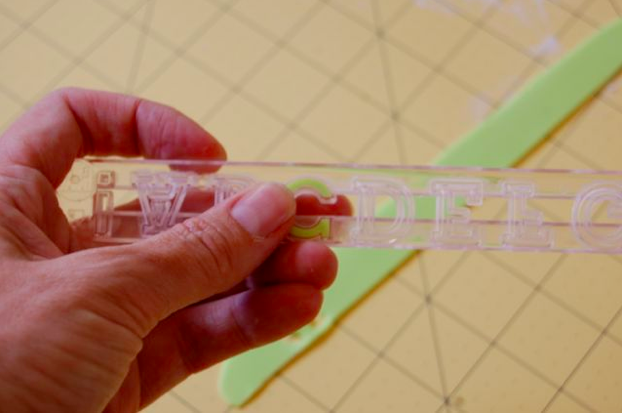
Step 3:
Press the cutter into the fondant. Rub the cutter back and forth a few times on your mat or worktop. Pick up the cutter and the letter should still be inside. If it isn’t, the fondant is still too soft and sticky. Try adding a little Tylose powder, re-roll, and leave for another 10 minutes.
Rub the edges of the letter in the cutter with your finger or thumb to smooth the fondant.
Step 4:
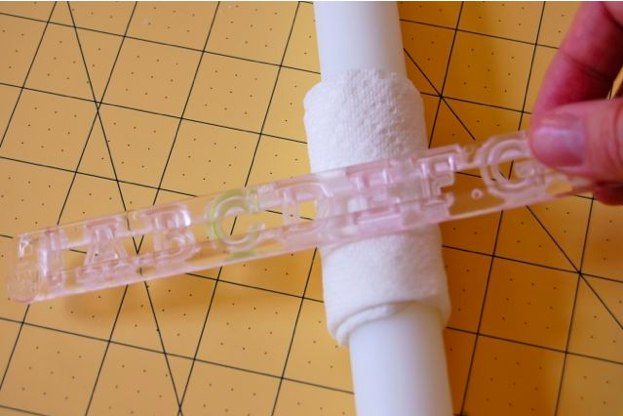
Here’s how Tappits get their name: tap the cutter on your surface and the letter should pop out. It might take a few taps, or even a few whacks, but if you’ve followed earlier steps, the letter should end up on your work mat. I find it most effective to tap the cutter on something like a rolling pin wrapped in a paper towel to protect it. Not tapping the cutter directly on your work surface stops it from bouncing and damaging the letter that has just fallen out.
Step 5:
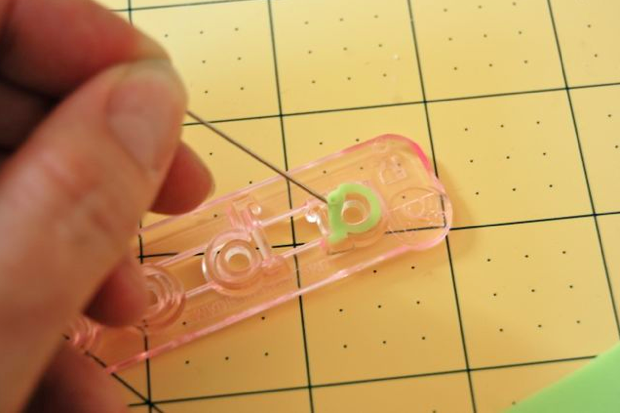
Sometimes you might come across a stubborn letter that just doesn’t want to come out. It either won’t budge at all, or part of it remains lodged in the cutter. In this case, use a pin and gently ease the letter out. But rather than tip the letter out at this point, press it back into the mold and tap it out properly. This will help retain its correct shape.
Step 6:
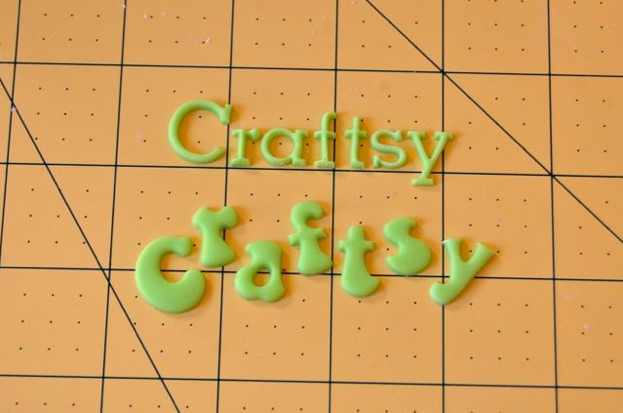
Let the letters dry fully before transferring them to the cake so they don’t become misshapen as you arrange them. To help you center the letters on the cake, arrange them on your mat and measure the finished word or message. This should help you determine how much space you need to leave on either side.
Windsor Clikstix are sold with a plunger to help ease the fondant out of the cutter. However, this can leave unsightly indents in the front of the letters. If you would prefer to avoid these indentations, it’s possible to remove the plunger and use the cutters just like Tappits (they can be replaced later if you prefer). In fact, Clikstix letters pop out much more easily because of the larger surface area of the font.
Share tips, start a discussion or ask one of our experts or other students a question.
No Responses to “The Last Word on Letter Cutters”