
If you haven’t used water-soluble stabilizer before then you’re in for a real treat! When placed in water, the fabric dissolves and disappears. It is often used in conjunction with other non-soluble fabrics, but when used alone it leaves only your embroidery stitching behind. Once you have mastered your magic fabric, the possibilities are endless!
Create something beautiful this season when you learn how to water-soluble stabilizer!
 Photos via leighlalovesyou
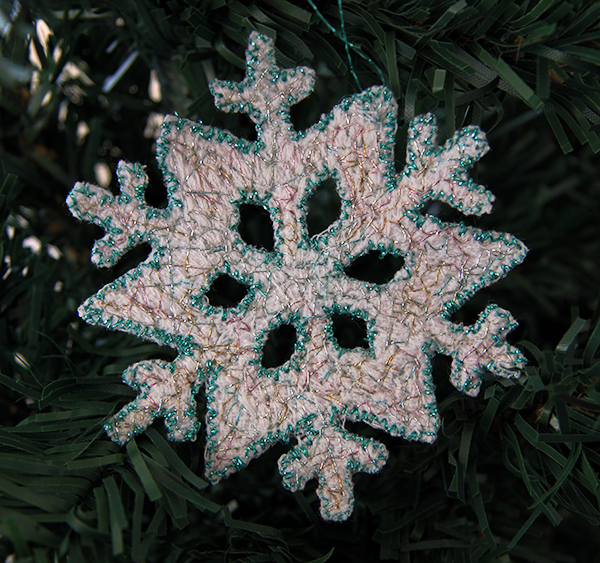
For this particular project, we are going to create a hanging snowflake decoration for the Christmas tree using free-motion machine embroidery. If you have never tried it, give it a go on regular fabric first so you get a better understanding.
You can learn all about how to create free-machine embroidery in our blog post Drawing with your Sewing Machine: How To Free-Motion Embroider.
Machine settings
- Foot – darning foot
- Tension – 0-1
- Stitch length – 0
- Stitch width – 0
- Feed dogs – out of action
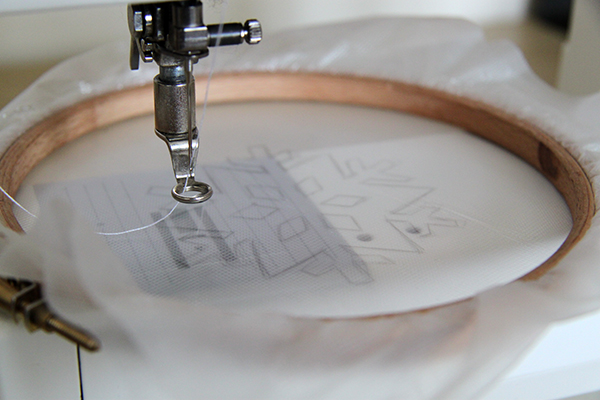
Set up your machine with the above settings and place your soluble fabric in the hoop, remembering to ensure the fabric lays flat against the throat plate. I chose to double up so that there were two layers of the fabric in order to create a sturdier fabric that would be less likely to tear.
Trace your chosen image onto your fabric. You can use a standard pencil or felt pen for this. If using pen, try to use a color similar to that of your thread, as it may show or bleed through during the washing stage.
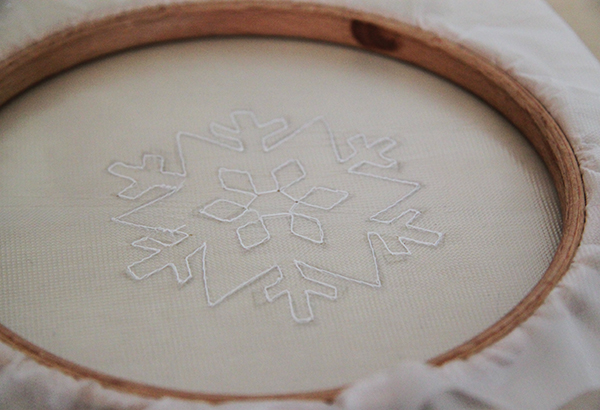
Begin by outlining your decoration in your chosen thread color. Don’t worry if you don’t hit your pencil lines exactly. I chose white thread and kept the bobbin thread the same. However, you could experiment with a contrasting bobbin too!
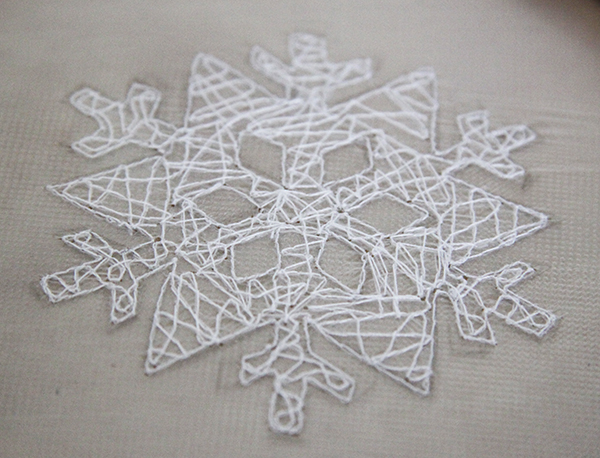
Next, zigzag between your lines, crossing over to create a “web.” This helps make your stitches sturdier and gives them a base to grip onto. Ensure your stitches adjoin the outlined edges.
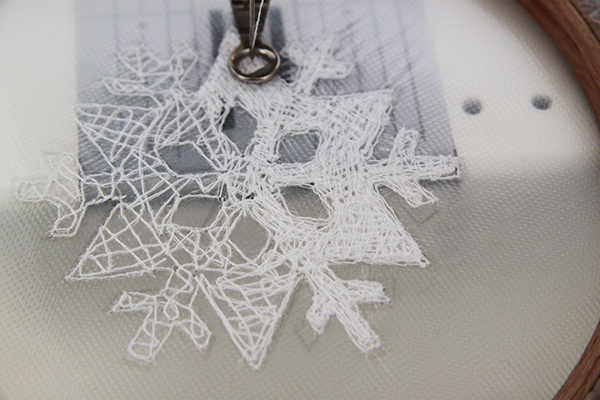
Now you have your base, you can begin building layers of stitch to form your decoration. Vary your direction regularly — if the stitches all go in one direction, they are more likely to fall apart once the fabric has been washed away. At this stage, you can not overstitch or be too frivolous with your stitch pattern.

Holding your work up to light, such as your window, will give you an idea of any areas that may require extra sewing. An example I identified is circled above.
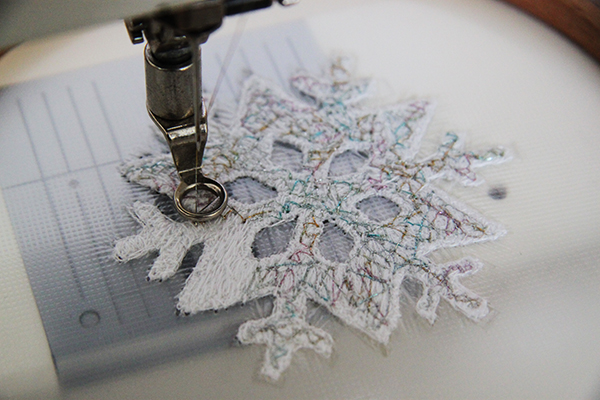
Once you’re happy with your base, you can start to decorate with other threads. I chose a rainbow metallic thread and continued the zigzag stitch pattern to give a shard effect within the snowflake. I kept the bobbin thread the same white cotton I used for the base.
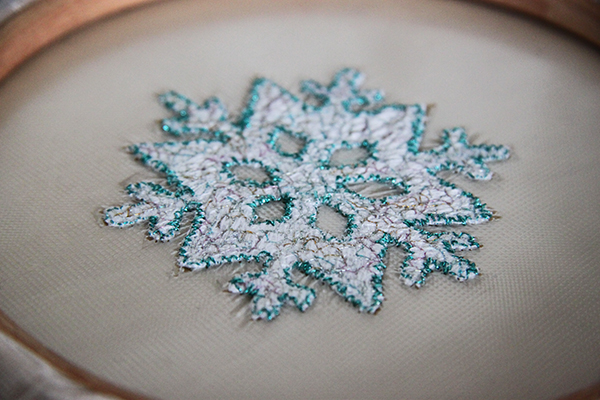
To finish the sewing, I selected a blue metallic thread and stitched a free hand zigzag around each edge. This helps to secure the edges further, as these are the areas most likely to unravel. You could also do this with the same thread you used for your base if you do not wish to have a contrasting boarder.
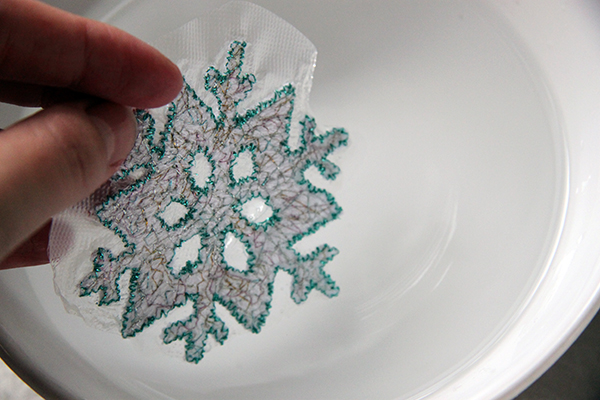
Once you are happy with your shape and stitching, remove the hoop. Trim roughly around your design before gently washing away your fabric by hand. This does not require any detergent but you may need to use hot or cold water, depending on the type of stabilizer you buy. Instructions for washing should be included with your fabric, so be sure to double check these at this stage.
Lie your embroidered decoration flat to dry. Alternatively, to create a curved shape, place it on a bowl or mug. Once dry, it should hold its shape. You can complete it by attaching a ribbon by hand or machine for hanging!

Helpful hints
- Stitches — You don’t have to use straight stitches. Experiment with zig zag stitches too!
- Keep on sewing — When it comes to soluble fabric, you can never over stitch. Building up thicker stitches creates a sturdier form once the fabric has disappeared.
- Wash with care — When washing be gentle and don’t be afraid to let some of the soluble fabric residue remain. It will act like a glue and help seal in your stitches.
- Never give up! — Soluble stabilizer can be a tricky fabric to handle, don’t be disheartened if it doesn’t work out first time. Keep at it and you’ll soon learn how to use the fabric to its best.
- Lacework — Once you’ve mastered it, you can create beautiful lace works or darn fabrics with embroidery patching!
Share tips, start a discussion or ask one of our experts or other students a question.
No Responses to “Delicate Decorations: How to Use Water-Soluble Stabilizer in Embroidery”