
Adding stones to your jewelry designs is a wonderful way to add extra elegance to your pieces, but the process can be a bit intimidating. In this tutorial, I’ll break down the process two different ways. Try them both and see which one you prefer. Before you know it, you’ll be finding all kinds of ways to use briolettes to bring new dimension to your projects.

Before I get started, let me just give you a little heads up. Learning how to wrap briolettes can be a bit frustrating at first, so if this is your first go, please do not expect perfection from yourself. I wish I had pictures of some of my first attempts to share with you. Let’s just say, that era was NOT pretty! Be patient and remember, new skills take time to master.
How to wrap briolettes with wire
What you’ll need:
- Round-nose pliers
- Flat-nose pliers
- Briolettes of any shape or size
- Something you want to attach your briolettes to — think hoop, filigree piece, pre-fab piece or chain
- Wire that will fit through your briolettes*
*Note: When choosing your wire, think about the end result. If you’re using tiny beads, you probably don’t want to use the biggest wire you can find. You’ll do lots of wrapping, so if you have the option, dead soft wire is often best and easiest to manipulate. Personally, 28-30 gauge is my favorite for something like an earring. For a necklace, you may want something a little heavier, like 26. But make sure it fits your beads before you go buying a whole spool!
Version 1: We’ll call this the loop back
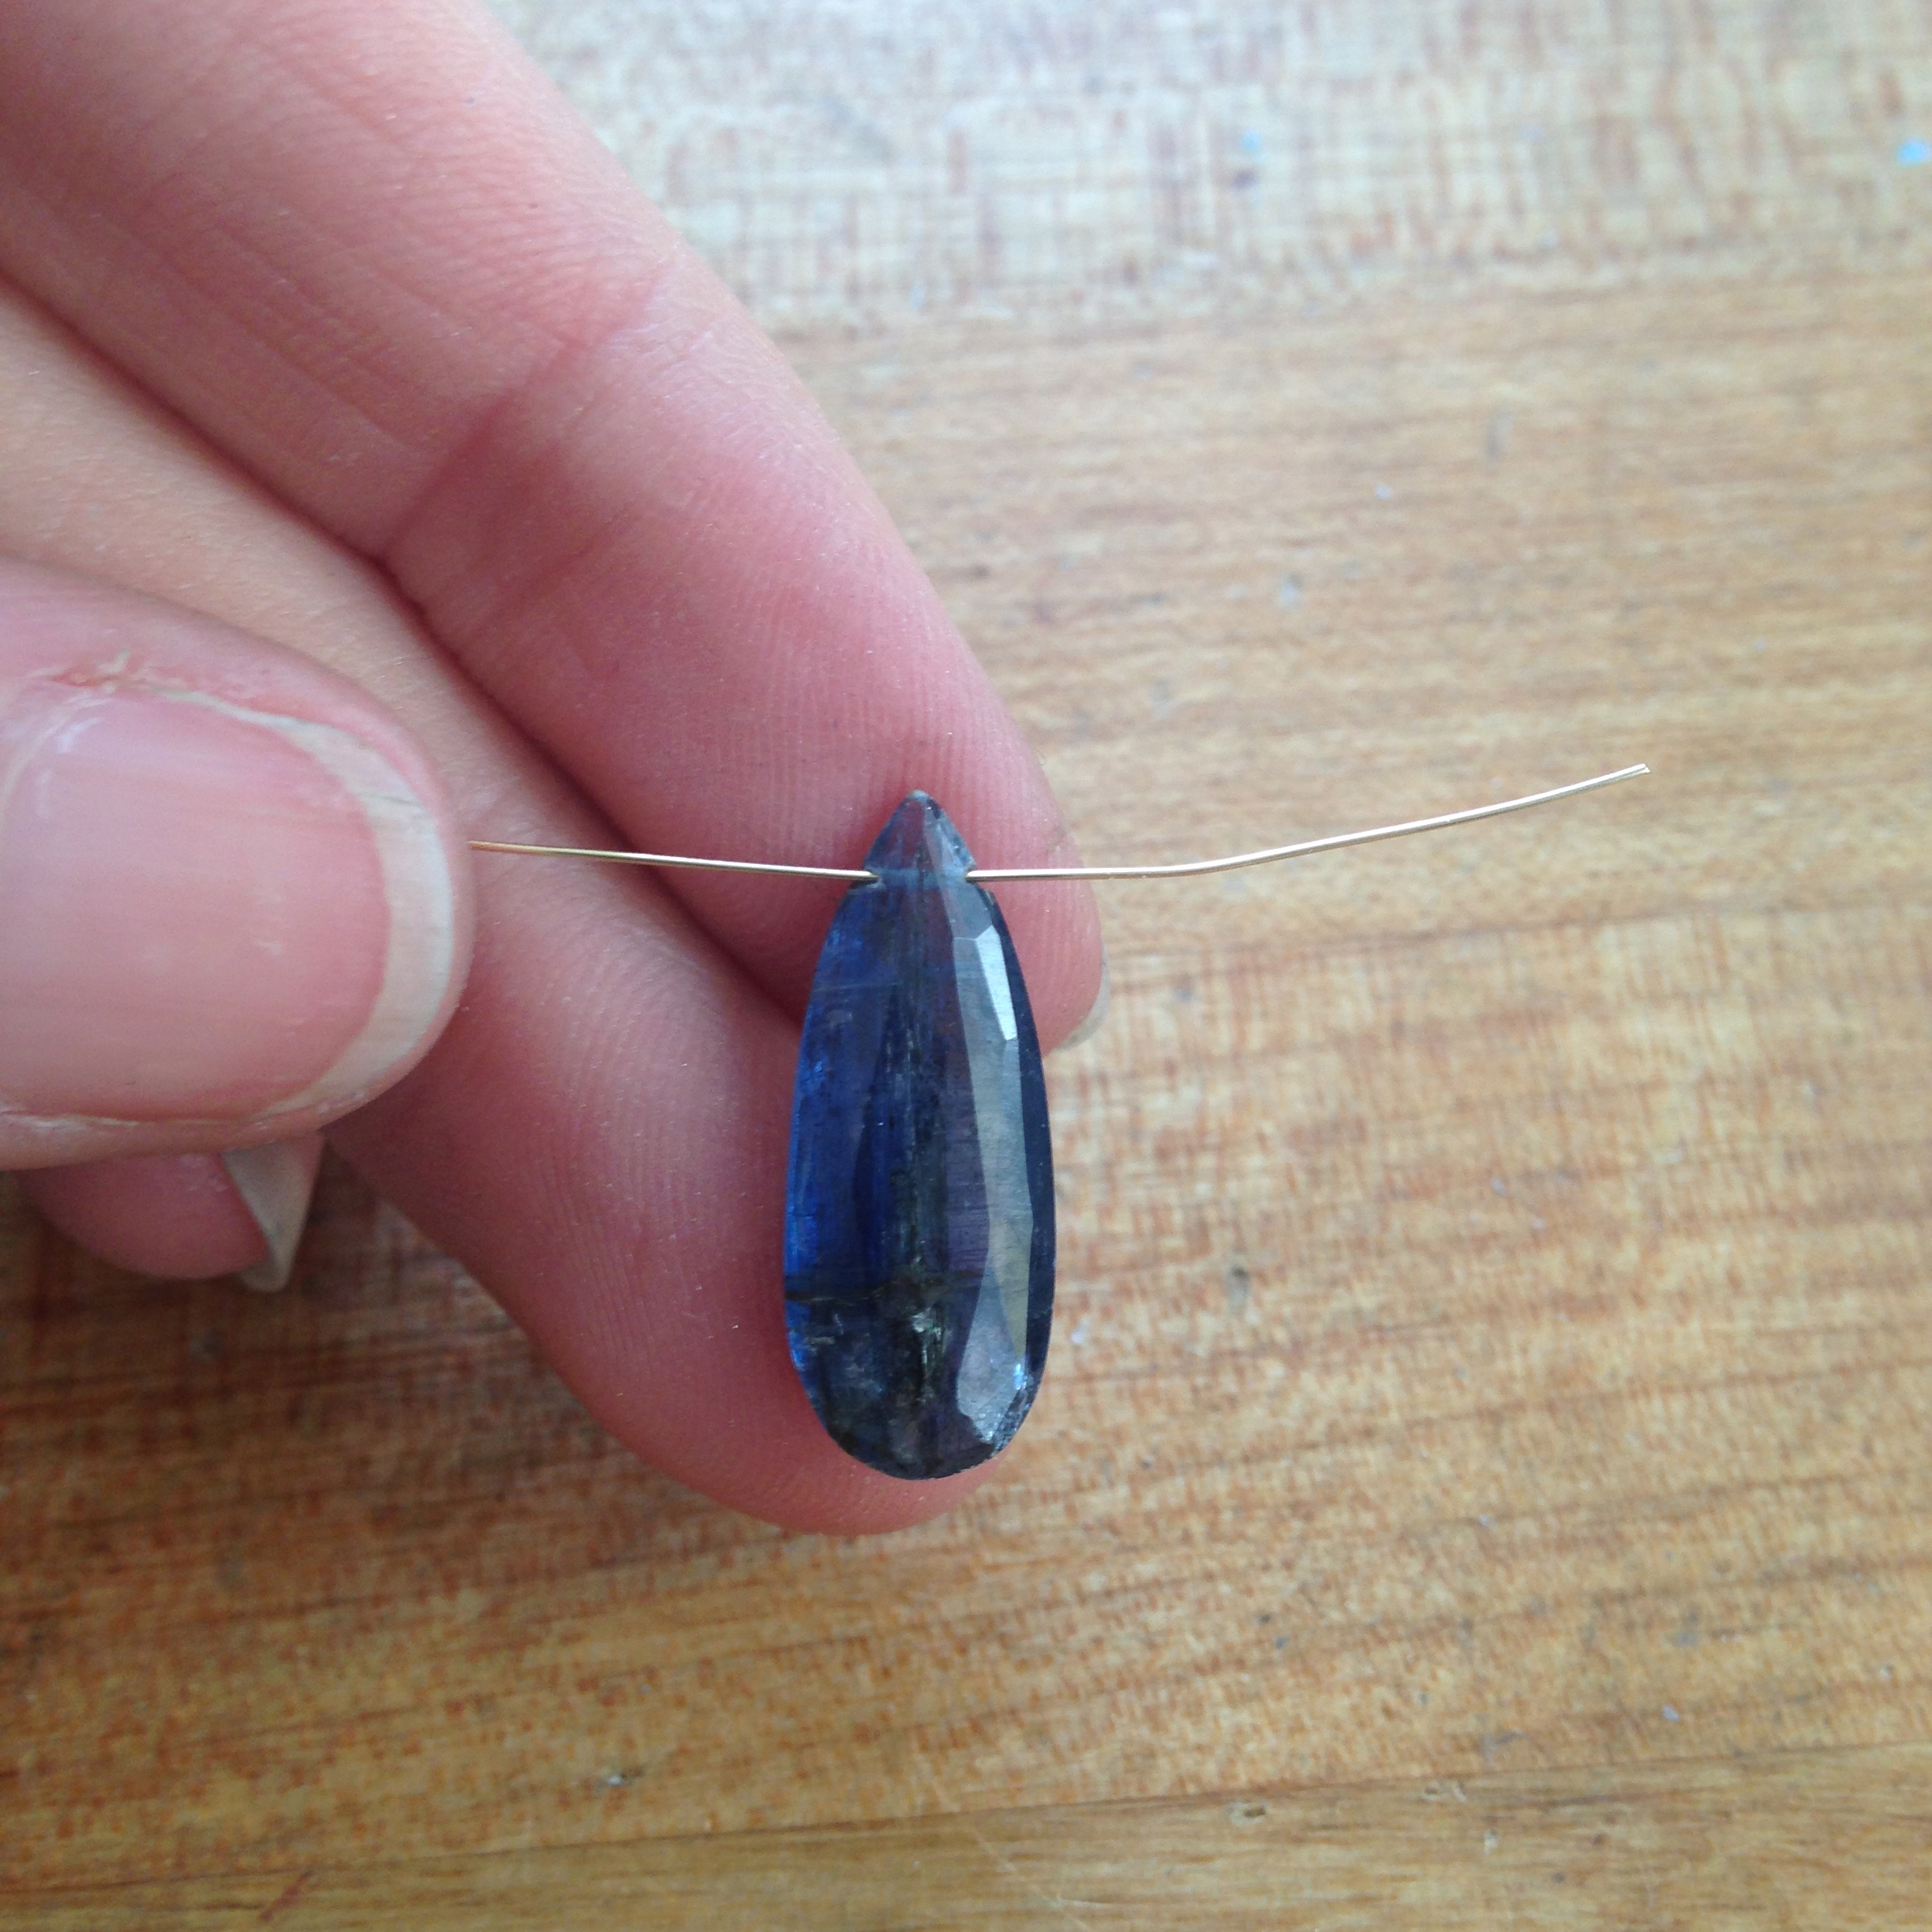
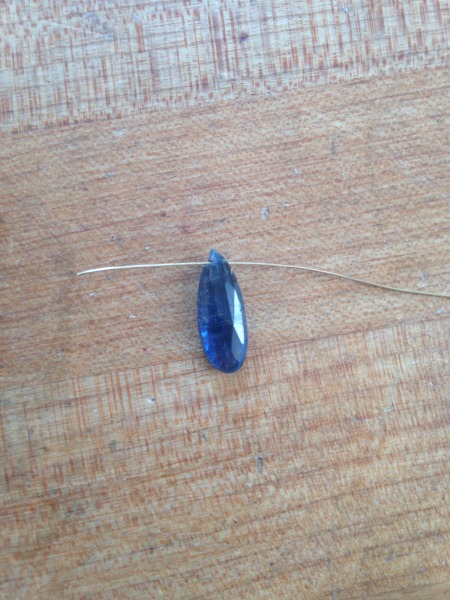
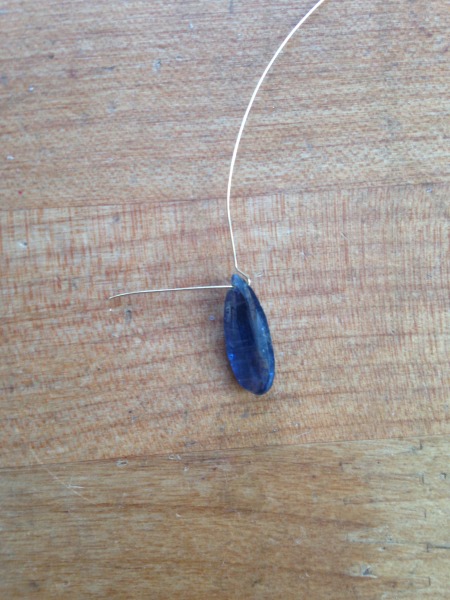
Step 1:
Thread your briolette from the left to the right, leaving about 3/4″ – 1″.
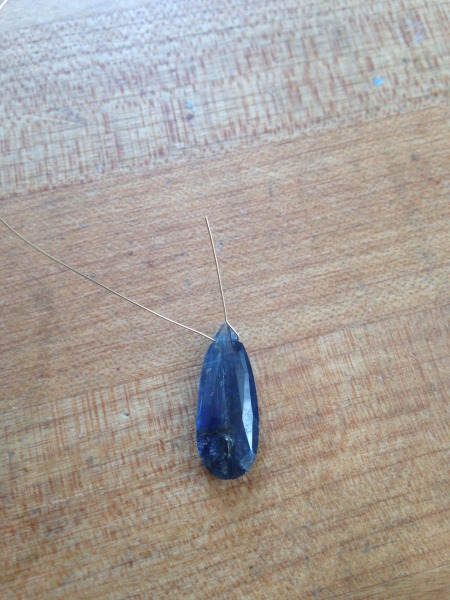
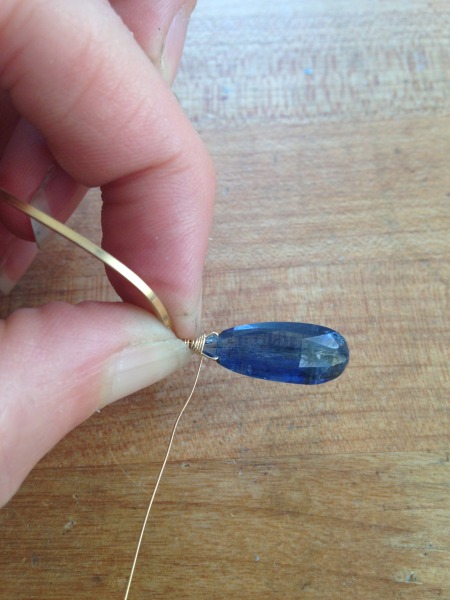
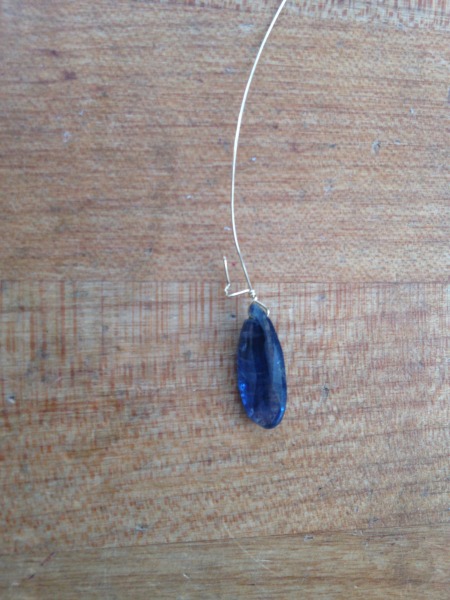
Step 2:
Using your flat-nosed pliers, bend the right side of the wire up the briolette and make a sharp angle at the top so the wire points directly upward.
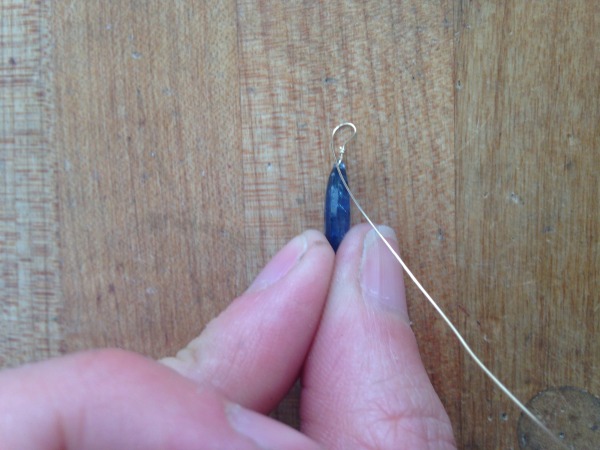
Step 3:
This is where I switch to the round-nose pliers and the ever handy fingernail. As you make a small circle of wire, make sure you leave a little room just above the tip of your bead for the wrapping that will come in the next few steps. I like to hold my briolette and make a little kink with my fingernail where the loop will start. As the wire comes back down the backside, make sure that it echoes the front as pictured above.
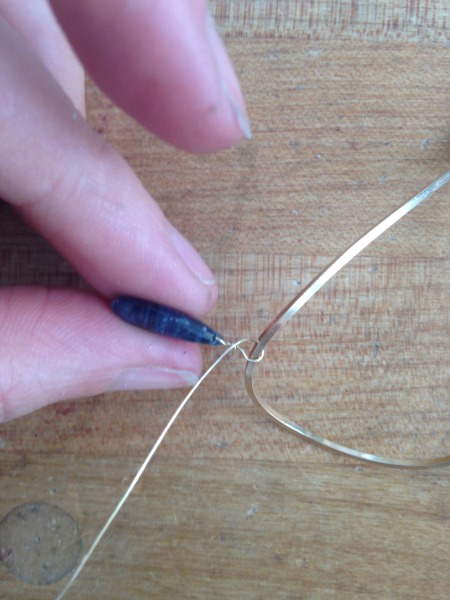
Step 4:
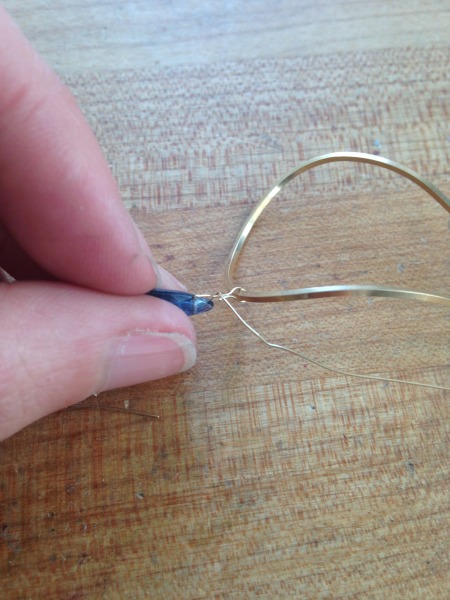
Thread the small loop that you just made onto your object. (I’m using a hoop but there are lots of other options: chain, pre-fab pieces, etc.)
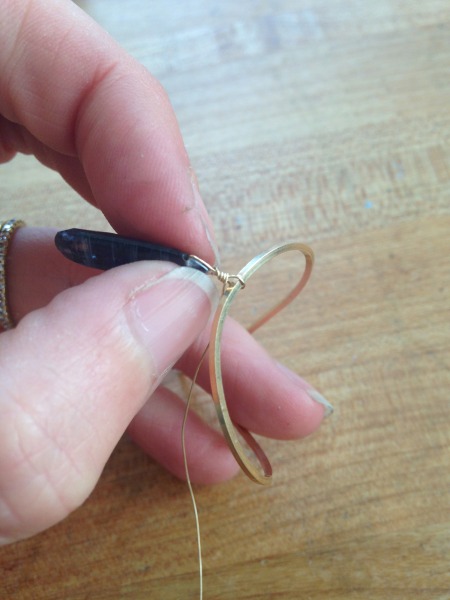
Step 5:
Then, grasping the long end of your wire, begin to wrap across the front and around that small little section you left above the tip of the bead. Starting close to your bead and working upwards seems to help to get the best, most tidy results.
Note: As you wrap, be mindful to securely hold your bead. You don’t want to get a lot of movement or twisting in the wire or else you will increase your chance of weakening and breakage.
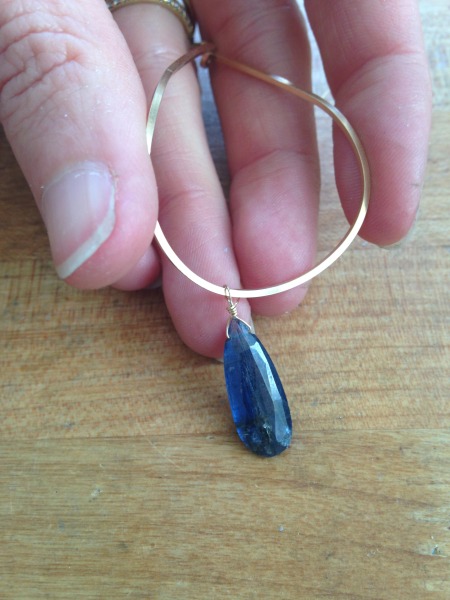
Step 6:
You can chose to end your wrapping so that the only part covered is the original piece of wire. If you chose to go no further, trim the end and gently flatten them with your flat-nose pliers.
Step 7:
If you like a more detailed and ornamental look, you can continue the wrapping. Working both up and down, be sure to fill in gaps in the wire as you go. Typically this technique is done until the hole of the briquette is covered

Step 8:
Work back upward, trim the end and flatten gently with needle-nose pliers.
Version 2: If you have a little one tugging at your neck or ears this might be a good one for you. It’s likely a (slight) bit more secure.
Step 1:
This time you’ll thread your briolette from the right to the left and leave about 3/4″.
Step 2:
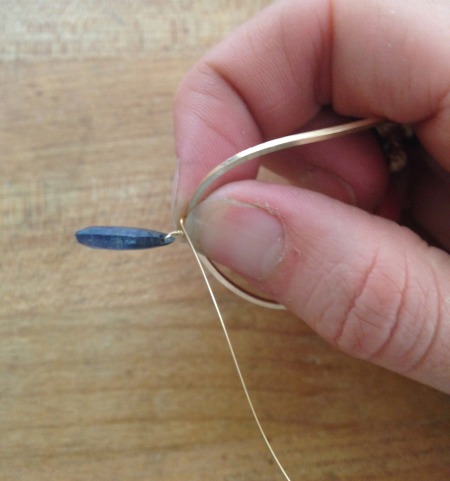
Using the right (or longer) piece of wire, bring it up the side of the briolette and make a sharp angle so it heads upward.
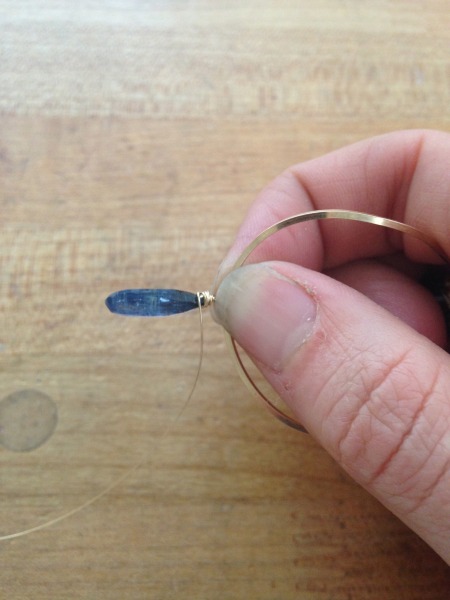
Step 3:
Grasping the left (short) end of the wire with your flat-nosed pliers, wrap across the front of the wire and secure with 2-3 tightly wound wraps. Trim the remainder of the piece you just worked with.
Step 4:
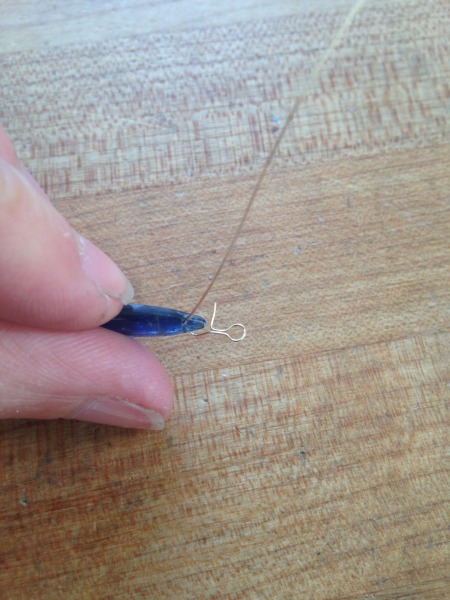
Make a small loop using your round pliers and end the wire at the top of the binding.
Step 5:
Thread the loop onto your piece, making sure that the loop hangs so that the “front” faces forward.
Step 6:
In this version I like to grab the small hoop to minimize movement and twisting. Begin to bind the remanding wire around your first few.
Step 7:
Again here you can “finish” the bundle at the top of the briolette or continue until the hole and top of the bead are covered.

As you can see from the picture above, there’s not a huge difference in the overall appearance of the finished product. Really, in the end, it comes down to which process makes the most sense to your mind and hands.
If you get frustrated just remember that over time, you will develop muscle memory and it WILL become easier. These are tiny technical skills and they take practice!
Learn more useful wire-wrapping methods you’ll use again and again, including wire looping, multi-strand beading and more, in the Craftsy class Wire-Wrapped Stones, Crystals & Clusters. Designer Aga Kruk will guide you through 7 one-of-a-kind projects, including earrings, necklaces and pendants, while answering any questions you have.
Share tips, start a discussion or ask one of our experts or other students a question.
No Responses to “Don't Be Too Intimidated to Try Wrapping Briolettes”