
Do you enjoy creating ink washes? I know I do. While there are many ways to produce this technique, especially in traditional painting, let’s mix it up. I’m going to take the wash beyond its normal function and use it for something that’s unexpected.
Follow this tutorial for creating a collage with ink wash art!
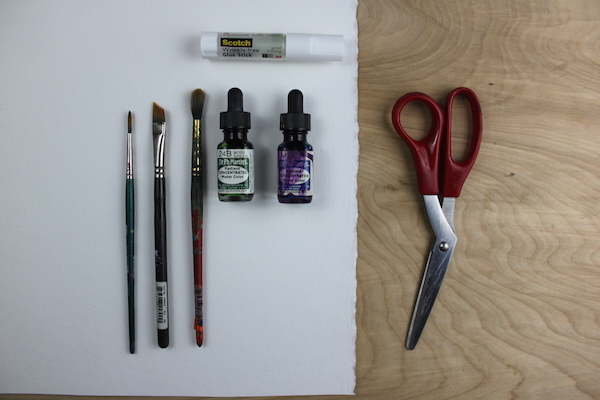
Let’s talk supplies. If you’ve painted ink washes before, then you should have a collection of your favorite pigments and brushes. Below, you’ll see some of mine. In addition, I’m using watercolor paper, plus scissors and glue for when it’s time to collage.
1. Create your washes.
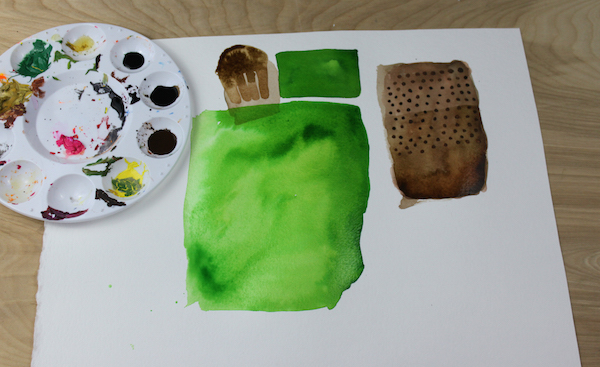
Before we can create a collage, we’ve got to produce the materials for it. That means applying a series of washes to your paper of choice. After they’re dry, we’re going to cut them up into different shapes.
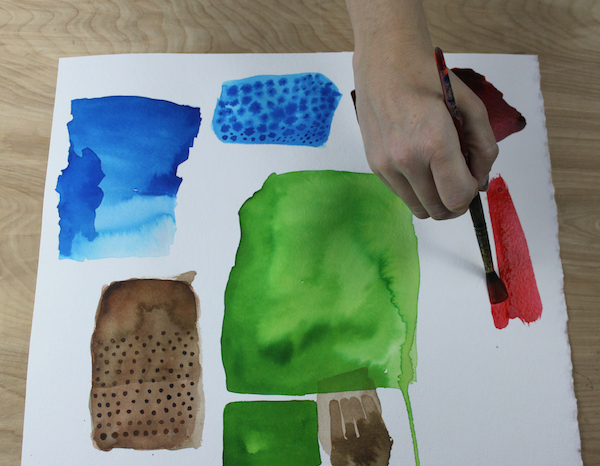
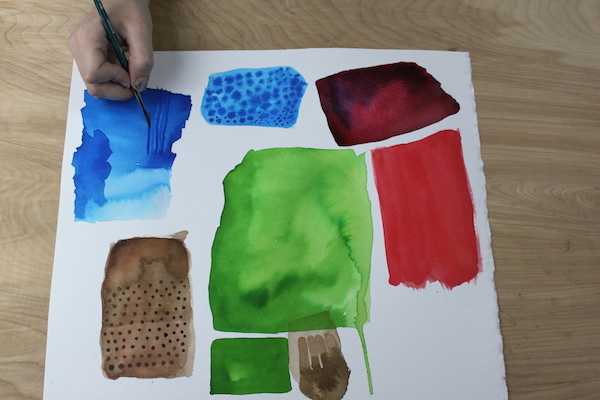
Using various colors, I applied different colors to my surface. I’d recommend that you not limit yourself to different style of washes. Keep some colors “loose” while others are more opaque. You could even try drawing a texture and painting a light wash over it!
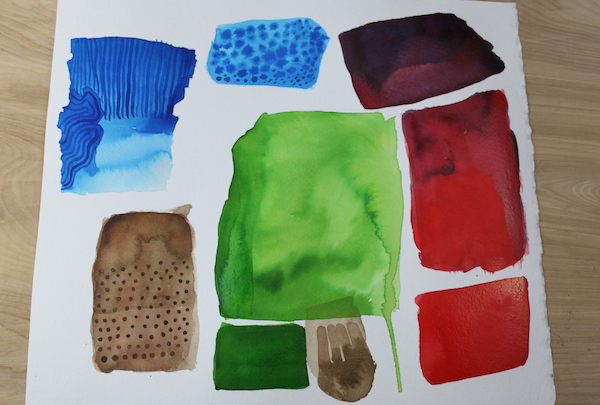
Since we’re going to cut this paper up, it’s important you make the washes large enough to cut up and give them their own separate space. Think of it like you’re creating a sheet of color swatches.
2. Make a sketch of your collage.
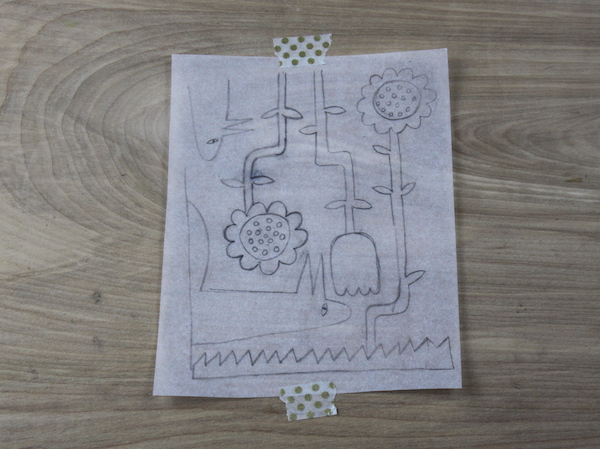
I do this every time I make artwork, no matter what the media — a quick sketch of what my collage will look like. It doesn’t have to be perfect, but it’s something I used as a guide for how I composed the image.
You can see that I didn’t add shading, and I really concentrated on shape design and how the individual elements will relate to each other. Some pieces are larger while others are smaller. Also, you’ll notice that this is not a realistic collage at all. So, have fun using your imagination!
3. Cut out your shapes.
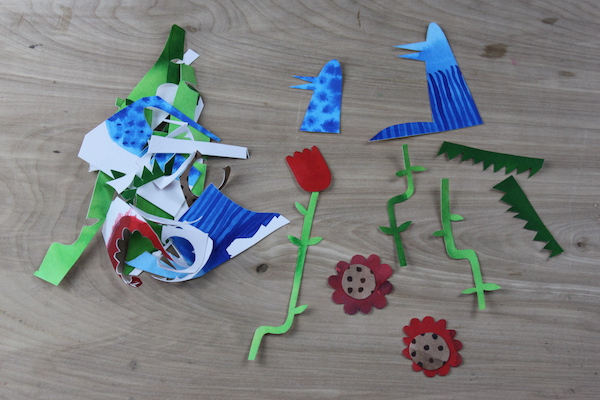
The washes are painted and we have a plan, and now it’s time put it in action. I drew the shapes for my composition directly on the swatches and cut them out. I used a graphite pencil and erased it, but you’re welcome to draw with colored pencil or whatever you see fit. You could mirror the shapes on backside of the paper, if you wanted.
Gather all of your shapes — They look great, don’t they? — and start to arrange them on paper. Don’t tack them down until you’re completely sure that everything is to your liking.
4. Paste them in place.
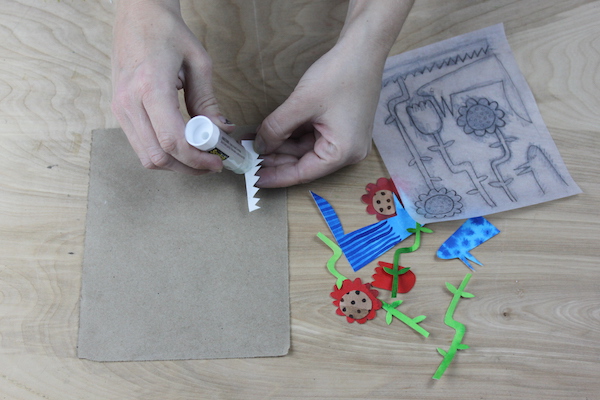
This is the final stretch! Use your glue stick to make everything permanent. Start by working in layers from the bottom up. For me, this was the larger, less-detailed shapes and working towards the smaller forms that create unforgettable images.
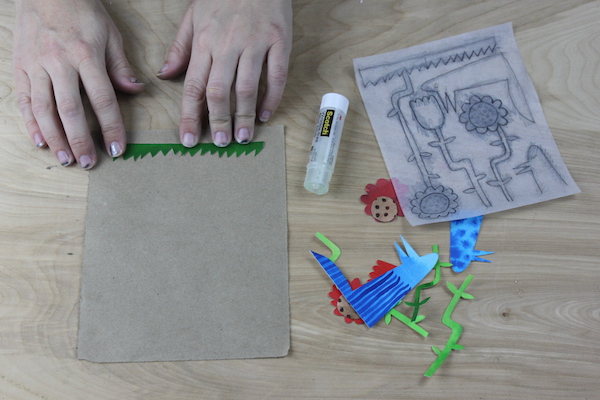
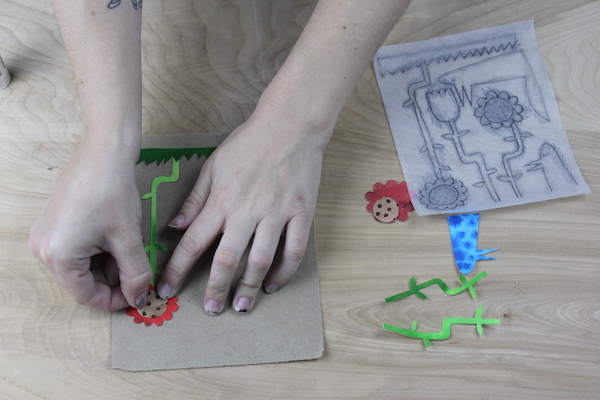
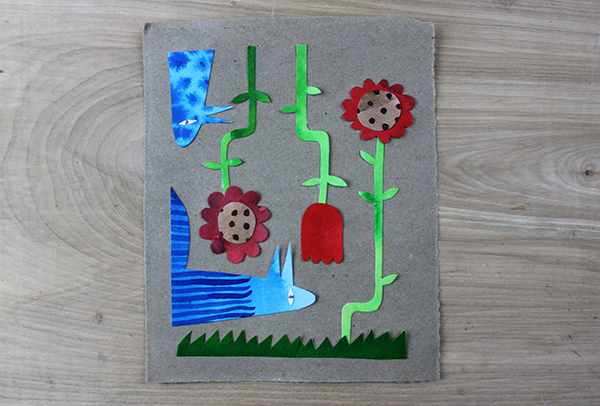
I glued mine onto kraft paper, but you can use whatever type of surface that you like. Maybe you want to create a large wash and paste your shapes onto there. That’s a great idea, too.
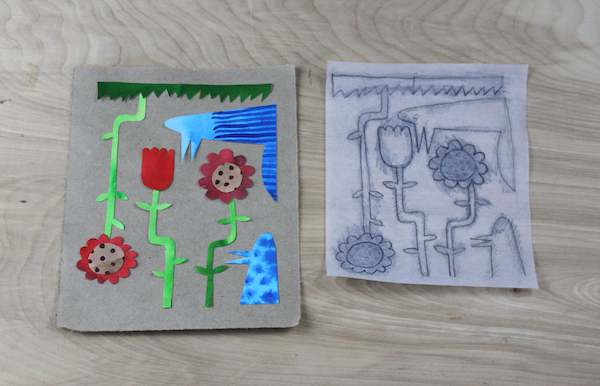
The result of this project should be what you see here — lots of interesting textures and colors that collide to create a compelling image you wouldn’t typically see in a traditional ink-wash painting!
Share tips, start a discussion or ask one of our experts or other students a question.
No Responses to “More Than Just Painting: Ink Wash Art in Cut-Paper Collages”