
 Of course, as quilters, we all have fabric we are eager to use. If you don’t have a scarf, you can wrap the gift in your fabric scraps. If you’re giving the gift to another crafter, they’ll be glad to get the fabric as a present!
Here’s ideas for fabric-wrapped gifts inspired by the Japanese method.
Supplies needed:
- The gift inside a box (mine is 4″ x 6″ x 14″)
- One yard of fabric (adjust as needed for your size box)
- Safety pins (optional)
The Simple Knot
Step 1:
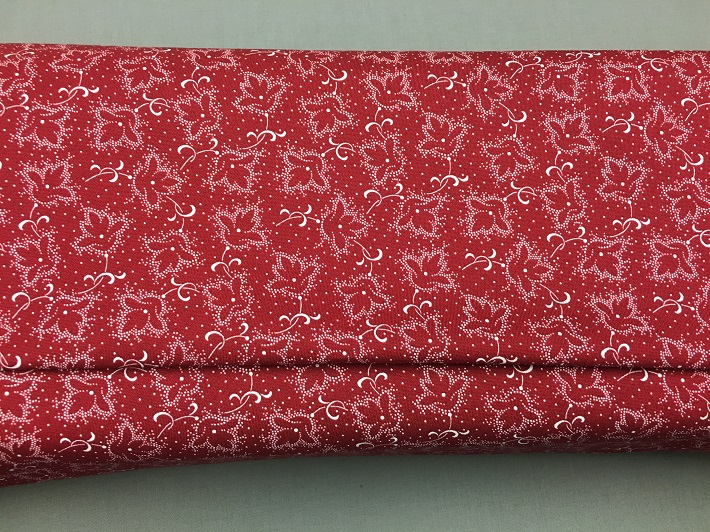
Prepare the fabric by pressing it and making sure all creases and folds have been ironed out. Lay the fabric flat on a table or large surface with the right side down. Place the box in the center of the fabric and rotate it so that it is on a diagonal to the fabric sides.Step 2:
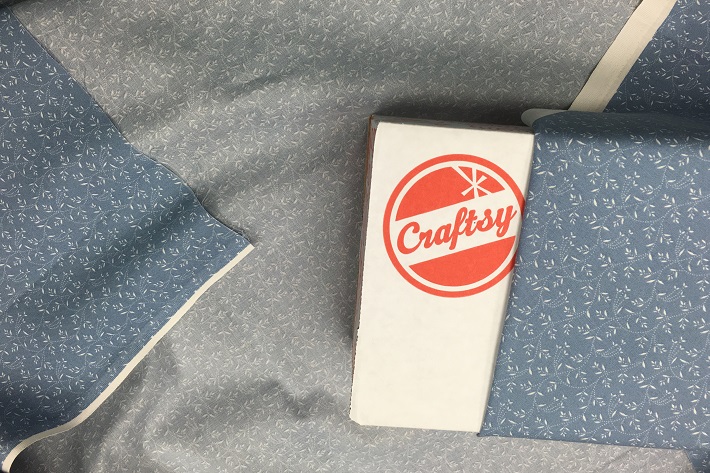 Take the right corner of the fabric and fold it toward the box. Now take the folded edge of the fabric and place it on top of the box as shown above.
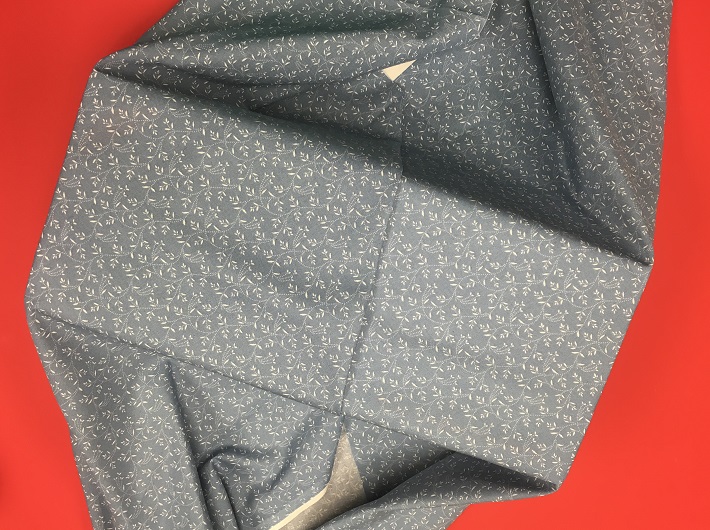 Repeat with the left side of the fabric: Fold the corner of the fabric toward the box, then fold it again so that the folded edge is on top of the box. Notice the the entire top of the box is now covered. Adjust the folds if needed to make sure your box top is also completely covered.
Step 3:
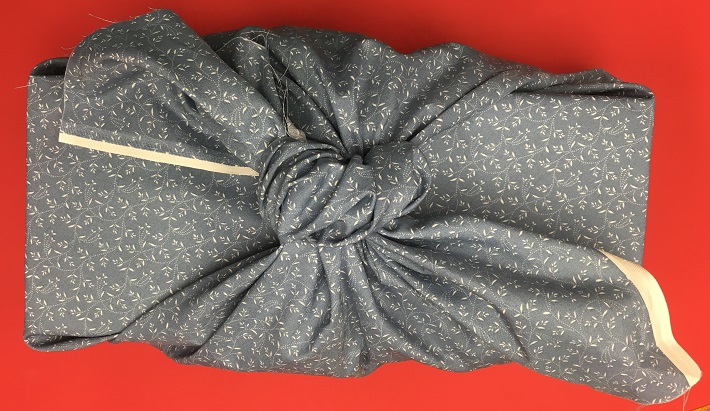
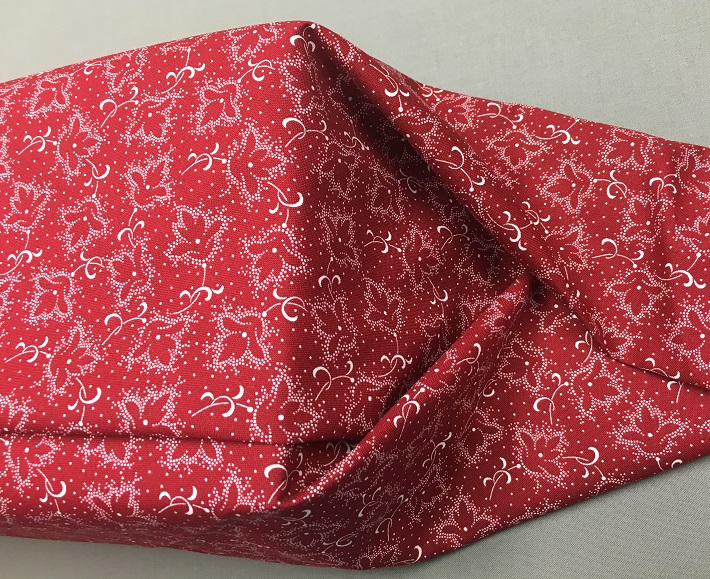
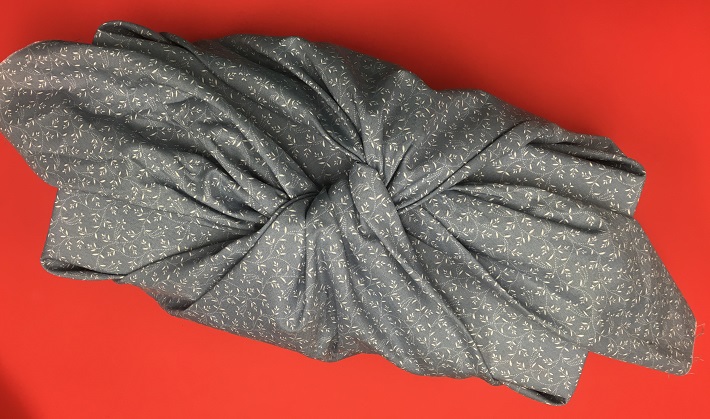 Next, loosely gather the corners of the fabric nearest you and away from you and tie them together. Use enough force to securely enclose the box, but not enough to make the fabric look distorted or stretched. At this point, it should look like the photo above.
Step 4:
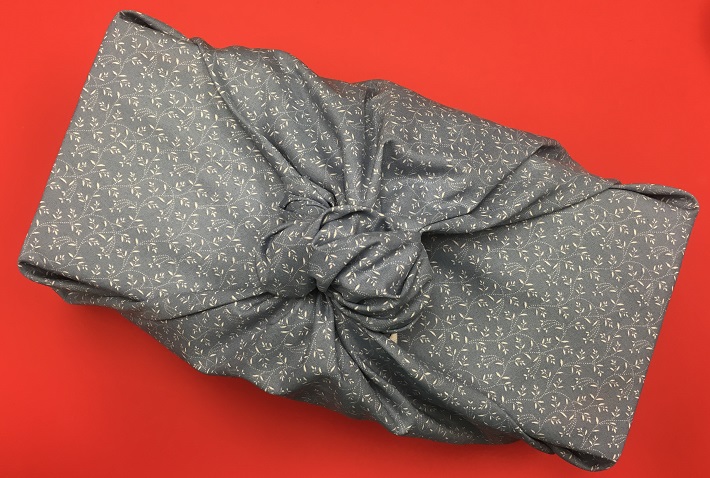
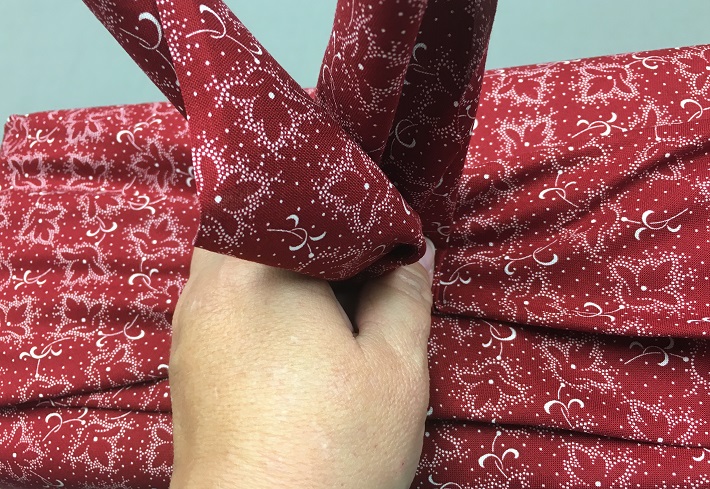
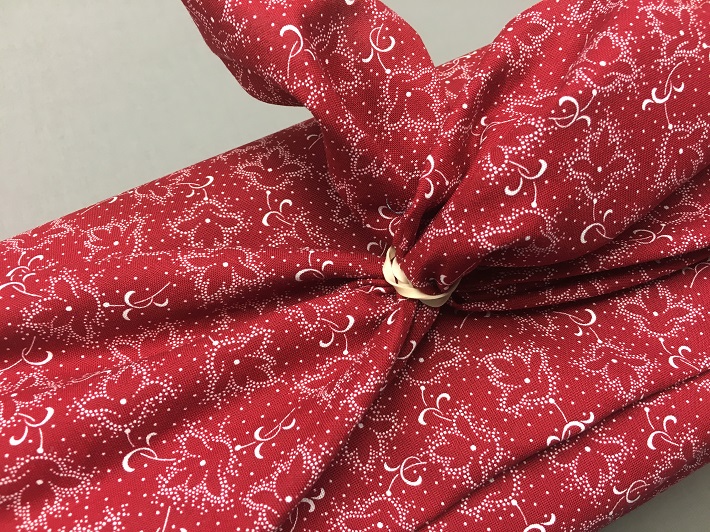
 Take the two loose ends and tie them again into a knot. Pull the knot tight enough so that it won’t loosen. Then adjust the knot so that the fabric looks nice. Notice how the fabric is now securely tied but doesn’t look too tight.
Step 5:
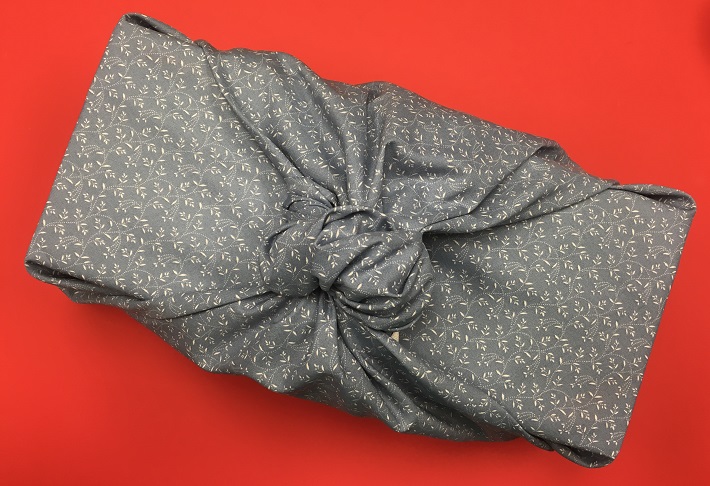
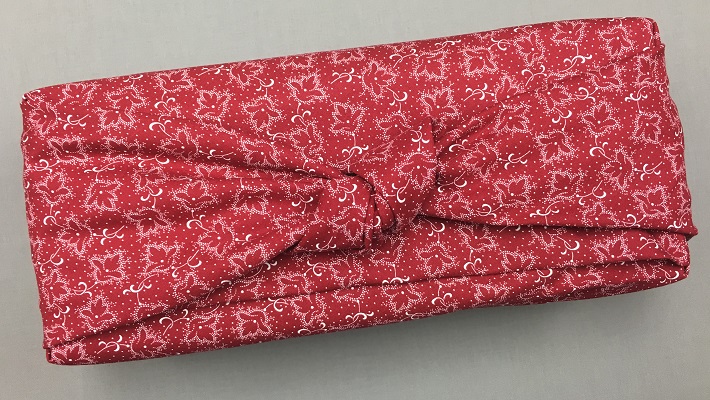
 Fold the loose ends of the fabric under the top and bottom sides of the knotted fabric. The fabric should slide into place and stay secure with minimal adjusting. The gift box is now wrapped and ready to be given!
The Tailored Knot
This is a variation on the first method, with a slightly more tailored look.Step 1:
 Just as you did in the first method, place the gift box on the center of the fabric at a diagonal. Fold the corner closest to you (the bottom corner) toward the box so that the point touches the box as shown. Then fold it again, draping the fabric it over the box. Smooth it into place
Step 2:
Step 3:
Step 4:
Step 5:
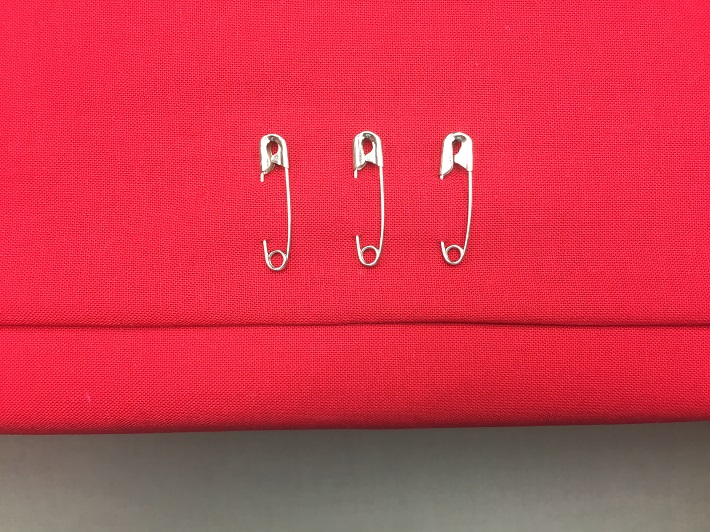
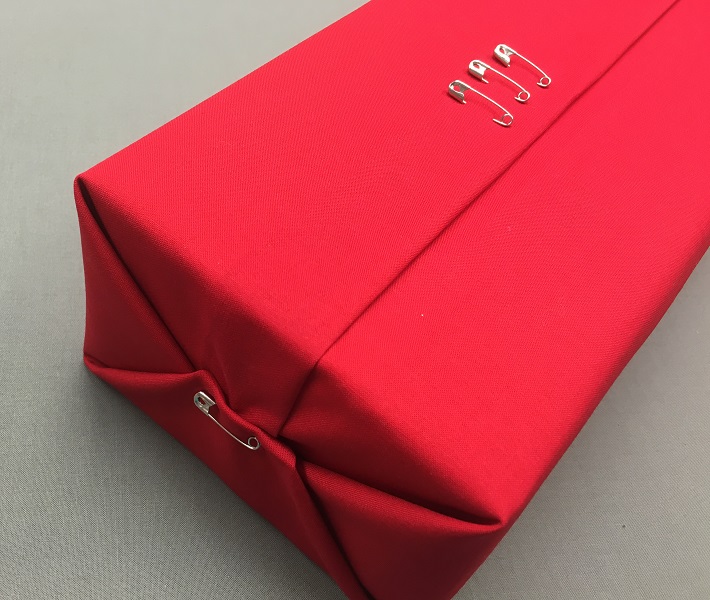
Decorative Safety Pins
In this final method, you’ll use fabric just as you would use wrapping paper. Plus, stylish safety pins give your gift a decorative closure.Step 1:
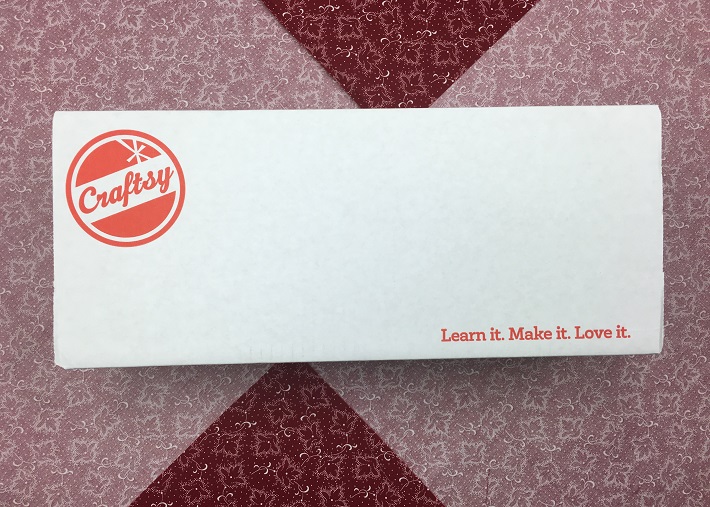
Cut the fabric to fit the size and shape of the box (exactly in the same manner as gift wrapping with paper). Since you have to cut the fabric, you might not want to use a scarf. How about something from your stash?Step 2:
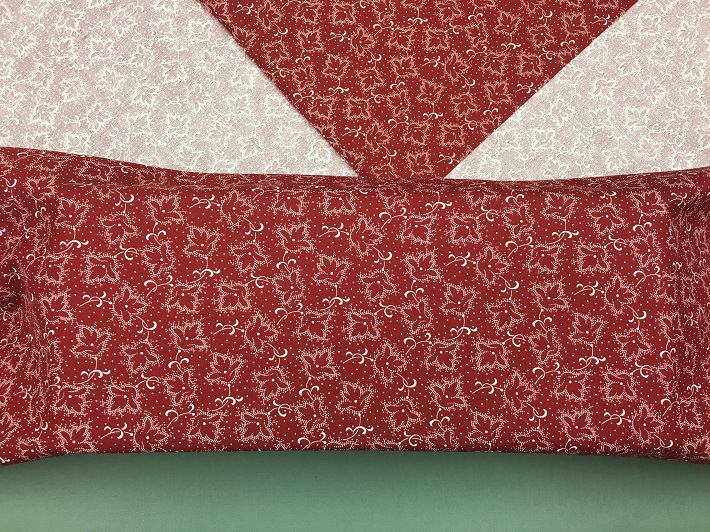
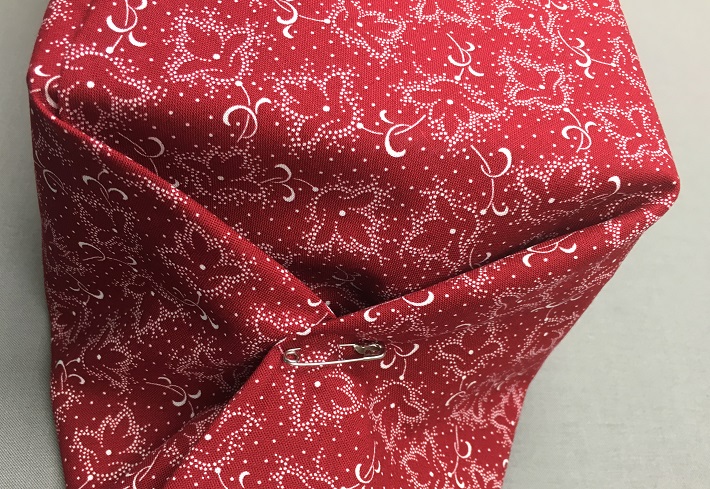
 Fold the fabric around the box and tuck the edges under for a tidy finish. Secure the closure with pins instead of tape that would be used on paper.
Step 3:
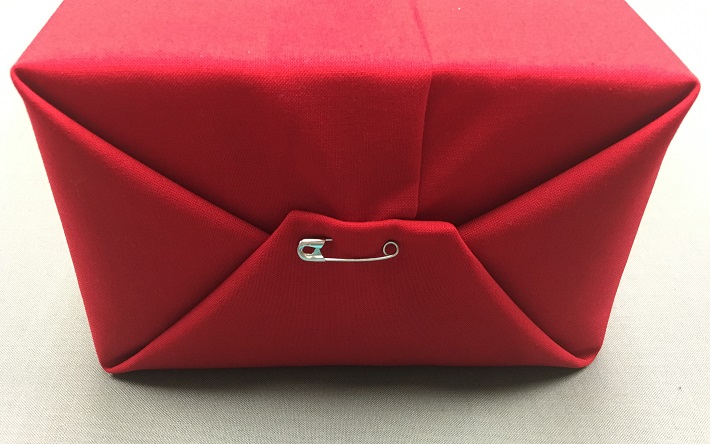 Close the ends of the fabric with simple folds, starting with the top, then the sides, then the bottom. Secure with a pin, just as you would with tape on paper.
 If you want to add a little more embellishment, add some rickrack, ribbon or strips of fabric to tie a bow around the box.
In all three methods, the fabric is undamaged and can be reused. Re-purpose the fabric for another gift, or better yet, add it to your next quilting project!
If you want to add a little more embellishment, add some rickrack, ribbon or strips of fabric to tie a bow around the box.
In all three methods, the fabric is undamaged and can be reused. Re-purpose the fabric for another gift, or better yet, add it to your next quilting project!
Share tips, start a discussion or ask one of our experts or other students a question.
No Responses to “Think Outside the (Gift) Box: 3 Ways to Wrap Gifts With Fabric”