
I love trying new knit stitches that I’ve never used before. A new stitch can bring texture to your knitting without a lot of effort. The trinity stitch is one of those stitches.
If you’ve ever crocheted, you’ll find this stitch is similar to the popcorn stitch in crocheting. Keep in mind the meaning of trinity — a group of three — and you’ll understand the stitch more easily as you knit in groups of three (k1, p1, k1 into one stitch and purl three together in the next one).
Here’s the pattern we’ll follow:
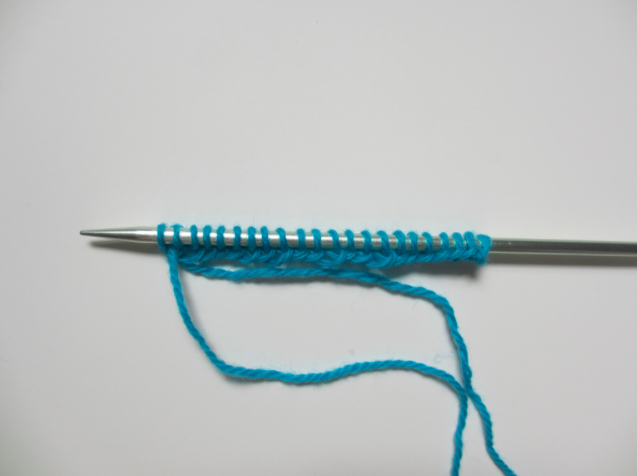
Cast on a multiple of 4 sts plus 2 sts for edging.
Row 1: K1, *(k1,p1,k1) into next st, p3tog. Rep from * across the row. K last st.
Rows 2 and 4: Purl.
Row 3: K1 *p3tog, (k1,p1,k1) into next st. Rep from * across the row. K last st.
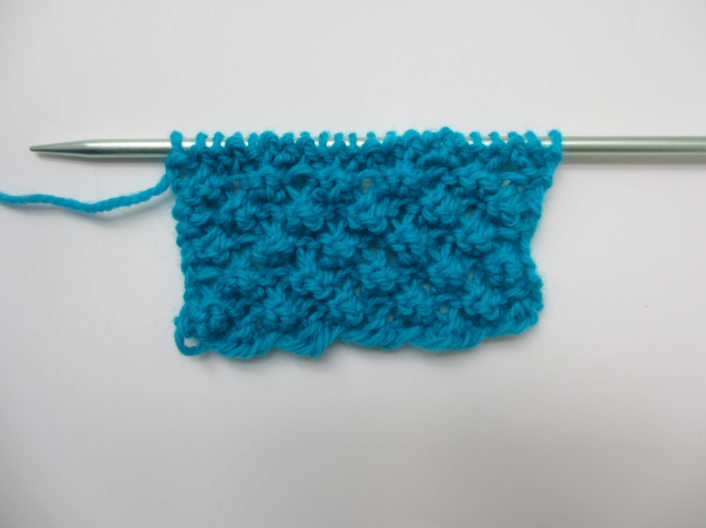
Ready to try it? First, cast on a multiple of 4 sts plus 2 sts so you’ll have a nice edging. I cast on 22 sts for my swatch — that’s five multiples of 4, plus 2 stitches for the edges.
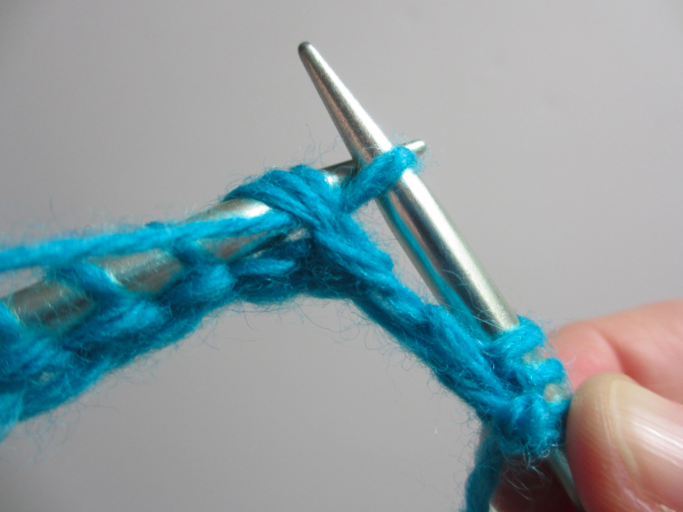
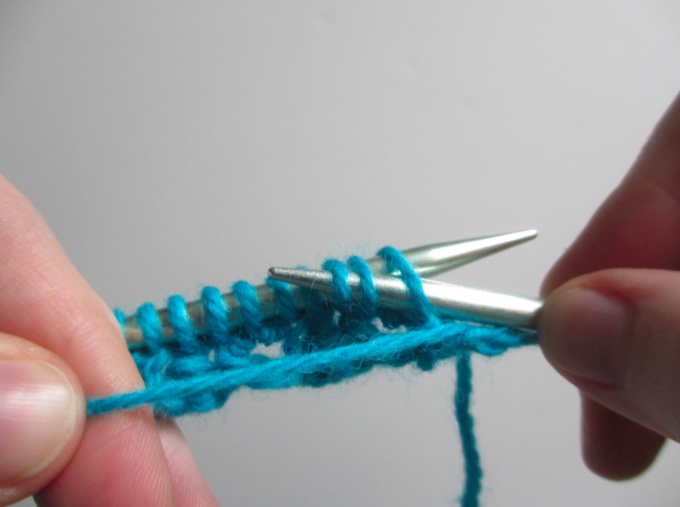
Row 1: Knit the first stitch. (Easy enough!) Knit into the next stitch, but don’t drop it from the left needle yet.
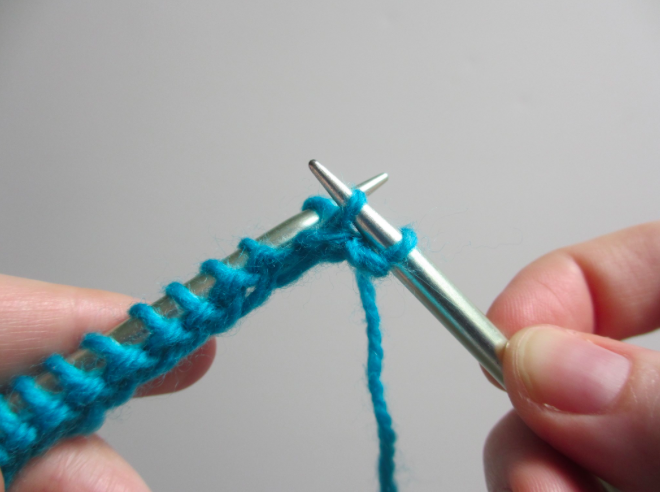
Now you’re going to purl into that same stitch. In order to do that, you need to bring your yarn to the front.
Then purl as you normally would. Don’t drop the stitch from the left needle just yet!
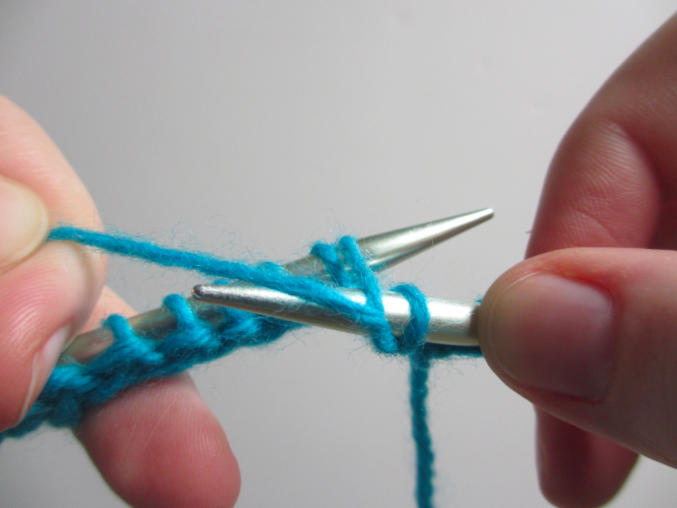
Bring your yarn to the back in preparation for another knit stitch.
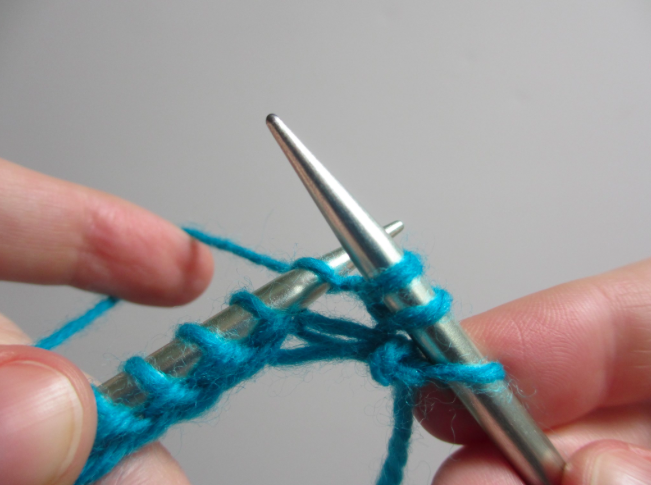
Knit.

Drop the stitch from the left needle — finally!
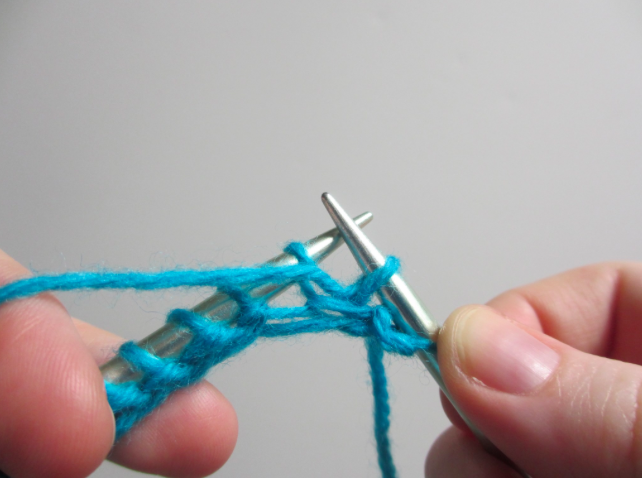
Purl 3 together (P3tog). This sometimes takes a bit of work and patience to get the right needle to squeeze in there.
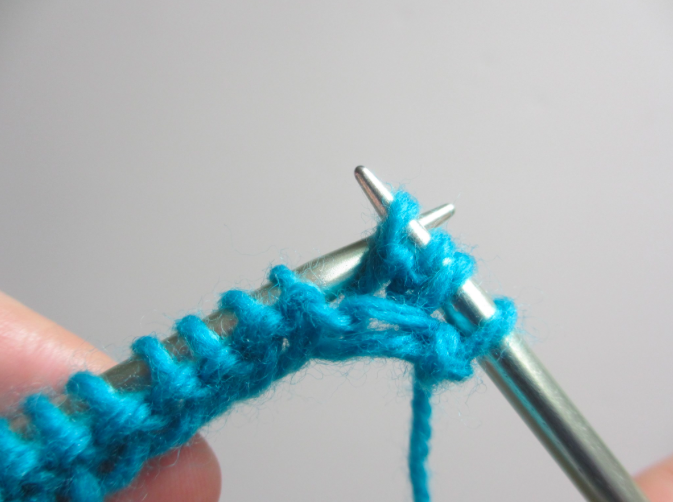
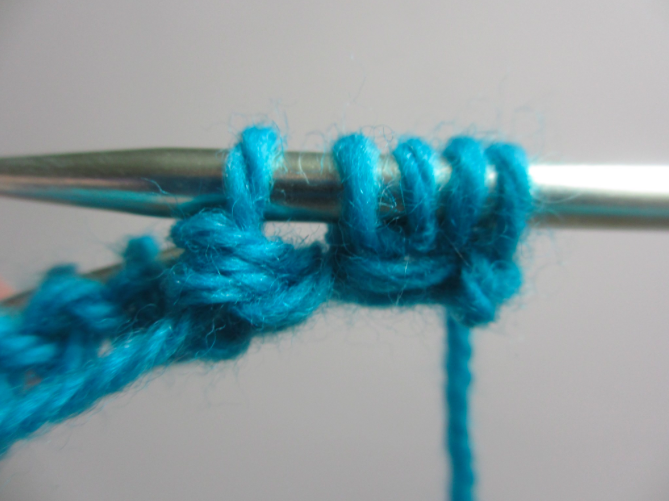
This is what your yarn will look like after you complete the first (k1, p1, k1) and p3tog:
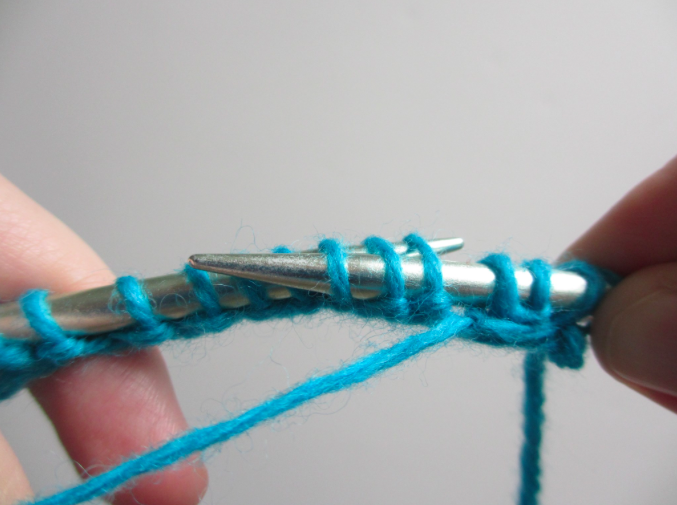
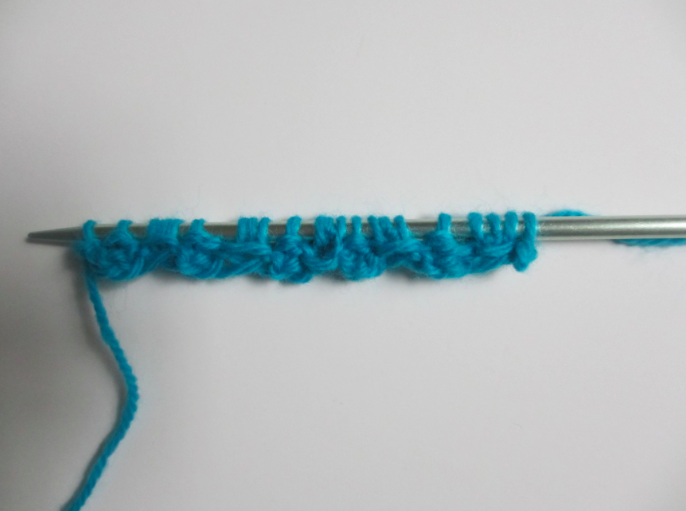
Repeat the pattern across the row. When you get to the last stitch, k1 for your edging. Notice we’re knitting one at the beginning and the end of the row to keep that edging going.
Don’t freak out if you see that your work has some holes in it. Trinity stitch, you’ll notice from the swatch, does have some openings. Here’s what your work will look like at the end of Row 1:
Row 2: Take a break from the insanity and purl across the row.
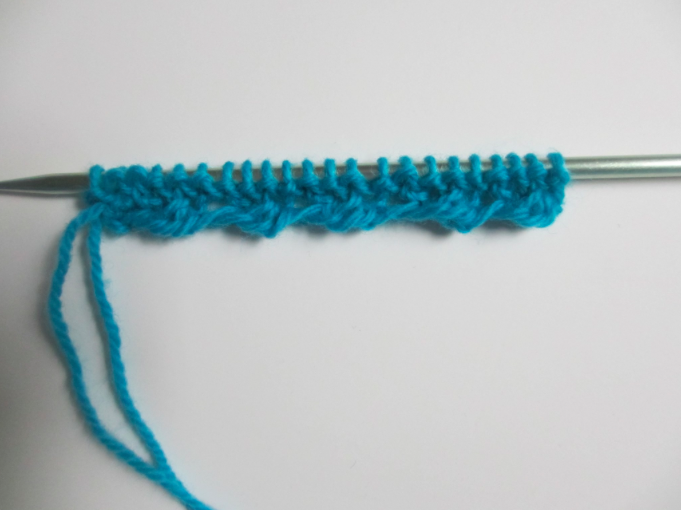
Row 3: This row is similar to Row 1, except you work in reverse. Knit 1 for the edging.
P3tog as you did in Row 1.
Time for that crazy (k1, p1, k1). Use the same technique you did in Row 1, bringing the yarn to the front to purl and taking it to the back to knit.
Repeat the p3tog and (k1, p1, k1) across the row. Knit the last stitch.
Repeat the 4 rows of the trinity knit stitch until you reach the desired length.
How to Incorporate Trinity Knit Stitch into Your Knitting

Wondering when to use the trinity knit stitch? Check out the Trinity Cowl pictured above for a basic yet lovely accessory that uses trinity stitch as its main stitch. You can also try the gorgeous Sand Dollar Baby Blanket that’s knit from the center out and incorporates little trinity bobbles into it.
Want to create even more interesting stitches? Take a peek at Explorations in Brioche Knitting with Nancy Marchant to add insanely beautiful textures to your knitting.
Share tips, start a discussion or ask one of our experts or other students a question.
No Responses to “Knit the Trinity Knit Stitch”