
Learn these easy layered painting techniques to add a unique twist to any still life.
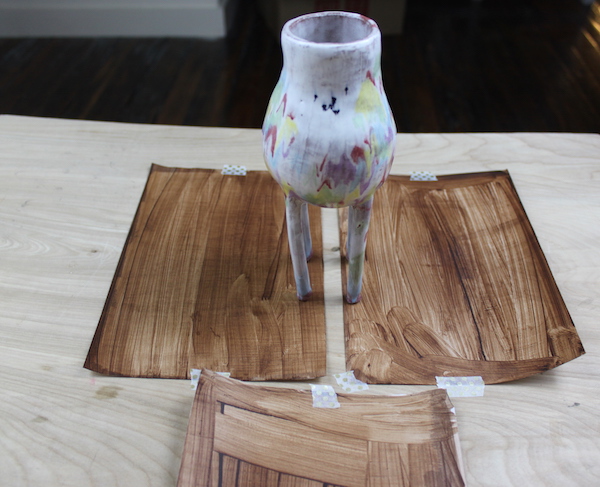
 I selected one object — a tall ceramic figure — as the subject of my paintings. In addition, I prepared each of my surfaces in the same way. I used acrylic matte medium to prime bristol papers and then applied thin washes of burnt umber paint. If painting a ground color isn’t your thing, feel free to start with a white background. My figure was so light that I had to have something to contrast it.
 Feel free to use your favorite acrylic paints, brushes and surfaces for these techniques. They’ll translate into a variety of colors and canvases.
Technique 1: Stencils
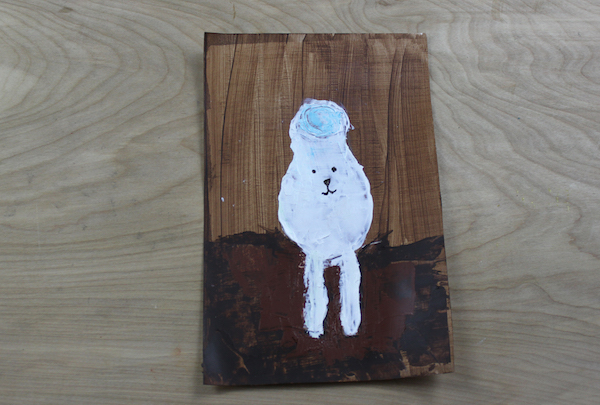
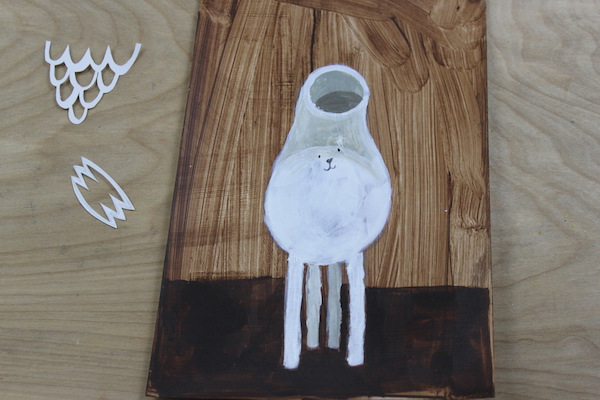 It’s easy to make your own stencils, and they’re a great way to add decoration to your painting. My ceramic figure has subtle colorful patterns on its belly. I chose to ignore that here and instead used a stencil to create a bright and graphic design.
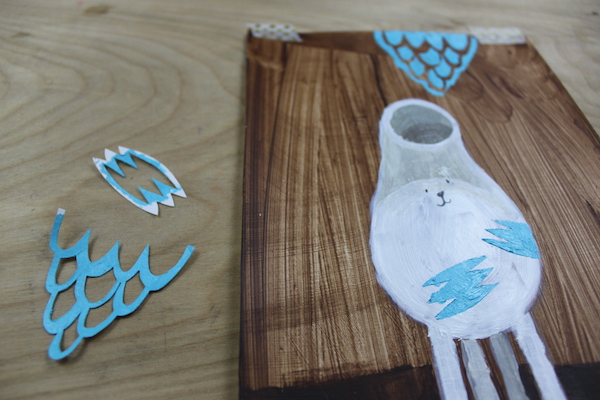
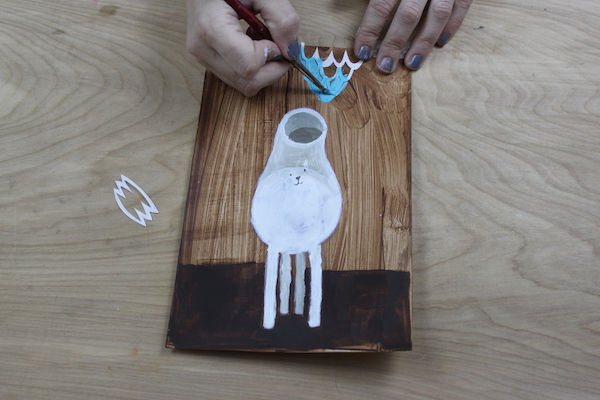 To create the stencil, I used an X-Acto knife and cut a design from thick paper. Then, with a small brush, I painted its negative space. I made a scalloped pattern (near the top of the page) and another abstract shape that I stenciled onto the figure itself.
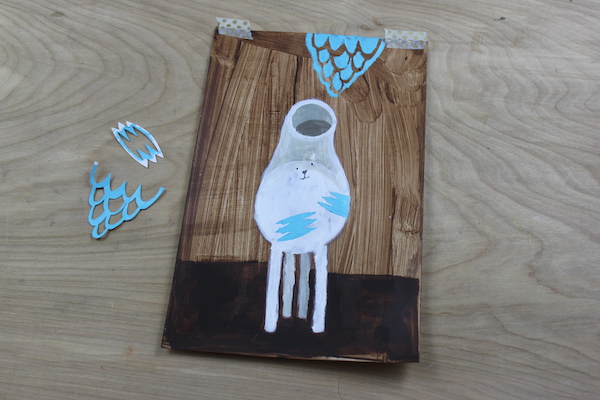
 Make sure your painting is completely dry before you attempt anything! Also, it’s a good idea to test your stencil out on another piece of paper before painting it on to your final artwork.
Technique 2: Painting with a plastic card
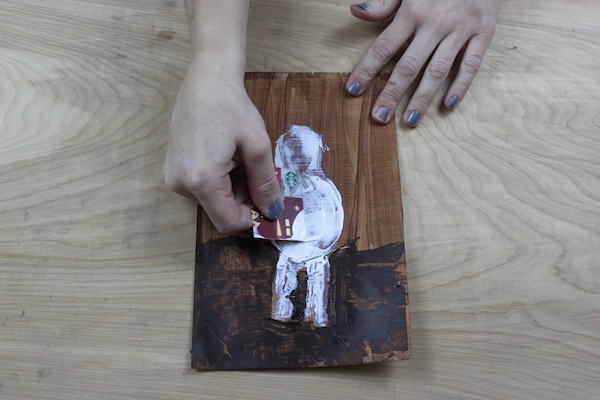
 If you’re going for an abstracted look, then painting with a plastic card is the way to go! It’s definitely fun, but you don’t have as much control as you would with a paint brush. To start, I found an old gift card that I knew was empty (at least I hope so!). Then, I cut it up into smaller pieces that were easy to handle and used a piece for each different paint color.
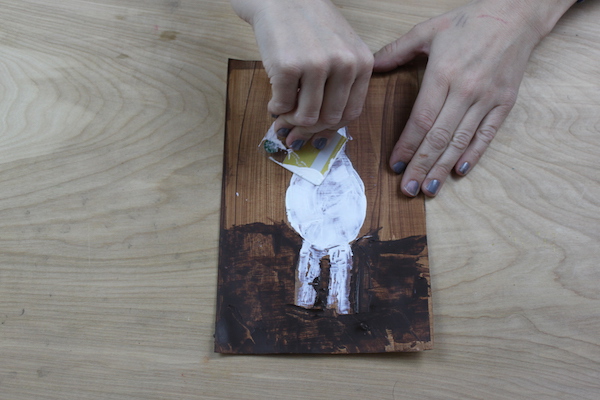
I dipped a corner of the card into my paint and started to spread it over the paper like I was buttering bread. This isn’t the easiest thing to do — it will definitely take you a few tries to get enough pigment on the page so that it starts to look like a finished piece.
If you’re going for an abstracted look, then painting with a plastic card is the way to go! It’s definitely fun, but you don’t have as much control as you would with a paint brush. To start, I found an old gift card that I knew was empty (at least I hope so!). Then, I cut it up into smaller pieces that were easy to handle and used a piece for each different paint color.
I dipped a corner of the card into my paint and started to spread it over the paper like I was buttering bread. This isn’t the easiest thing to do — it will definitely take you a few tries to get enough pigment on the page so that it starts to look like a finished piece.
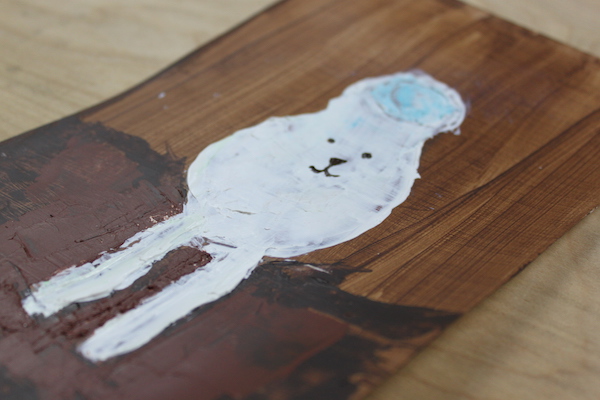 I worked at this piece in multiple installments and advise you to do the same. You need to wait for the paint to dry in between layers or else you’re just pushing it around. And, with each layer, you build up more and more texture. It’s fun to touch it after everything is dry!
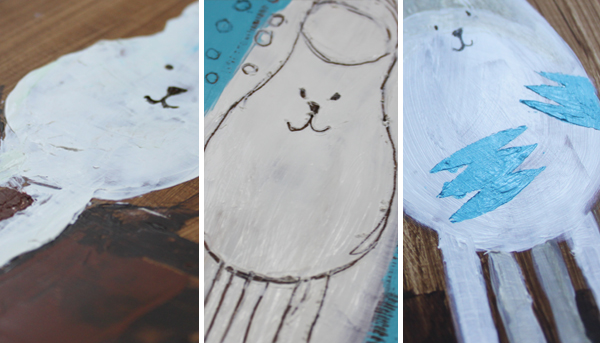
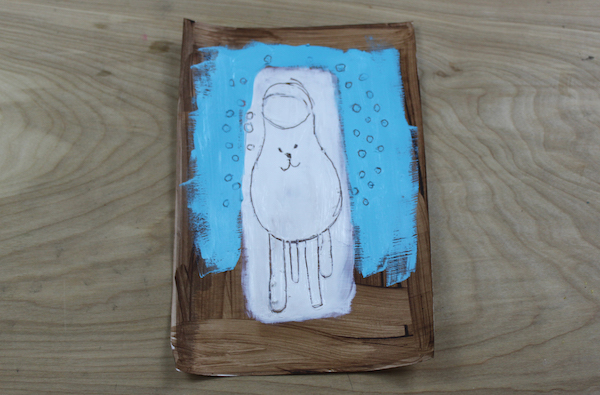
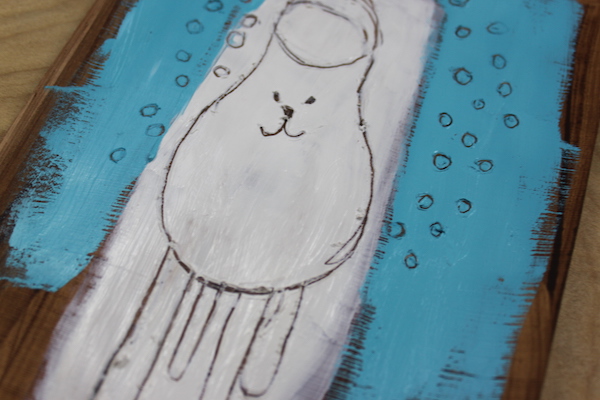
Technique 3: Drawing into wet paint
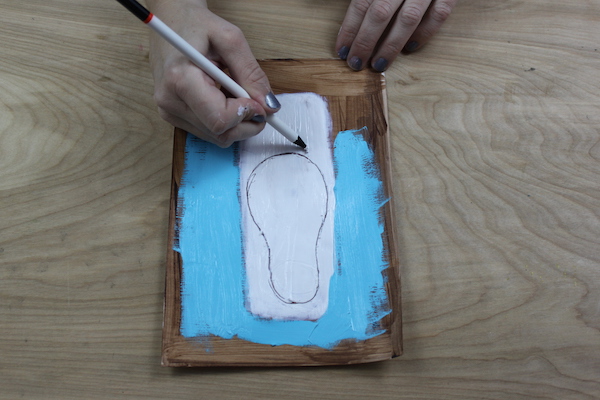
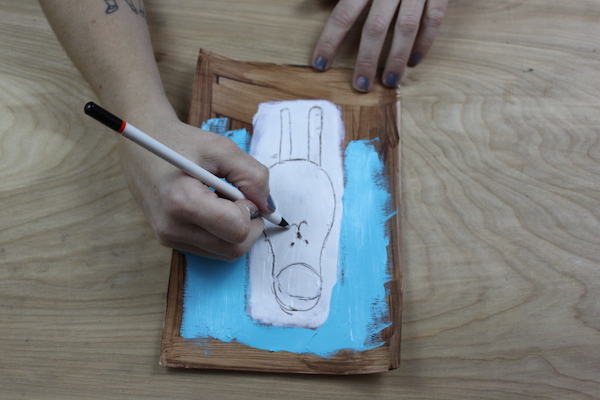 With this technique, you’ll have to work fast! I painted two large areas of color and then took the dulled edge of a pencil to draw into the wet paint. You’ll need to paint a contrasting color (or pattern) as the base color. When you paint over it, that will obviously be covered up, but as you draw, the ground color will peek through. I just painted one layer, but I could see this technique looking really neat with three or four different colors and line drawings etched into it.
 So, there you have it! One object, three different techniques. All of them have very different results.
Share tips, start a discussion or ask one of our experts or other students a question.
No Responses to “1 Object, 3 Ways: Layered Painting Techniques”