
Stacked bracelets are are so on-trend right now. This inexpensive and easy wrapped leather bracelet is a great addition to any stack you have going on! In my opinion, the more stacked bracelets you have, the merrier!
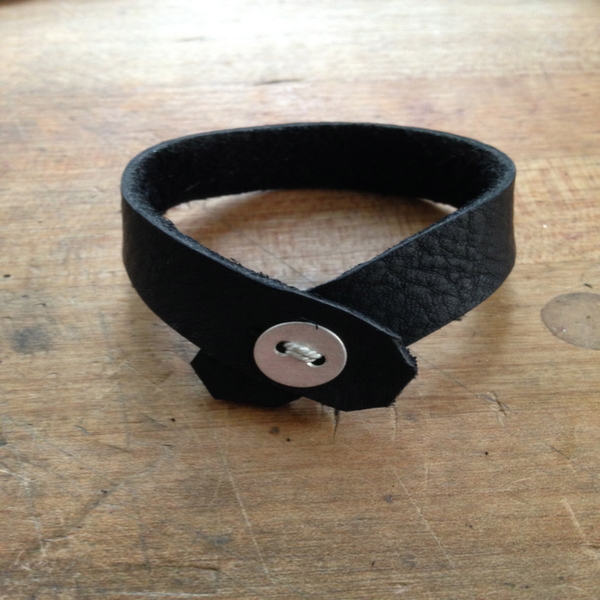
How to make a leather wrap bracelet
What you’ll need:
- Sheet metal (I’ll be using 22 gauge)
- Leather scraps*
- Drill or other hole punching tool
- Burr
- Nail file
- Scissors
- Disk cutter or jeweler’s saw
- X-Acto Knife
- Silk or other cord
- Punch and hammer (pushpins work great too)
*You can find some great pieces in the scrap bin at a local leather store or even repurpose old belts from your closet. I’m using cowhide, which is nice, thick and durable. Be wary of skins such as deer or pig, which can stretch over time.
Step 1:
Lay out your design.
I’m going to make a simple bracelet that wraps only once, so I’ll be working with a piece of leather about 7.5″ long. There’s lots of room in this tutorial for your imagination, so get creative. A bracelet that wraps more than once is just as easy as this one.
As always, my handy graphing ruler helps ensure clean lines and even thickness. A good place to start is 1/2″ width.
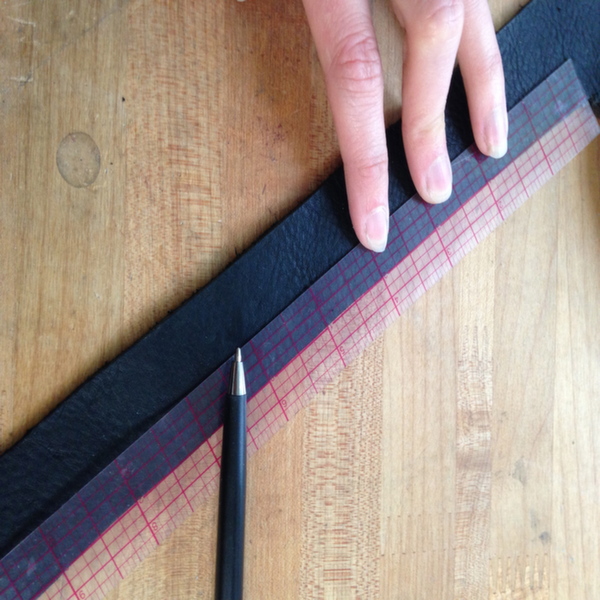
As you cut, keep your scissors upright and use the 3/4 technique — that is, not cutting until your scissor ends touch, but stopping about 3/4 of the way through. When we cut all the way through sometimes that can lead to little stray pieces of leather or uneven edges. Lots of extra movement will show in your final piece. Better yet, if you think you’ll make a lot of these, you may want to invest in an Australian strander, which helps you can get strip after strip of even leather. Talk about a time-saver!
After cutting, your leather might have some ragged ends, you can even them out by using your scissors on an angle or an X-Acto knife.
Step 2:
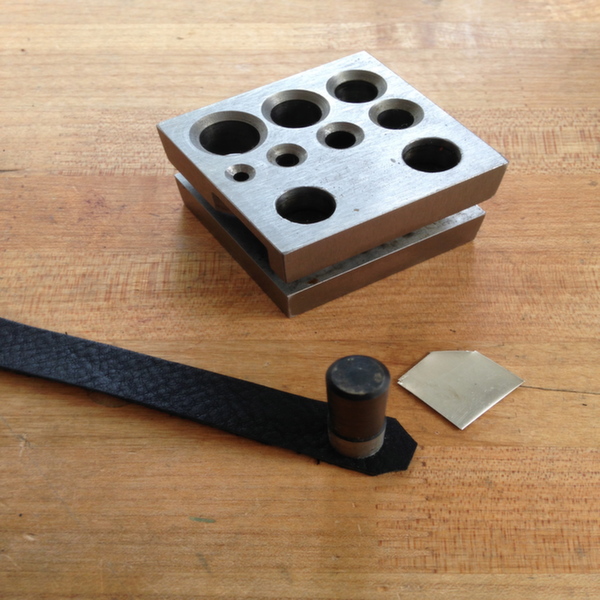
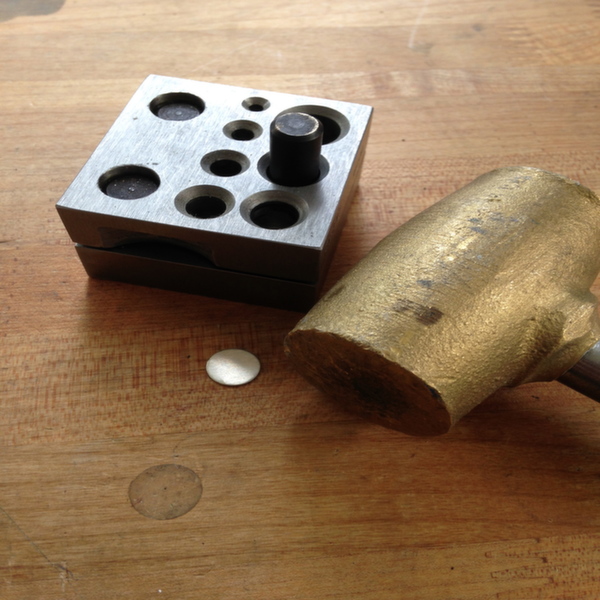
Make a note of what size would work best for the button and cut a circle out of your metal. If you have a disc cutter, now is a great time to use it. A jeweler’s saw or shears can work just as well.
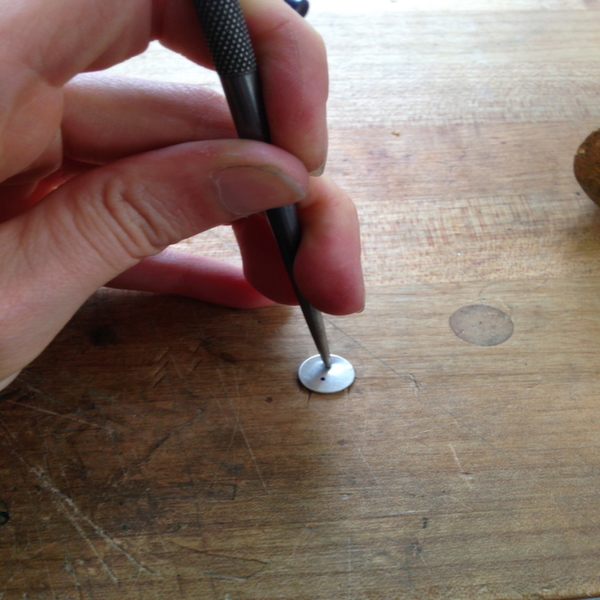
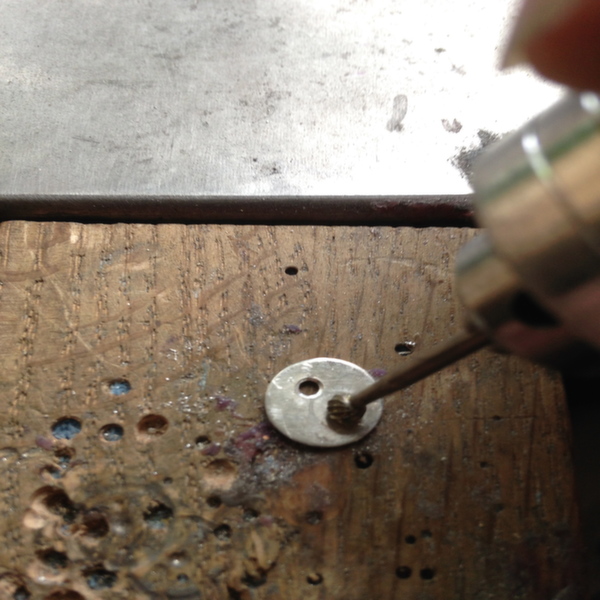
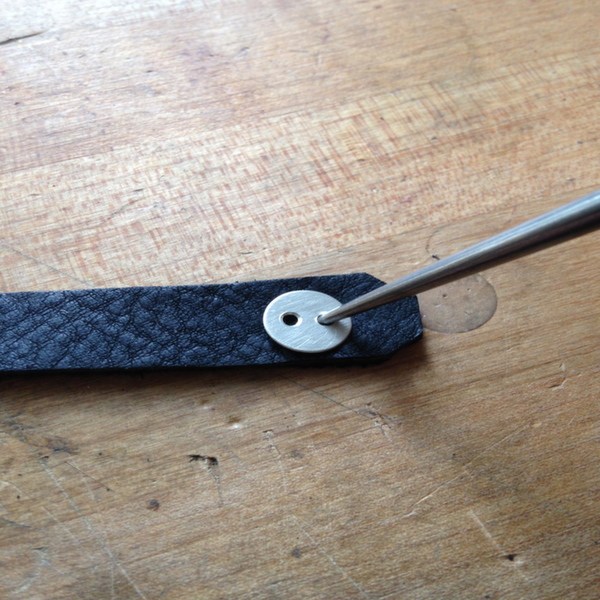
Step 3:
Mark the places that will serve as your buttonholes and drill them. After drilling, I like to go in with a slightly larger burr and gently round the edges. It’s not a necessary step but it will give a more finished look and a little added dimension. Don’t worry if you don’t have a burr set, just make sure that an ragged edges are filed flat.
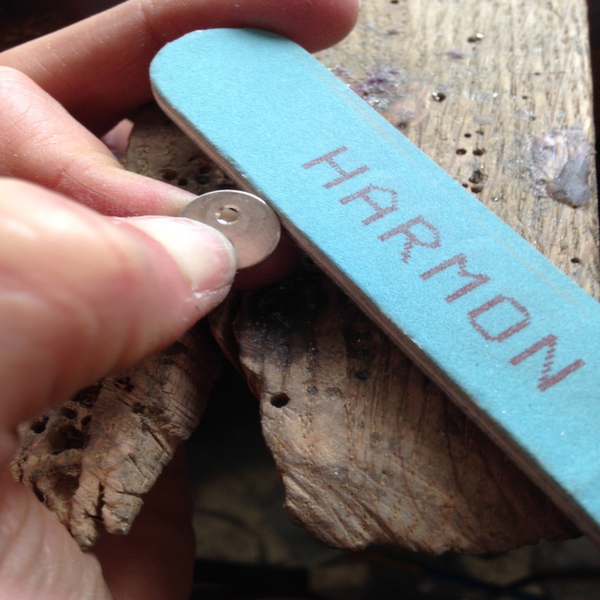
Step 4:
Use your nail file to give the edges a slightly beveled edge. This makes the edges smoother and easier to get through the leather, and also gives the piece a more finished look. Use a foamy nail file like the one shown to make sure there are no scraggly ends.
Step 5:
Measure the diameter of your button. Then, if making the piece for yourself, you can make the leather fit just right by wrapping it around your wrist and marking what’s comfortable. Try multiple wraps if you’d like. Mark what feels good and take into account that you’ll need enough room at the end to get your button through.
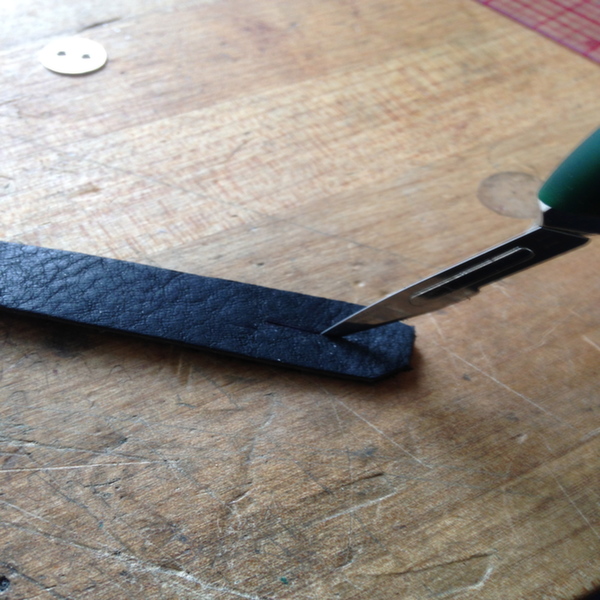
Step 6:
At the opposite end, find the center of the leather and mark exactly the diameter of your button. (Tip: Ballpoint pens work great for marking on leather.) Cut along that line using your blade and be careful not to get carried away. We want it to fit snugly with out gaping at the edges.

Step 7:
Try putting your button through a few times to make sure you like the way it fits.
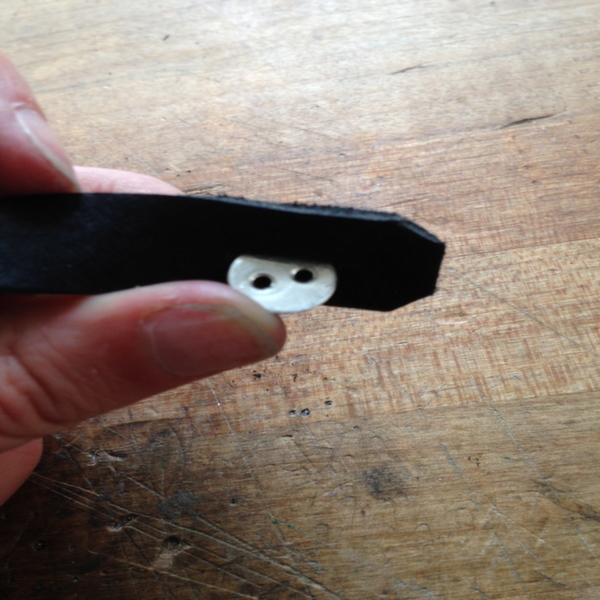
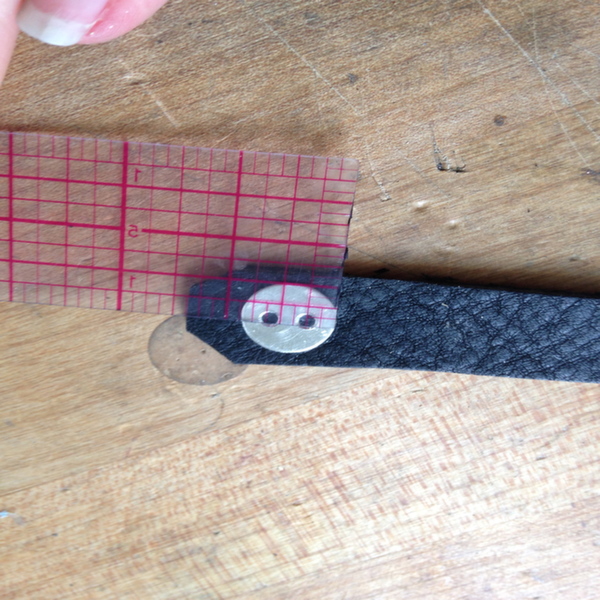
Step 8:
At the opposite end, after finding center, use a punch to mark where the holes will go. It may be tough to get through, so sometimes I’ll use a thumbtack to pre-punch the hole.
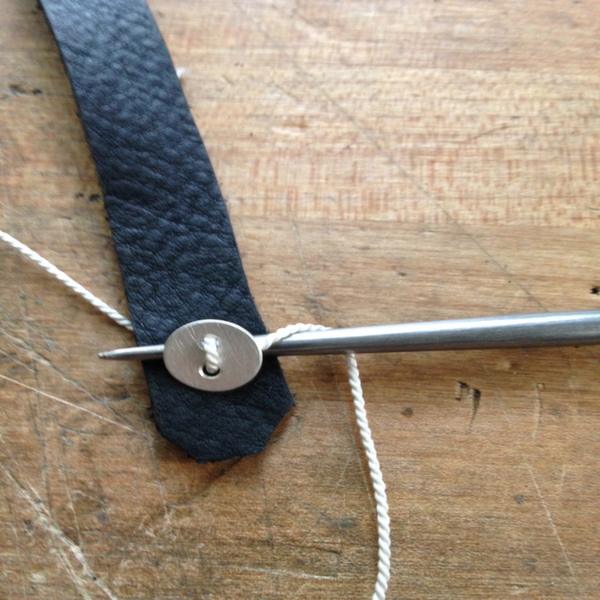
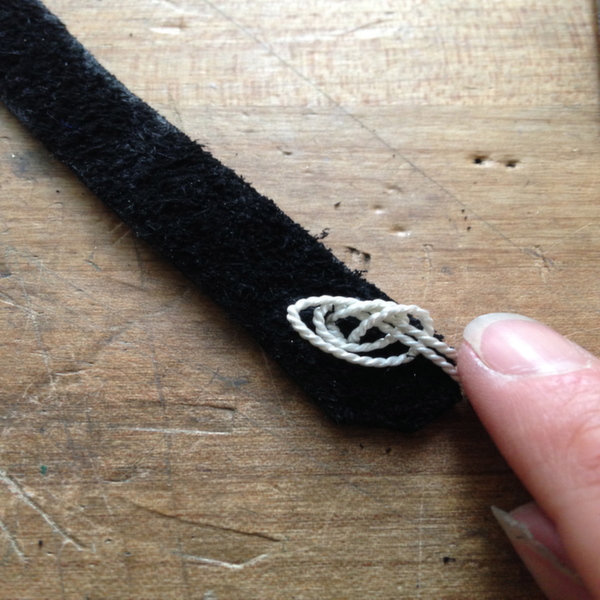
Here, I’m using silk floss but waxed cord works well, as does Chinese knotting cord. As you sew it on, keep your punch under the button so that you’ll have a loosely threaded button. This allows for your leather to be able to fit when closing.
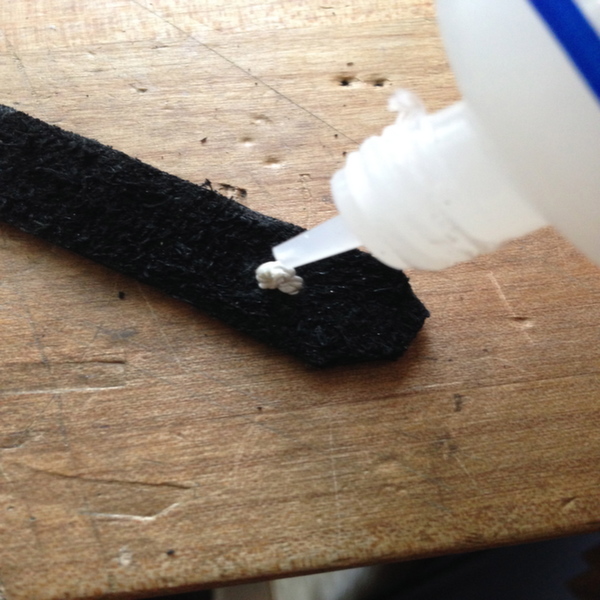
Step 9:
Tie a knot and finish the edges with Super Glue.
Step 10:
Check to make sure the bracelet fits and do any last-minute design details, like rounding edges and cutting loose cords.
And there you have it — a trendy leather wrap bracelet in 10 simple steps!
Now, let your imagination run wild. Think about beading with leather, adding coils of wire, a stitch edge or texturing your metal. And be sure to share what you’ve made with Craftsy’s jewelry making community by uploading photos of your finished projects to our Jewelry Project Gallery!
Share tips, start a discussion or ask one of our experts or other students a question.
No Responses to “Create an Easy and On-Trend Leather Wrap Bracelet”