
In the wrong light, food can look less than appealing. Get the light right, and you can make your subject shine.
Keep reading to learn how to shoot food in natural light.
I shoot nearly all of my food photos using natural light even though natural light can be tricky during different seasons. In Seattle, where I live and shoot, we only get a handful of hours of daylight in the winter and even those are darkened by clouds.
Natural light shows off food beautifully. It brings out the natural highlights and shadows and doesn’t give the food any incorrect colors. Having said that, I know several food photographer who use artificial light and the results are stunning, but for now I’m going to write on what I know best. Besides, natural light is cheap, readily available and easily accessed.
Quality of light
Turn off the lights! I think the instinct in photography is to have as much light as possible so you turn on the overhead lights, the lamp on the side table and open up all the blinds. The problem with that is that light sources have different temperatures, so those overhead lights you are leaving on while shooting by the window could be the source of an unattractive orange glow in your images.
You want to shoot from one light source. So, if you are shooting by a window, use natural light and turn off all the lights surrounding your shooting space.
Find the light
The most natural place to shoot food is most likely in the kitchen or dining room, but that may not be where the light is best. You have to seek out the light.
Turn off all the lights in your house then slowly walk from room to room trying to find the best spot to shoot. Look for clean, bright light. Direct light isn’t always the best as you will have to deal with harsh shadows.
Try shooting in different spots to see what light you like the best. You may like the tones better on the south side of your house than the north, for example. Take the time to experiment and shoot around.
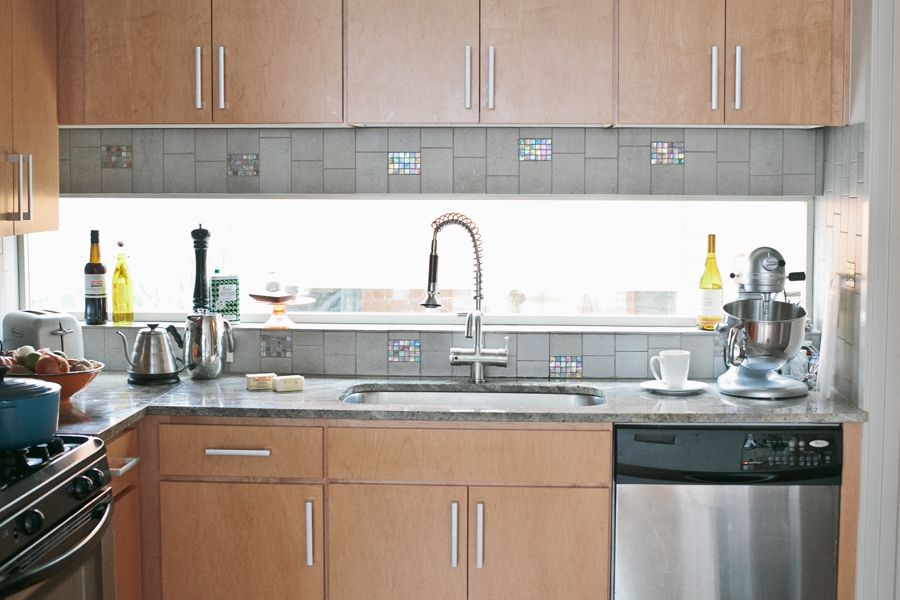
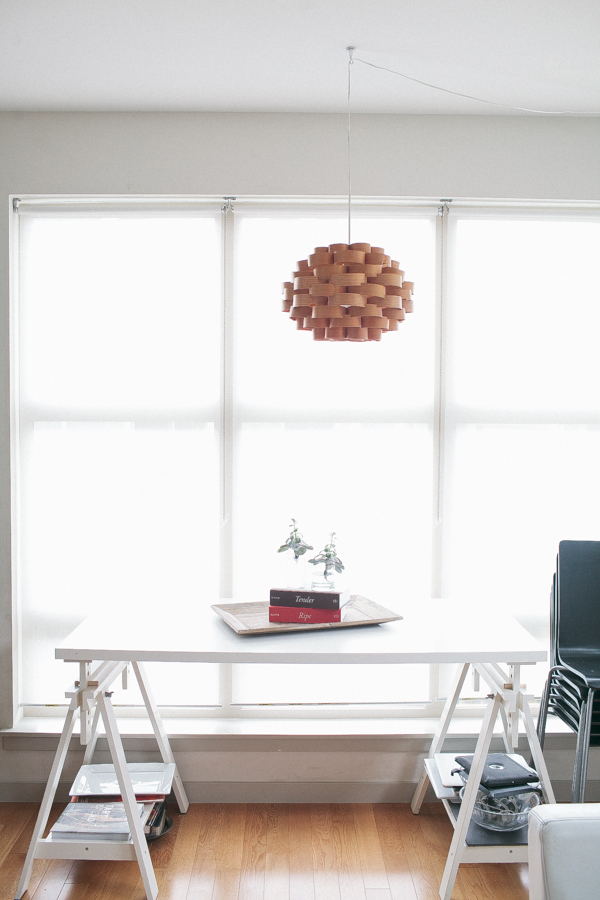
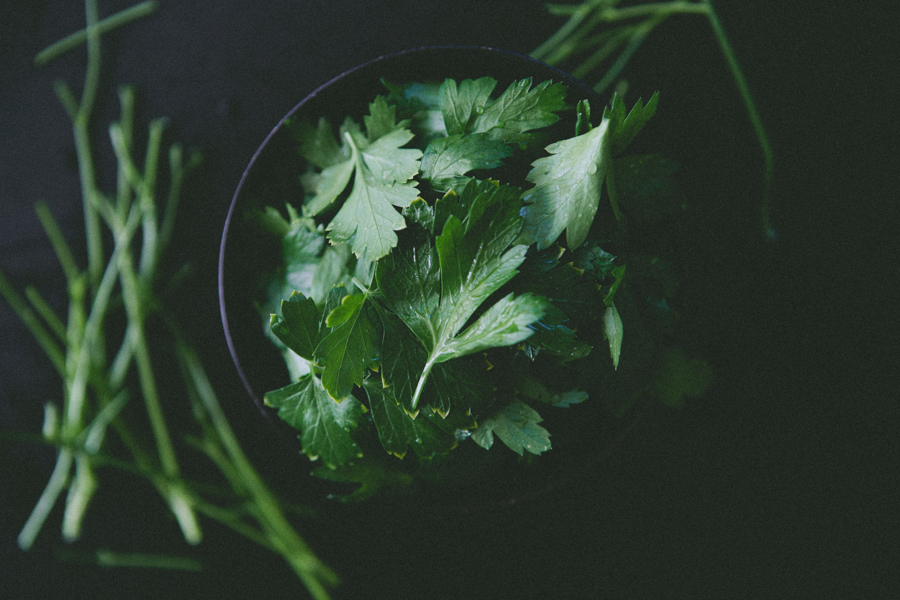
Our house is small so there aren’t a lot of options, but I shoot some moody ingredient shots in my kitchen. The room doesn’t have a lot of light, but there is a long, narrow window that offers a cool, directional light that accentuates highlights and gives nice shadows. Most of the other images I shoot are on my dining table next to a large floor-to-ceiling window. There is also an adjacent window on the far end of the table, so the light wraps around the subject. Sometimes I like that, other times I have to modify the light to add more interest to the photos.
I have thin shades on the windows that I can easily pull up or down to soften the light or let more in.
Modify the light
I just mentioned my handy shades (thank you, IKEA), which is one way I modify light.
To modify the light is basically to soften it, brighten it, bounce it, or adjust it in some sort of way. I use sheer blinds, parchment paper or a sheet to soften or diffuse the light if it is a bright, sunny day. This softens the shadows and decreases the contrast.
The other way I modify the light is by using bounce cards. I have several foam boards in both white in black close to my shooting area. A white board or surface held next to the subject parallel to the light source will bounce light back into the subject so that the shadows aren’t quite so harsh.
A black board will stop the light and intensify the shadows.
You can also use aluminum foil to bounce light and accentuate the highlights. Today, I used a large stainless pot lid to bounce light into a pot I was shooting. I say use whatever works!
Finding the light is the best thing you can do for your photos. Seek it out and start shooting!
Share tips, start a discussion or ask one of our experts or other students a question.
No Responses to “How to Use Natural Lighting for Food Photography”