
Sometimes we crochet a cute bag and take it out on the town, only to realize that our lip gloss and car key slipped right through the stitches while we were dancing to an 80’s tribute band. (Yep, that happened to me.) That’s when lining a crochet bag comes in handy.
Lining a crochet bag can also come in handy when you’re carrying your life in a bag. I tote around everything from magazines to books and even my crochet projects in my bags. This much weight can stretch bags out of shape so much that even a good blocking can’t bring them back to life.
Whether you’re concerned about valuables falling through the cracks or just making your bag more durable, here are instructions for lining a crochet bag.
Choosing a lining fabric
It’s best to choose a lining that’s a weight similar to your bag. For example, if your bag is delicate and light, choose a lining that’s also light. A light-weight silk or cotton are both good choices. If your bag is heavier, like mine, look for a lining that is a little more durable. When the bag and lining weights are not a good match, linings can pull on your bag, causing it to stretch and sometimes even rip.
What you’ll need
- Lining fabric (see instructions below for calculating the measurements of the fabric)
- Sewing machine (optional)
- Sewing needle and thread
- Sewing pins (optional)
- Scissors
- Ruler
Cutting your lining fabric
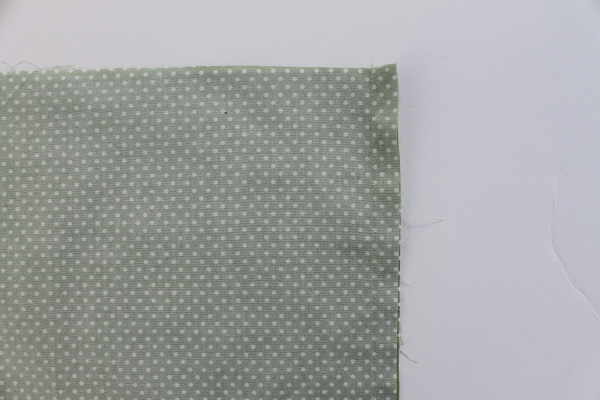
Iron your lining fabric before you begin cutting to get the most accurate measurements.
Here’s a formula to figure out how wide and tall to cut the lining:
Width of the lining fabric = width of the bag + twice the depth of the bag + 1″ for seam allowance
Height of the lining fabric = twice the height of the bag + the depth of the bag + 1/2″ for seam allowance
My bag is 15″ tall, 15″ wide, and 1″ deep so I cut my fabric to be 31 1/2″ tall and 18″ wide.
Sewing the lining
With right sides together, fold the lining in half, letting the top edges meet. Sew the sides using a 1/2″ seam allowance. (I used a sewing machine for this part, but you can also just use a sewing needle and thread to sew it by hand.)
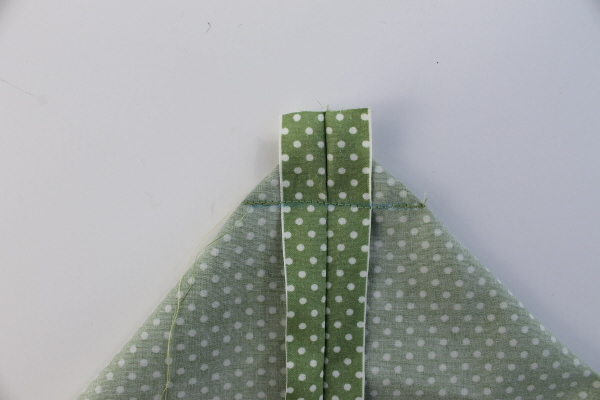
Optional: If your bag has depth, one easy way to create depth in the lining is to sew a boxed corner. (If your bag is just two flat pieces of fabric sewn together and has no depth, then don’t worry about this step.) To create one, just create a triangle in the bottom corner of the fabric by lining up the bottom of the bag with the side seam.
Measure from the end point of the triangle to the depth of your bag. For example, if your bag is 1″ deep, measure 1″ from the point of the triangle. Use a pen or tailor’s chalk to mark a straight line across the triangle. Secure with sewing pins.
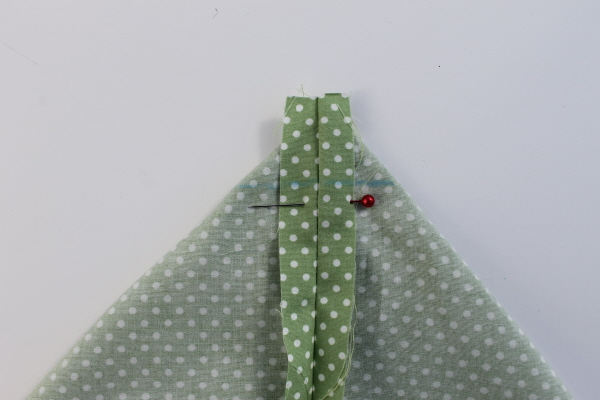
Sew straight across the line. Repeat for the other side.
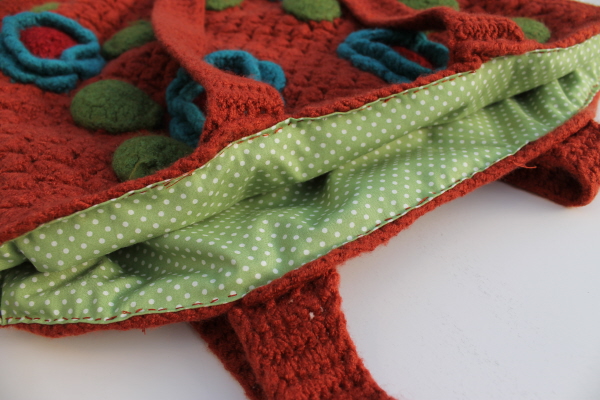
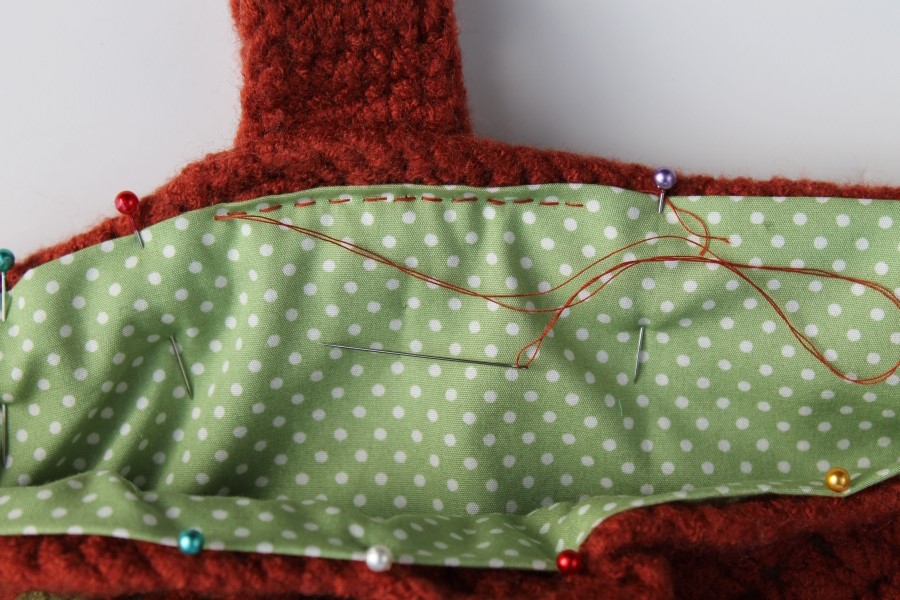
Attaching the lining to the bag
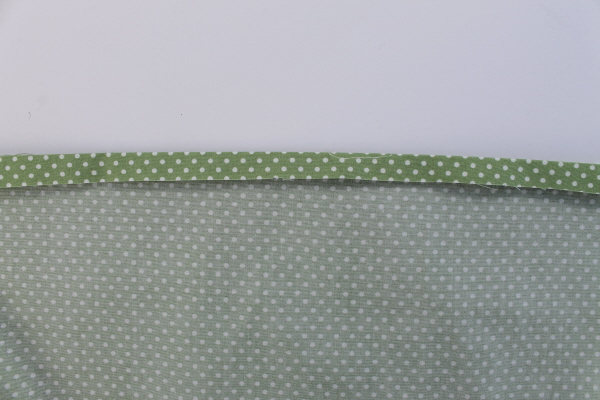
Turn the top of the lining down 1/2″ toward the wrong side. Press with an iron to hold in place.
Place the lining inside the bag with wrong sides out. If you have them on hand, use sewing pins to hold the lining in place.
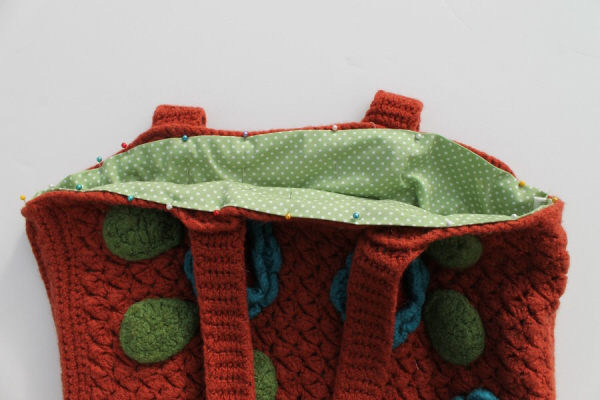
Using your needle and thread, stitch the lining to the top of the bag using small running stitches.
Want more ways to make your crochet look professional? Check out Linda Permann’s Professional Finishing for Perfect Crochet class. You’ll learn all the skills you need for smooth edges, neat colorwork, and even invisible joins.
Any way to make this a printer friendly pdf?
I recently crochet a lovely bag/ purse as a gift for a friend. I gifted it to her, then I realized that I should have added a lining to it, (my first purse ever). So now I’m working one in for her. Thank you for all your tips. They are awesome.