Fabric books are quick and easy to make and are a wonderful children’s gift. Children love these books beginning as early as they can sit and all the way through the early elementary grades. In addition, this is a great way to use up embroidery designs that have been stitched as samples before starting a project or those that were leftover when a prior project was finished. Here’s a project that I made using samples of animal embroidery, photos on fabric, and novelty fabrics.
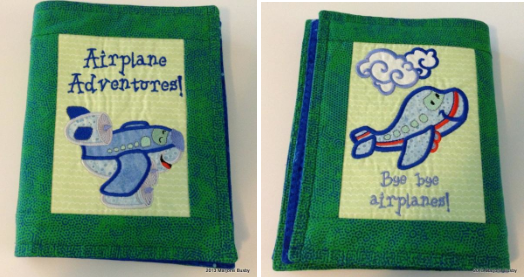
For this example I chose an embroidery set by Bonnie at SewInspired that was designed as an ITH fabric book project. I modified the original design so that I could make this a combination project using the page designs stitched with the embroidery machine, and assemble the page borders and book using a sewing machine.
Step 1: Stitch or choose “pages” for your book.
Twelve pages makes the perfect size for a fabric children’s book. Either choose an embroidery design set of your choosing or find the right number of project samples and/or project leftovers that will work. If you use a set, all the pages will be a uniform size. However, if you are using up samples you may need to add some borders around some of the pages or cut some of the pages down to get them all the same size. 4 x 6” or 5 x 5” or 6 x 6” are all good page sizes before adding borders. And if you are short a page or two, it’s just a great excuse to do some more embroidery.
What is the best way to stabilize book pages? I like to do embroidery on pretty cotton fabrics. However, satin stitches and higher stitch count designs will cause puckering on these fabrics. Thus, I use an interfacing such as French fuse (a nylon tricot interfacing) or Armo-Weft (a soft woven interfacing used in tailoring) to stabilize the fabric. Then I hoop a medium weight, soft tearaway stabilizer. and use the stabilized cotton on top of that. The interfacing in combination with the stabilizer gives the stitches an “anchor”. The tearaway will soften under the stitches, but will continue to give some stability throughout the life of the project. A cutaway stabilizer would also serve the purpose as well as the tearaway stabilizer. You will find excellent tips on stabilizing softer fabrics in the Machine Embroidered T-shirt class on Craftsy. What have you found to work best for stabilizing lighter weight fabrics?
Step 2: Determine page order.
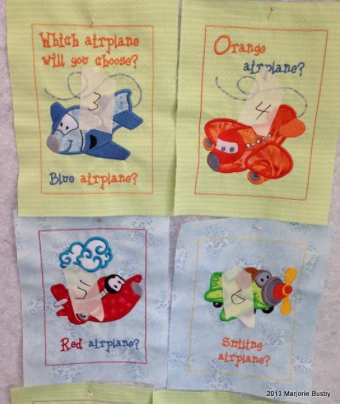
Put your pages in this order: Back-Front, 1-2, 3-4, 5-6, 7-8, 9-10 as you would like the book to be read.The next and most important step is to use masking tape or some kind of tag to mark the page number of each book in the center of the page. When you stitch the pages together, the order will change because you are putting fronts and backs of pages together to preserve the order you originally planned.
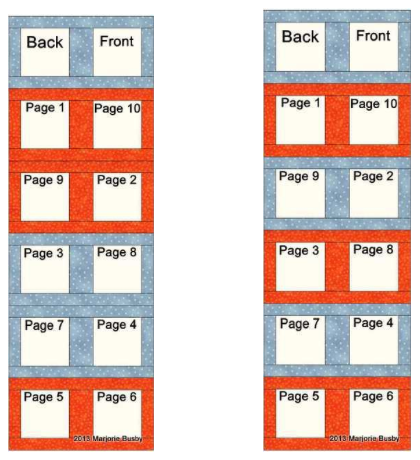
Once the page order is determined, you will have to stitch the pages together so that the chosen order is preserved. Rather than trying to remember the order required for stitching, I created a chart that shows that order and can always go back to it for reference. The first diagram is for books with facing pages the same color. The second diagram is for books with facing pages in different colors.
Step 3: Add borders with pages in correct order.
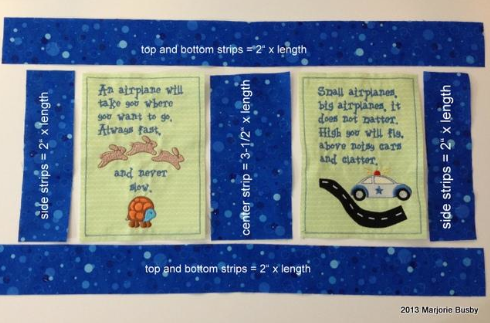
Once the pages are chosen and marked and the assembly diagram is selected, you can begin to stitch the page borders. This is a photo of the way that I stitched borders for this book.
Step 4: Sew page sets together.
Lay out your pages in the order they are to be sewn.
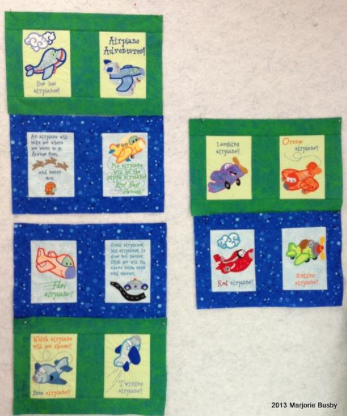
The page sets are layered right sides together with a layer of craft batting on the bottom. I stitch a ¼” seam all the way around leaving an opening of about 4-5”on the lower edge of one page for turning right side out. After stitching, trim the batting all the way to the seamline, trim the corners and turn right side out. Press the opening with a ¼” fold to match the seam allowance and use basting glue to close the opening.
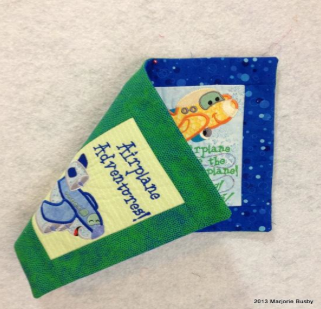
Step 5: Topstitch along outer edge of pages.
A wide topstitch design is stitched around the outer edge of each page set. In watching children play with fabric books, I have noticed that the topstitching creates a firm edge that is easy for little fingers to grasp for turning pages.
Step 6: Sew book spine.
Layer the page sets in the correct order. Keeping outer edges as even as possible (they will not be perfectly even because of the nature of the book), mark the center line and stitch a double center line in the middle of the pages to create a “spine” for the book. Enjoy!
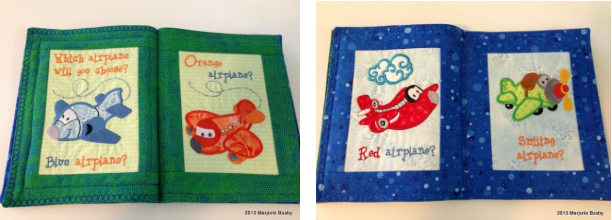
As you can see by the page on the far left in these pictures, I did a little bit of experimenting with some stitches around the pages in addition to the top stitching on the outer edge. I decided that I preferred the pages without the additional stitching. It seems I learn something new with every project I make. Another thing learned was that it would be better to have the same top-stitching on every page rather than different top stitching on each page.
Have you made fabric books? Can you share your experience; do you have some really great ideas for fabric books?
Come back to the Craftsy blog this Wednesday for more fun with machine embroidery.

Share tips, start a discussion or ask one of our experts or other students a question.
No Responses to “Time for a Special Storybook”