
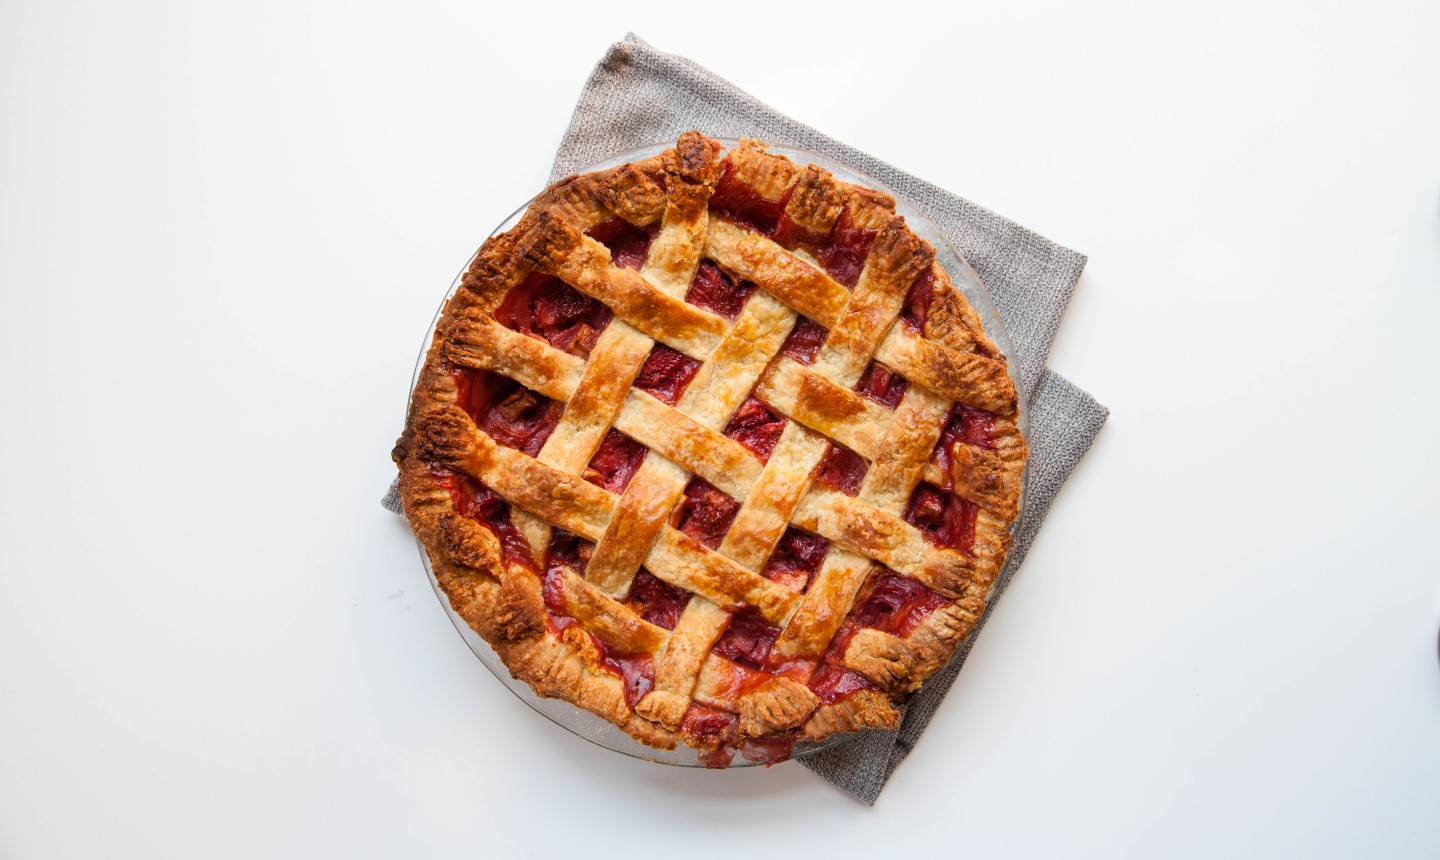
When it comes to the perfect, eye-catching pie crust, it’s hard to top a classic lattice design. The simple weaving is easy to pull off, so give this method a go the next time you’re baking for your Thanksgiving or Christmas dinner.
Lattice Pie Crust
Level: Easy
What You Need
Instructions
1. Prep the Dough
Prepare a double pie crust according to your recipe’s instructions, but instead of dividing it in half, divide it into a 60:40 ratio. Flatten the dough into discs and chill as usual.
2. Prep the Filling
As the dough chills, prepare the pie filling. Set aside once it’s finished, or place in the refrigerator if it needs to remain cool.
3. Place the Bottom Crust
Roll out the larger disc of dough until flat, then place it in the bottom of your pie plate. Don’t cut off the excess crust along the sides, and don’t pour in your filling yet. (This could make the bottom crust soggy).
4. Cut the Strips
Roll out the smaller disc of dough until it’s roughly the size of your pie plate. Using the ribbon or pizza cutter, cut strips. They can be as wide as you like — because they’ll be spaced out on top of your pie, you should easily have enough dough to make a lattice pattern.
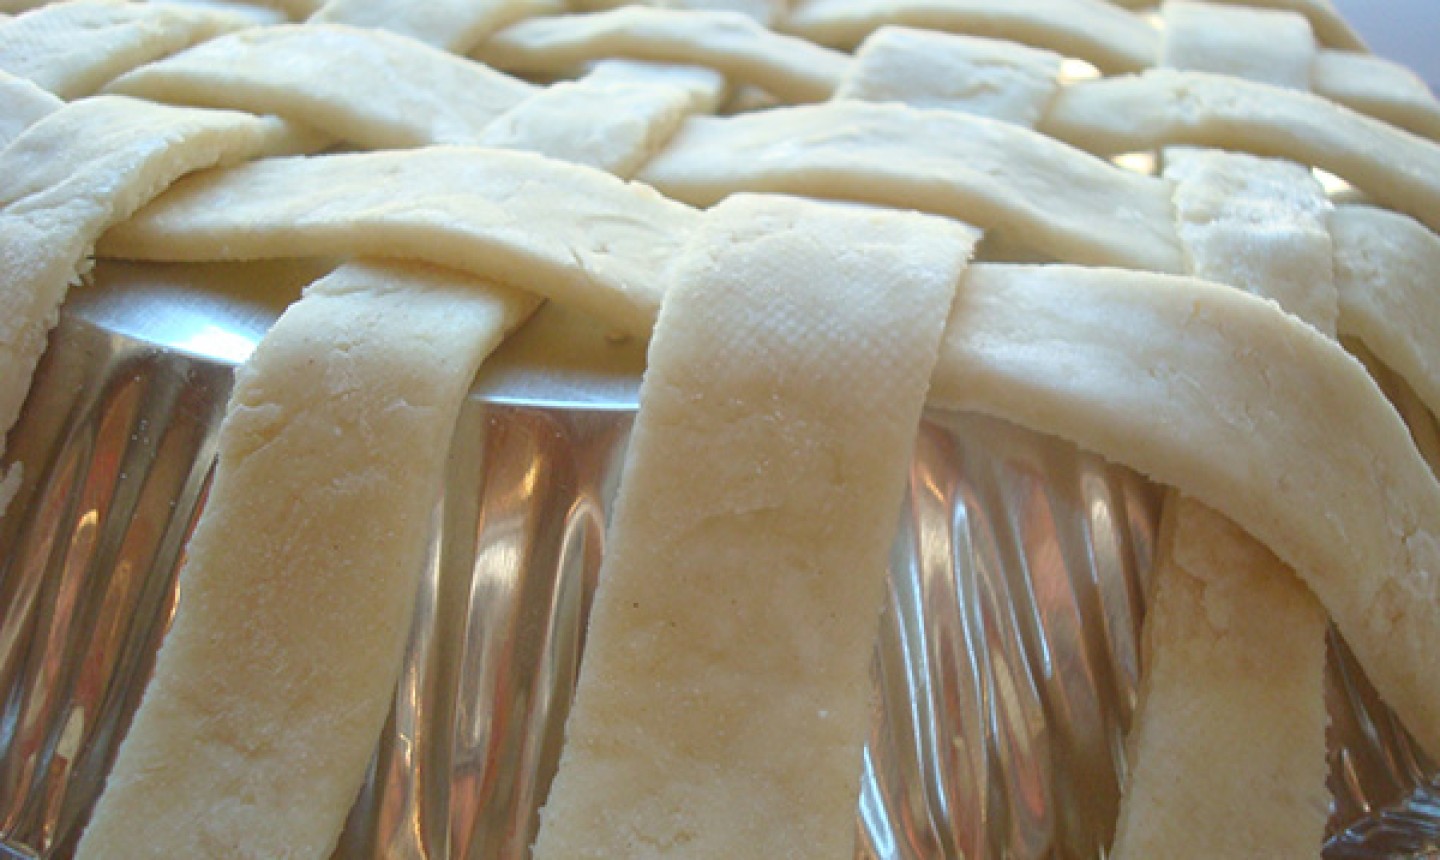
5. Create a Basket Weave Design
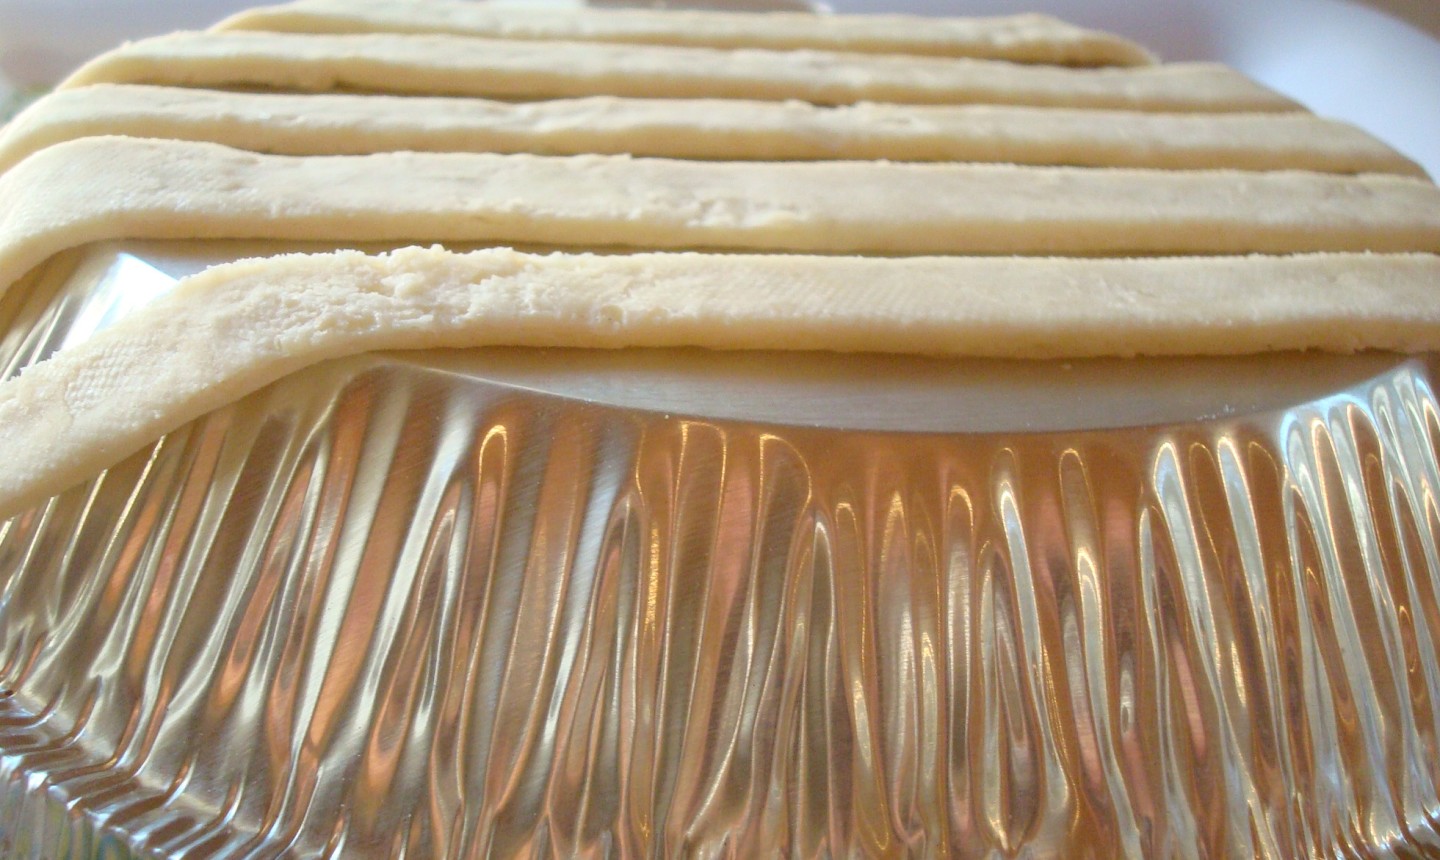
Lay your tin pie plate upside down and lightly sprinkle with flour. Lay your vertical strips down first across the tin plate. You shouldn’t use more than half your strips.
Slightly fold down every other strip. They should be folded over themselves so they only reach the center of the plate. Do not crease along the folds.
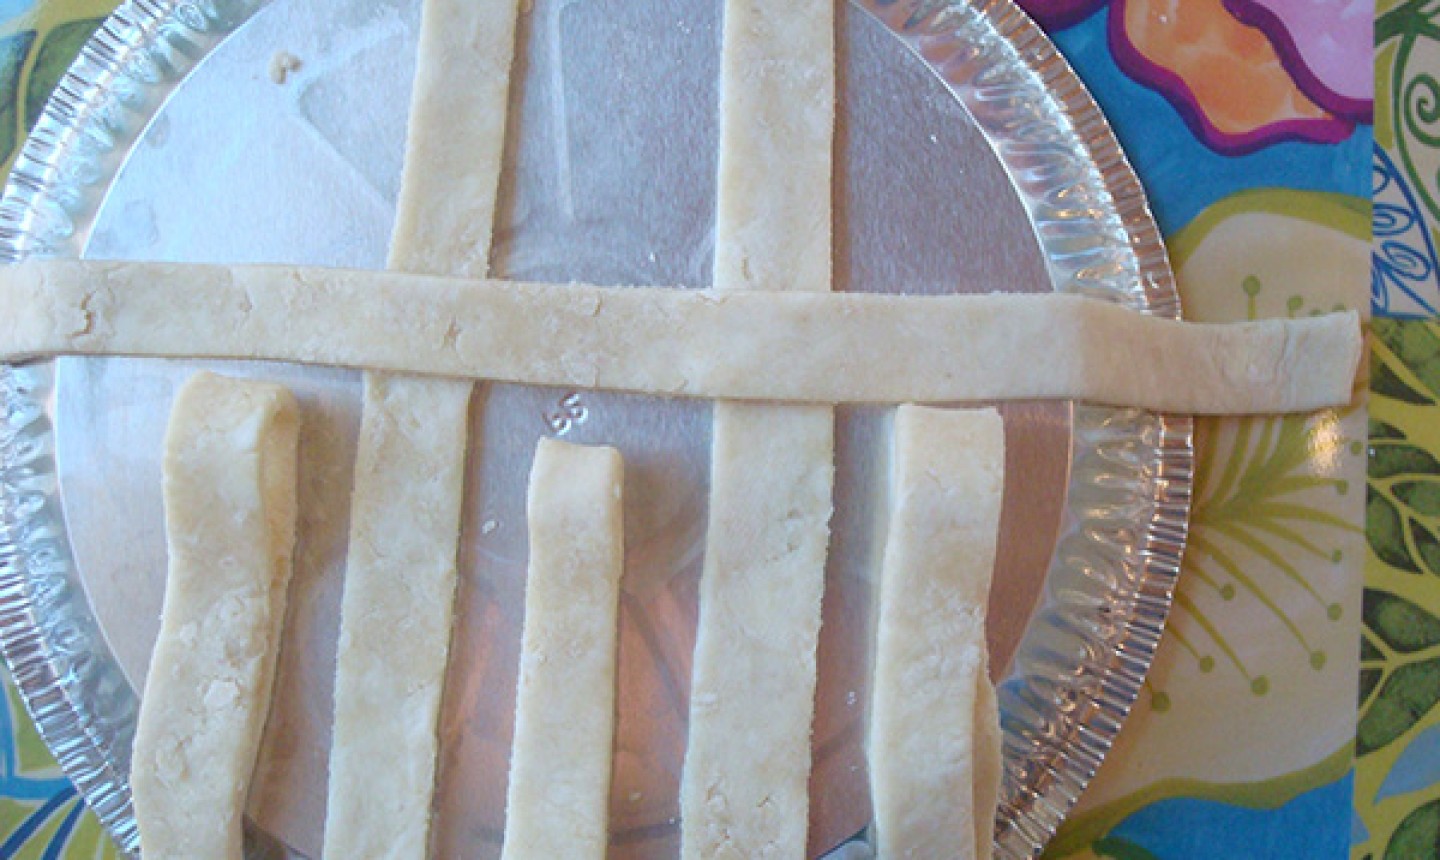
Lay a horizontal strip right above the folded pieces, across the top of the other vertical strips. Flip the folded strips back up, so they rest above the horizontal strip.
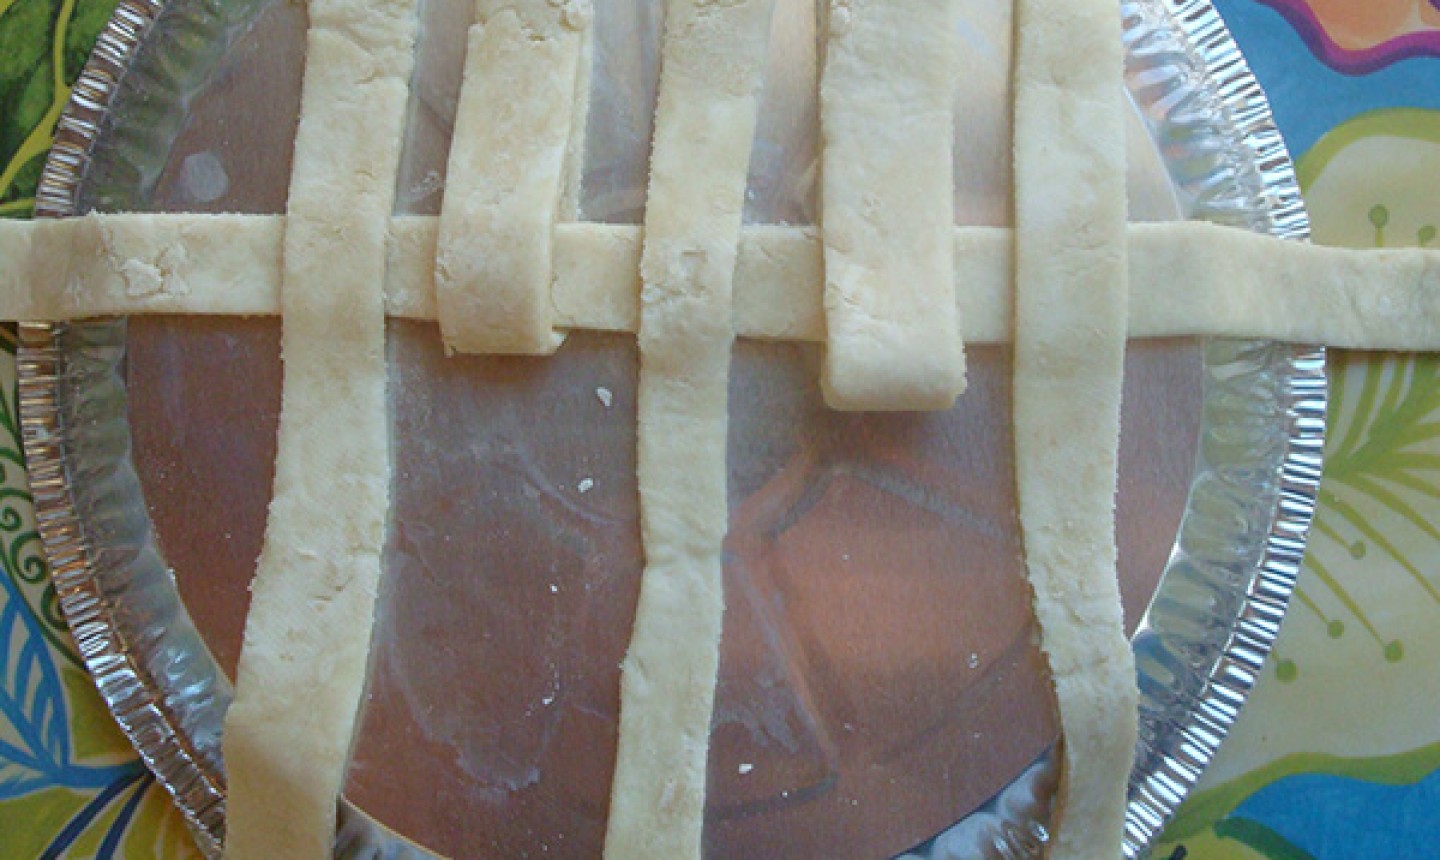
Fold back all the portions you didn’t fold last time, either over or under the strip you just laid horizontally.
Repeat this step by placing another horizontal strip and folding the pieces back down over it. Keep working until you’ve used all the strips, working in both directions.
6. Fill the Pie
Fill the bottom crust with your pie filling.
7. Top the Pie
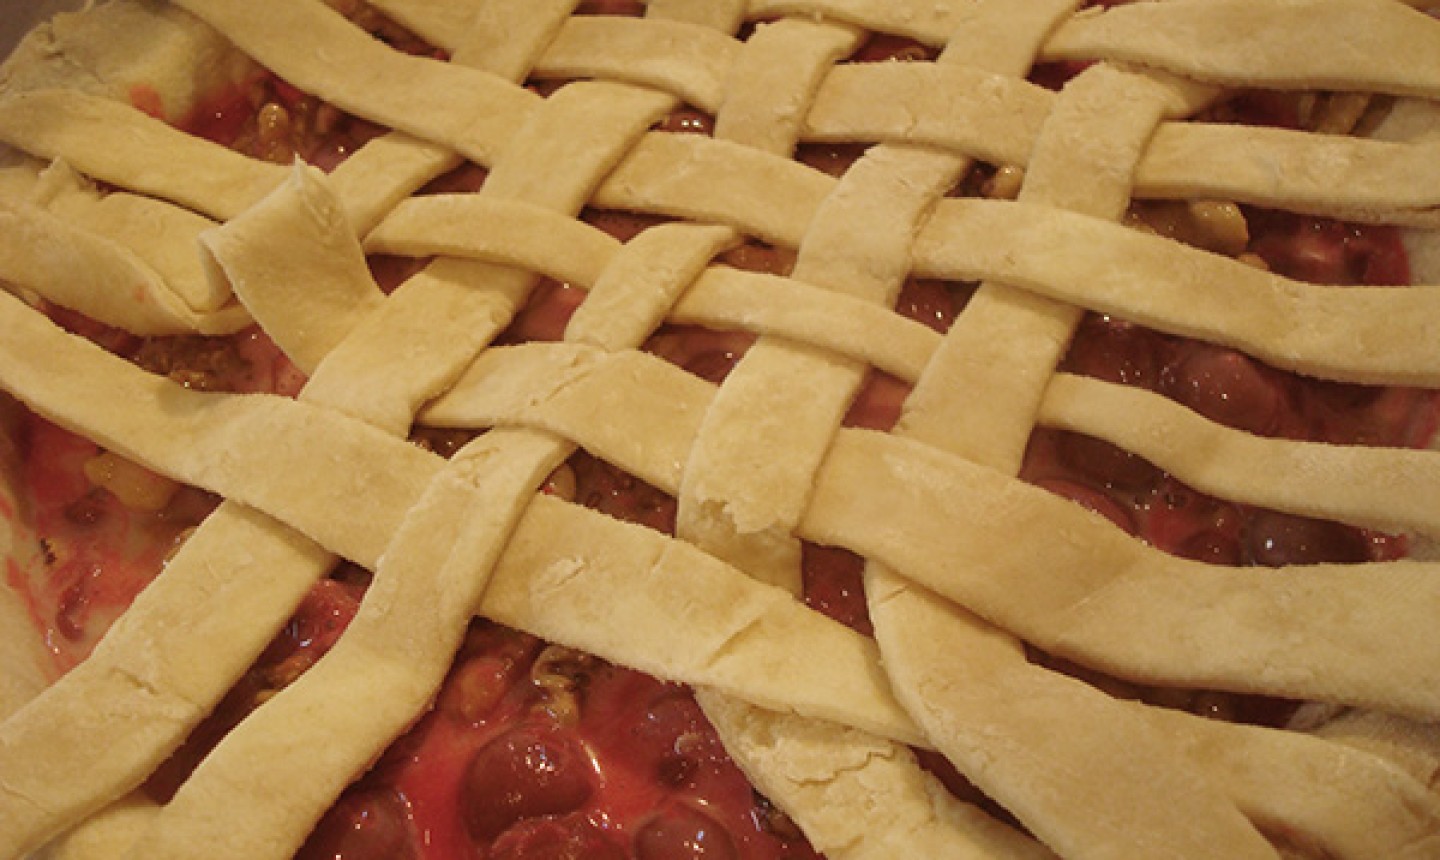
Quickly flip over your tin pie plate onto the filling, so your lattice crust rests on top. If you’re nervous about this step, you can also tilt the pie plate diagonally and gently drag the lattice crust on top of the filling.
Make any minor adjustments needed to straighten the strips. Fold the ragged edges of the bottom crust over, and tuck the ends of the lattice top crust inside. Decorate the edges as you like.
Bake your pie according to the recipe’s instructions and get ready for some serious pie candy.
Is there a device to use that would help with accurately measuring the lattice strips?