
A patchwork pillow is the perfect way to use up lots of scraps or favorite leftover quilt blocks. And with this tutorial, you can make your own scrappy plush decor! Simply start with a 12″ x 12″ finished quilt center, add a border and you’re left with a beautiful 16″ x 16″ finished pillow!
Follow these basic steps to make your own scrappy, patchwork pillow.
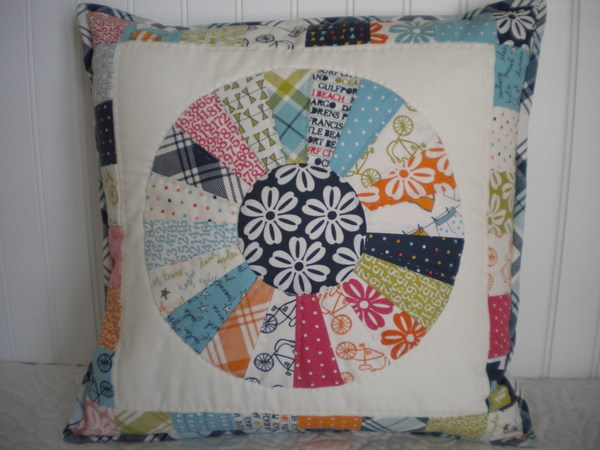
Breeze Pillow from the book Fresh Family Traditions
Step 1: Start with a quilt block
Perhaps you have a leftover quilt block that is the perfect size for a pillow top. Or, maybe you have a few smaller blocks to set together for the front of your pillow. Regardless of whether you are using one block or piecing a few different blocks together for the pillow front, consider adding coordinating borders to make the pillow front bigger. Half square triangles and quarter square triangles set together also make fun pillow fronts. If you don’t have a block to start with there are several options for easy patchwork blocks that can be used for pillow fronts. A simple four-patch or nine-patch block is perfect for a simple pillow front. Star blocks are another fun block to use for a pillow front.
- For a finished 12″ x 12″ four-patch pillow front, sew four squares 6 1/2″ x 6 1/2″ together.
- For a finished 12″ x 12″ nine-patch pillow front, sew nine squares 4 1/2” x 4 1/2” together
Step 2: Finish the pillow front
For the examples in this tutorial, we will begin with a 12″ x 12″ finished block size with a 2″ finished border added to all four sides. This results in a 16″ x 16″ finished pillow.
Measure the center section of your pillow top. If you are starting with a 12 1/2″ x 12 1/2″ unfinished quilt block cut two border pieces 2 1/2″ x 12 1/2″ for the left and right borders. Sew the borders using a 1/4″ seam allowance and press toward the outer borders.
Next add the top and bottom borders. Cut two pieces 2 1/2″ x 16 1/2″ for these sections. Add these pieces using a
1/4″ seam and also press the seams toward the border sections.
You should now have a completed pillow front measuring 16 1/2″ x 16 1/2″. You can machine or hand quilt the pillow front by making a quilt sandwich with a 20″ x 20″ piece of muslin on the bottom, a piece of 20″ x 20″ piece of batting in the middle and the pillow front centered on top. Machine or hand quilt as desired, trimming the batting and muslin even with the pillow front after the quilting is completed. You don’t have to quilt your pillow front, but it does give an extra element of texture to your finished pillow.
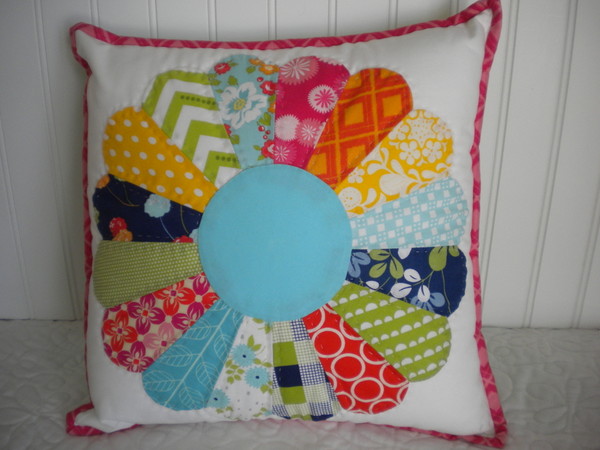
Grandma’s Dresden Pillow from Fresh Family Traditions
Step 3: Make the pillow back
The easiest way to finish your patchwork pillow is to make an “envelope” style pillow back. With this style of pillow back, a pillow form can be inserted in the back of the pillow to give the pillow shape and body. This way, the pillow form can be removed, so the pillow cover can be washed.
For an envelope style pillow back for a 16″ x 16″ finished pillow you will need two pieces of backing fabric: one should measure 16 1/2″ x 16 1/2″ and the other should measure 16 1/2″ x 14″. These pillow back sections can be out of the same fabric or from coordinating fabrics for a fun look.
Fold in and press 1/4″ on one 16 1/2″ edge of each pillow back section. Fold again, press, and sew to create a finished edge.
Turn the hemmed edges under 2″, wrong sides of the fabric together, and press. Stitch in place along the hemmed edges.
Step 4: Join pillow front and back
Sew the pillow front and back sections together, right sides together using a 1/4″ seam. The pillow back sections should overlap each other. Pin the larger pillow back section to the pillow front first and then add the smaller pillow back section. It helps to use a lot of pins for this step, and use of a walking foot is also recommended. By using a walking foot, the top and bottom layers of the pillow will move together through your machine which helps to prevent puckers as you join the layers together.
Clip the corners and turn your pillow right side out through the opening in the envelope back. Give the pillow a good pressing and then add the pillow insert to finish your pillow.
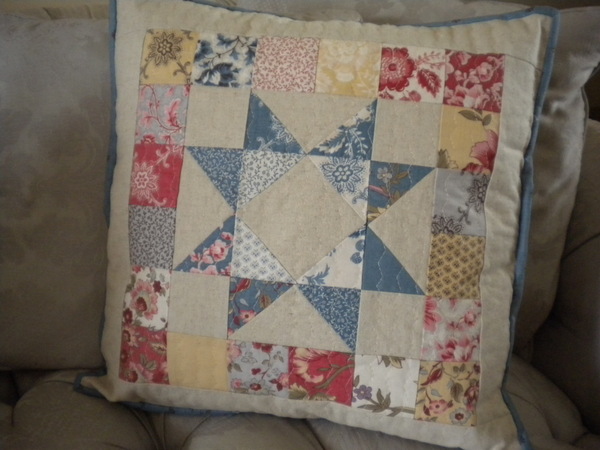
Scrappy Patchwork Pillow via Craftsy designer SherriQuilts
Alternate method for joining pillow front and back
The pillow front and back can also be joined by stitching with the pillow front and back wrong sides together (pin the smaller pillow back section to the pillow front first, then add the larger pillow back section). After the pillow back sections are sewn to the pillow front the binding can be used to enclose the edges for a professionally finished look.
Step 5: Options for the pillow insert
You can purchase a ready-made pillow insert from your local craft store, or you can make your own by sewing two 16 1/2″ x 16 1/2″ pieces of muslin right sides together with a 1/4″ seam. Be sure to leave a 3-4″ opening to turn the pillow form right side out. Stuff with fiber fill or any ready-made polyester or cotton stuffing and then close the opening.
Never throw away another inch of scrap fabric! Discover more fun and creative uses for quilting with scraps by downloading our totally FREE eGuide, “Save Those Scraps! A Scrap Quilting Handbook.”
Share tips, start a discussion or ask one of our experts or other students a question.
No Responses to “How to Make a Patchwork Pillow: A Fun Tutorial for Using Your Scraps”