
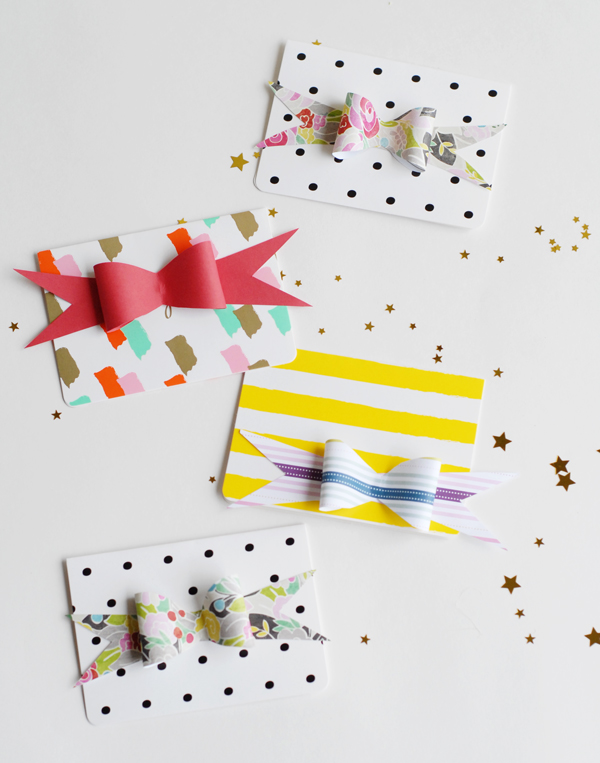
Paper bows are an easy way to take anything, from greeting cards to homemade cupcakes, up a notch with a seriously stylish presentation. Need a way to turn a ho-hum paper into a noteworthy card? Stick a bow on it! Need last minute party decorations? Learn how to make paper bows and you’ll be all set. My favorite thing about making paper bows is how quickly these come together and the massive impact they can have.
Get ready to learn how to make paper bows to make all your paper crafts projects oh-so stylish!
Tutorial for paper bows
The only materials you will need to make your own paper bows is some pretty paper, scissors and glue.
Step 1:
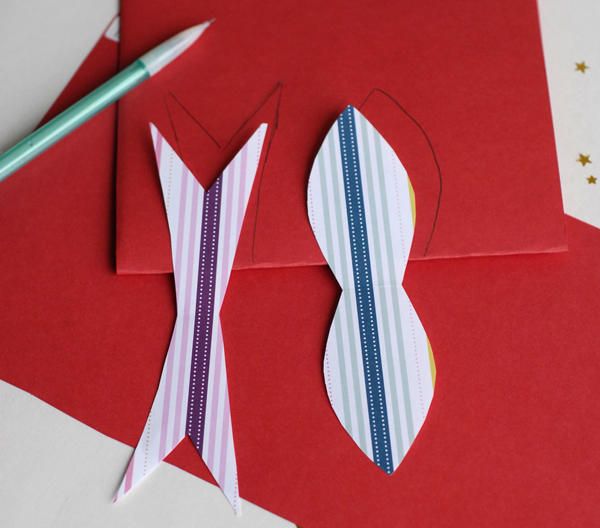
You can use this template to create similar bows, or update it to create a whole new look. For any bow design, you will need a fishtail-looking end piece and an eyeglass-looking center piece. These pieces can be as large or small, long or skinny as you’d like them to be. Learn the steps and make different variations of these bows to suit your needs!
Step 2:
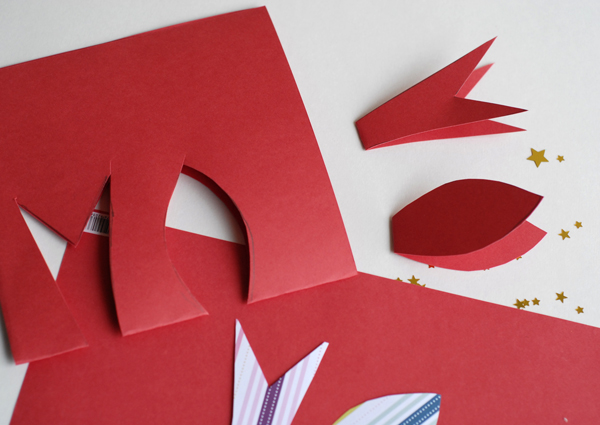
Once you have the template printed and cut, or designed and cut, fold a piece of paper in half and trace half of the template onto the paper. This is the best way to ensure that both sides of the bow look exactly the same. Make sure you are tracing on the back side of the paper.
With the paper remaining folded, cut out along the trace mark.
Step 3:
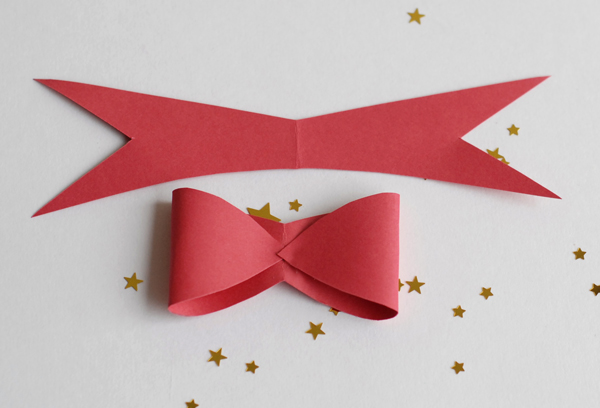
This will leave you with the fishtail and the eyeglass looking piece. To make the bow, turn in both sides of the eyeglass piece and glue down in the center. Allow to dry. Once the glue is dry, I find it best to poof out the sides of the bow just a bit before moving on. It makes for a more dramatic lift once the bow is put together.
Step 4:
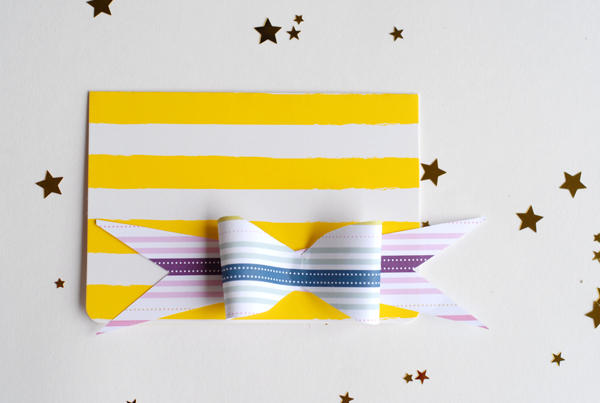
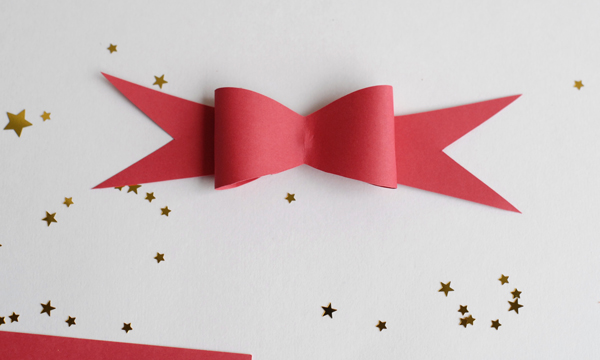
Glue the center back of the bowed piece to the center front of the fishtail ends to create your paper bow.
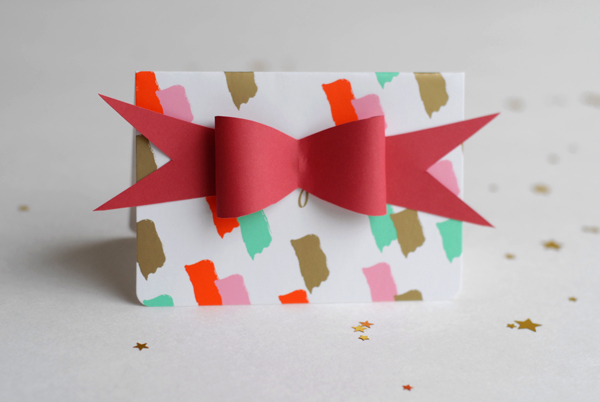
For the bow front cards, simply glue the paper bow onto a blank, or a designed greeting card. These bows can serve as a quick trick to update a card that might have outdated or seasonally inappropriate text on the front. With just the couple folds and glue it, is easy to turn a thank you card into a birthday card, simply by covering up the outside card text.
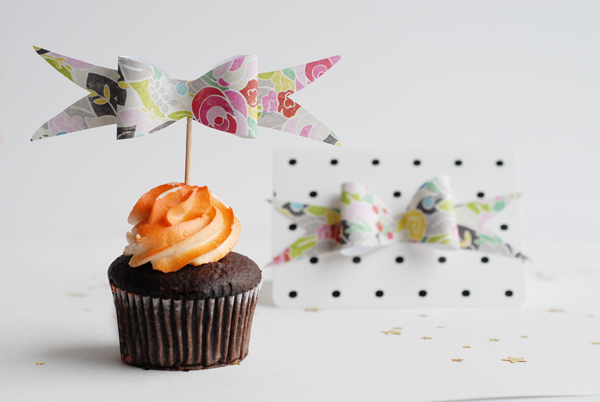
To turn these bows into cupcake toppers, follow the directions above and then glue the center back of the bow to a toothpick or small kitchen skewer. You can make a stash of them weeks before the party and simply place them into cupcakes the day of the celebration.
The bows can also be strung up as garland or used as gift toppers. They are really my favorite beautiful, multipurpose craft. One that is well worth the small investment in learning how to make them.
Share tips, start a discussion or ask one of our experts or other students a question.
No Responses to “Everything's Better With a Bow! Learn How to Make a Paper Bow [Free Template & Tutorial]”