
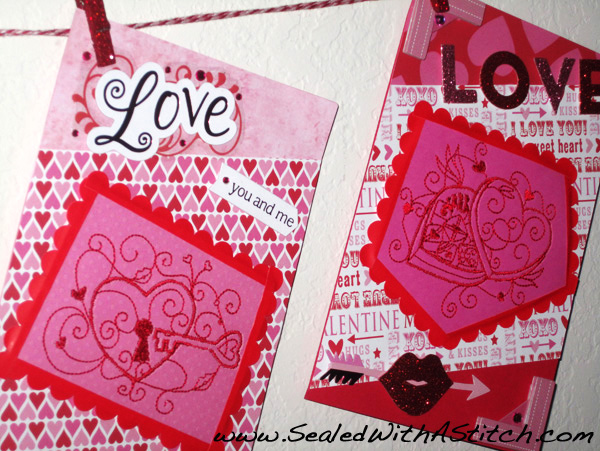
 Paper and machine embroidery collide in all the best ways in this DIY project that’s perfect for Valentine’s Day. Just find your fave machine embroidery design, have some paper on-hand and hoop up!
In-the-Hoop Valentine’s Day Card
Level: EasyWhat You Need
- Embroidery design with low density stitching
- 8” square (or large enough to fit the hoop) sticky stabilizer, such as Bosal Stick and Peel
- 4½” square iron-on batting, such as Bosal Fusible Batting
- Size 11 embroidery needle
- 40wt embroidery thread in top and 60wt bobbin thread
- Two 8 ½” x 11” pieces of print scrapbook paper
- Two 8 ½” x 11” pieces of solid scrapbook cardstock weight paper
- Double stick adhesive dispenser
- Glue pen or glue stick for fabric
- Valentine’s Day stickers
- Sticky borders
- Envelope
- 4” x 4” hoop
- Rotary cutter
- Ruler
- Cutting mat
- Pins
- Dry iron
- Scissors
- Pencil
Instructions
1. Prep Your Materials
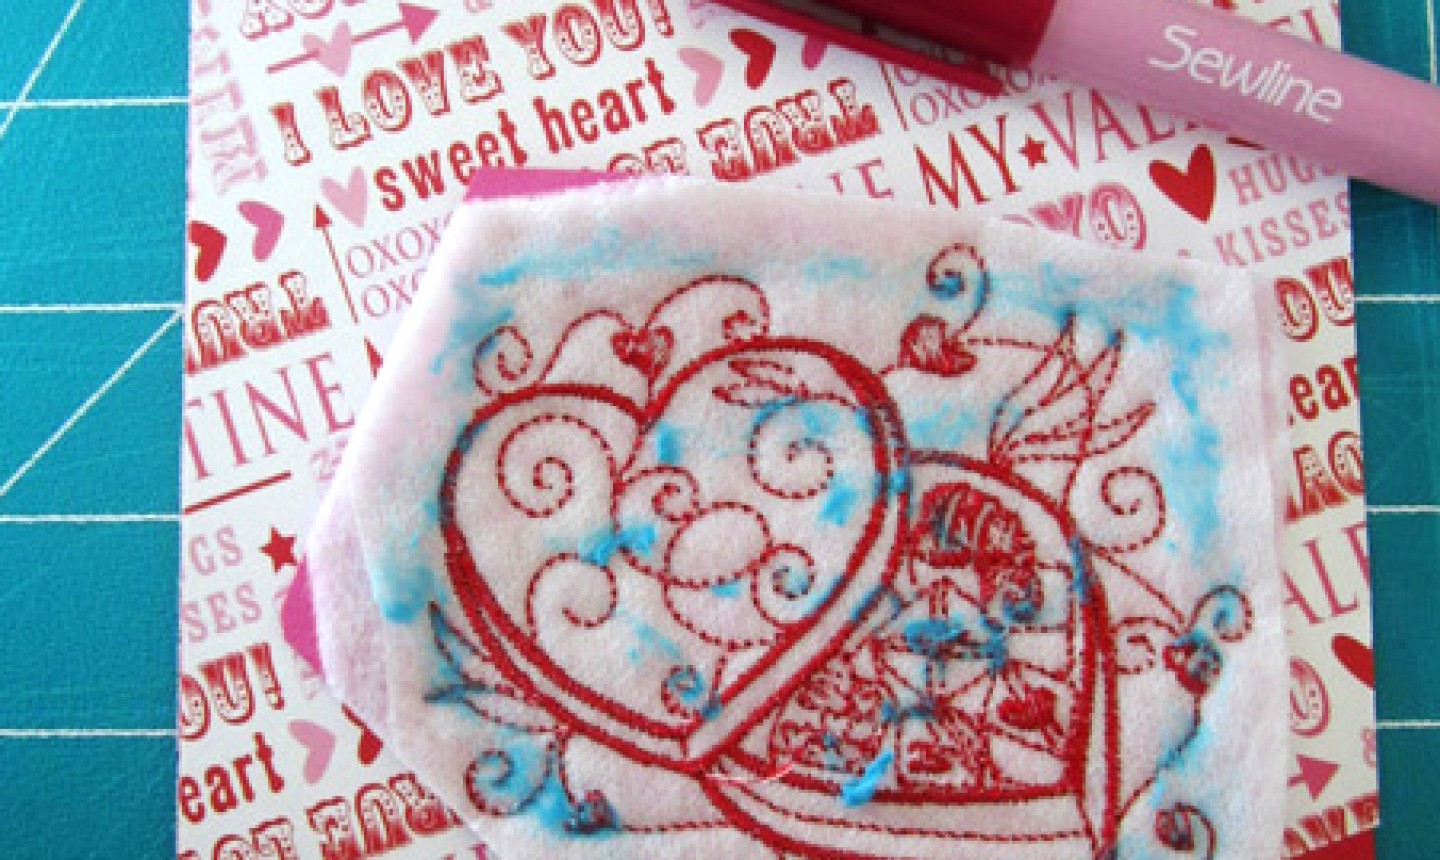
Cut a 5″ square from one of the solid cardstock pieces. With a dry iron, press the fusible side of the iron-on batting to the wrong side of the cardstock square. Good to Know: You can also use iron-on woven interfacing, but keep in mind the batting will add a little plushness to the card.2. Embroider
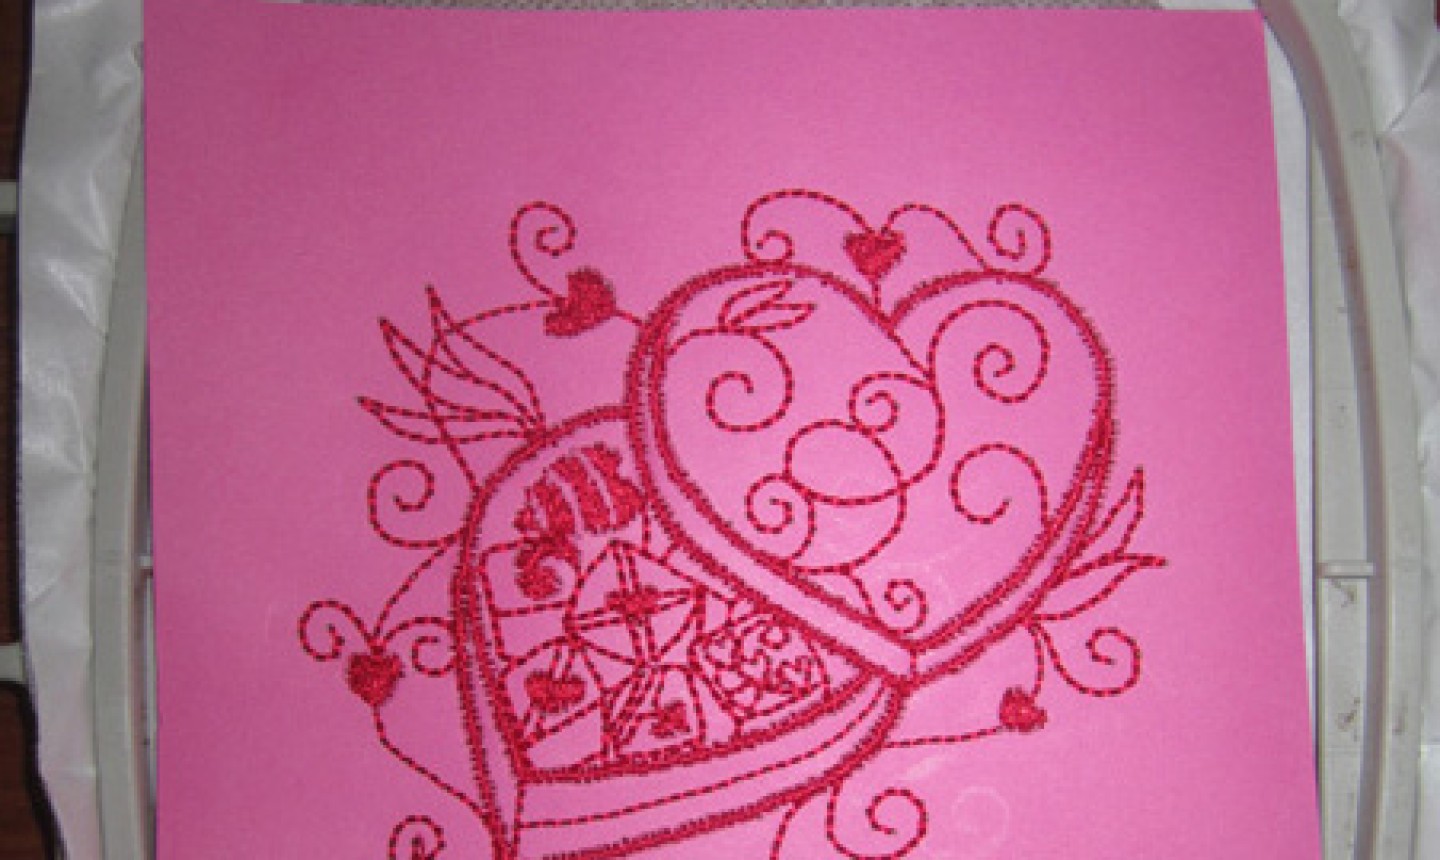 Hoop the sticky stabilizer and use a pin to perforate the paper. Peel the paper away to reveal the adhesive, then center the cardstock square within the hoop.
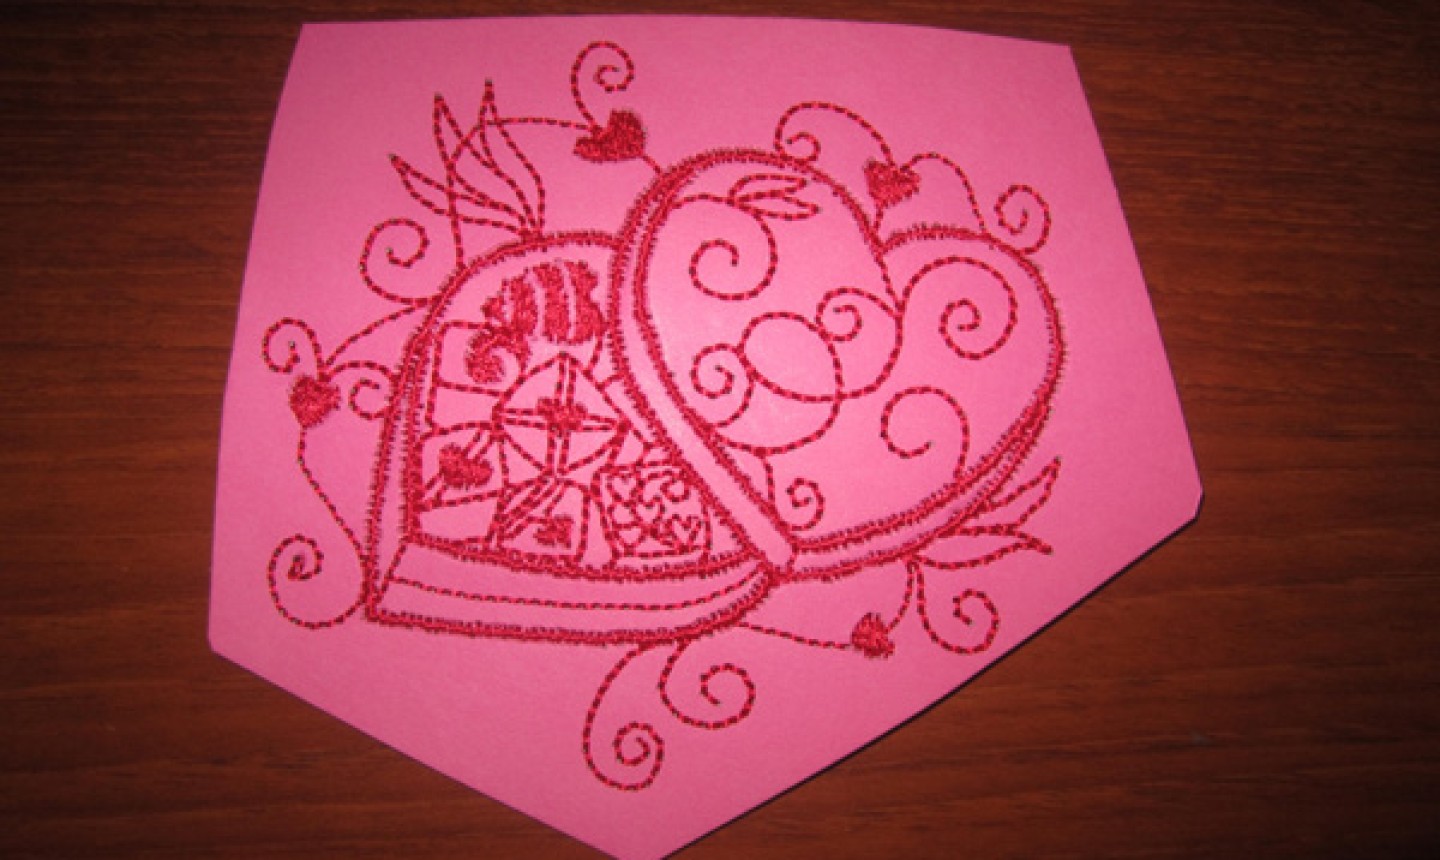 Once the embroidery is complete, remove the hoop from your machine and the stabilizer from hoop. Cut 4–5 angles to create a unique shape to frame your embroidery.
3. Decorate the Top
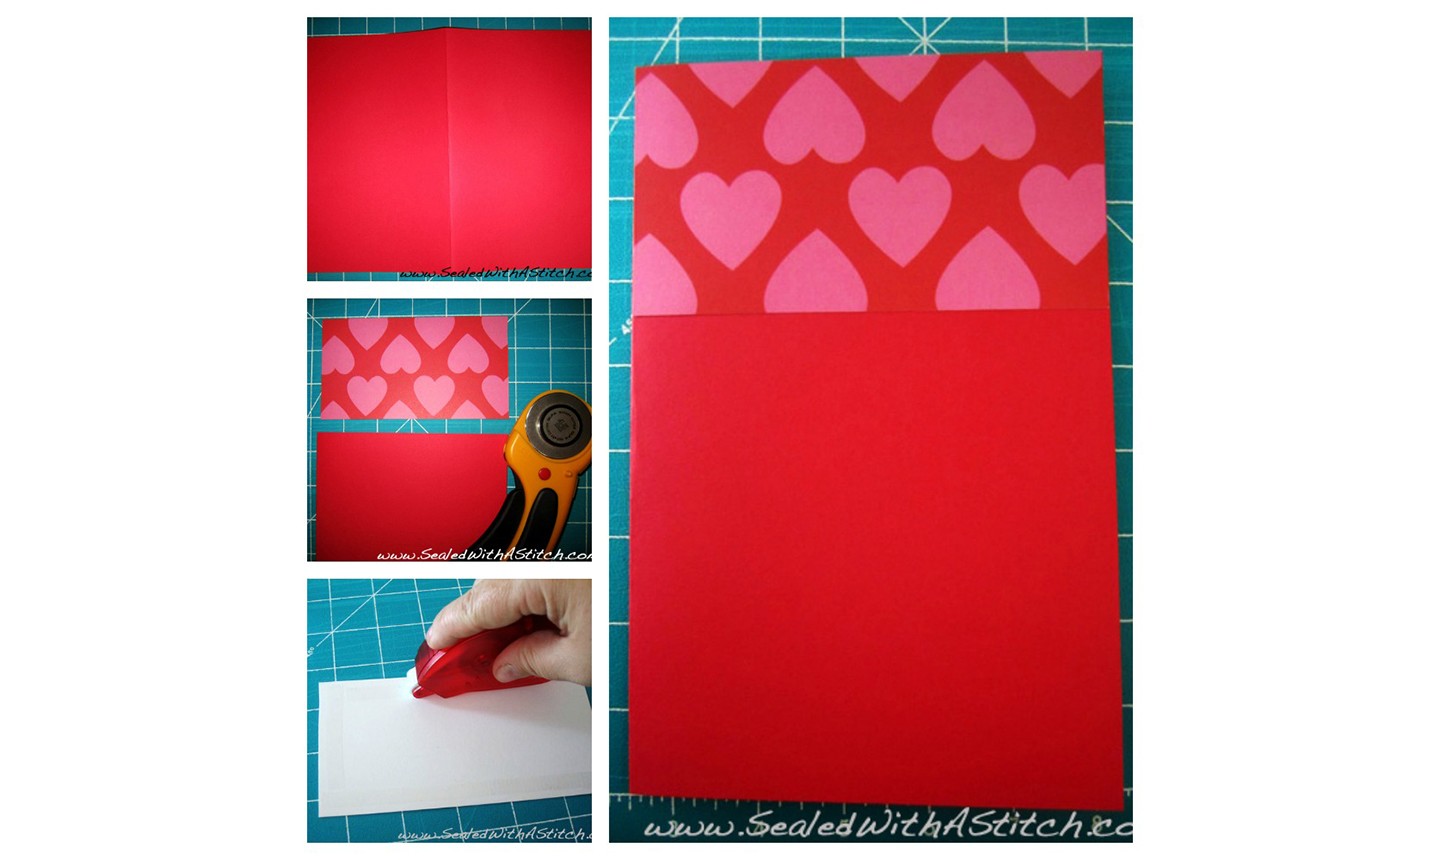 Fold the second piece of solid cardstock in half widthwise (this is the main card). Cut one of the printed papers 3” tall x the width of the front. Use the double-stick adhesive dispenser on the wrong side along all four edges of the printed paper. Place the print paper along top corners of the front, aligning the edges.
4. Decorate the Center
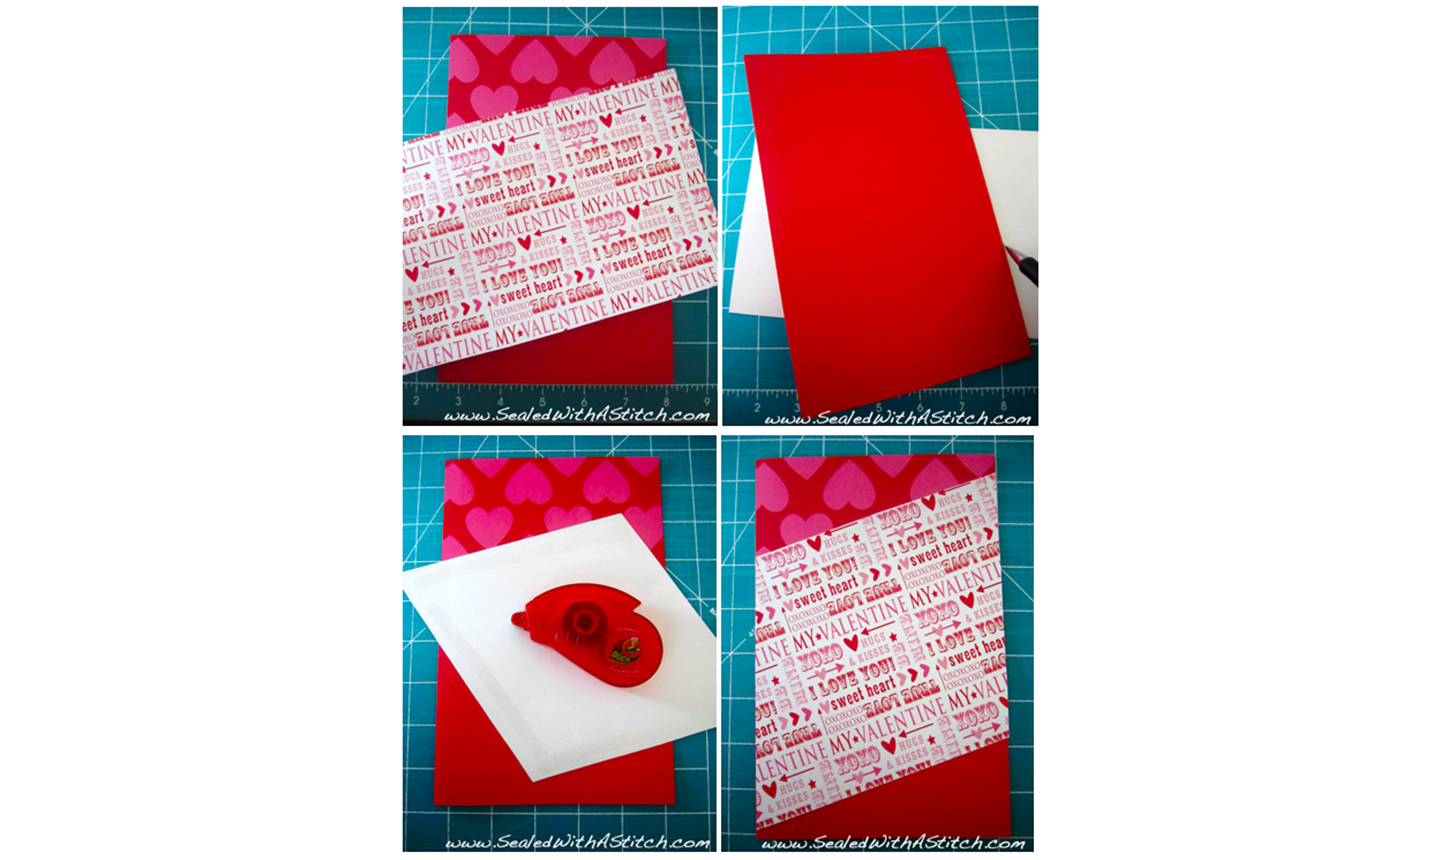 Cut the second piece of print paper so it’s on an angle. Trace the card from the wrong side onto the print paper and cut on the drawn line. Use the double-stick adhesive dispenser on the wrong side along all four edges. Place the print paper, aligning the edges along the sides.
5. Add the Embroidery
 Add fabric glue to the wrong side of your embroidered piece and adhere it to the front of your card.
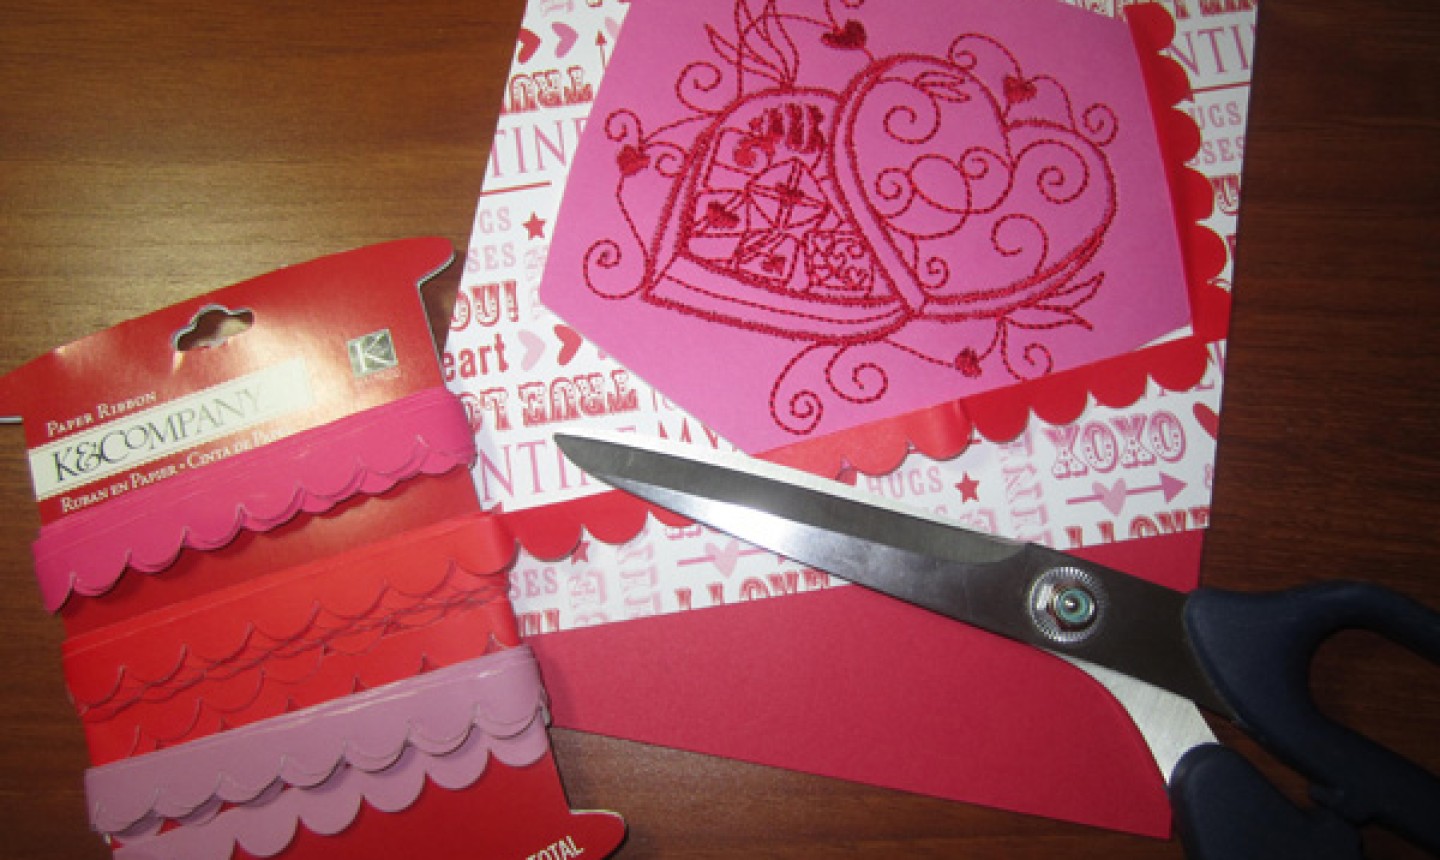 Embellish the embroidery by adding sticky borders to all sides.
6. Add the Final Details
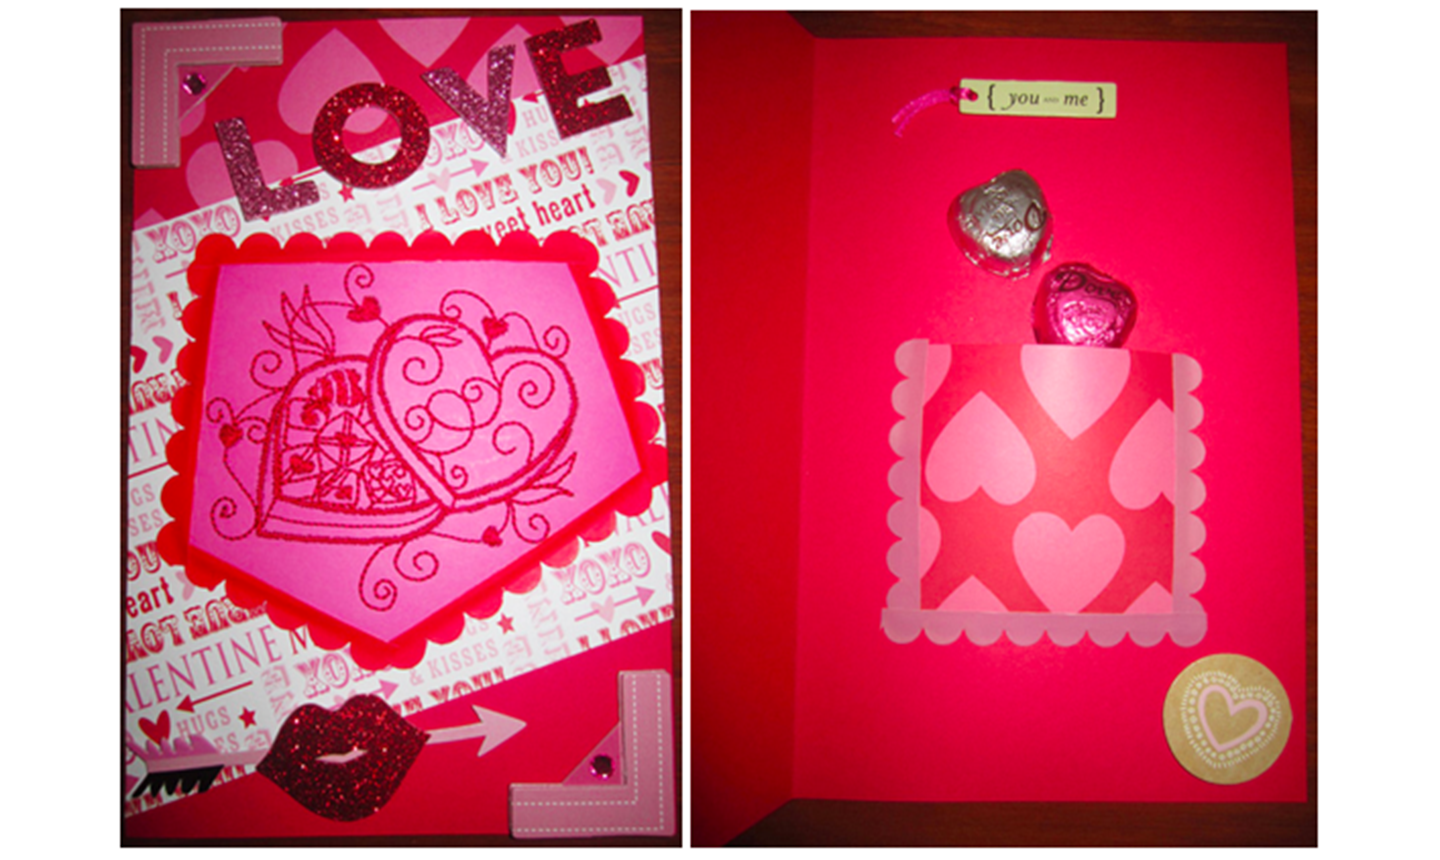 Add embellishments to your card, like stickers, glitter and buttons.
Open your card and use the leftover paper from the top of your card to make a pocket inside — cut a 3″ square and secure it with sticky border on three sides. It’s just the right size for candy!
Add embellishments to your card, like stickers, glitter and buttons.
Open your card and use the leftover paper from the top of your card to make a pocket inside — cut a 3″ square and secure it with sticky border on three sides. It’s just the right size for candy!
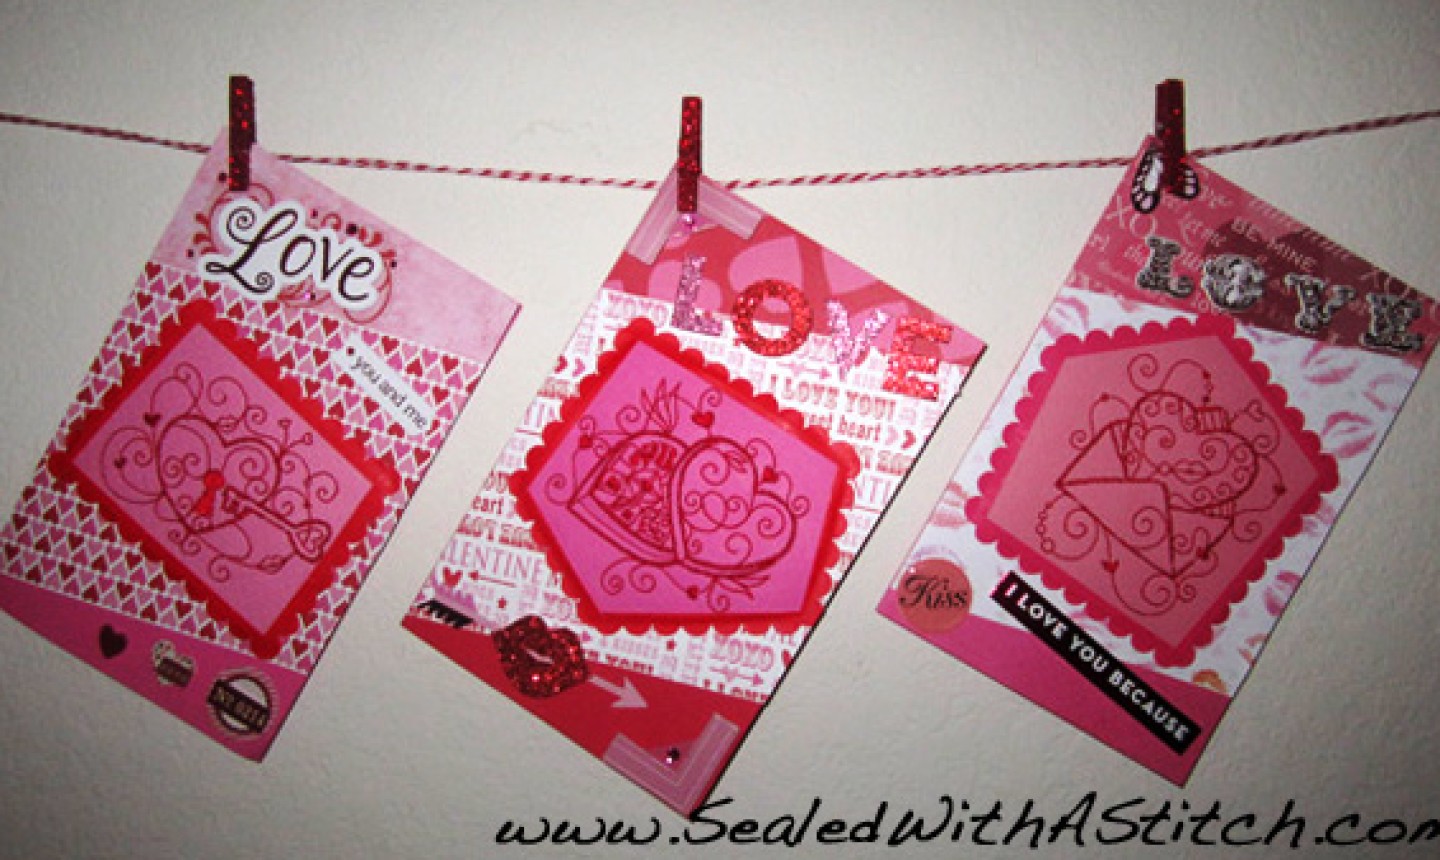 Play around with your papers and designs and make as many cards as you like!
So cute and a great idea..
Love this idea. So cute. Thank you for sharing.
Great idea!!
Amazing crafts with a tutorial or only a clear picture that reprint