
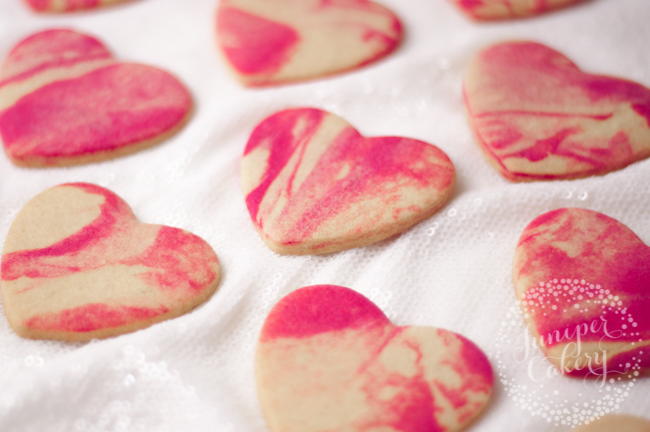
Decorating cookies can be so time consuming — all that icing, drying time, piping…But you can skip all of that by decorating your cookies before you bake them. You can stamp messages onto each cookie, tint the dough a bright color, OR create a fun, marbled cookie dough! Keep reading for our easy marbled cookie tutorial.
How to make marbled cookie dough
What you need:
- Your go-to plain cookie dough
- Rolling pin
- Gel or paste food coloring
- Cookie cutters (any shape!)
- Flour for dusting
- Cookie baking tray
- Silicone baking mat
Step 1:
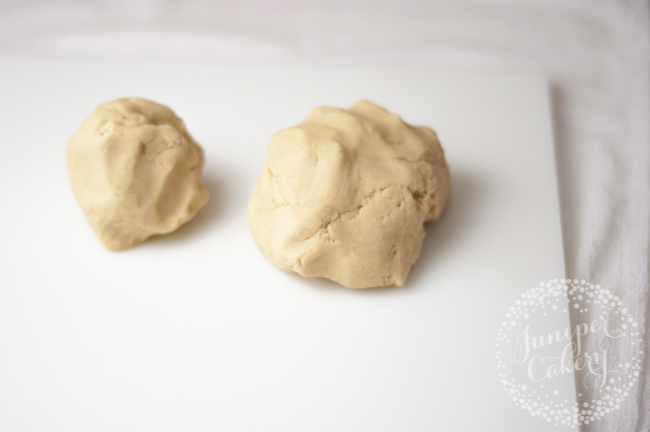
Once your plain cookie dough has chilled according to your recipe, it’s ready to work with. Section your dough into a 1/3 portion (which you’ll tint another color) and a 2/3 portion (which you’ll leave plain). This ratio gives you the best color results!
Step 2:
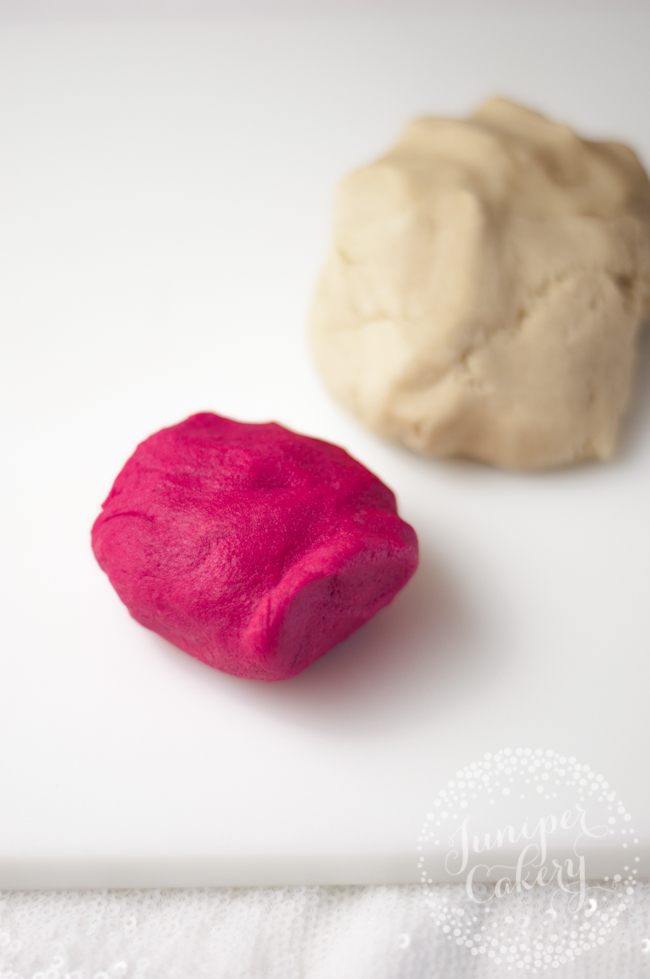
Color the smaller portion of dough, using your gel or paste food coloring. Aim for a nice contrast between the tinted dough and the plain dough.
Put all your dough back in the fridge for around 15 minutes. Adding color will heat the dough up, and it’s important that it stays nice and chilled.
Step 3:
It’s tempting to make marbled cookies the same way you’d make marbled fondant, with ropes of different colors). The problem with this is that cookie dough doesn’t have the same elasticity as fondant. Cookie dough ropes would just soften and break rather than stretch out. So we’ll use a different method.
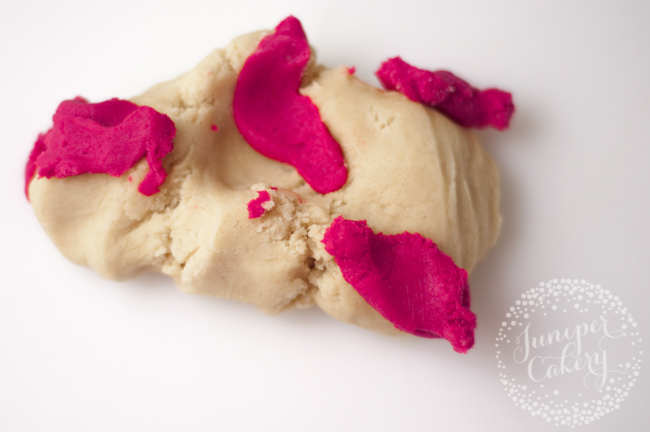
Remove both pieces of dough from the fridge. Rip the colored dough into small pieces. Press the colored pieces at random around your plain, uncolored dough.
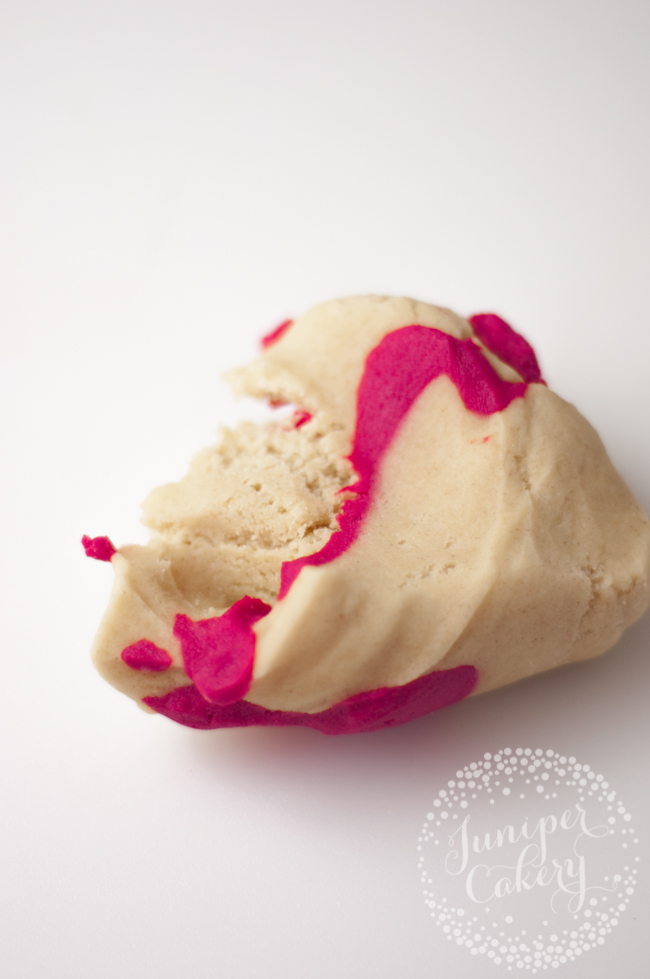
Start the marbling process by roughly mixing and kneading the dough. Usually when you’re mixing color, you want it to be fully incorporated and even — but that’s not the case with marbling!
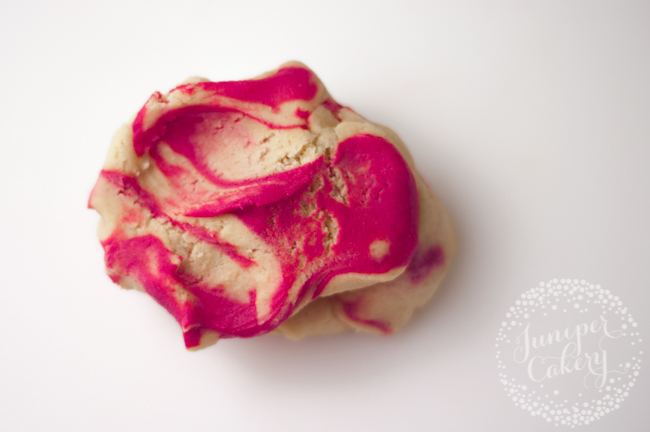
Continue gently mixing and kneading until you see streaks of color throughout the dough. Don’t over-mix it!
Step 4:
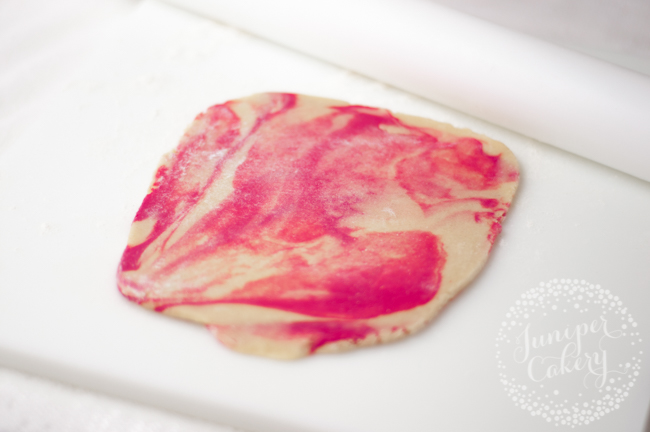
Now dust your rolling pin and surface with flour. Carefully roll out the cookie dough. Fun, marbled streaks of color should start to stretch out into the dough!
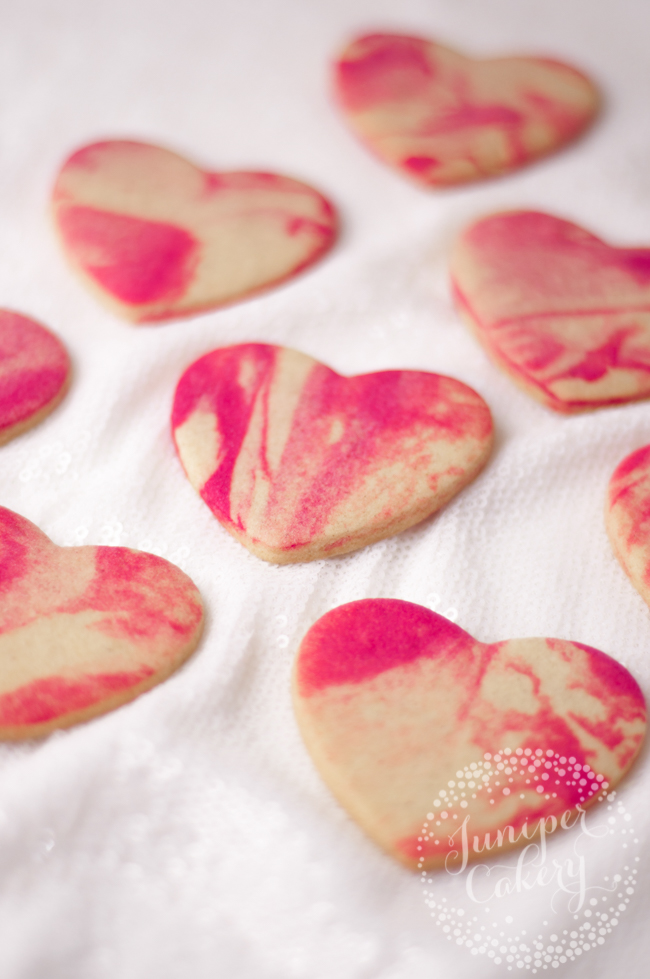
Step 5:

Cut whatever shapes you like. You can even try to position the cutters so you get the best marbled look in every cookie. Chill the cut-out cookies and bake according to your recipe.
You can easily make these cookies appropriate for all kinds of events with just a few simple swaps. Choose a different color or shape for a holiday (like orange pumpkins for Halloween or green holly leaves for Christmas). Or, mix in a few colors for fun birthday cookies!
Share tips, start a discussion or ask one of our experts or other students a question.
No Responses to “Make Marbled Cookie Dough to Save Time on Decorating!”