
Masking is a basic stamping technique of covering a stamped image so that other images may be placed over it. The images stamped over the mask create a background to the protected image. Masking can seem somewhat confusing or difficult, but it is actually quite easy. We’ll show you how to master the masking stamping technique here!
Mastering the masking stamping technique
Masks can be created from masking paper as I’ve used here, or smaller masks can be created using Post-it notes. If Post-it notes are used, be sure to stamp part of the image over the tacky area as the adhesive will help to hold the mask in place.
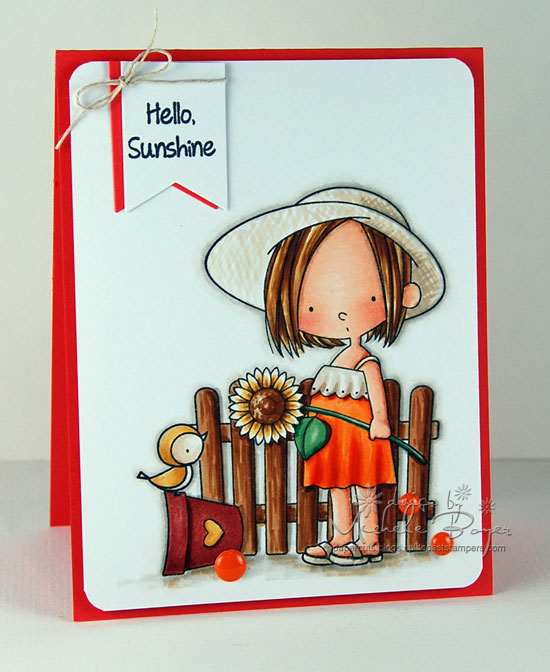
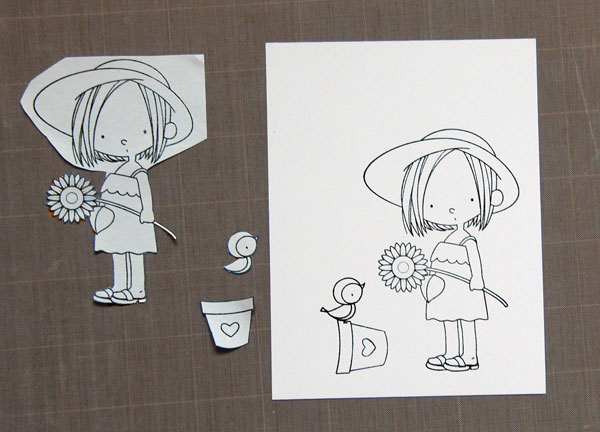
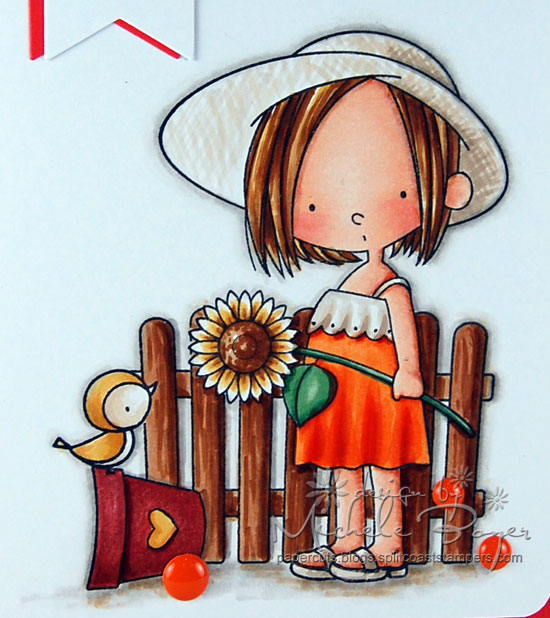
My design was created using four separate stamps. By using masks, I was able to layer and place the girl, the pot and the bird in front of the fence.
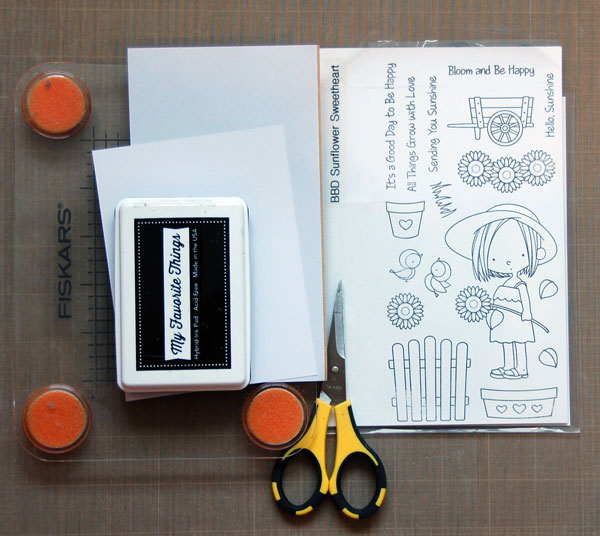
Supplies you’ll need:
- Multiple stamps to create a scene (I used Sunflower Sweetheart from My Favorite Things)
- White card stock
- Masking paper
- Ink
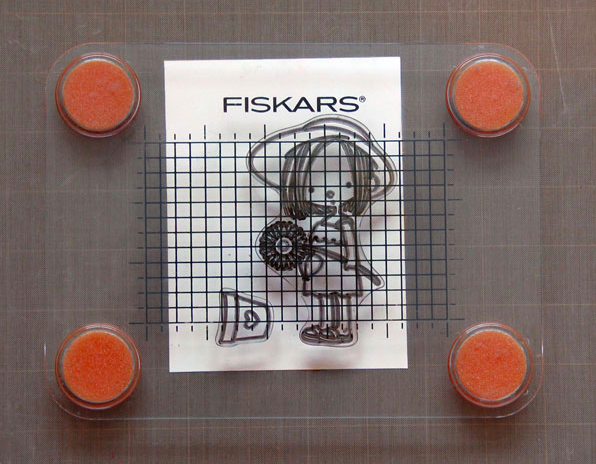
- Large acrylic block or stamp press
- Scissors
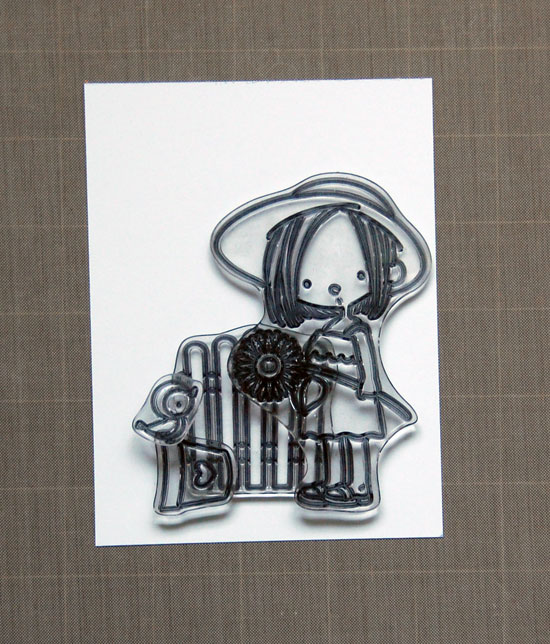
Step 1:
Cut card stock to size. Arrange and layer stamps until desired layout is achieved. Taking this extra step helps to visualize the final result and clearly indicates which stamps will appear in the foreground and which will need to be stamped in the back (or over the mask).
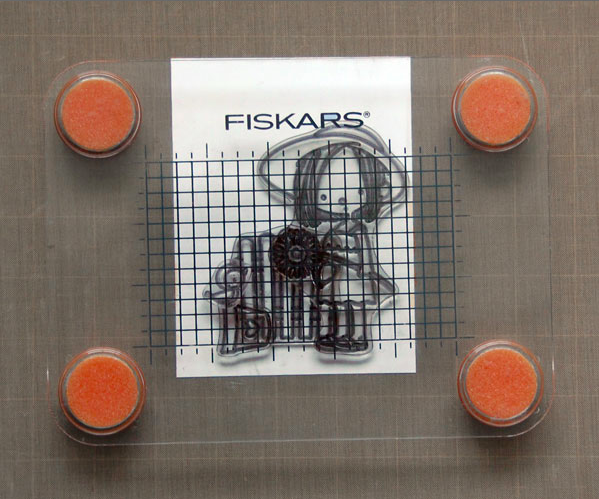
Step 2:
Once stamps are arranged, use a stamp press or large acrylic block to pick up the top layer of stamps. In my example that would include the girl, the pot and the bird. Any stamps in the background (the fence) will likely stick to those in front, so gently peel those away and set aside.
By lifting stamps with a block or press, the spacing of the images is retained and multiple stamps may be stamped at one time.
Although the bird in my arrangement appears in front or on top of the pot, only the legs overlap. Since the legs are simple lines as opposed to open areas, I removed that image to be stamped in a moment. If an open portion of the bird overlapped the pot, i.e. it’s body, then the bird would stay on the stamp press and the pot would be removed with the fence.
Step 3:
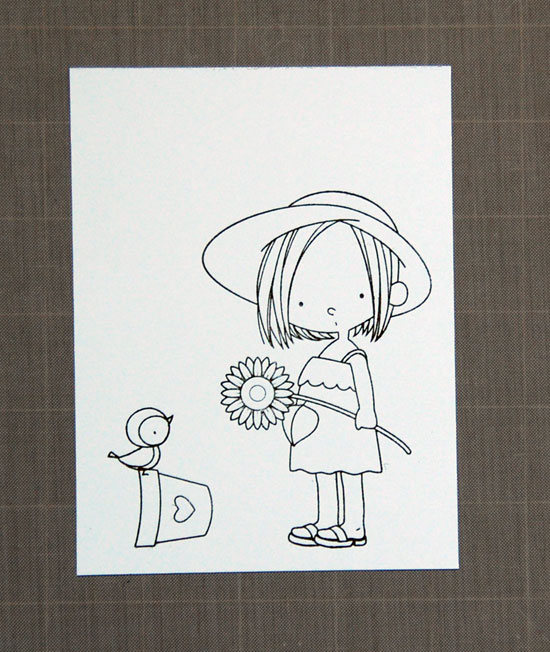
Ink stamps on block or press and stamp onto card stock. Place bird on a smaller acrylic block, ink and stamp so legs overlap the pot.
Step 4:
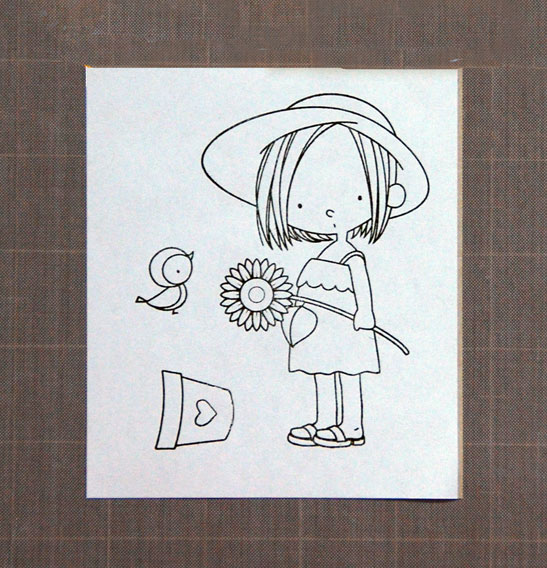
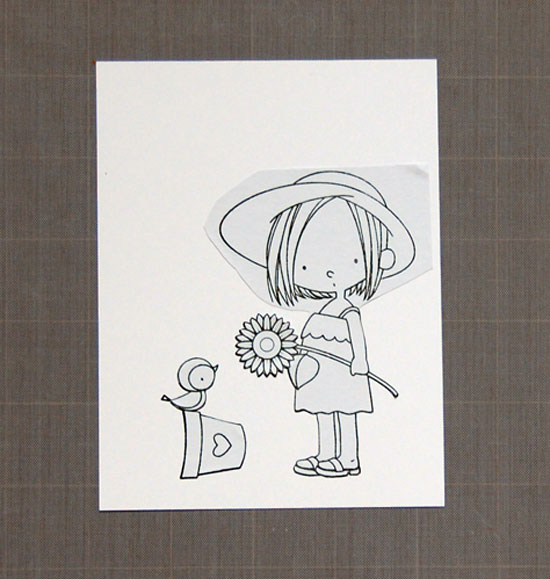
Stamp the girl, pot and bird onto masking paper.
Step 5:
Carefully cut out each image. It is important to cut on the stamped lines. If images are cut outside of the line, a thin white space or halo will appear around the image after stamping surrounding images.
I did not cut around the hairline, as that area will not be impacted by the fence image.
Step 6:
Remove paper backing from each mask, taking care not to stretch or tear any areas. If removal of the paper backing is difficult, try using the pointy tip of a straight pin to help lift or pick an area to get started. Once backings are removed, adhere each mask over its corresponding image.
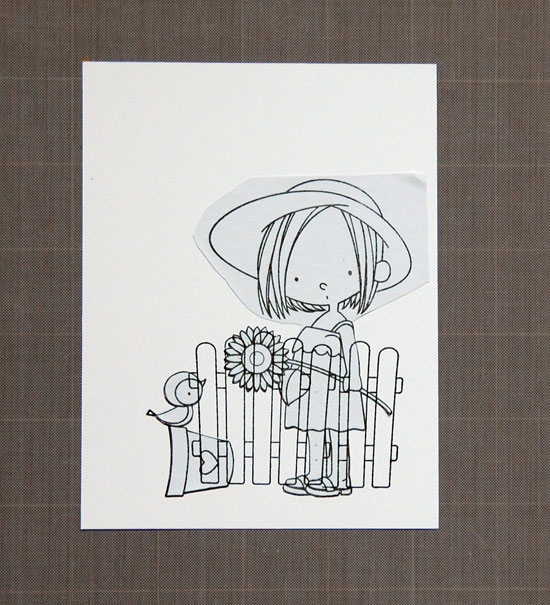
Step 7:
Stamp fence over left side of girl image and right edge of pot. Clean stamp and ink right side only. Stamp right portion of fence over right edge of the girl.
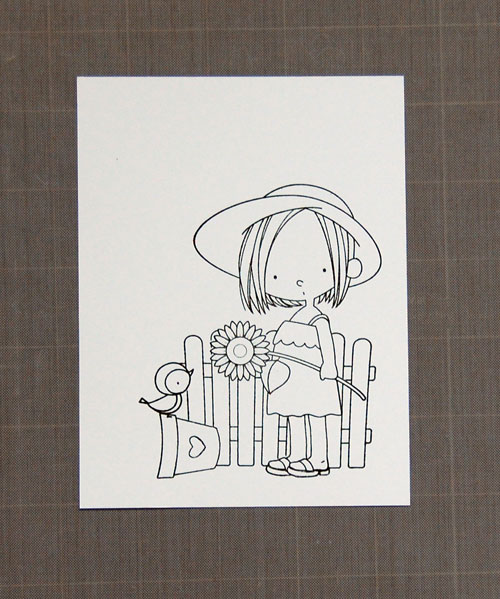
Step 8:
Remove masks and color image with your choice of color medium. If desired, masks may be saved for future use.
 This is just the beginning! Learn advanced masking techniques and so much more in the brand new Craftsy class Vibrant Stamping: Creative Color Techniques. Sign up today to enliven your handmade cards with colorful stamping techniques like gradients, layering and embossing!
What makes online Craftsy classes great?

Learn for life! With lifetime access to your classes, you can watch lessons at your preferred pace and easily revisit your favorite concepts with just a click.

Kick up your feet! Enjoy classes anytime from the convenience of your home or even on-the-go with our mobile apps.

Get personalized guidance! Ask your instructor questions to receive all the answers and feedback you need to succeed.

Love it! There’s no risk in trying with our 100% money back guarantee.
Share tips, start a discussion or ask one of our experts or other students a question.
No Responses to “How to Create Depth With the Masking Stamping Technique”