
There are many excellent reasons for learning how to mill lumber by hand — even if you primarily work with power tools. Sometimes your power tools just aren’t big enough. Besides, working with hand tools will expand your understanding of wood.
Follow along to learn about milling lumber by hand.
1. Cut the board to length
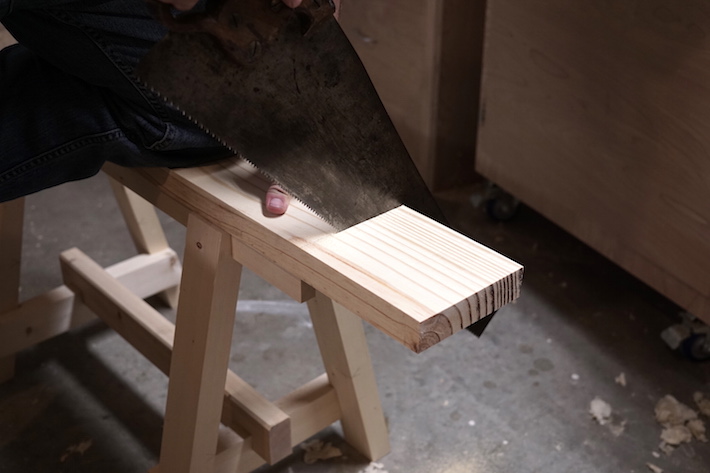
I start all of my milling by cutting my boards to rough length with a large cross-cut saw. Always cut your boards a few inches longer than the desired length.
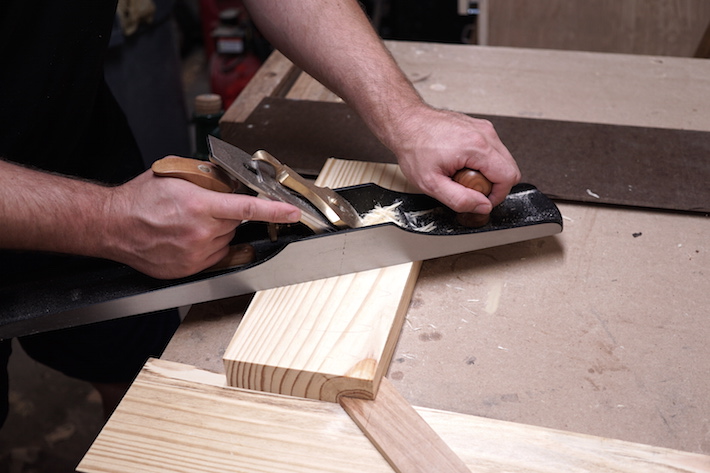
2. Establish a reference surface
With the board cut to length, it’s time to joint one of the board’s faces. This face becomes your reference surface, so it should be straight, flat and free of twist. This is accomplished with the use of hand planes.
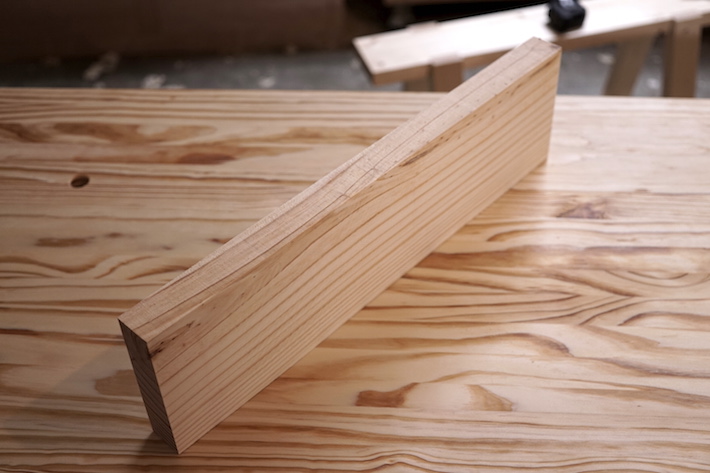
 Start by assessing the board. This board had a small amount of cupping across the width.
To remove the cupping, plane across the grain with overlapping passes. Continue this process until you can take a full length shaving across the entire board.
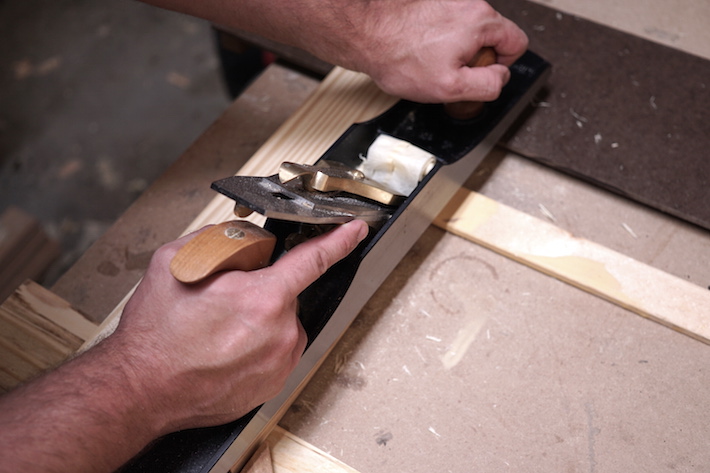 Once the cupping is removed, plane with the grain. Start by taking a pass down each edge, and work inwards with overlapping passes. Continue this process until you can take a full-length shaving off the entire length of the board. Now, the board is straight and flat. However, the board might contain some twist.
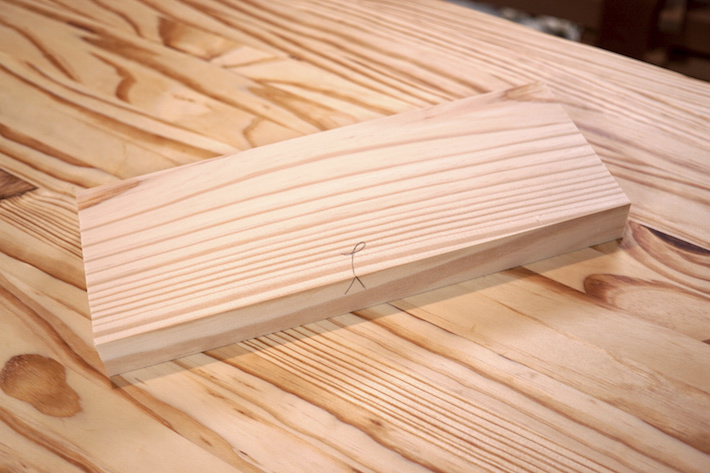
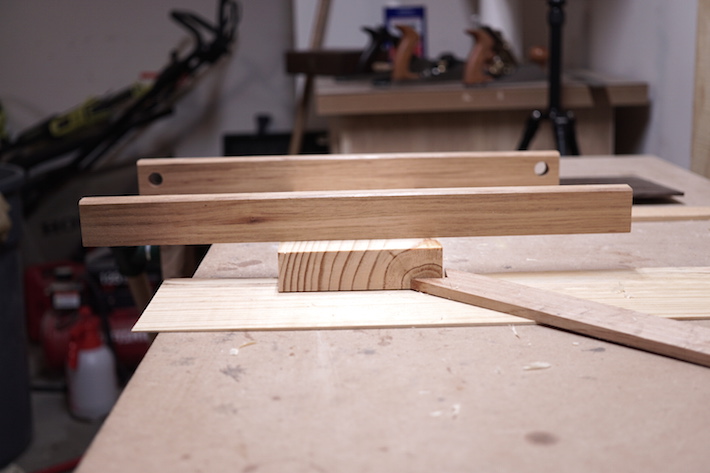 You can check for twist with a pair of winding sticks. Winding sticks will exaggerate twist, making it easier to detect. I was fortunate. This board was free of twist. If it had contained any, it would be removed by taking diagonal passes from one high corner to the other, until the defect was removed. Once your surface is free of twist, it is a good idea to mark it with a pencil.
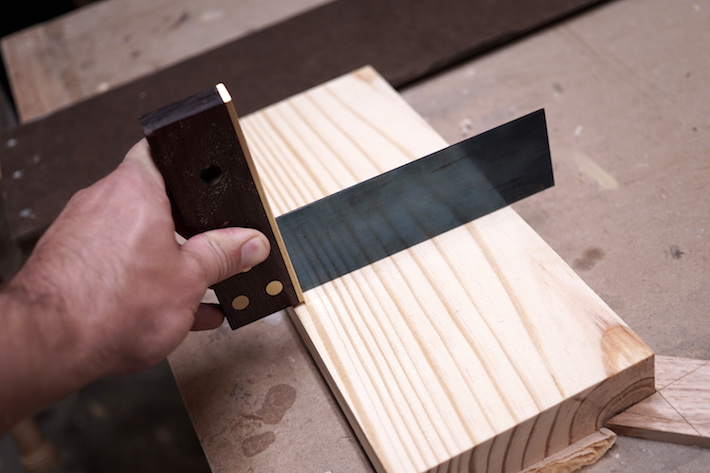
3. Establish a reference edge
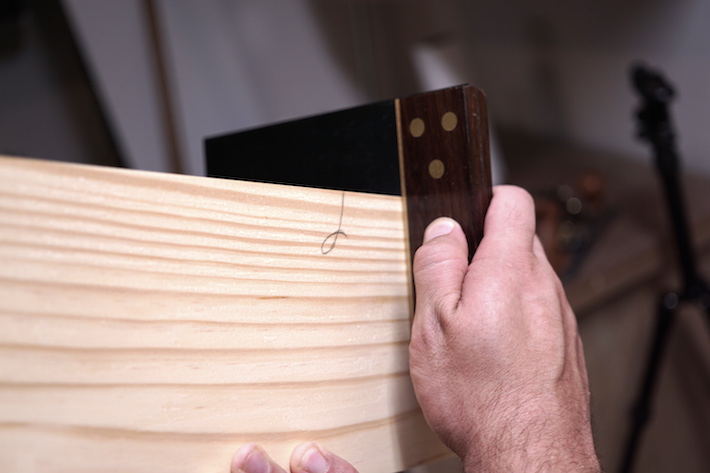
Once a reference surface is established, joint one edge. This edge needs to be straight and square to the reference face. Check the edge with a try square against the reference surface create in the last step. Note any low spots. Take a few passes with a hand plane, biasing towards the high side of the edge. Check your edge again and repeat as necessary. Once you’ve established an edge that is square to your reference face, mark it with an arrow that points toward the reference surface.
 4. Plane to the desired width
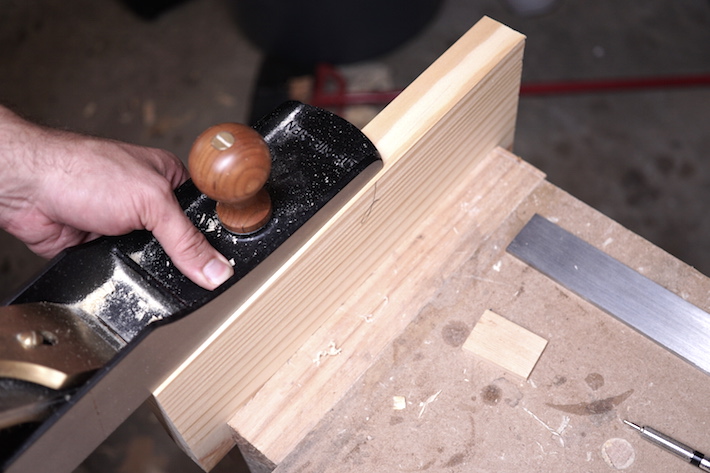
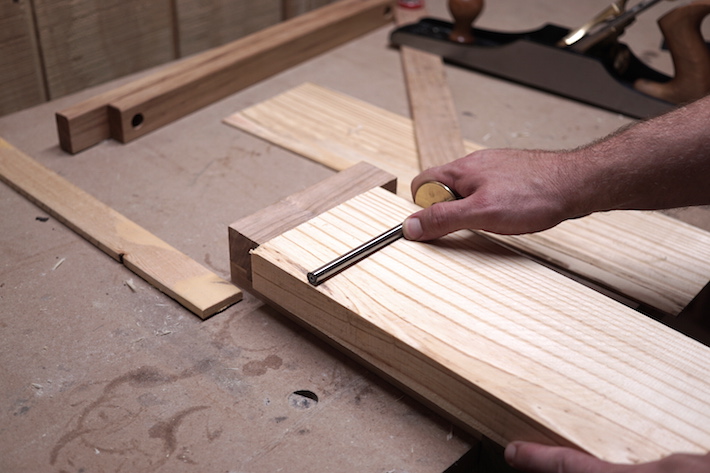 With a square edge established, it is time to bring your board to the final width. Start by marking both faces of the board with a marking gauge. Always reference your gauge from the reference edge create in the last step. Then, it’s simply a matter of planing down the opposite edge until you meet your gauge lines. When you get close, you will notice a small feather of wood resulting from the gauge marks you made earlier.
5. Plane to the desired thickness
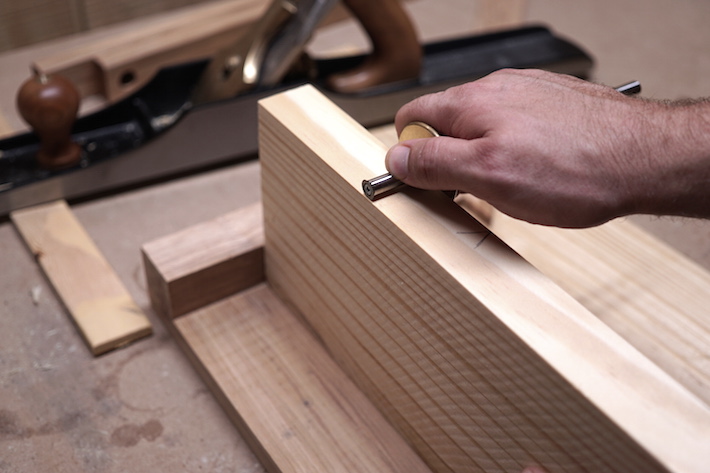 Now that you have a reference face and two square edges, you can plane your board to the desired thickness. This step usually requires the most physical effort. However, it requires less mental effort than establishing your reference surface. Start by marking out the desired thickness around the entire perimeter of the board using a marking gauge. Reference your marking gauge off of the jointed face you created earlier.
If you have a lot of material to remove, start with a jack plane set to take a deep cut. It’s easier to remove material quickly when planing across the grain. When you get close, switch to a jointer plane and go with the grain. Use your gauge lines to track your progress. Remove the high spots until you reach your lines.
Once you have four-square board, you can cut the it to final length using a fine backsaw.
For more information regarding hand planes see: Tools to Get Started in Woodworking: Bench Planes
Share tips, start a discussion or ask one of our experts or other students a question.
No Responses to “How to Mill Rough Lumber with Hand Tools”