
Learn the mistake rib stitch in knitting with this easy-to-follow tutorial.
Mistake Rib Stitch Pattern
Once you master the stitch, you can use this pattern to stitch the mistake rib any time. Multiple: 4 stitches plus 3 Row 1: *K2, P2; repeat from * to last 3 stitches, K2, P1. Repeat Row 1 until you have reached the desired length.Mistake Rib Stitch Tutorial
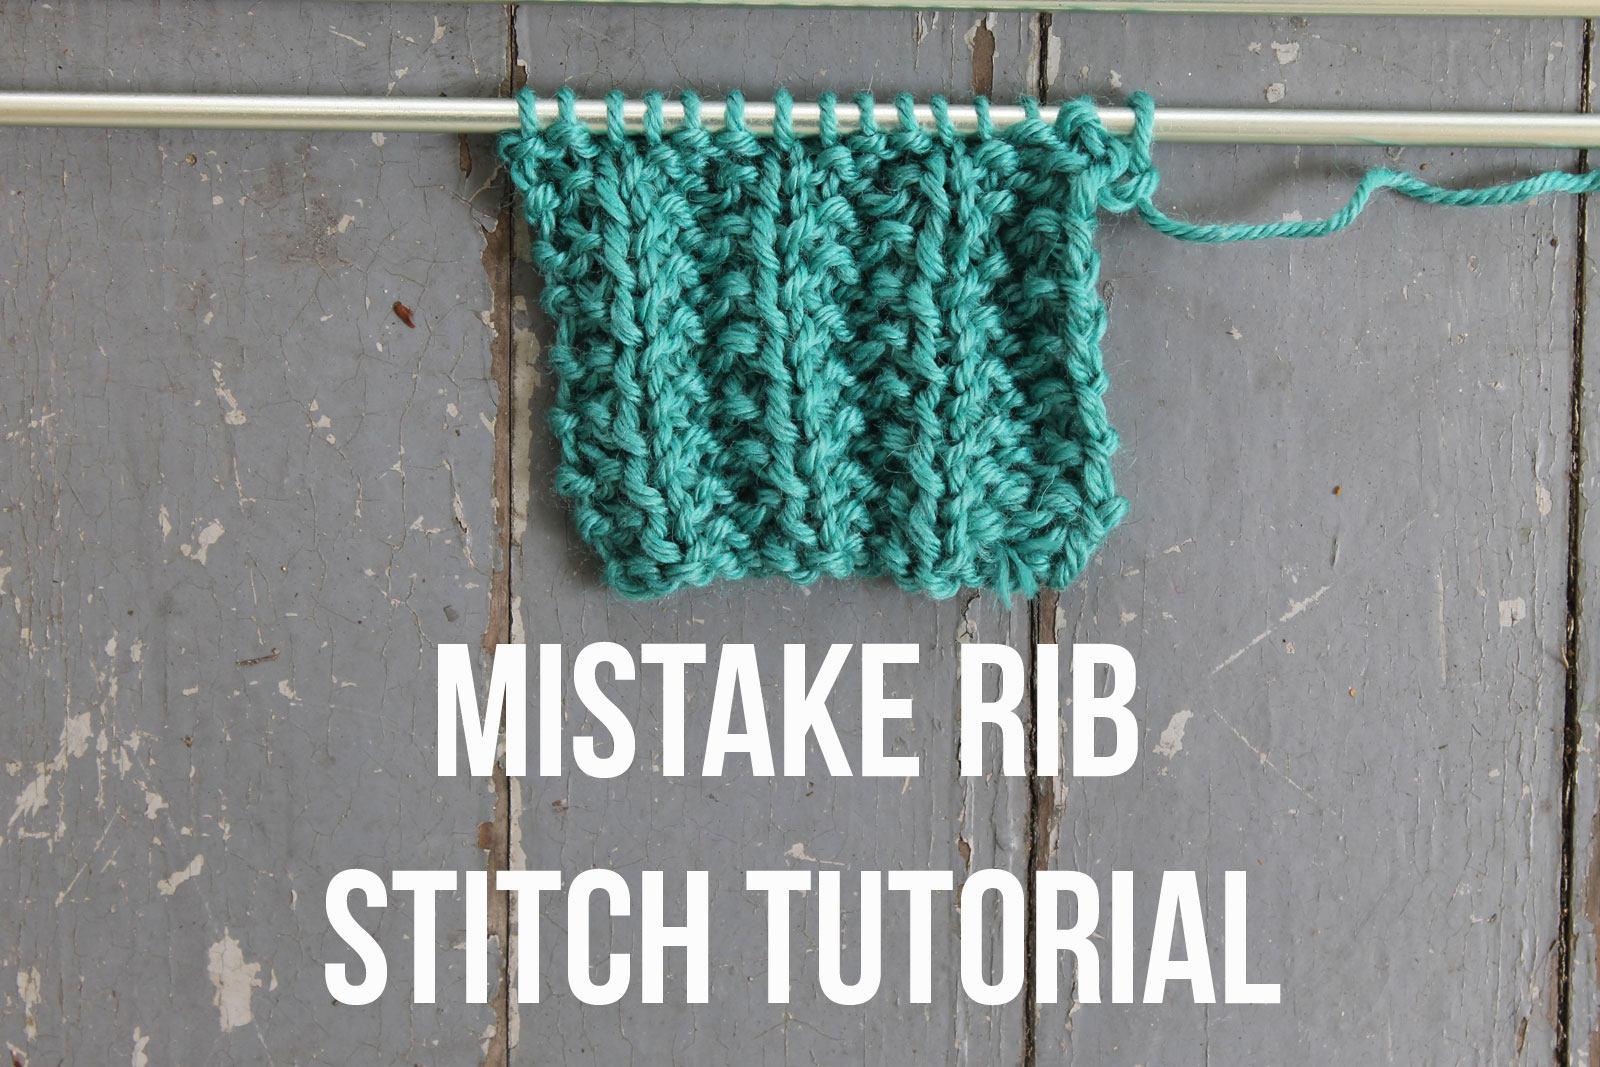
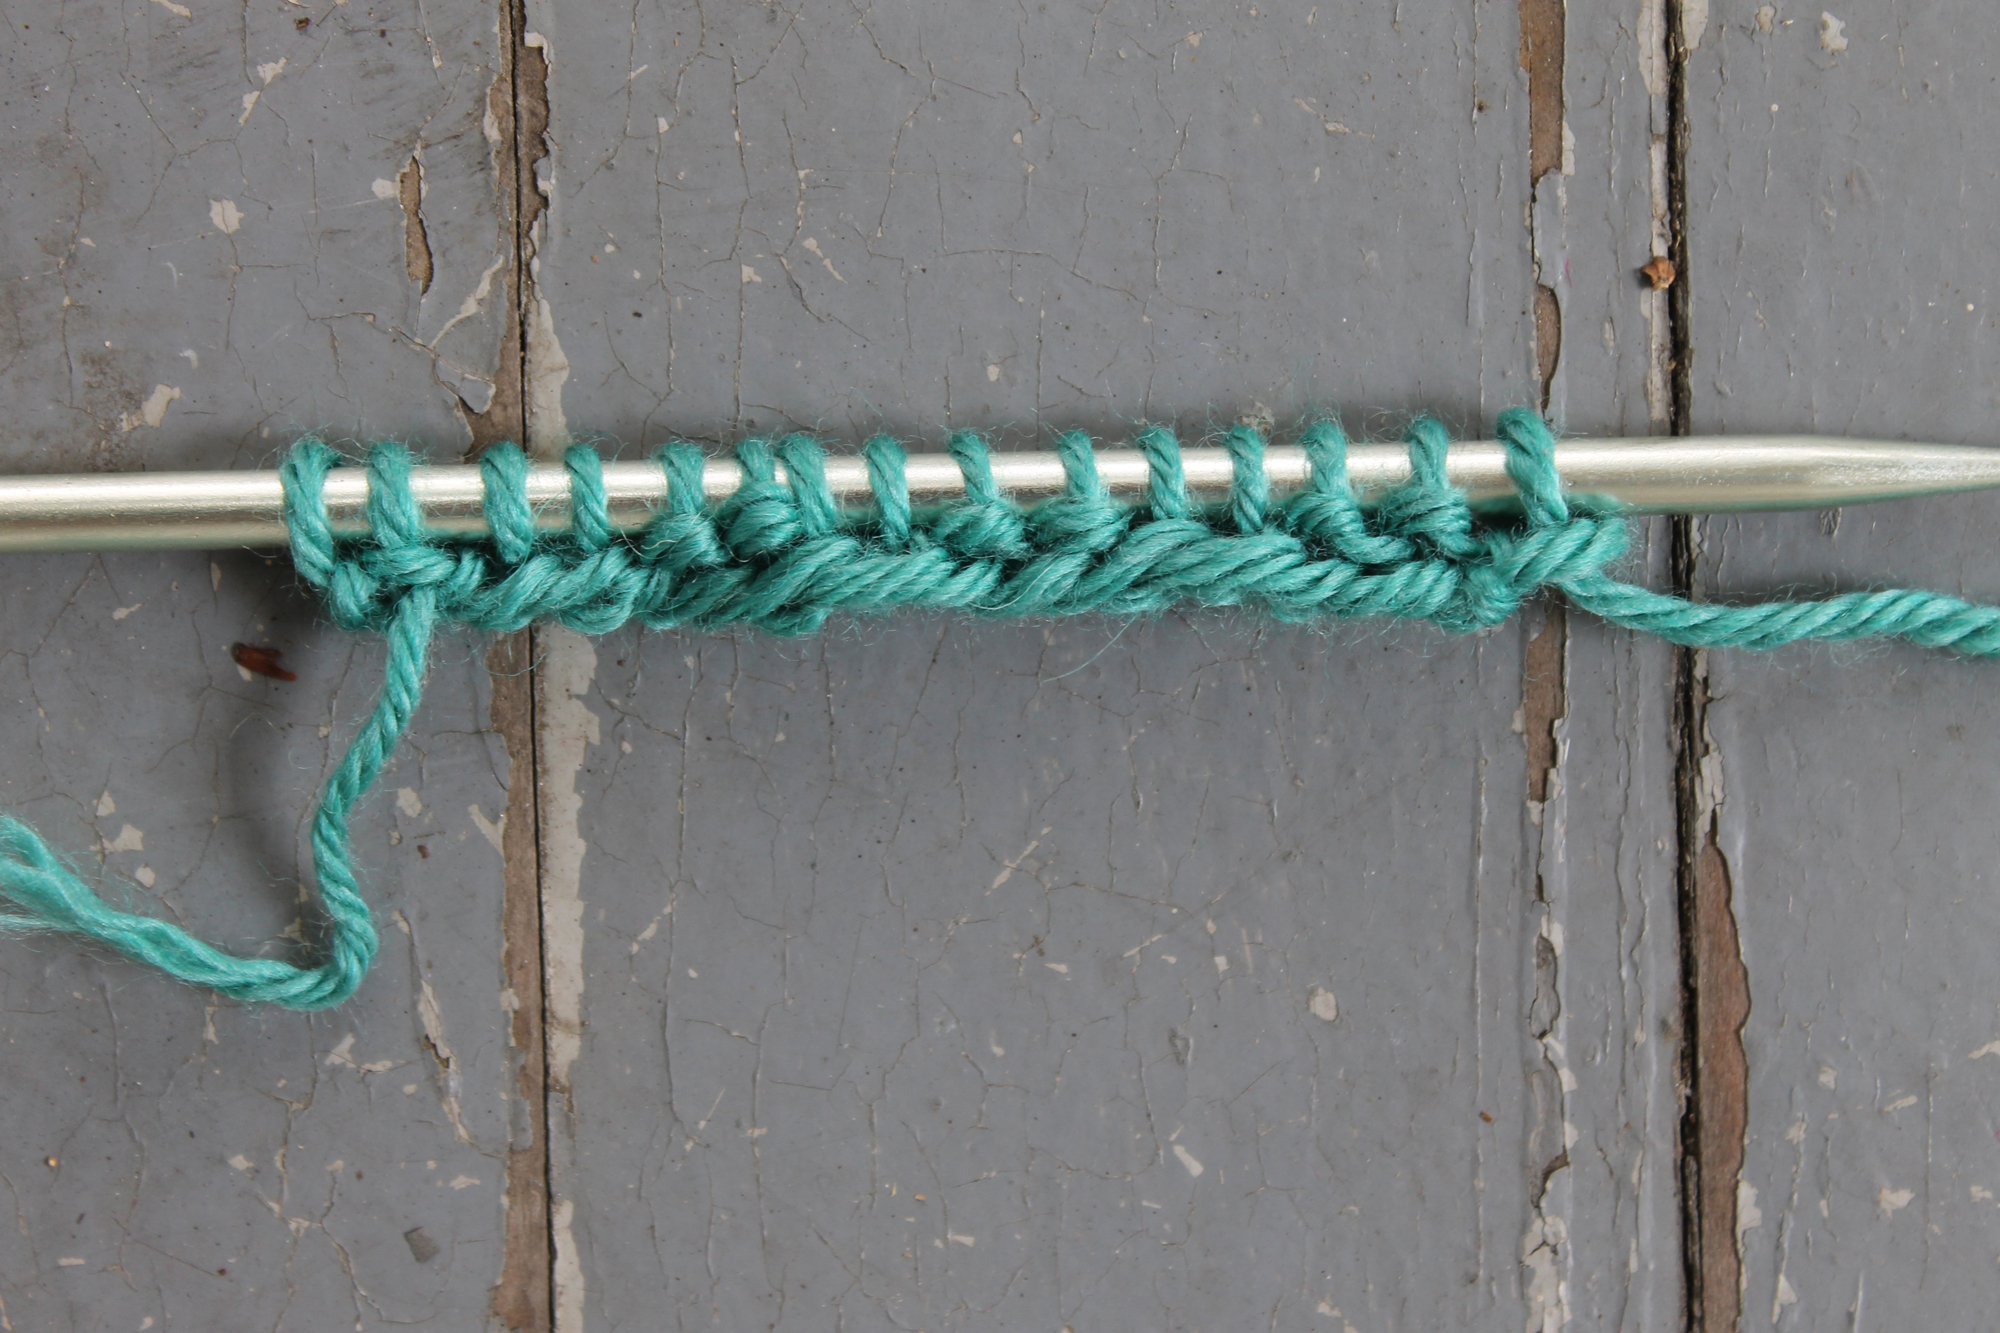
Let’s break down how this stitch looks as you’re working it. To begin, you can cast on any multiple of four, plus three extra stitches. So, for example, you could cast on 11, 15, 19, etc. For this tutorial, I’ve cast on 15 stitches.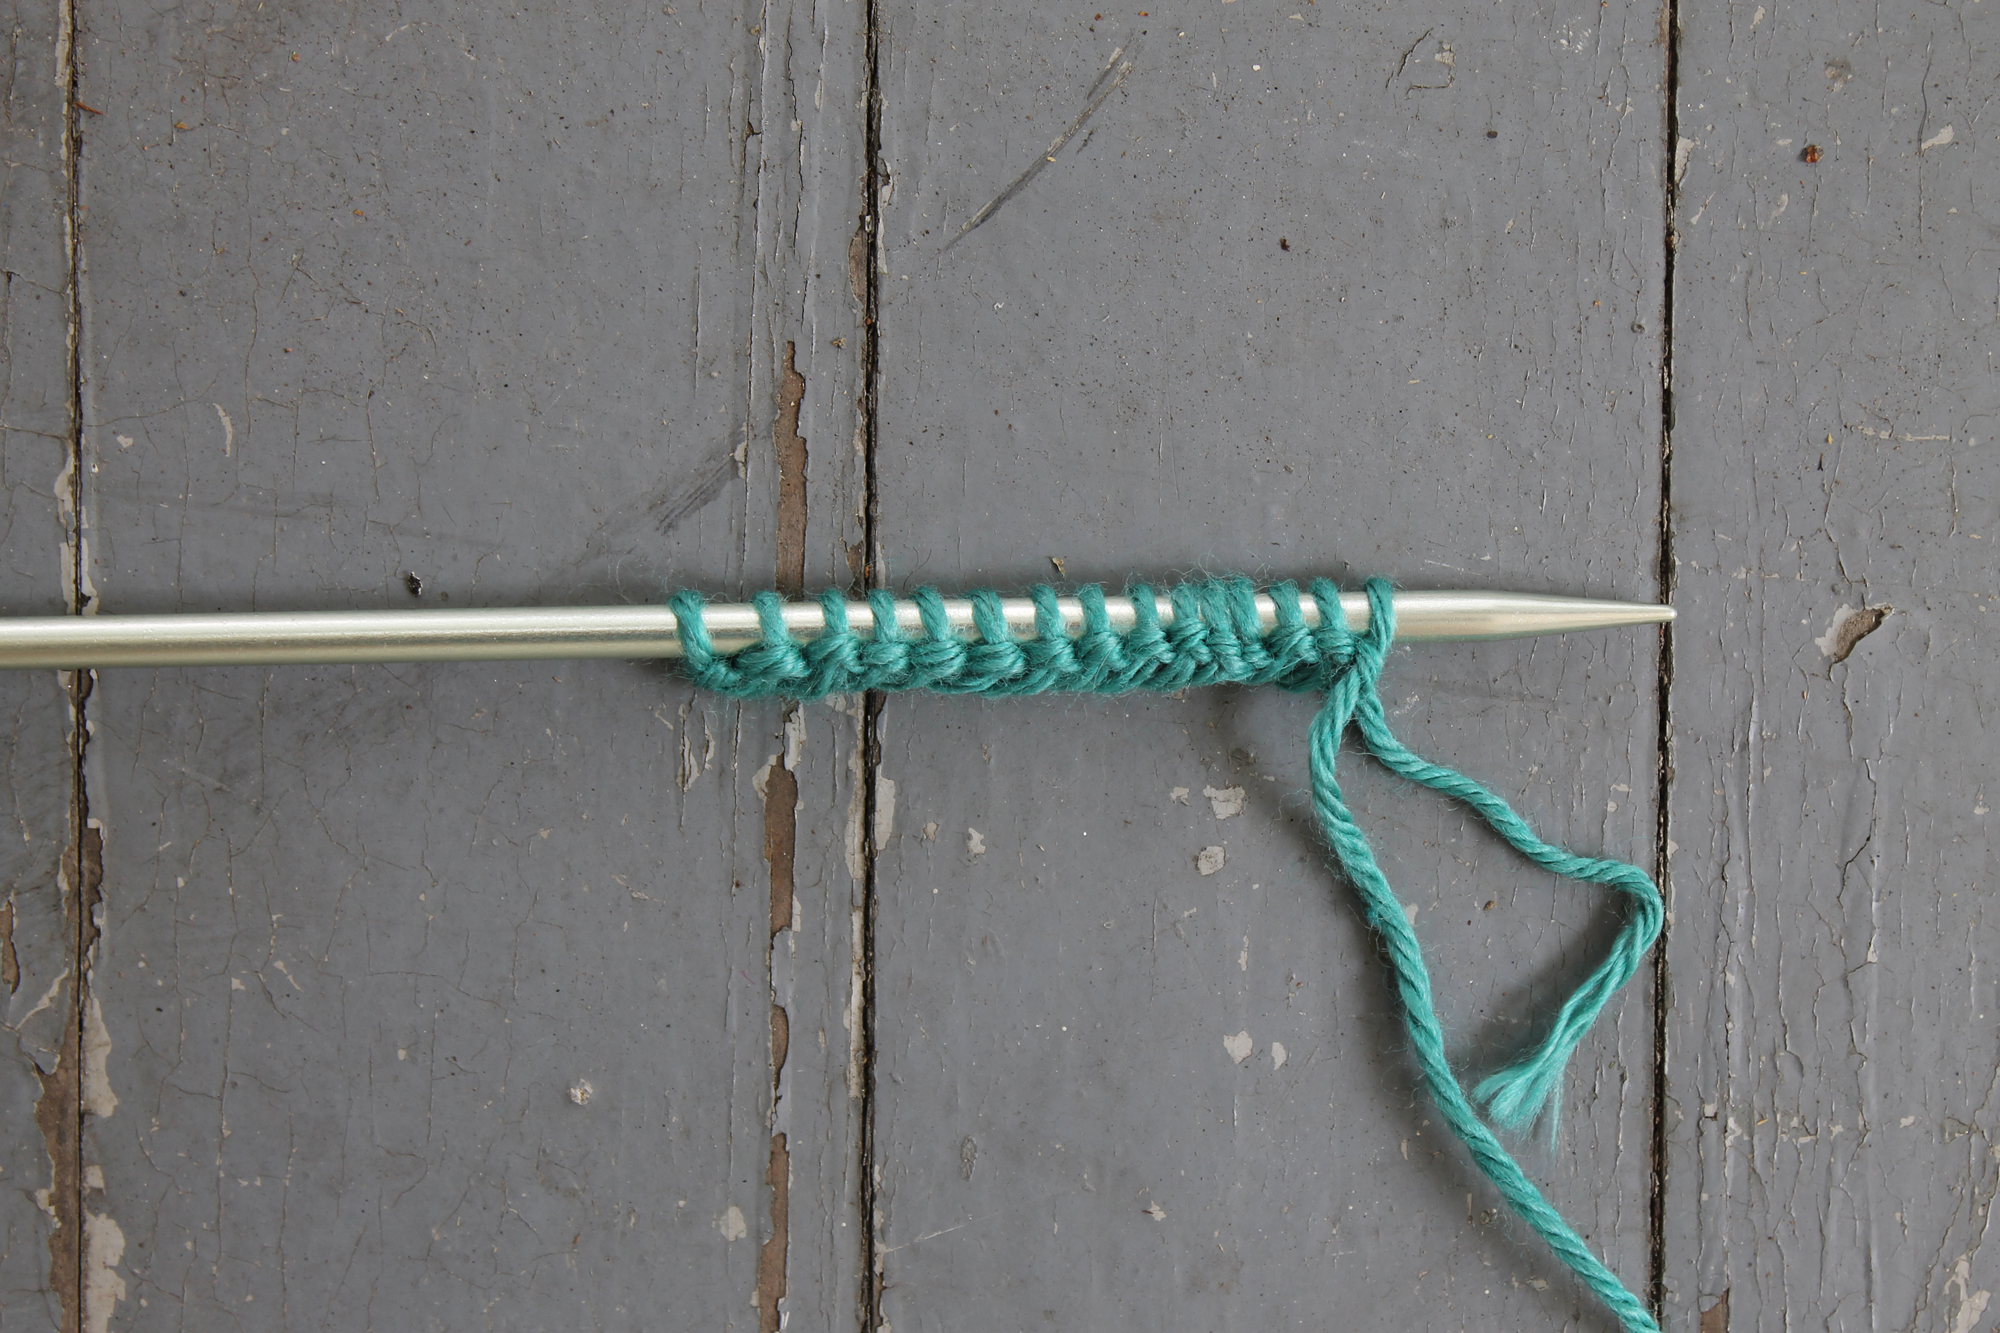 The first row of mistake rib is very similar to the usual ribbing, where you’re knitting and purling across in pairs. Knit the first two stitches on the needle, just as you would for a K2 P2 rib.
 Now purl the next two stitches.
Repeat that K2, P2 across the row until there are three stitches left on the needle. Knit two stitches and purl the last stitch.
Now purl the next two stitches.
Repeat that K2, P2 across the row until there are three stitches left on the needle. Knit two stitches and purl the last stitch.
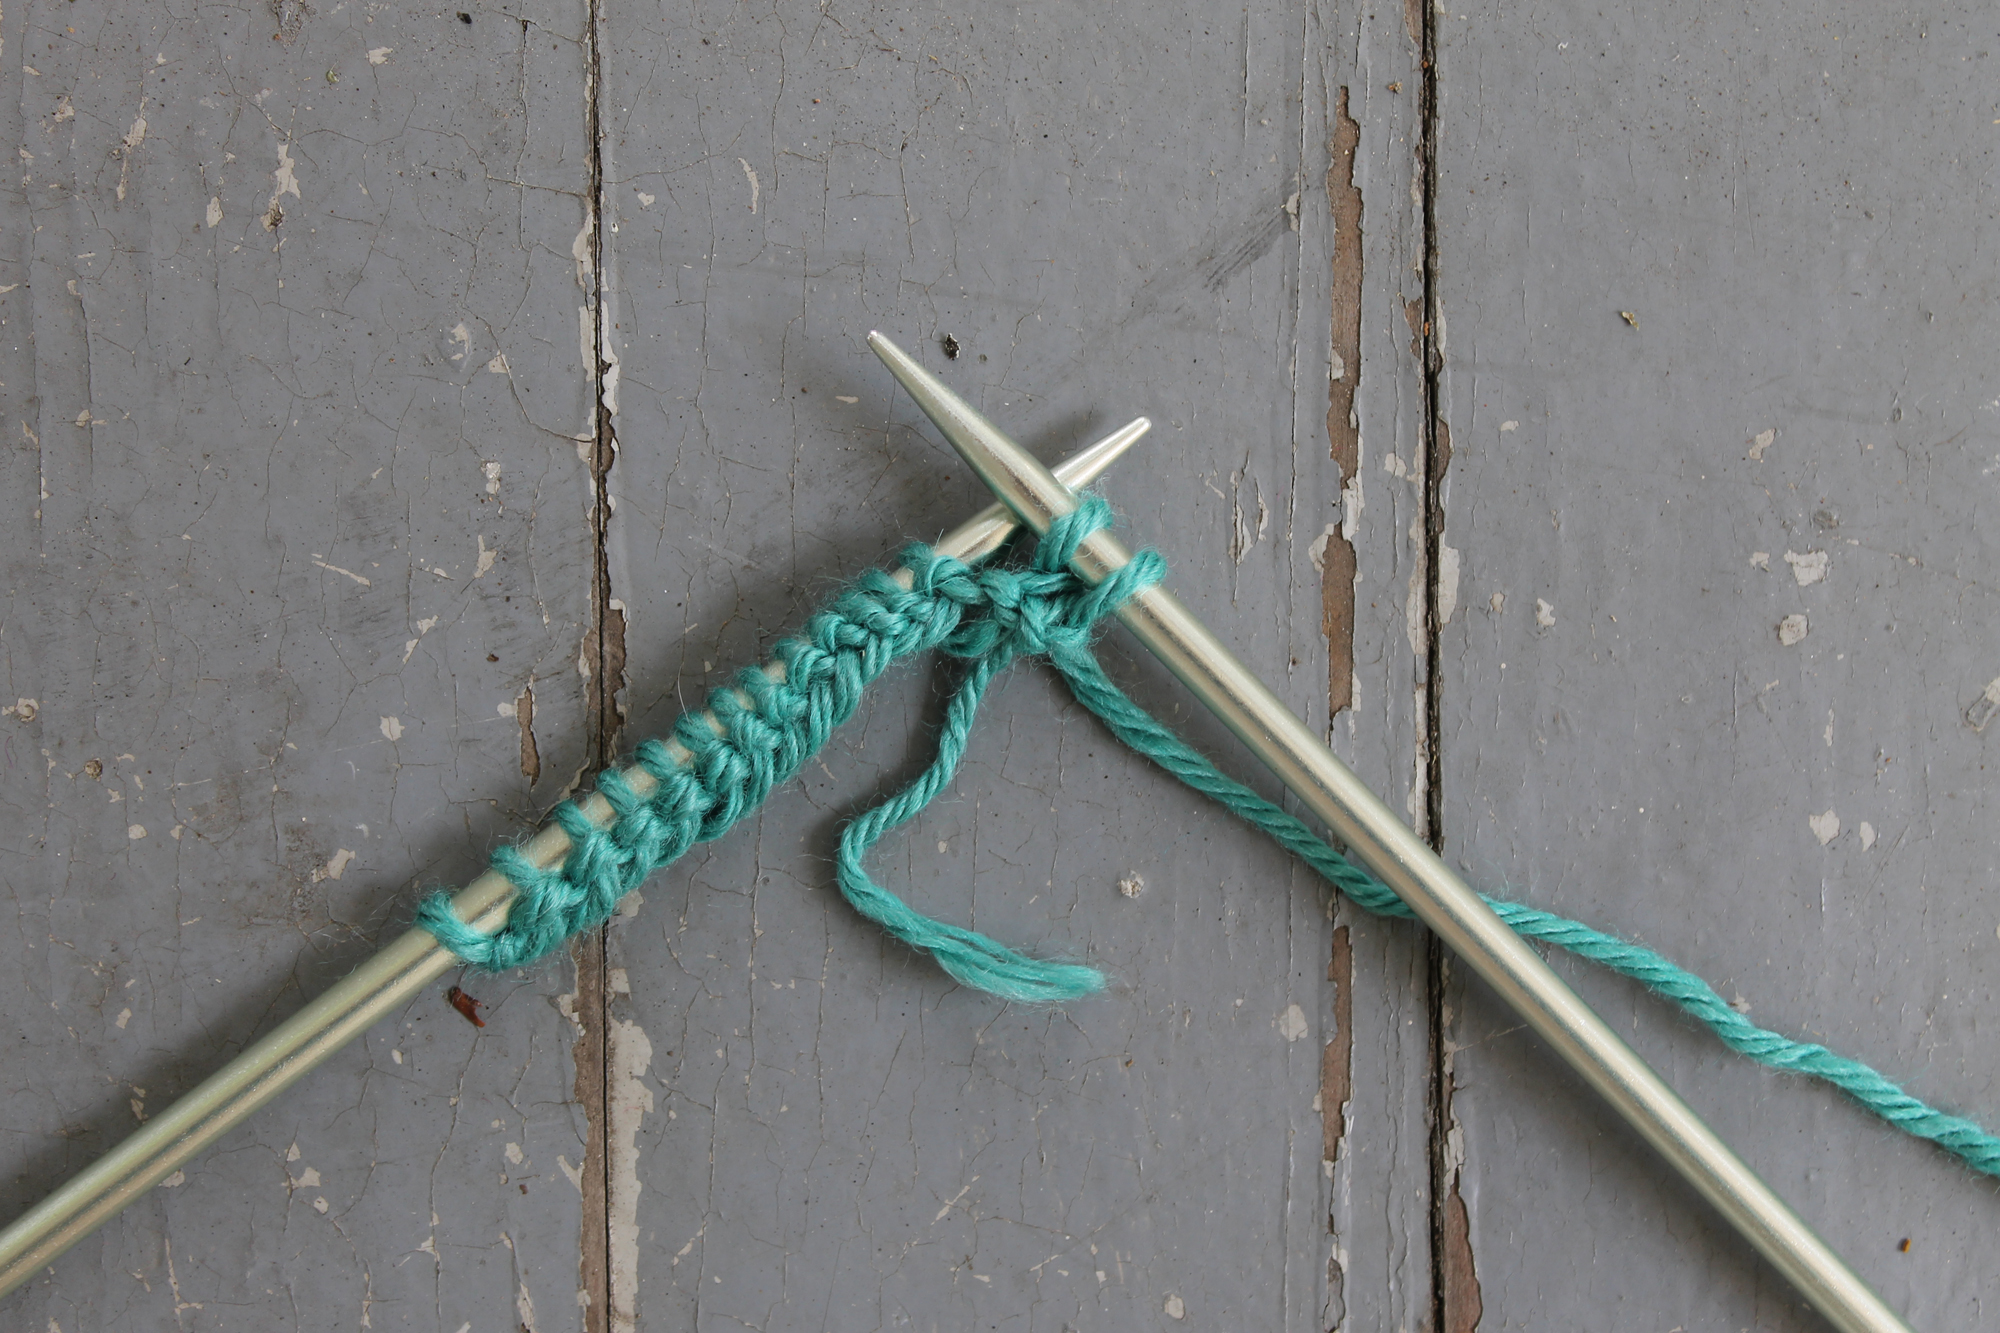
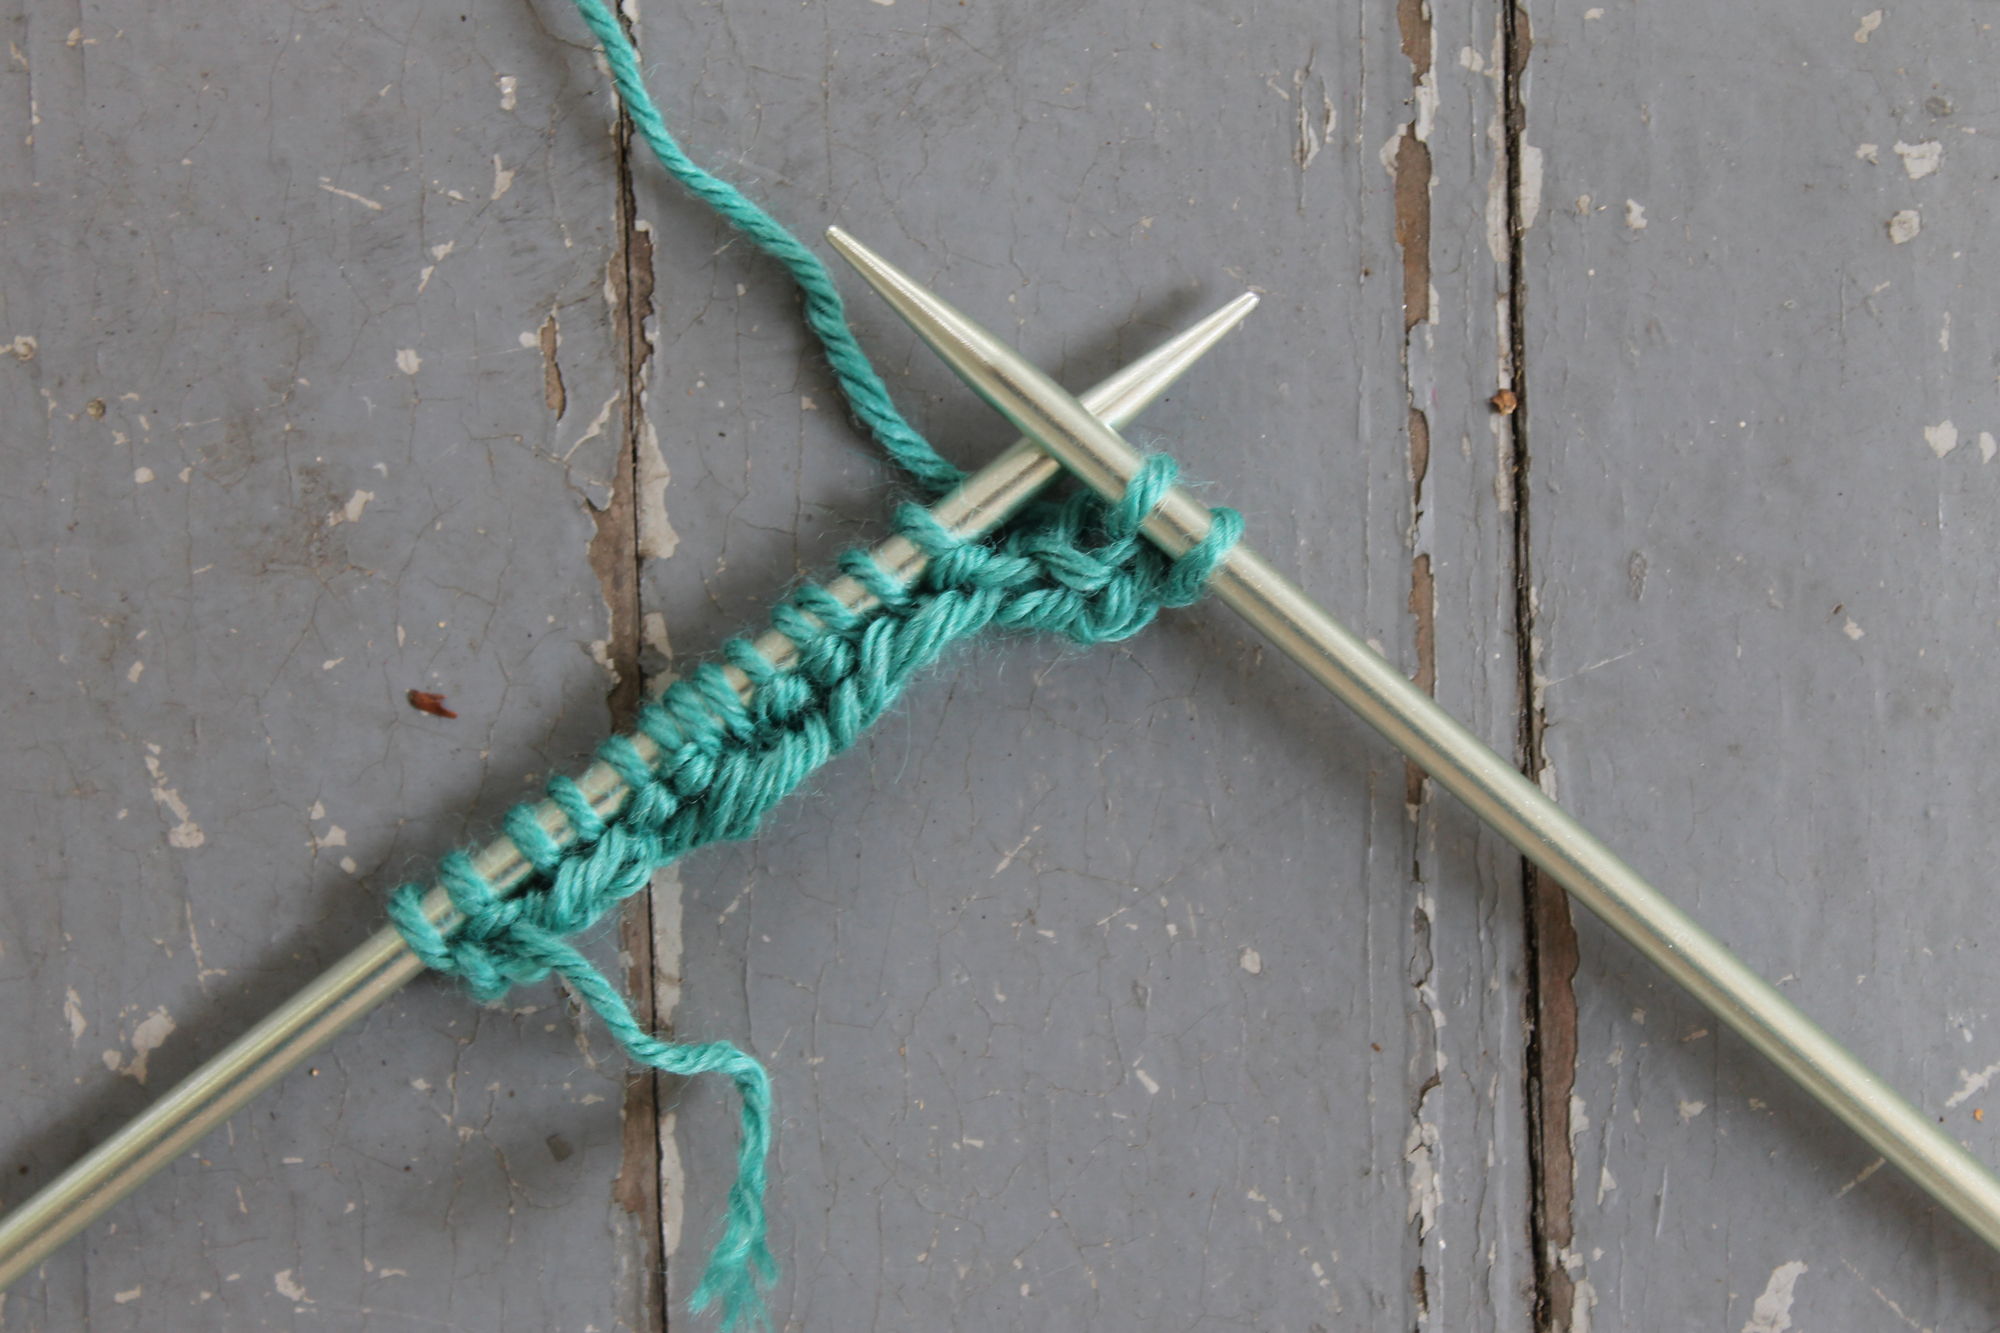
 Flip your work to begin Row 2. Row 2 is identical to Row 1, but keep in mind that this is not like the usual ribbing where you’d knit the knit stitches and purl the purl stitches.
If you look at the stitches on your needle after you’ve flipped it, you’ll see that the first stitch is a knit stitch while the next two are purl stitches. However, the stitch pattern will still be K2, P2, just as it was for the first row.
Flip your work to begin Row 2. Row 2 is identical to Row 1, but keep in mind that this is not like the usual ribbing where you’d knit the knit stitches and purl the purl stitches.
If you look at the stitches on your needle after you’ve flipped it, you’ll see that the first stitch is a knit stitch while the next two are purl stitches. However, the stitch pattern will still be K2, P2, just as it was for the first row.
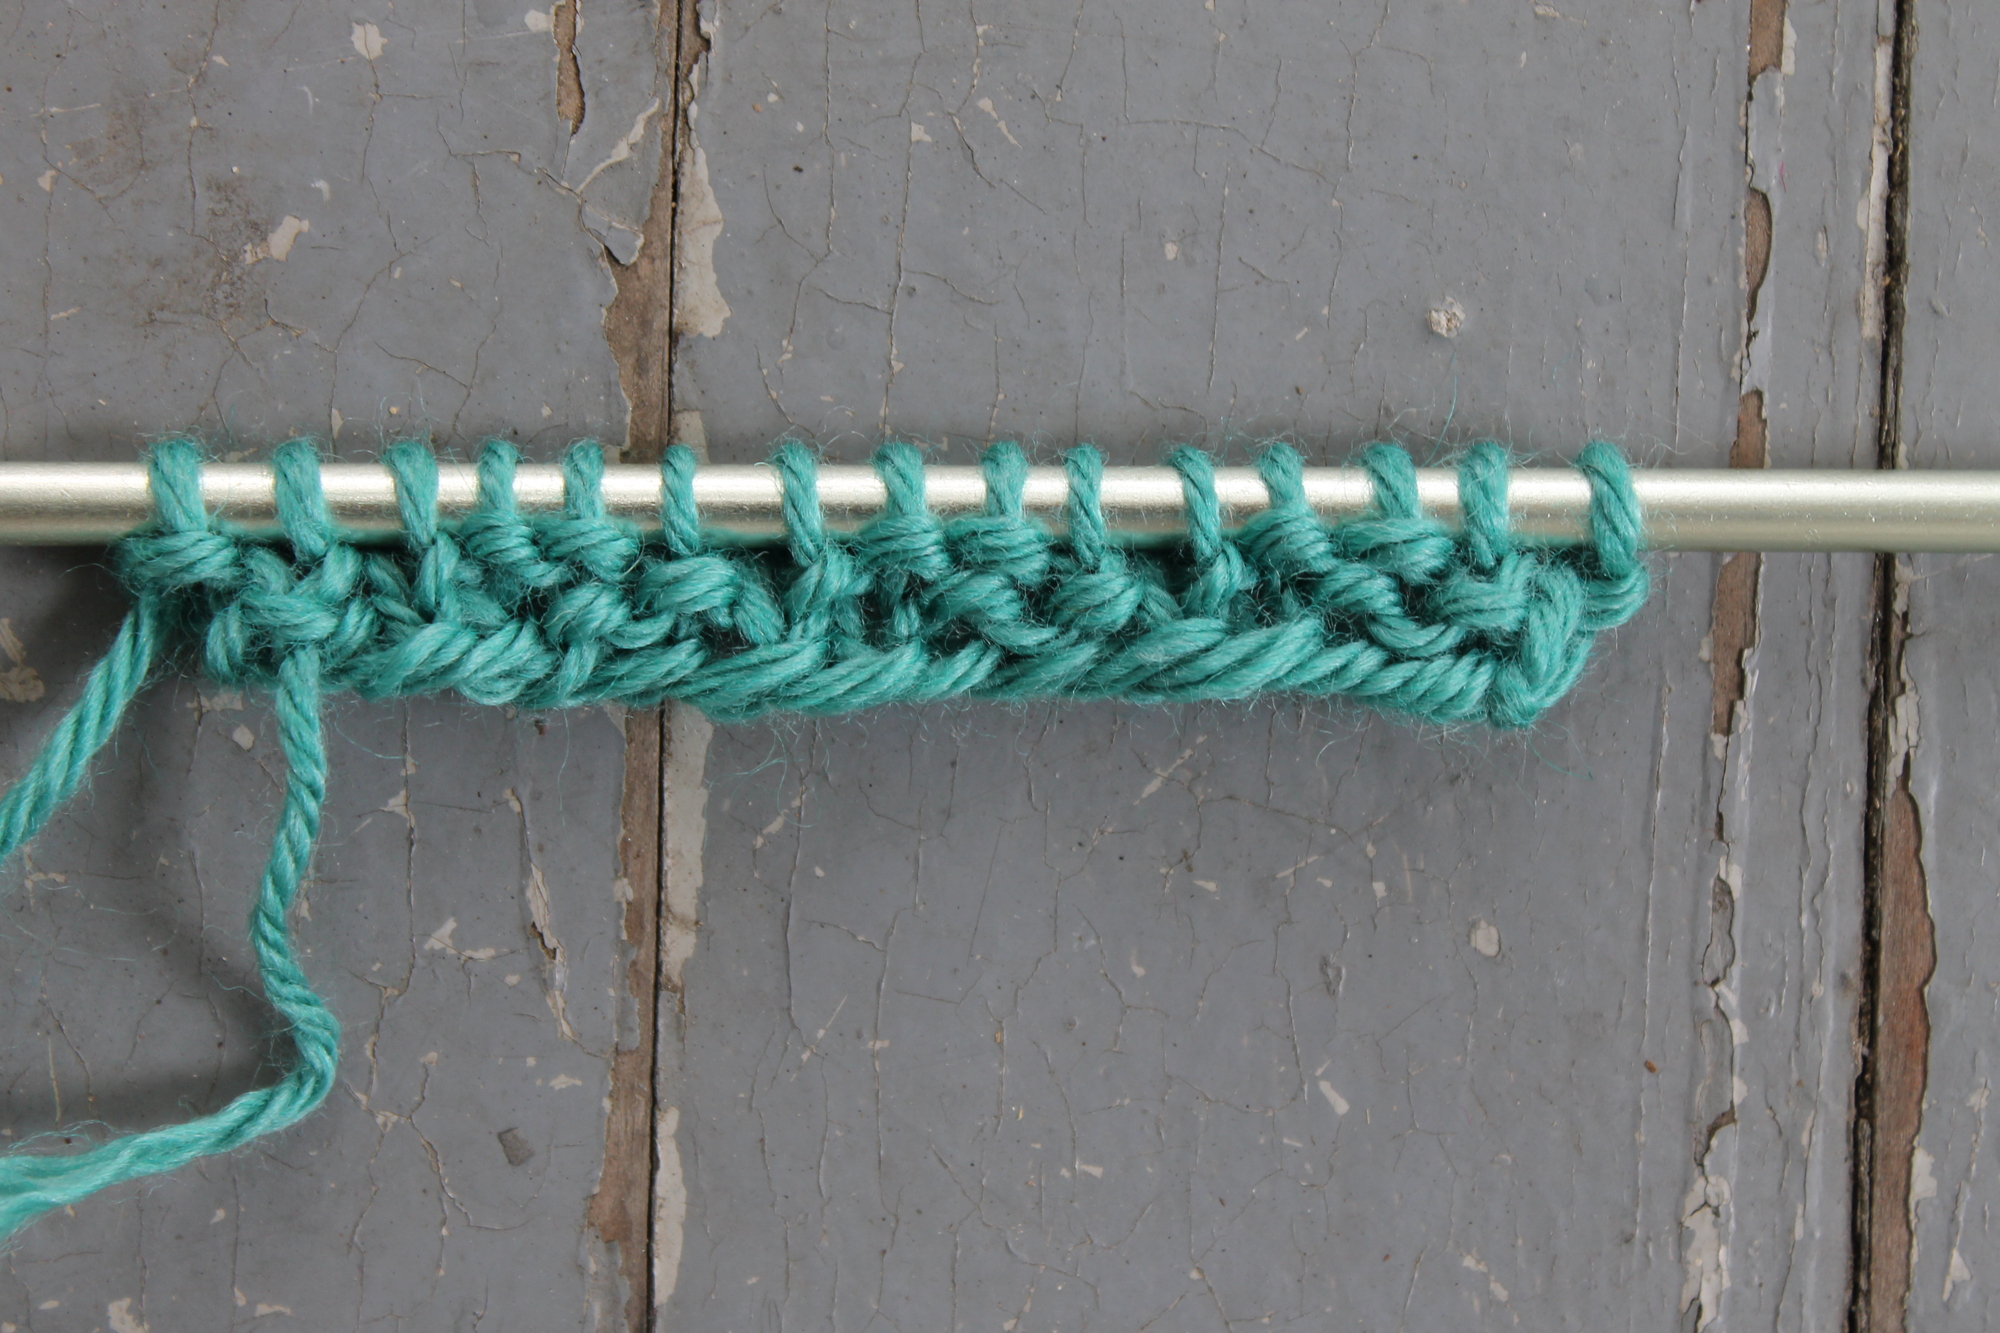
 Knit the first two stitches, noticing that you put a knit stitch on that second purl stitch. When knitting the second row, I find it easier to think “knit two, purl two” as I work across, rather than trying to read my knitting as I would with a normal ribbing.
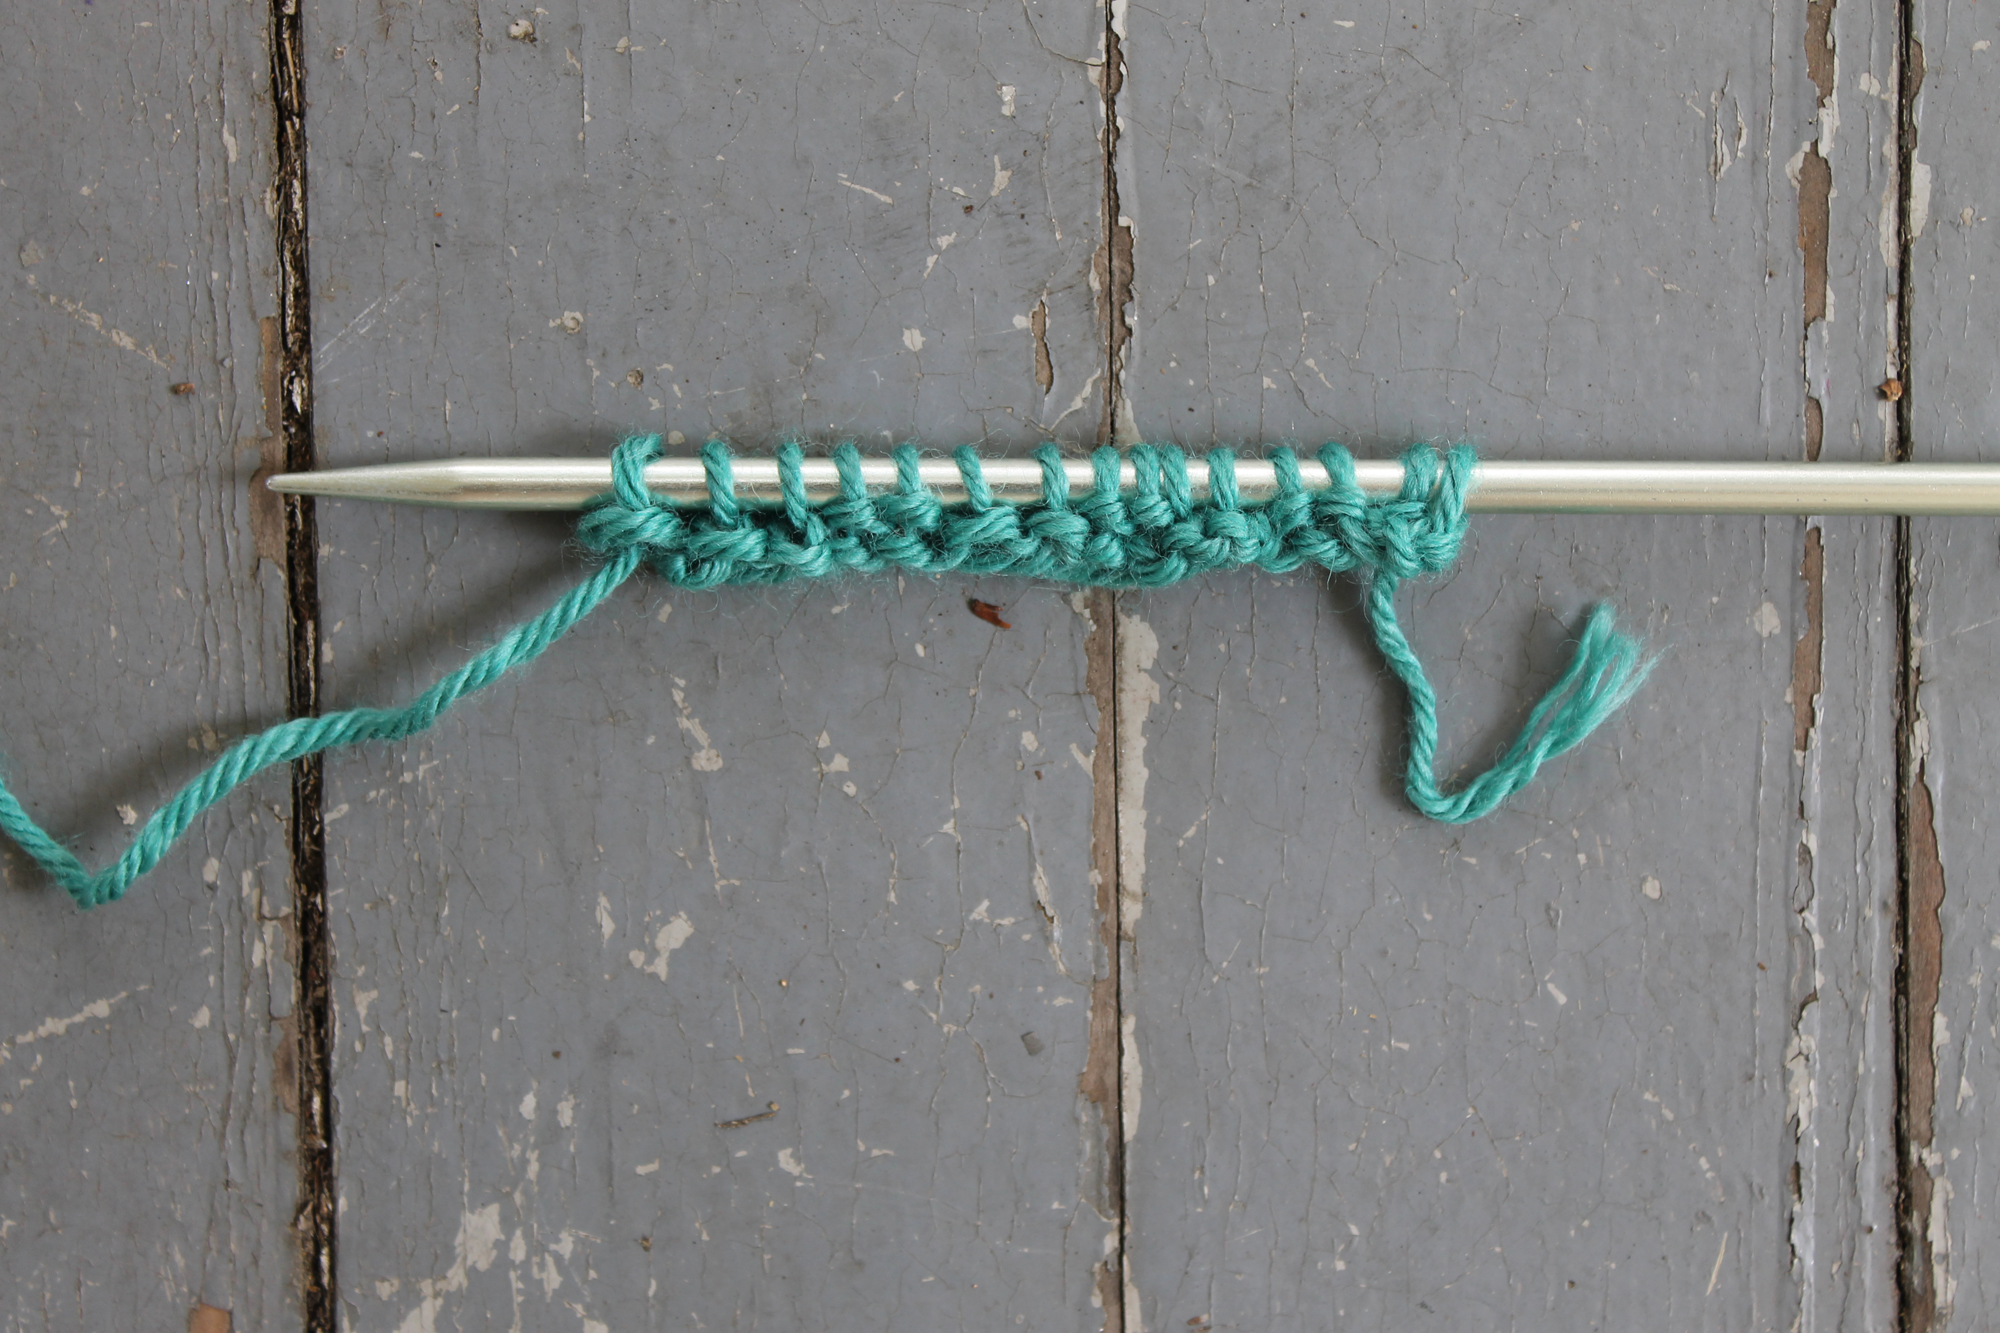
 Keep up the K2, P2 all the way across that second row until you reach the last 3 stitches. Just as you did in Row 1, knit two stitches and purl the last stitch. Take a look at your row and you’ll see that it’s not like any of the usual ribbing!
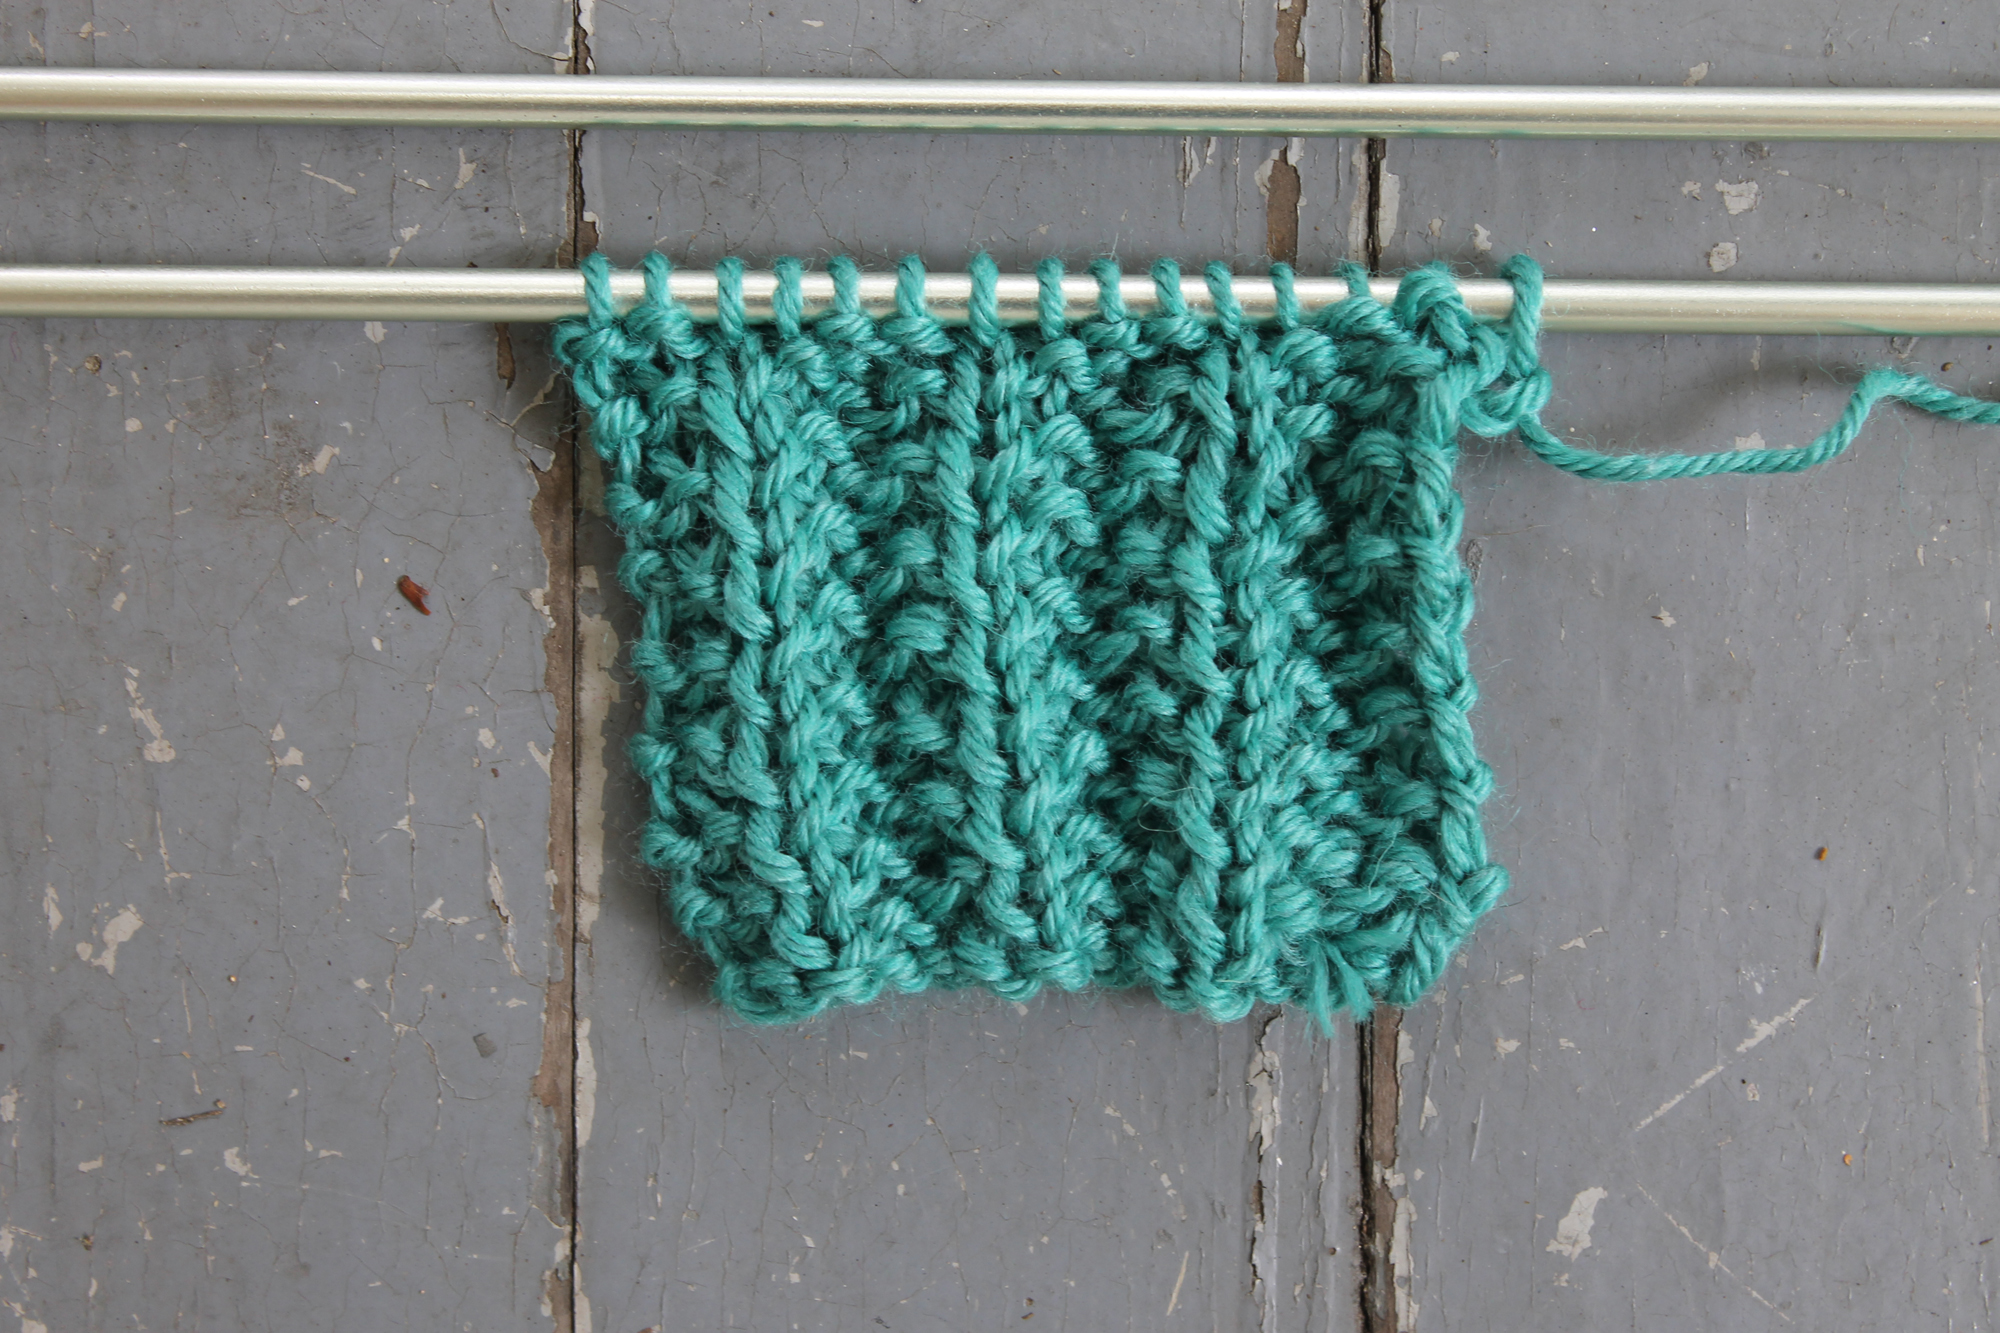
 Keep repeating Row 1 until you’ve reached the length you like.
Check out the swatch and you’ll see how this rib is unlike any other. It doesn’t line up quite as neatly as traditional ribbing, but that gives it a unique texture.
Keep repeating Row 1 until you’ve reached the length you like.
Check out the swatch and you’ll see how this rib is unlike any other. It doesn’t line up quite as neatly as traditional ribbing, but that gives it a unique texture.
Share tips, start a discussion or ask one of our experts or other students a question.
No Responses to “Mess Up on Purpose With the Mistake Rib Stitch”