
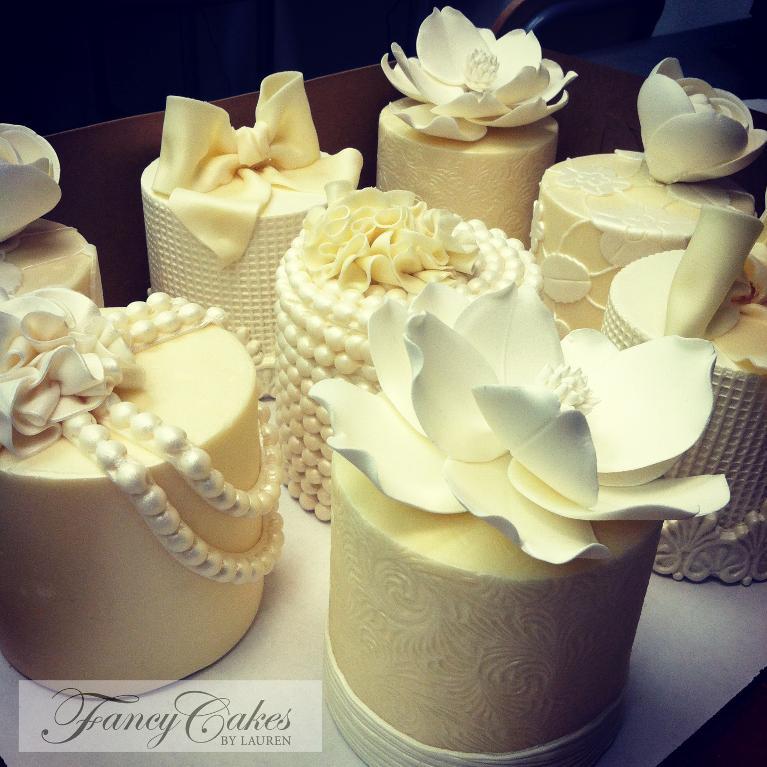
 Modeling chocolate mini cakes via Craftsy instructor Lauren Kitchens, who teaches the class Modeling Chocolate Magic
1. Powdered sugar
 Like fondant, modeling chocolate can be rolled out and cut into shapes, but unlike fondant, modeling chocolate tends to stick to counters and even silicone mats and silicone rollers. You do not need tons of powdered sugar, but a light sprinkling now and again with help prevent sticking.
I like to use a powder sugar shaker, which can be found at kitchen supply stores and some craft stores. You can also fill a nylon sock with powdered sugar, tie it closed, and use that to dust the amount of powdered sugar needed onto your surface. See Nicholas Lodge demonstrate this process step-by-step demonstration in his class The Ultimate Sugar Rose.
Like fondant, modeling chocolate can be rolled out and cut into shapes, but unlike fondant, modeling chocolate tends to stick to counters and even silicone mats and silicone rollers. You do not need tons of powdered sugar, but a light sprinkling now and again with help prevent sticking.
I like to use a powder sugar shaker, which can be found at kitchen supply stores and some craft stores. You can also fill a nylon sock with powdered sugar, tie it closed, and use that to dust the amount of powdered sugar needed onto your surface. See Nicholas Lodge demonstrate this process step-by-step demonstration in his class The Ultimate Sugar Rose.
2. Veining tools and toothpicks
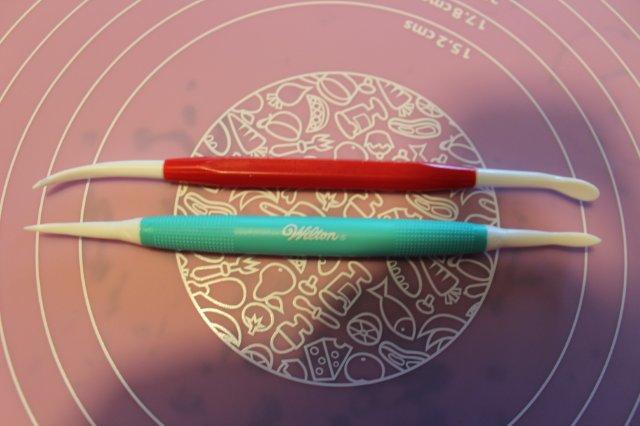 Meet your new best friend! Modeling chocolate cannot hog the veining tool as its very own since we use it with both fondant and gum paste, but a veining tool does come in very handy while modeling figures or detailing cutouts and bows.
Most veining tools have two sides: a thin pointed side and a cupped spoon-like side. Usually detail work is done with the thinner pointy side, but depending on the design, both can be handy. The broader back of the spoon side is also a great way to fix mistakes you made with the pointed side. Learn more about using the veining tool with modeling chocolate in Lauren Kitchens’ Craftsy class Intro to Modeling Chocolate: Cityscape Cakes.
Meet your new best friend! Modeling chocolate cannot hog the veining tool as its very own since we use it with both fondant and gum paste, but a veining tool does come in very handy while modeling figures or detailing cutouts and bows.
Most veining tools have two sides: a thin pointed side and a cupped spoon-like side. Usually detail work is done with the thinner pointy side, but depending on the design, both can be handy. The broader back of the spoon side is also a great way to fix mistakes you made with the pointed side. Learn more about using the veining tool with modeling chocolate in Lauren Kitchens’ Craftsy class Intro to Modeling Chocolate: Cityscape Cakes.
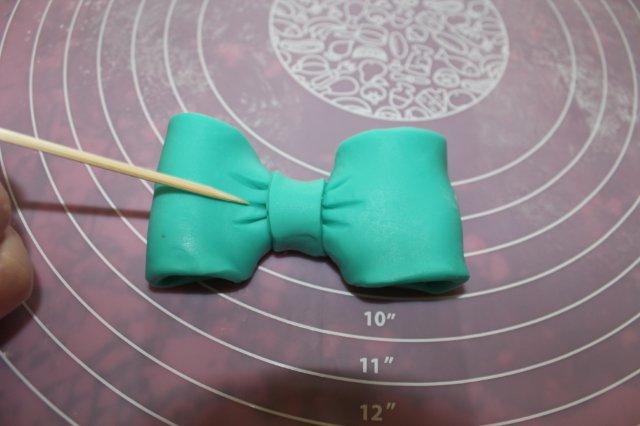 If you do not have a veining tool, you can also use toothpicks to add small details. Toothpicks do not give you as clean of a line, but still work well when you are in a pinch.
3. X-Acto knives and rulers
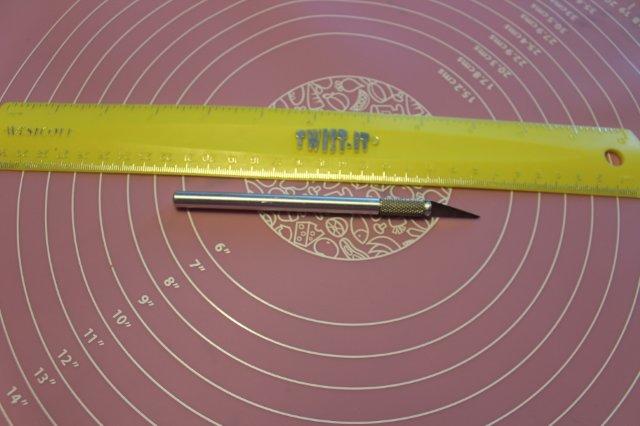 Just like with fondant or gum paste, X-Acto knives can cut beautiful smooth lines with no fray. Keep your blade clean and if you find that it begins tearing or stretching your modeling chocolate, it may be time to get a new blade. Replacement blades are available at craft stores.
Rulers are also very handy to achieve straight lines while paneling or just adding detail. If you find your ruler leaving indentations in your modeling chocolate, simply place your rolled out modeling chocolate in the fridge for a few minutes to cool off and it will be ready to work with.
Just like with fondant or gum paste, X-Acto knives can cut beautiful smooth lines with no fray. Keep your blade clean and if you find that it begins tearing or stretching your modeling chocolate, it may be time to get a new blade. Replacement blades are available at craft stores.
Rulers are also very handy to achieve straight lines while paneling or just adding detail. If you find your ruler leaving indentations in your modeling chocolate, simply place your rolled out modeling chocolate in the fridge for a few minutes to cool off and it will be ready to work with.
4. Textured paper
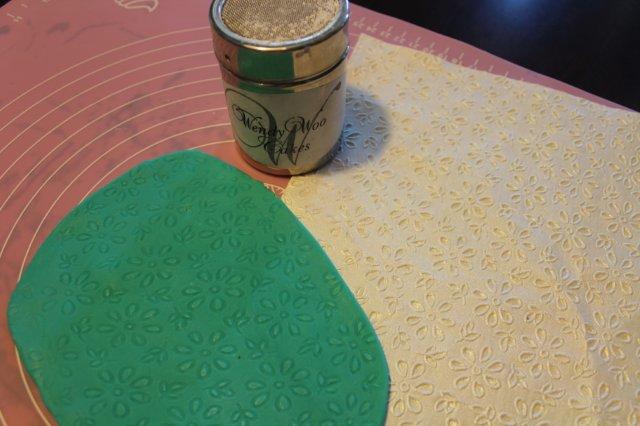 Textured papers found in the paper section at craft stores are a great way to add life and movement to your cake. In Intro to Modeling Chocolate, Lauren Kitchens teaches how to achieve a clean impression in modeling chocolate and then backfill the design to add more details and make it stand out.
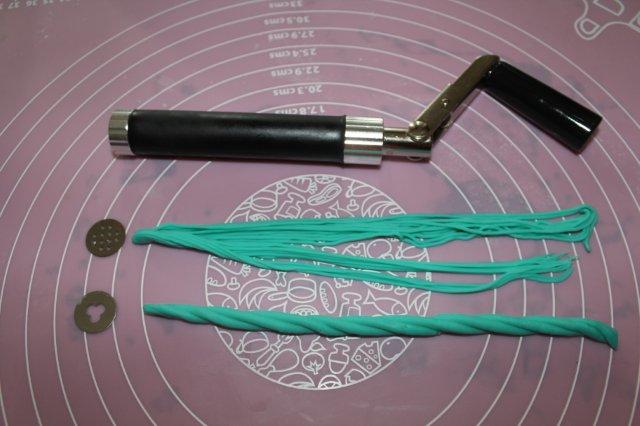
5. Extruder
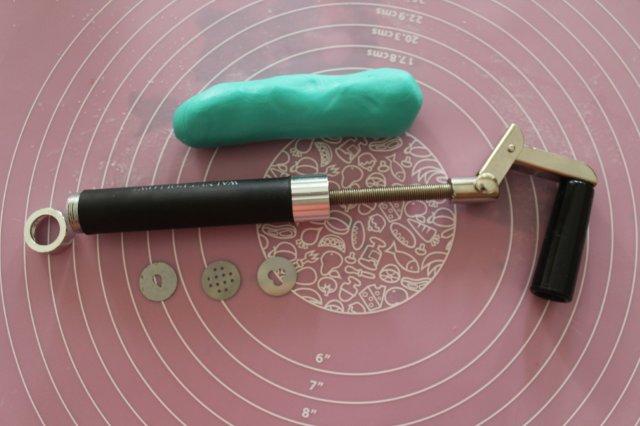 Have you ever tried pushing fondant or gum paste through an extruder? It is painful, literally. My hands ached for days after trying to make hair for a fondant figure, but you need to try it with modeling chocolate! Extruding modeling chocolate is a breeze and you get great results every time. No more aching hands!
 Give modeling chocolate a chance, you will fall in love with how easy it is to work with and how quickly you can use the decorations you have made!
Share tips, start a discussion or ask one of our experts or other students a question.
No Responses to “5 Modeling Chocolate Tools You Need in Your Cake Decorating Toolbox”