
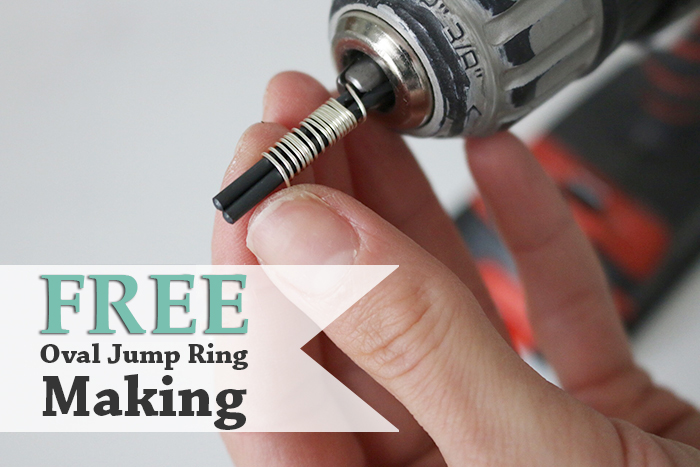
I am a frequent oval jump ring maker because I find the appearance and hold-up within jewelry components is much better. So, before I started making my own oval jump rings I asked myself, “What tools can I use?”
Today, I’ll show you how I make my own oval jump rings, with no additional cost involved.
I have tried a few methods, but my favorite and easiest is my drill bit method. Everyone probably has an electric drill, so there is no extra cost involved in this tutorial.
Oval Jump Ring Making
Materials you need for this project:
- An electric drill
- Two 3-4mm drill bits (you can use bigger ones for bigger jump rings)
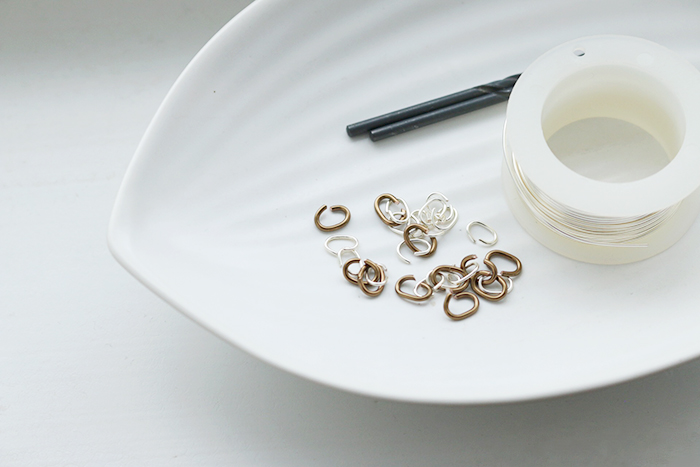
- Half hard wire
- Cutting pliers
Step 1.
Crimp the wire end together, so you have a bit of a thicker wire. Then align the two bits next to each other, you can place the wire on top of the bits so it sits right in the center (not shown in my image).

Step 2.
Clamp the bits with the wire into your drill bit opening, and tighten the electric driller.
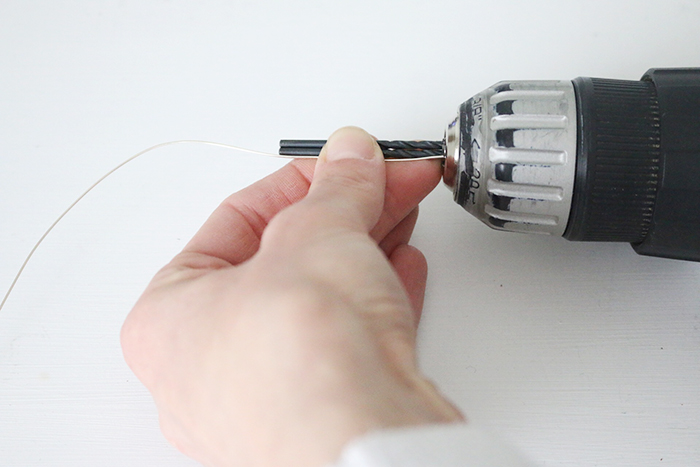
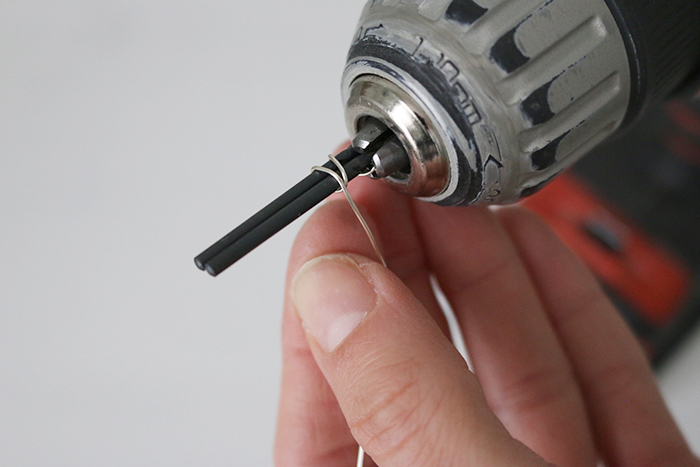
Step 3.
Once secured, wrap the wire by hand once around the drill bits. Now, hold the wire with two fingers, and start the electric driller so it slowly rotates the bits.
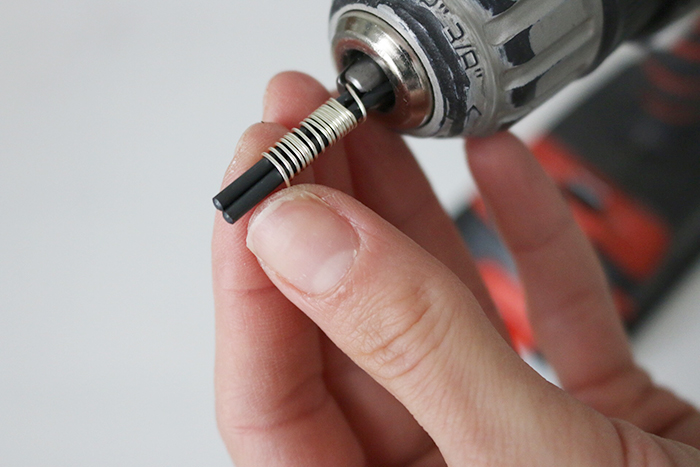
Step 4.
When you’ve threaded the entire wire onto the drill bits, use your cutting pliers to cut along the center of both drill bits. This is the easiest way to remove the oval jump rings.
This is it! Hope you enjoyed this quick tutorial. Here are a few more jewelry tutorials from me:
I really like this tutorial, but it's pretty privileged to assume everyone owns a powered drill.