
With all those branches, leaves and bark, painting a robust pine tree can be a fun experience to dive into. Whether you’re painting one from your own backyard or painting a Christmas tree to get in the holiday spirit, the whole process is simple to follow and a blast to explore.
Acrylic Pine Tree
Level: Easy
What You Need
Acrylic Paints
Tools and Materials
Instructions
1. Observe
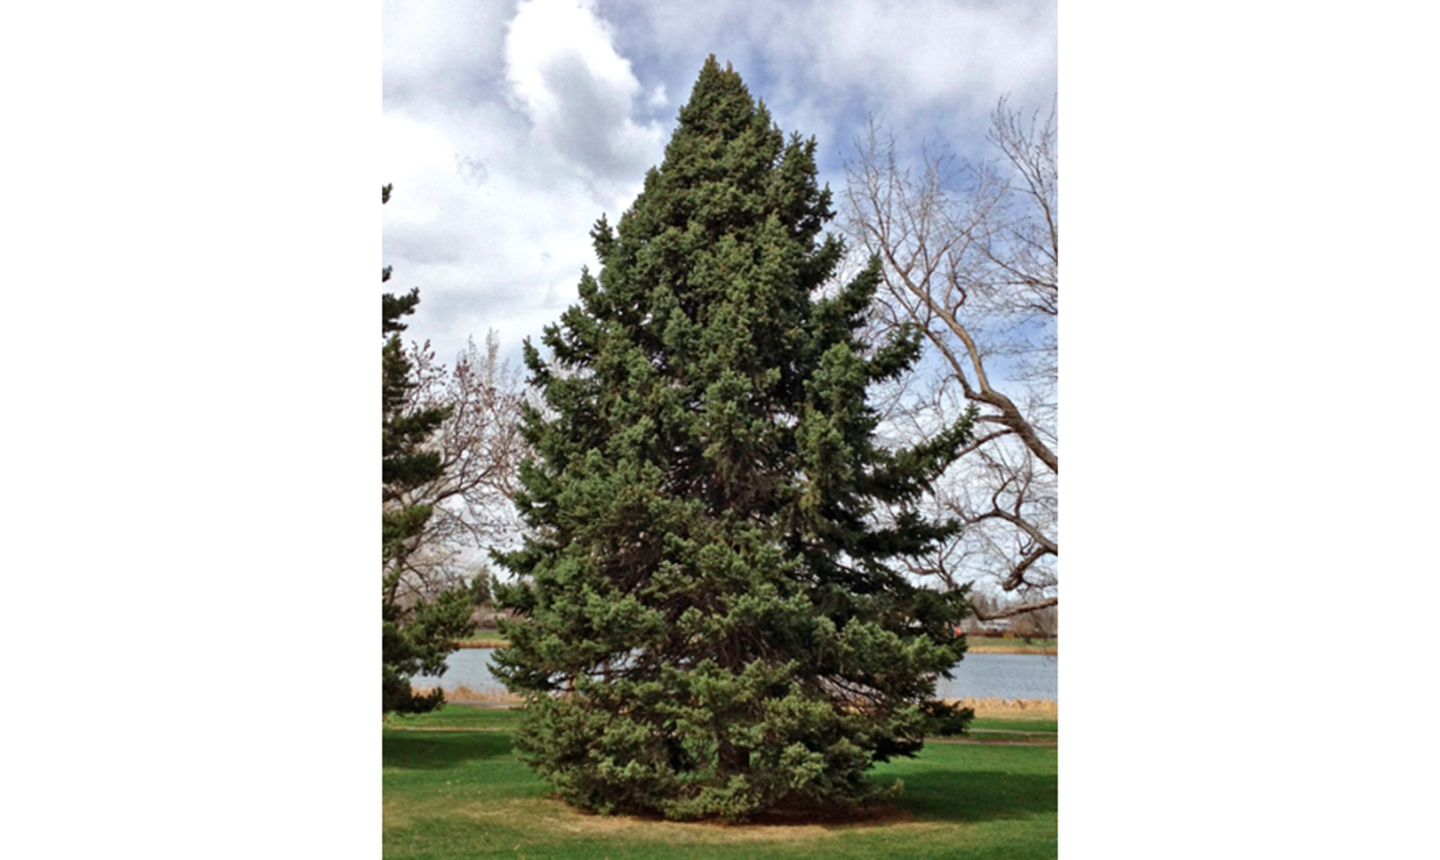
Whether you’re painting en plein air or using a reference photo, having your subject in front of you is the easiest way to paint. While observing all the ins and outs of your subject, try squinting. It simplifies what you’re seeing while desaturating the image so you can focus on value (lights and shadows).
2. Draw the Outline
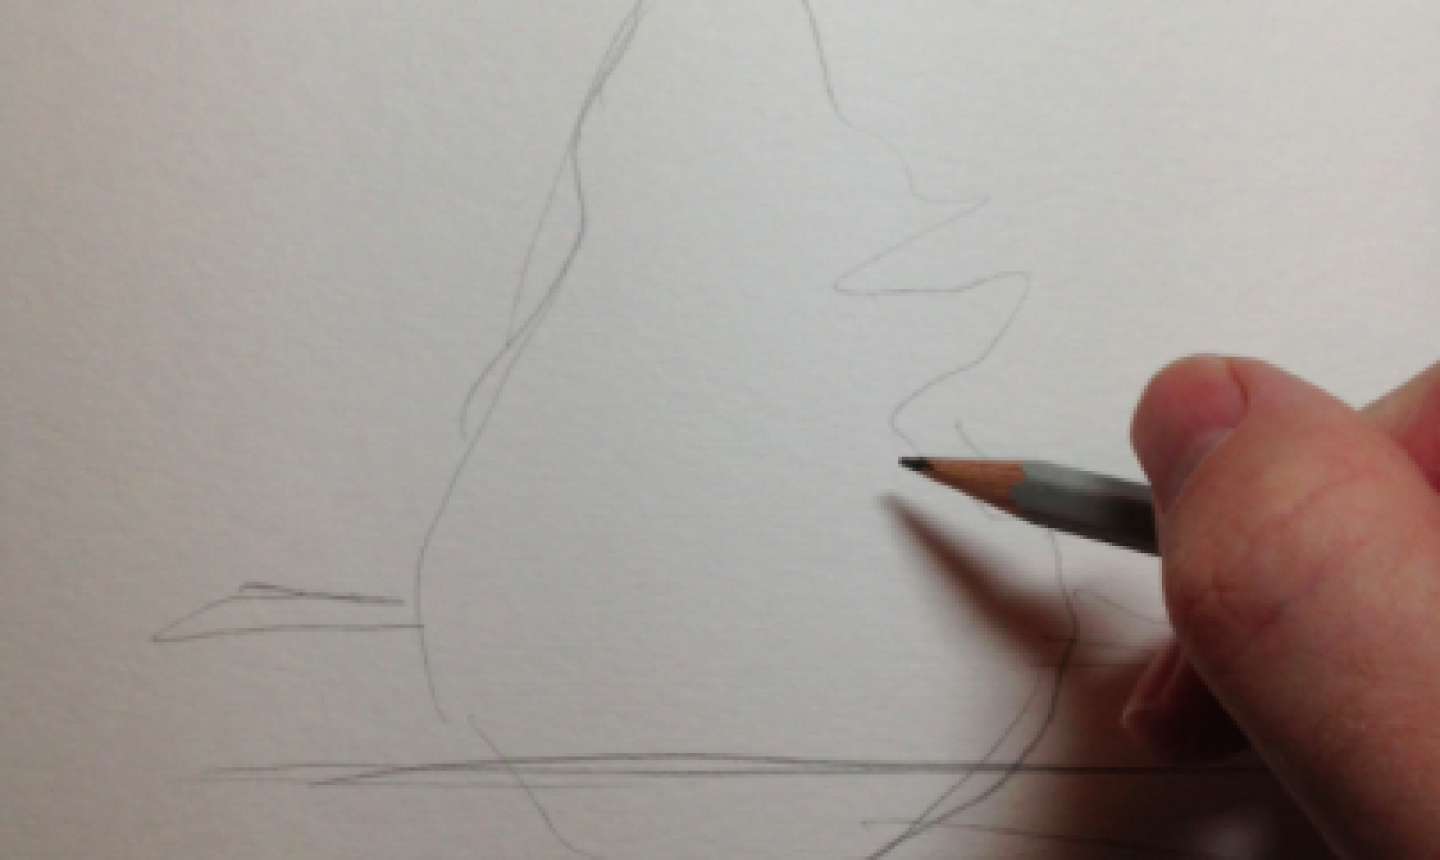
Draw the rough shape of the tree form onto your paper or canvas. The details aren’t important here — just block out the proportions loosely so you can fill in the details with paint.
3. Do the Underpainting
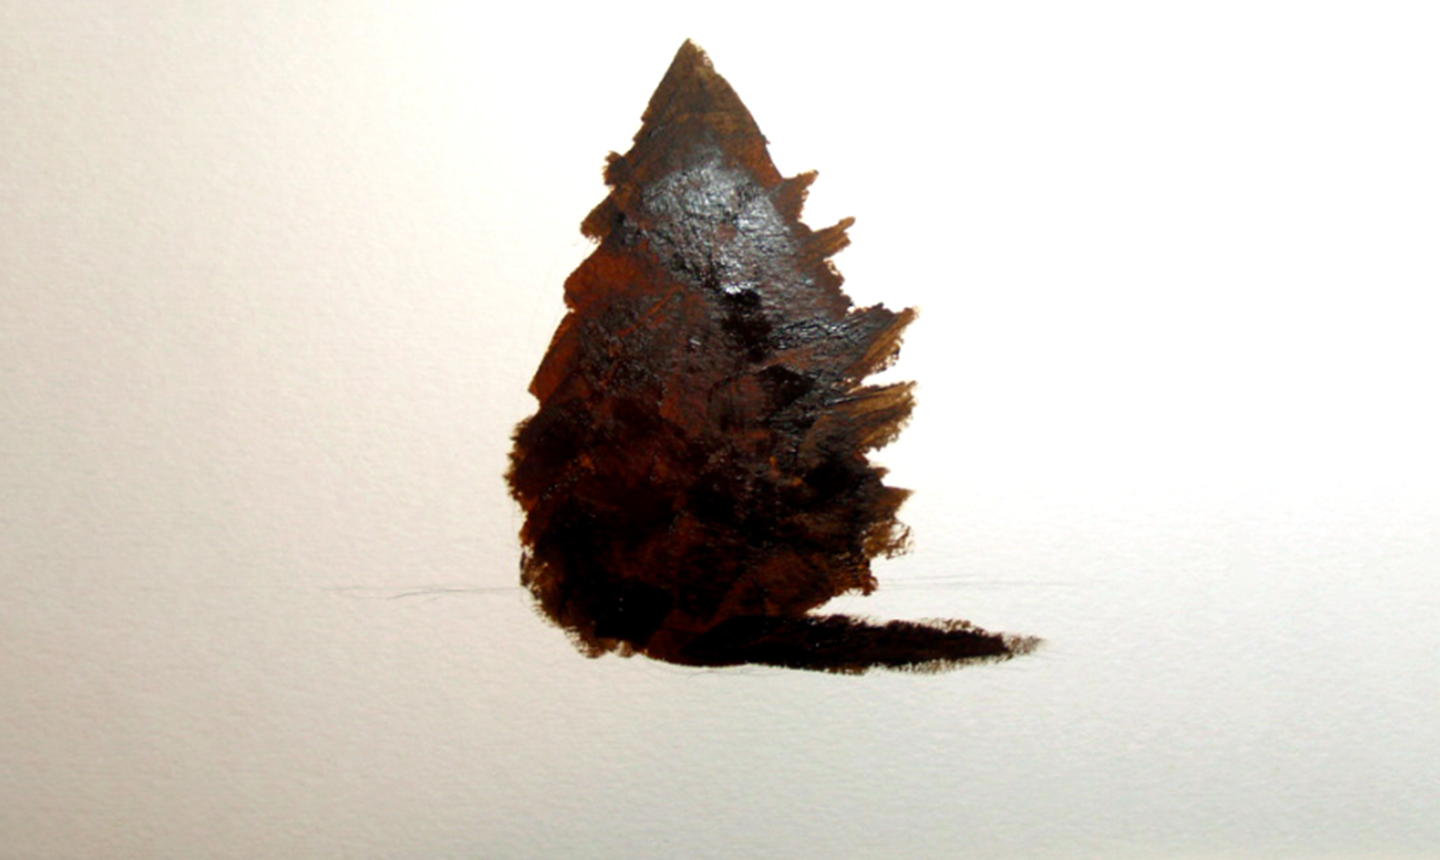
An underpainting is a basic acrylic technique, and it serves as the base for your other layers of paint. To make our underpainting, mix together black and burnt umber paint. Use a ¾ flat synthetic Taklon brush to block in the rough shape of your tree. (Remember, you shouldn’t be paying attention to the details yet.)
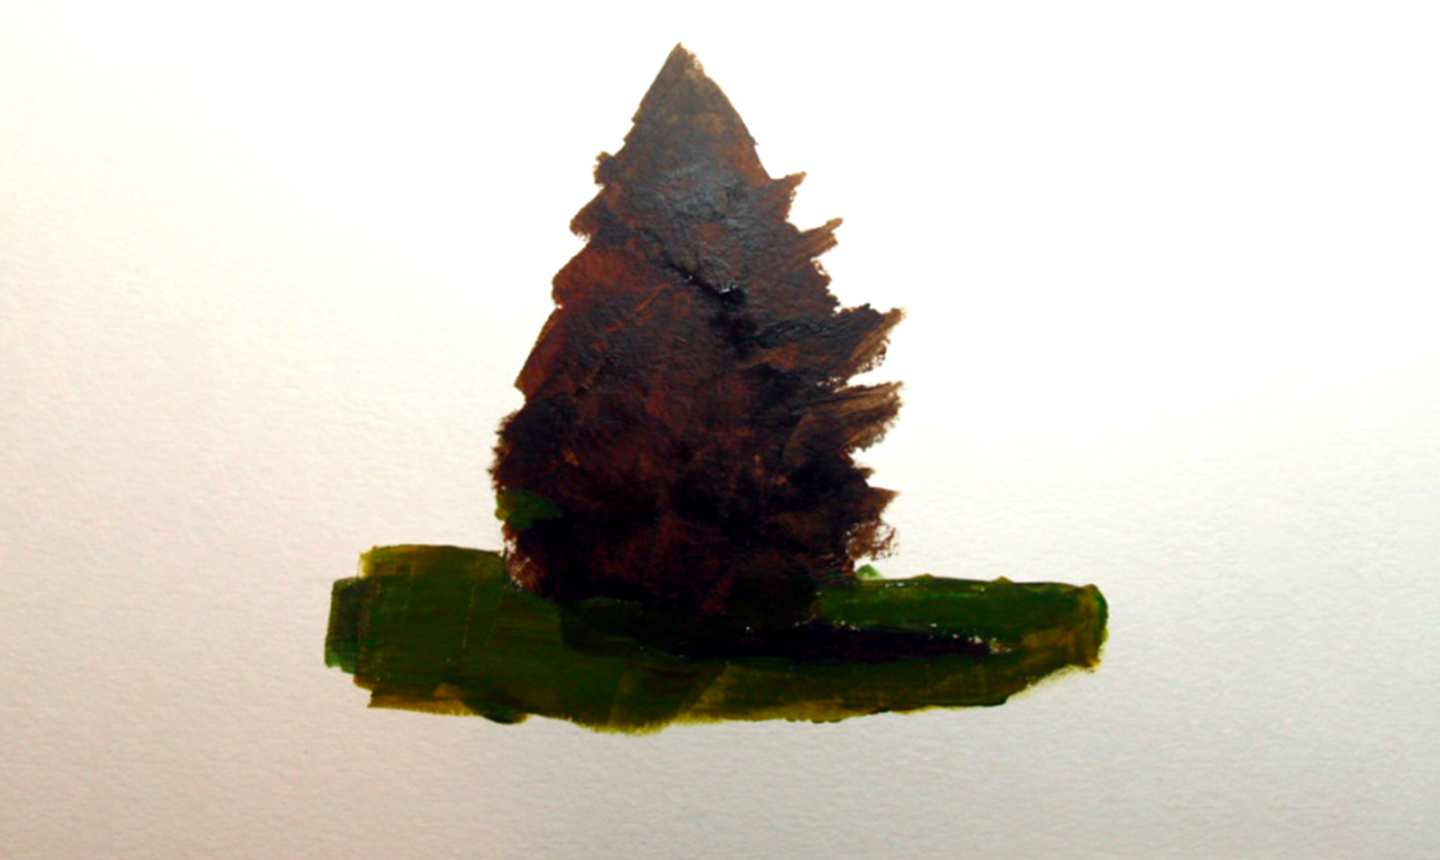
Mix together Light Green Permanent and Phthalocyanine Green and block in the ground.
4. Paint the Sky
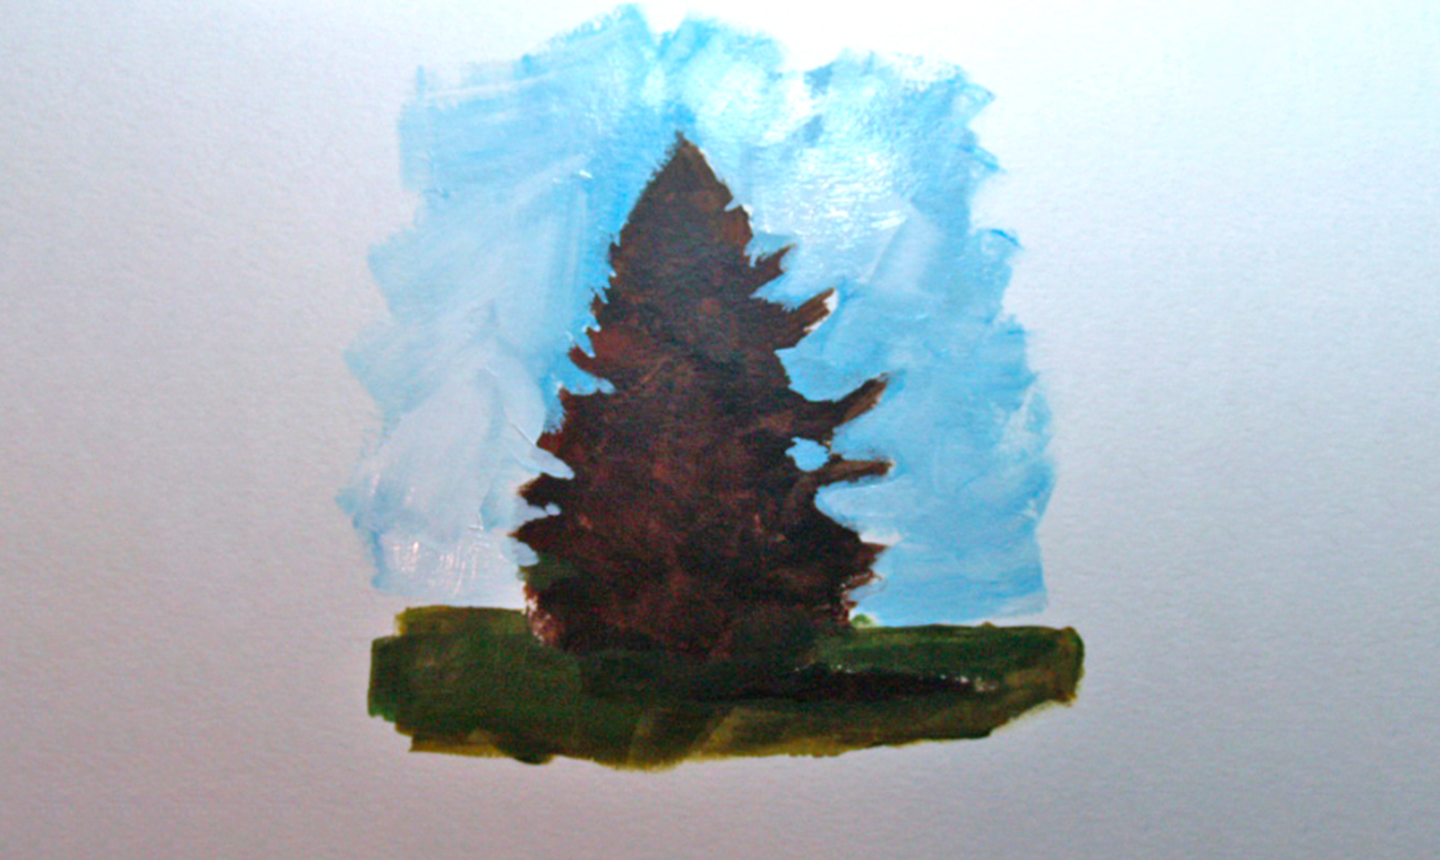
Using a mixture of White and Primary Blue paints, brush up your sky. Because these acrylics are nice and opaque, you can start “cutting in” to shape the tree, helping to define it more clearly and specifically as you go.
Pro Tip: If you’re not sure how opaque the paints you’re using are, do a quick test for transparency.
5. Build Layers
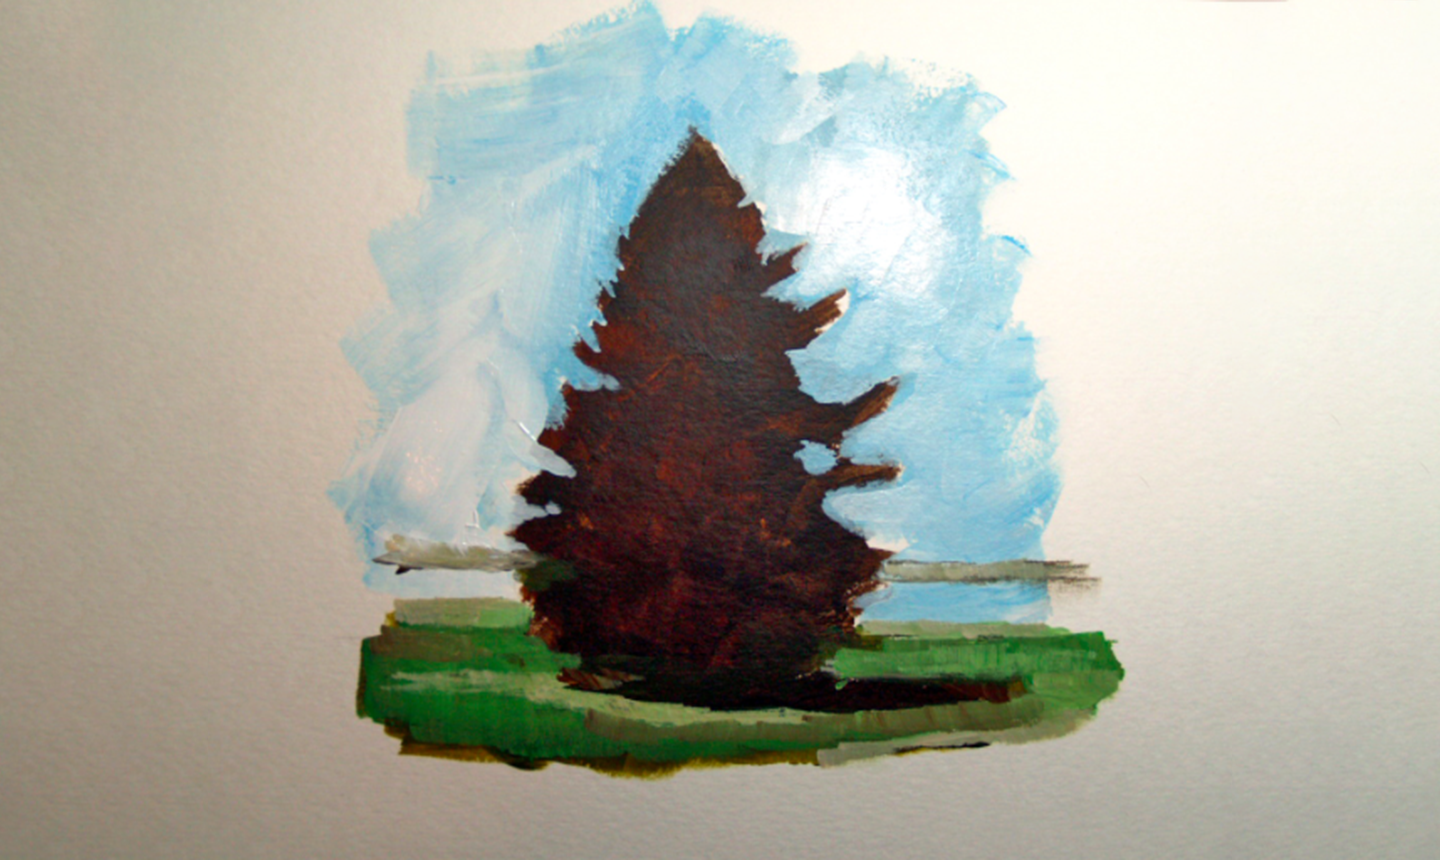
Add a little Primary Yellow and White to the two colors you mixed before. Lighten up the grass with short, choppy strokes using your flat brush. Leave a cast shadow from the tree in your original underpainting color.
Build out your background here as well — we added a shoreline and a lake.
6. Add Highlights
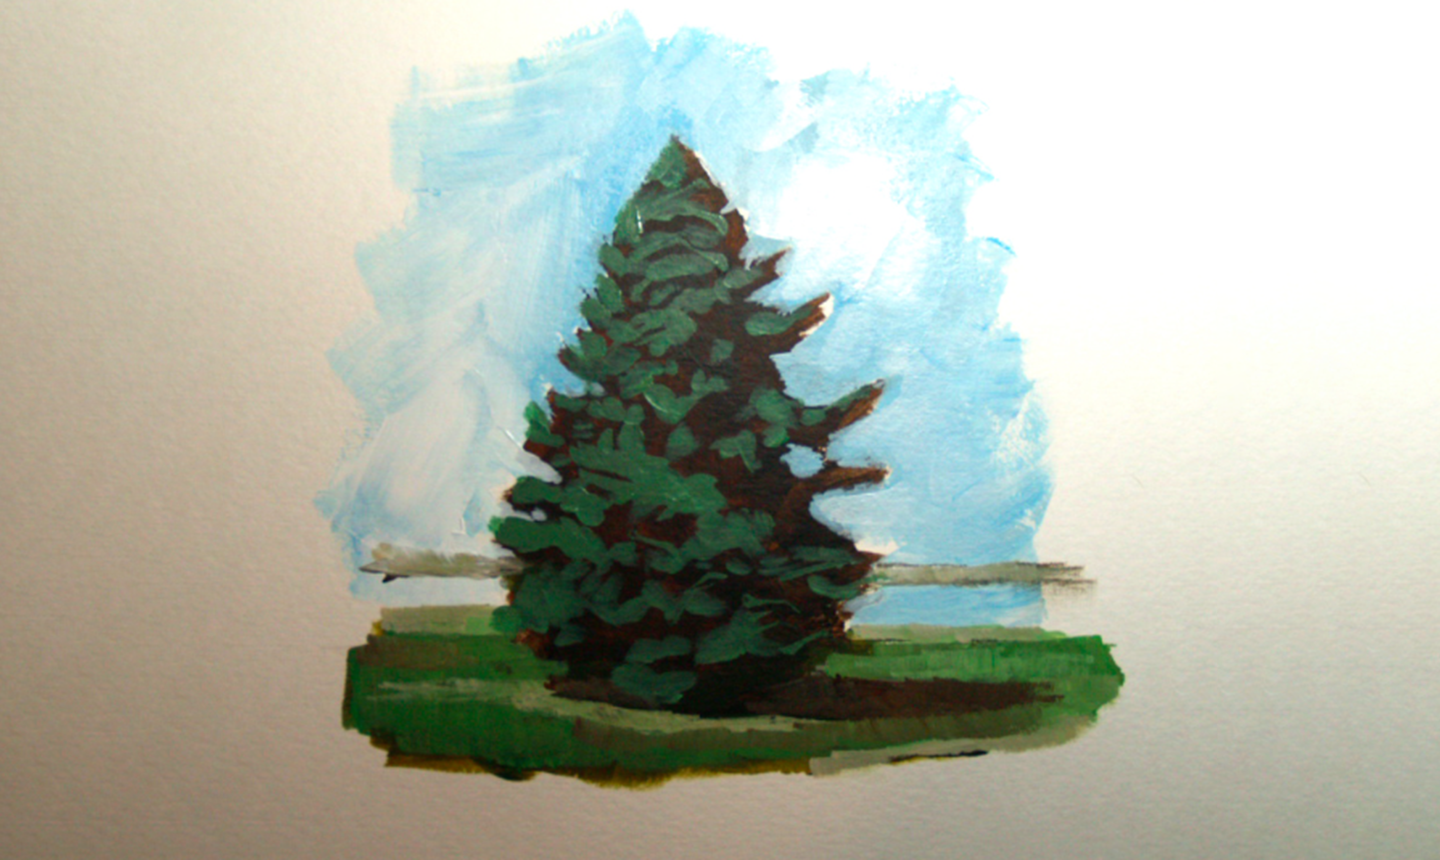
Working very loosely, block in the highlights of the tree branches, using a bit more of the cooler Phthalocyanine Green to help differentiate the pine tree’s color from the warmer green of the grass.
Pro Tip: Pay close attention to where the lights and darks rest in your subject. Remember where the light source is coming from (in our photo, it’s from the top left), so you know which parts to highlight and which to leave dark.
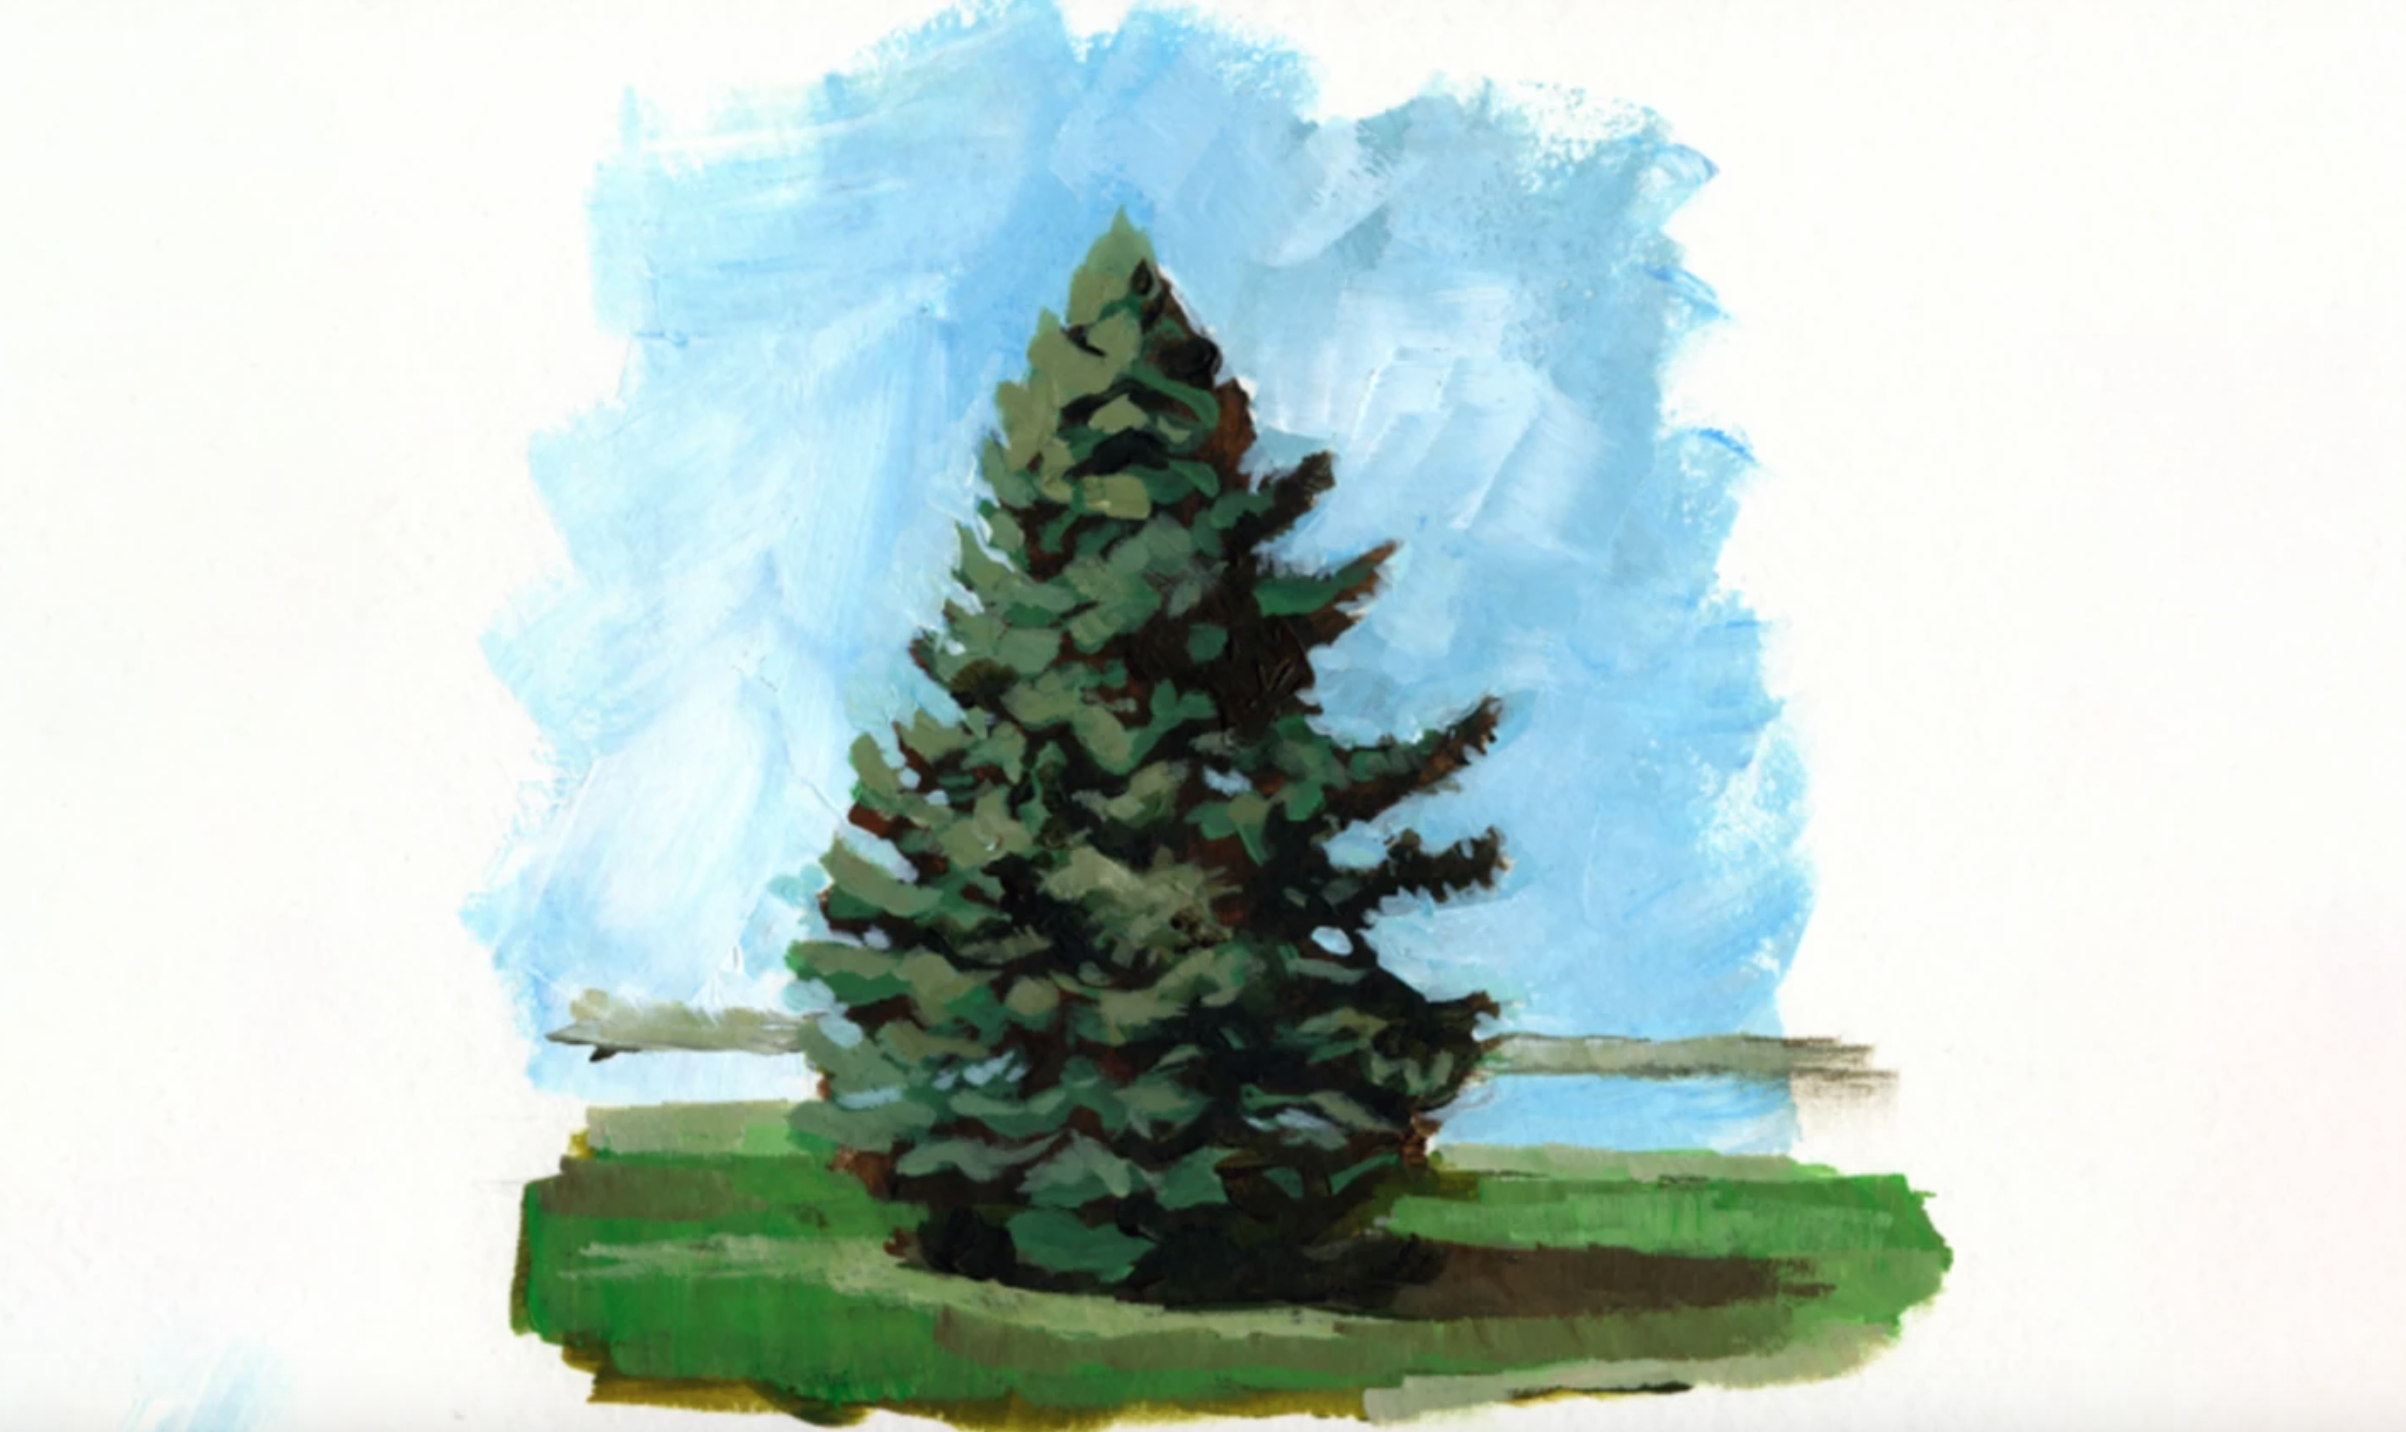
7. Finalize
Switch to a #6 “shader” flat brush and continue adding highlights. Mix an even cooler, lighter shade of green-grey for your lightest highlights.
As you continue building highlights, re-establish your darker values as well to create a feeling of depth and dimension. Don’t overwork it — the individual pine needles and blades of grass don’t need to be painted for the tree to take shape.
Share tips, start a discussion or ask one of our experts or other students a question.
Already a member? Sign in
No Responses to “How to Paint a Pine Tree in Acrylic”