
 After several attempts that left me with dismal-looking dragonflies, I decided that less is more for these creatures.
Here is a step-by-step guide on how to create your own dragonfly paintings, perfect for notecards or to frame!
Materials:
- Small set of watercolors (I used an assortment of Winsor & Newton pan paints: viridian, winsor blue GS, green gold, and burnt sienna)
- Hot press or cold press watercolor paper (I used Fabriano Artistico Traditional White, hot press)
- A number 6 or 8 pointed round brush
- A sharp 2H pencil (A No. 2 pencil or HB used very lightly will also work fine)
- Pigma Micron Pens or other super fine point permanent markers. (I used sizes .03 and .01)
- A white gel pen
- Iridescent gold or silver watercolor paint (I used Daniel Smith brand)
Directions:
Step 1: Sketch the dragonfly
 First things first…we draw. Keeping things very simple, I looked at some photos of dragonflies and just broke it down into really easy shapes.
We are not aiming for exact likeness or realism, but rather to capture the essence of a dragonfly. Feel free to use my drawing as your guide or come up with your own.
I used a 2H pencil to keep my lines very light, but dark enough for you to see. Feel free to lighten up the lines as need be after you draw.
First things first…we draw. Keeping things very simple, I looked at some photos of dragonflies and just broke it down into really easy shapes.
We are not aiming for exact likeness or realism, but rather to capture the essence of a dragonfly. Feel free to use my drawing as your guide or come up with your own.
I used a 2H pencil to keep my lines very light, but dark enough for you to see. Feel free to lighten up the lines as need be after you draw.
Step 2: Trace in pen
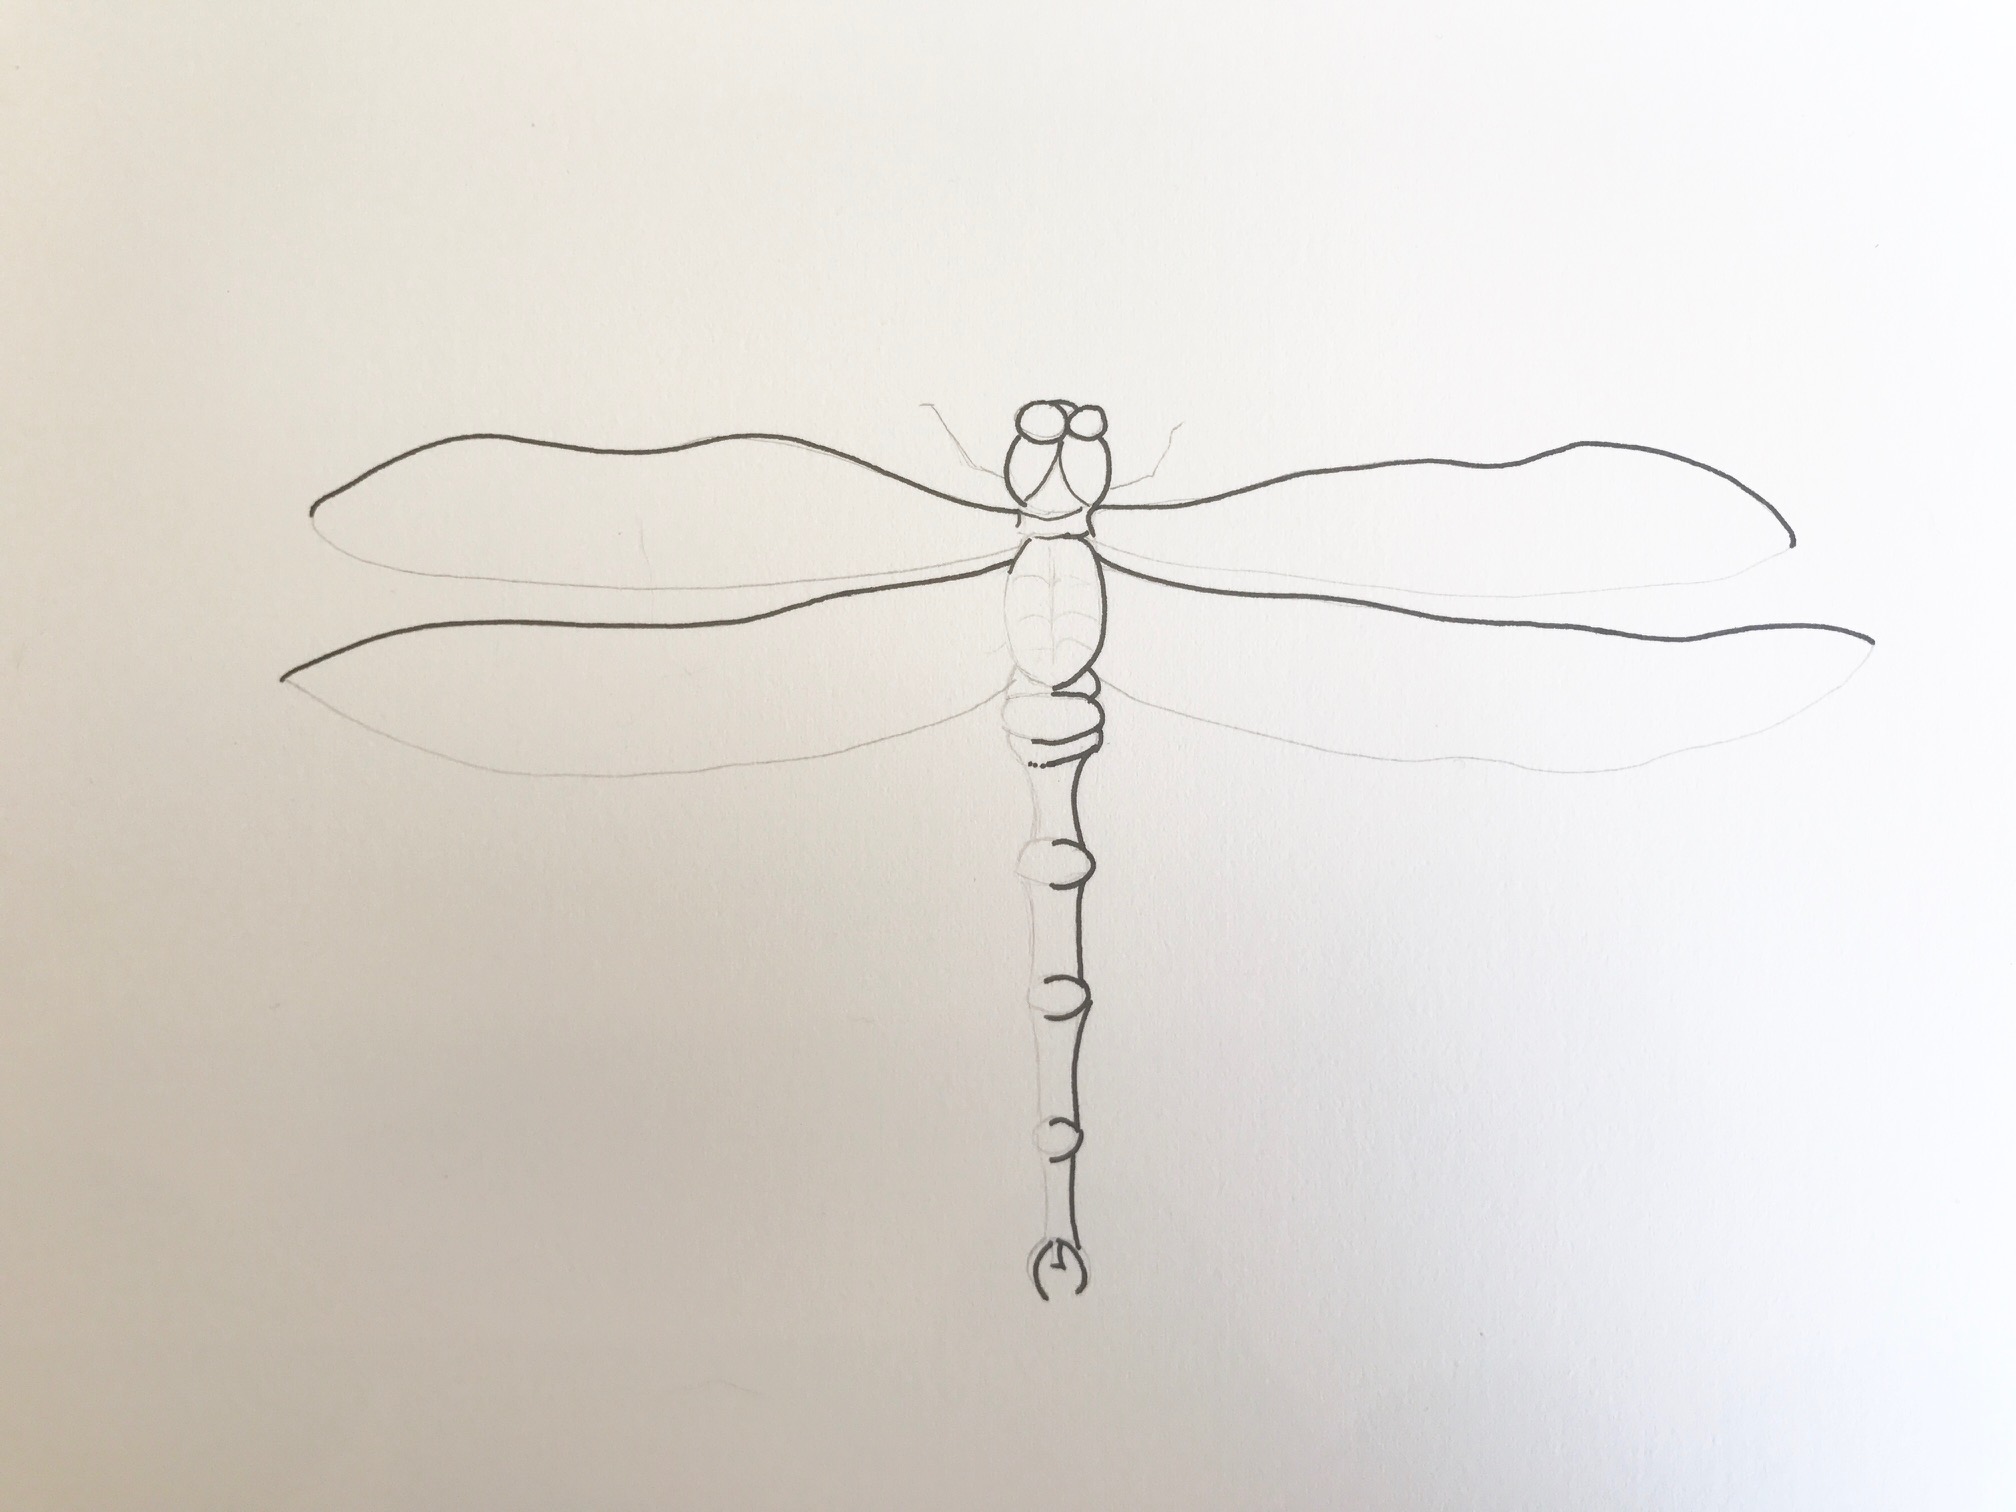 Next, use ink to trace your sketch. Once my drawing was the way I wanted it, I used my Pigma Micron pens to outline most of my dragonfly.
I used the 0.3 size first, to outline the tops of the wing and the right side of the dragonfly’s body, as seen above. This puts a little more emphasis on one side of the dragonfly, which in a small way suggests roundness. Remember, we are keeping it simple!
Next, use ink to trace your sketch. Once my drawing was the way I wanted it, I used my Pigma Micron pens to outline most of my dragonfly.
I used the 0.3 size first, to outline the tops of the wing and the right side of the dragonfly’s body, as seen above. This puts a little more emphasis on one side of the dragonfly, which in a small way suggests roundness. Remember, we are keeping it simple!
 Next I used a lighter 0.1 Pigma Micron pen to outline the other side of the dragonfly’s body, completing the form (shown above).
 And finally, I continued to use my 0.1 Pigma Micron pen to add some stippling at each intersection on the body, to give the hint of shadow and roundness once again. Look closely at where I created the stipple marks by lightly touching the tip of the pen to the paper, creating a small pin-point dot.
Step 3: Pick your colors
 The beauty of a project like this is that anything goes as far as color! For this tutorial, I wanted to keep my colors clear and light, so I chose single pigments that are very transparent: viridian, winsor blue GS and green gold.
Because I wanted to add a tiny bit of shading to my dragonfly, I also used burnt sienna. Burnt sienna is an earthy red/orange hue, which is a complement to the turquoise and greens, their opposite on the color wheel. When we want to make a color deeper, a very simple way is to add a bit of its complementary color.
The beauty of a project like this is that anything goes as far as color! For this tutorial, I wanted to keep my colors clear and light, so I chose single pigments that are very transparent: viridian, winsor blue GS and green gold.
Because I wanted to add a tiny bit of shading to my dragonfly, I also used burnt sienna. Burnt sienna is an earthy red/orange hue, which is a complement to the turquoise and greens, their opposite on the color wheel. When we want to make a color deeper, a very simple way is to add a bit of its complementary color.
Step 4: Paint the wings
Once I had my colors ready, I began painting one wing at a time, alternating sides of the dragonfly and waiting for them to dry in between. The reason to wait for each section to dry is to stop the paints from seeping from one wing to the other. I started by making a water glaze on the wings. Using clean water, apply the water glaze to the entire wing. Be very careful to use the tip of your brush toward the edges, to keep them neat and to make sure you have a nice even glaze for the paint to flow on. Success really depends on laying down a good water glaze for the pigment to flow over.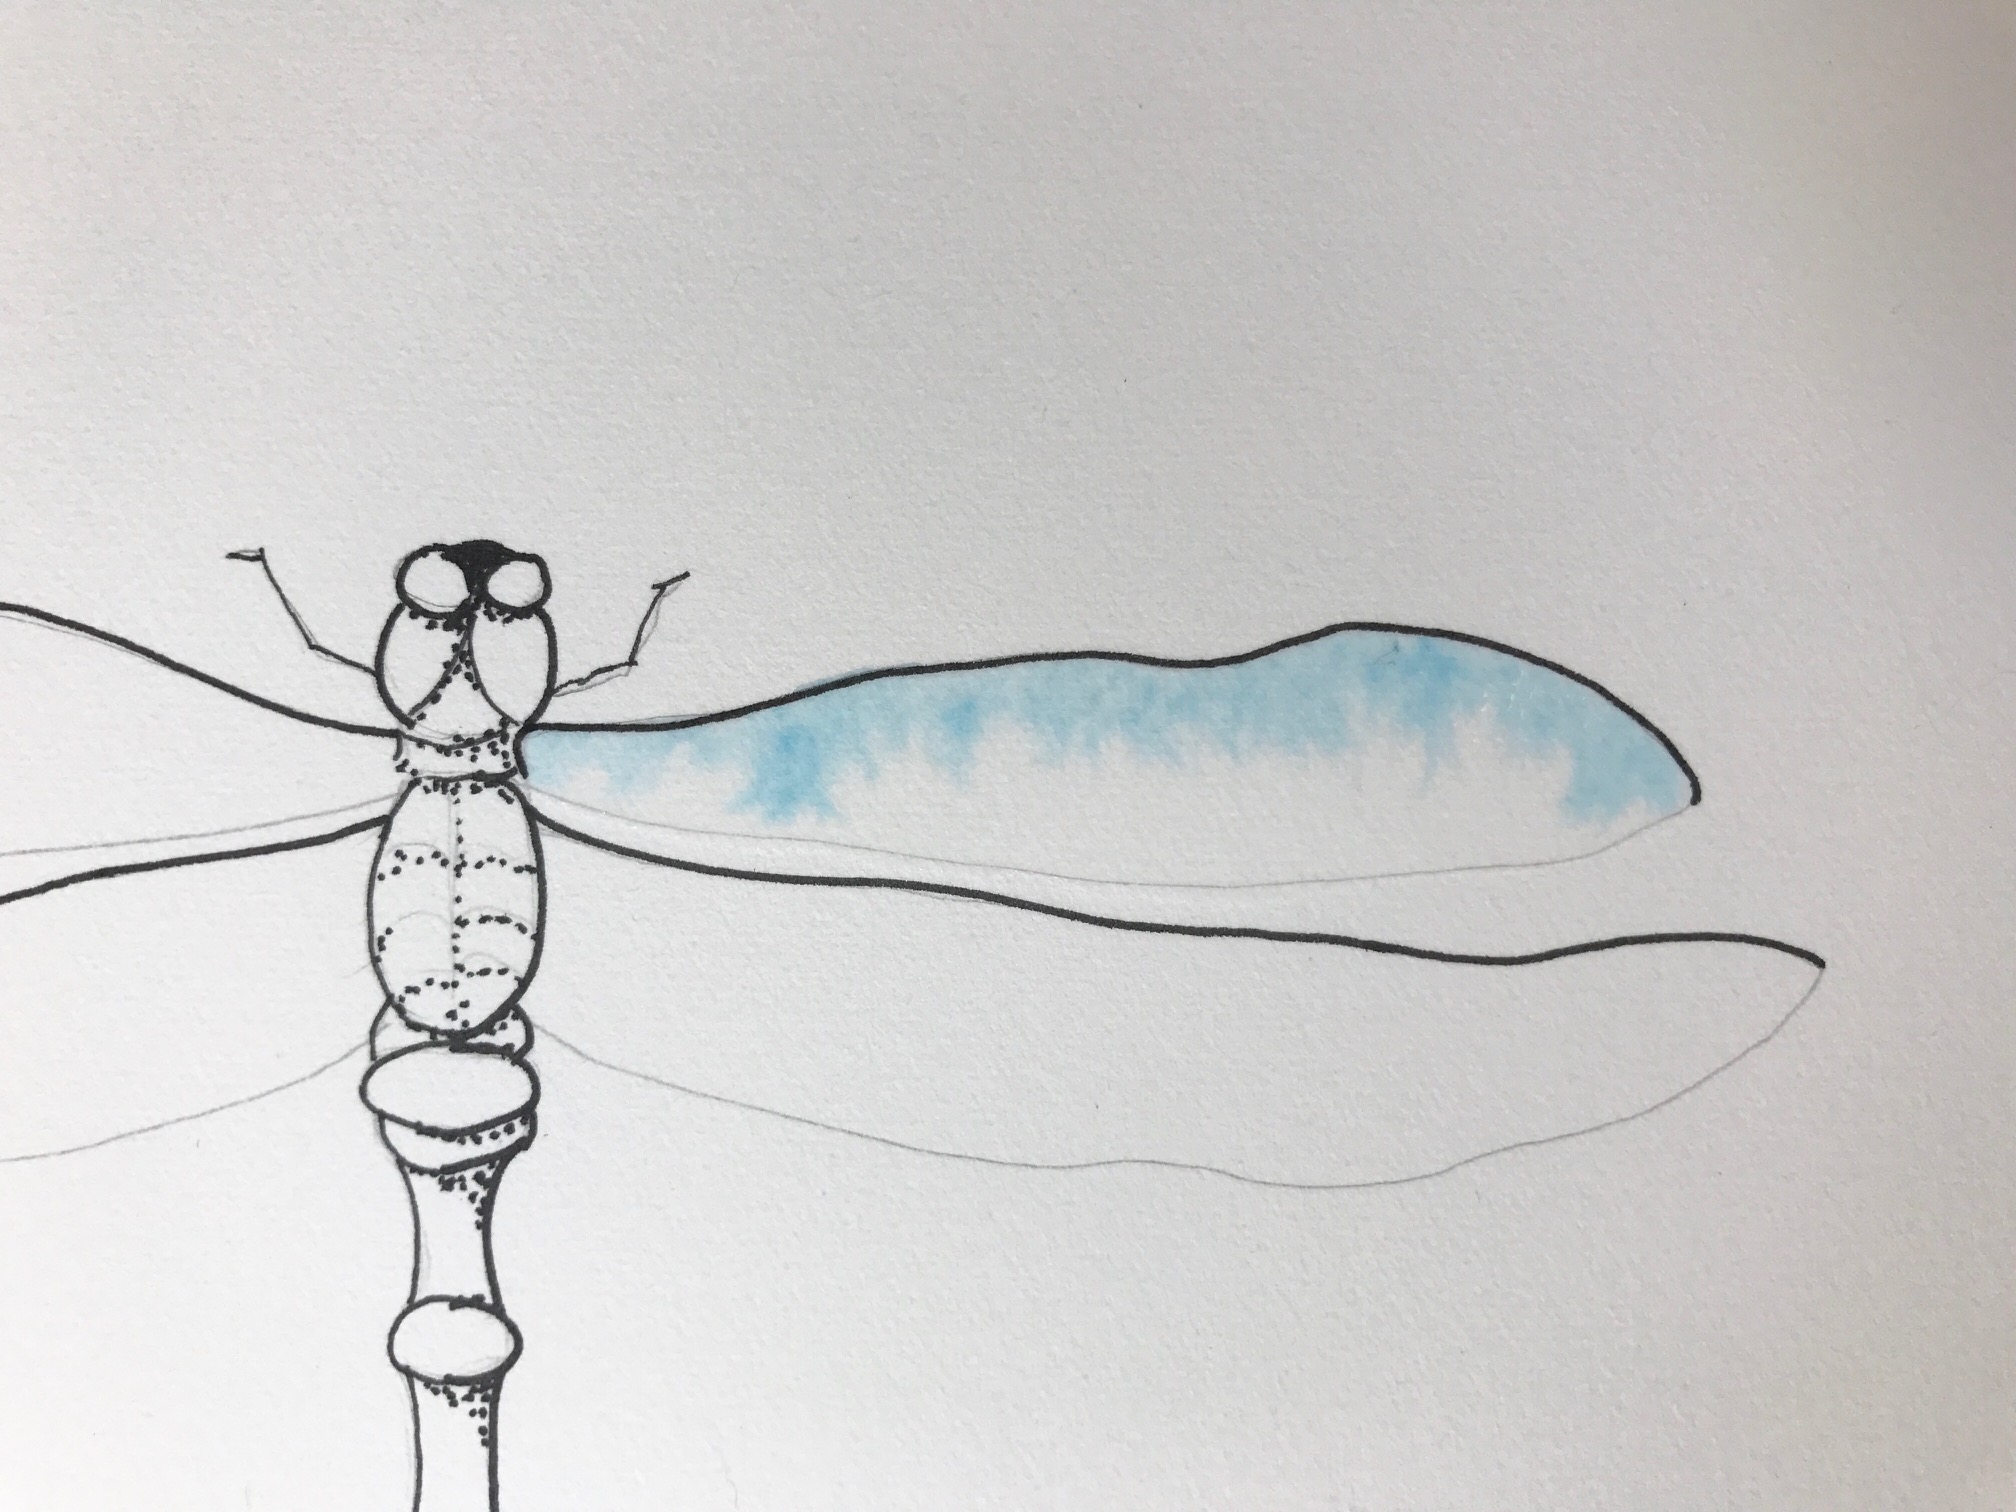 Once the water glaze is in place, immediately use the tip of your brush to deposit one of your pigments onto the upper edge of the wing, directly under the ink line. The idea is to let it fall off the tip of the brush along the ink line so it can softly flow into the water glaze, without placing color over the entire wing.
 If the glaze is too dark or starts to spread too far toward the bottom of the wing, you can use a clean, damp brush to wipe up any extra paint. The idea is to capture that transparency of dragonfly wings while giving them a hint of color.
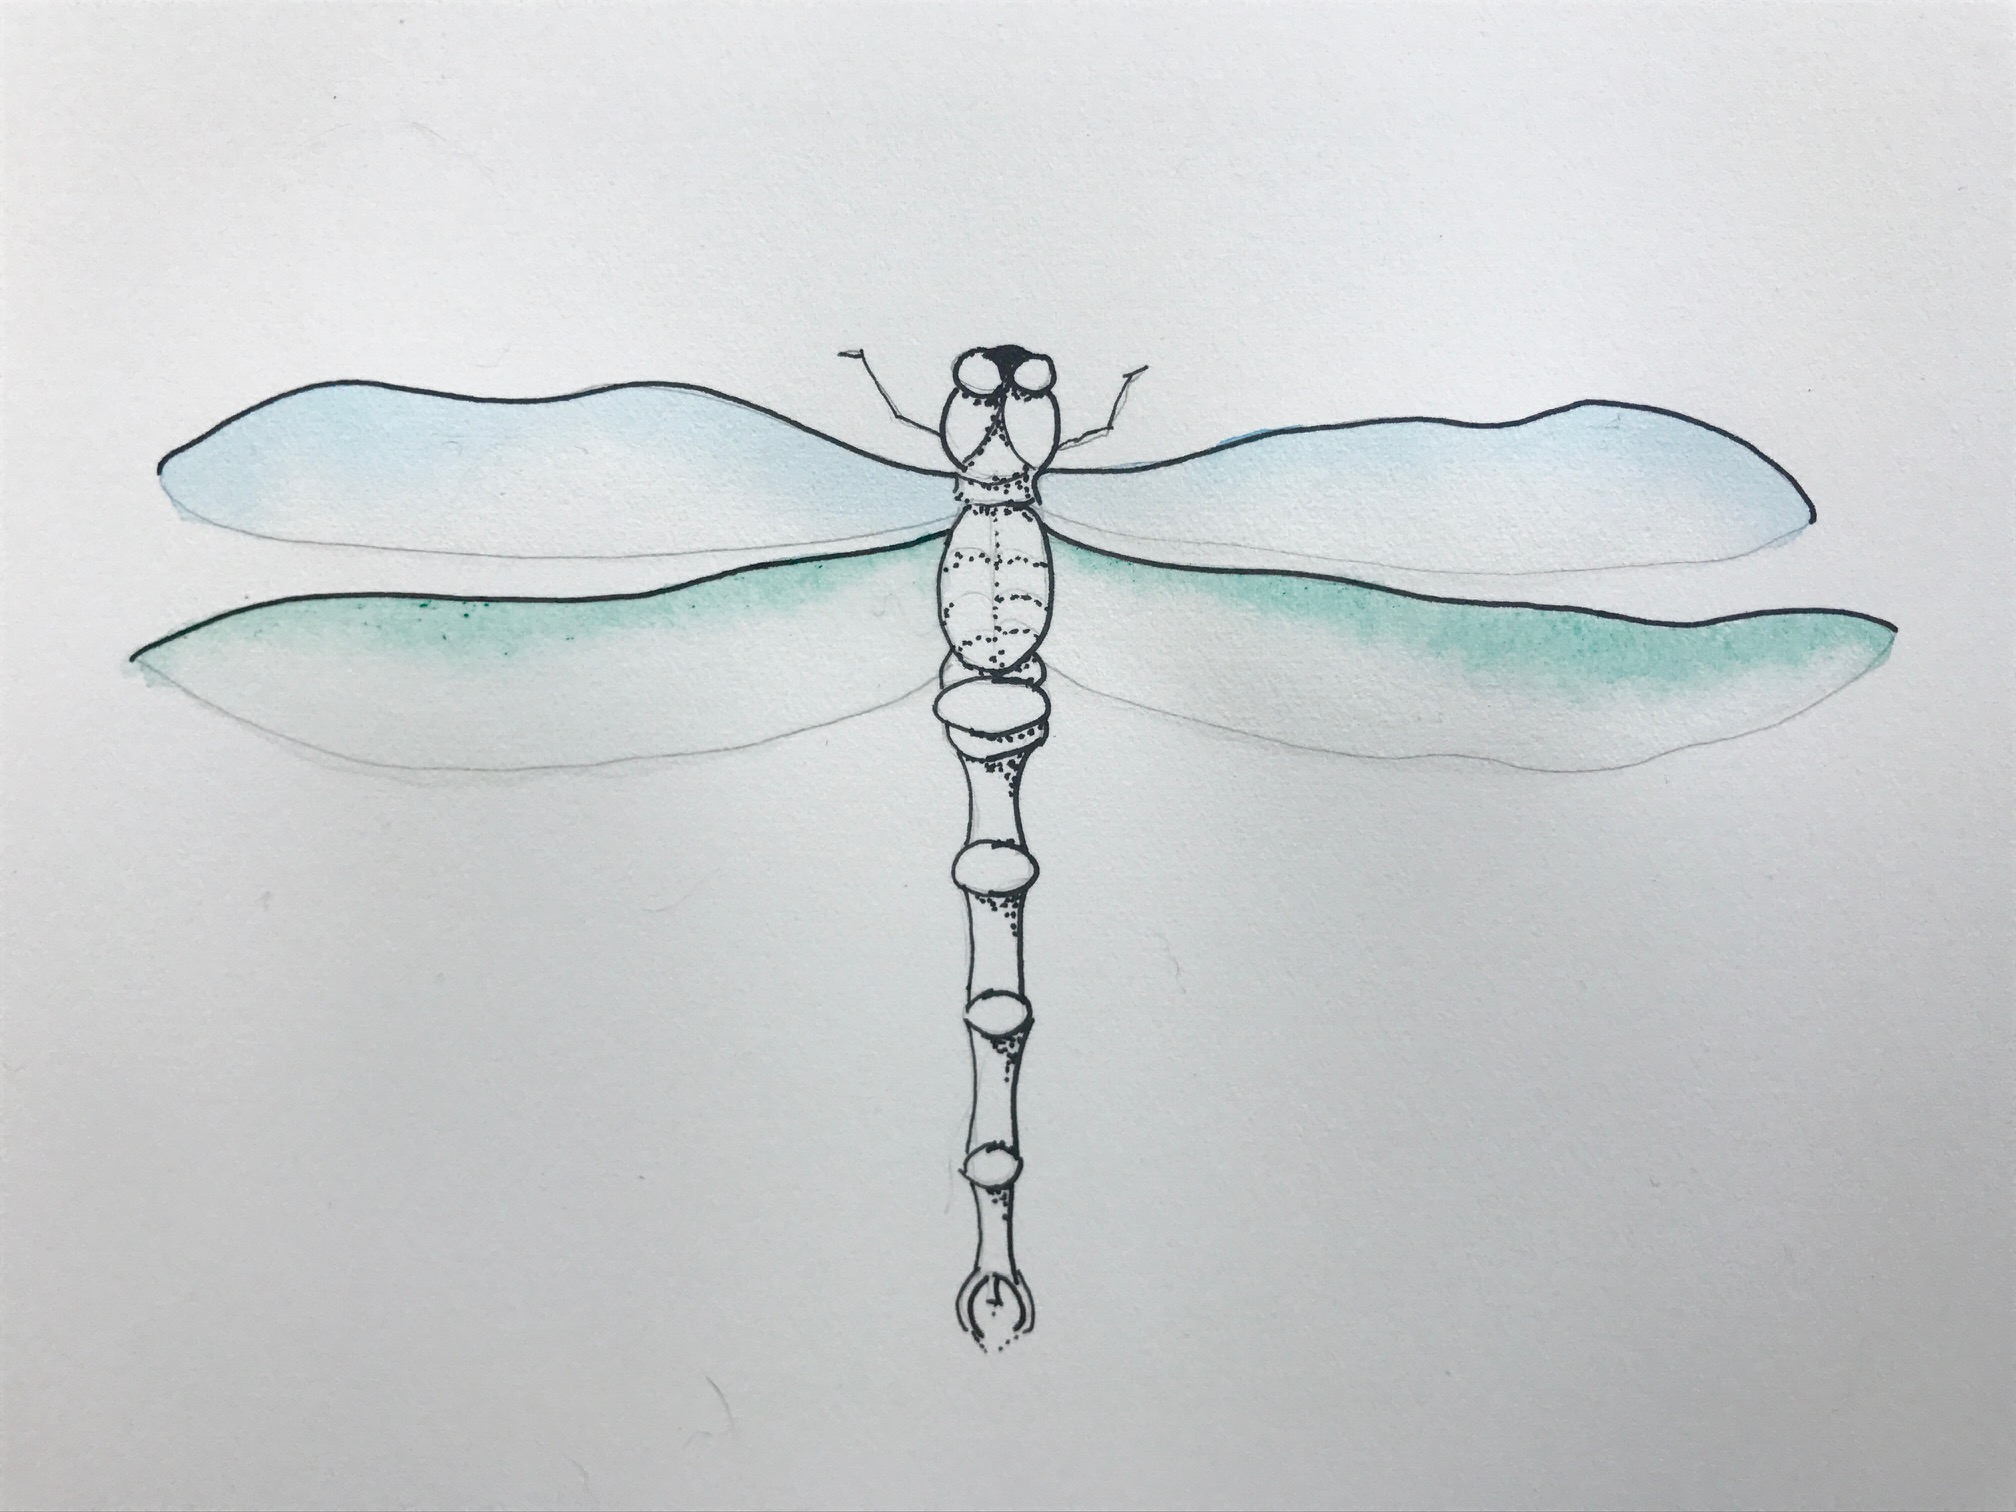 Continue this step for all four wings. Here is my dragonfly after painting all the wings. I used pale winsor blue GS for the top wings and viridian for the bottom wings.
Step 5: Paint the body
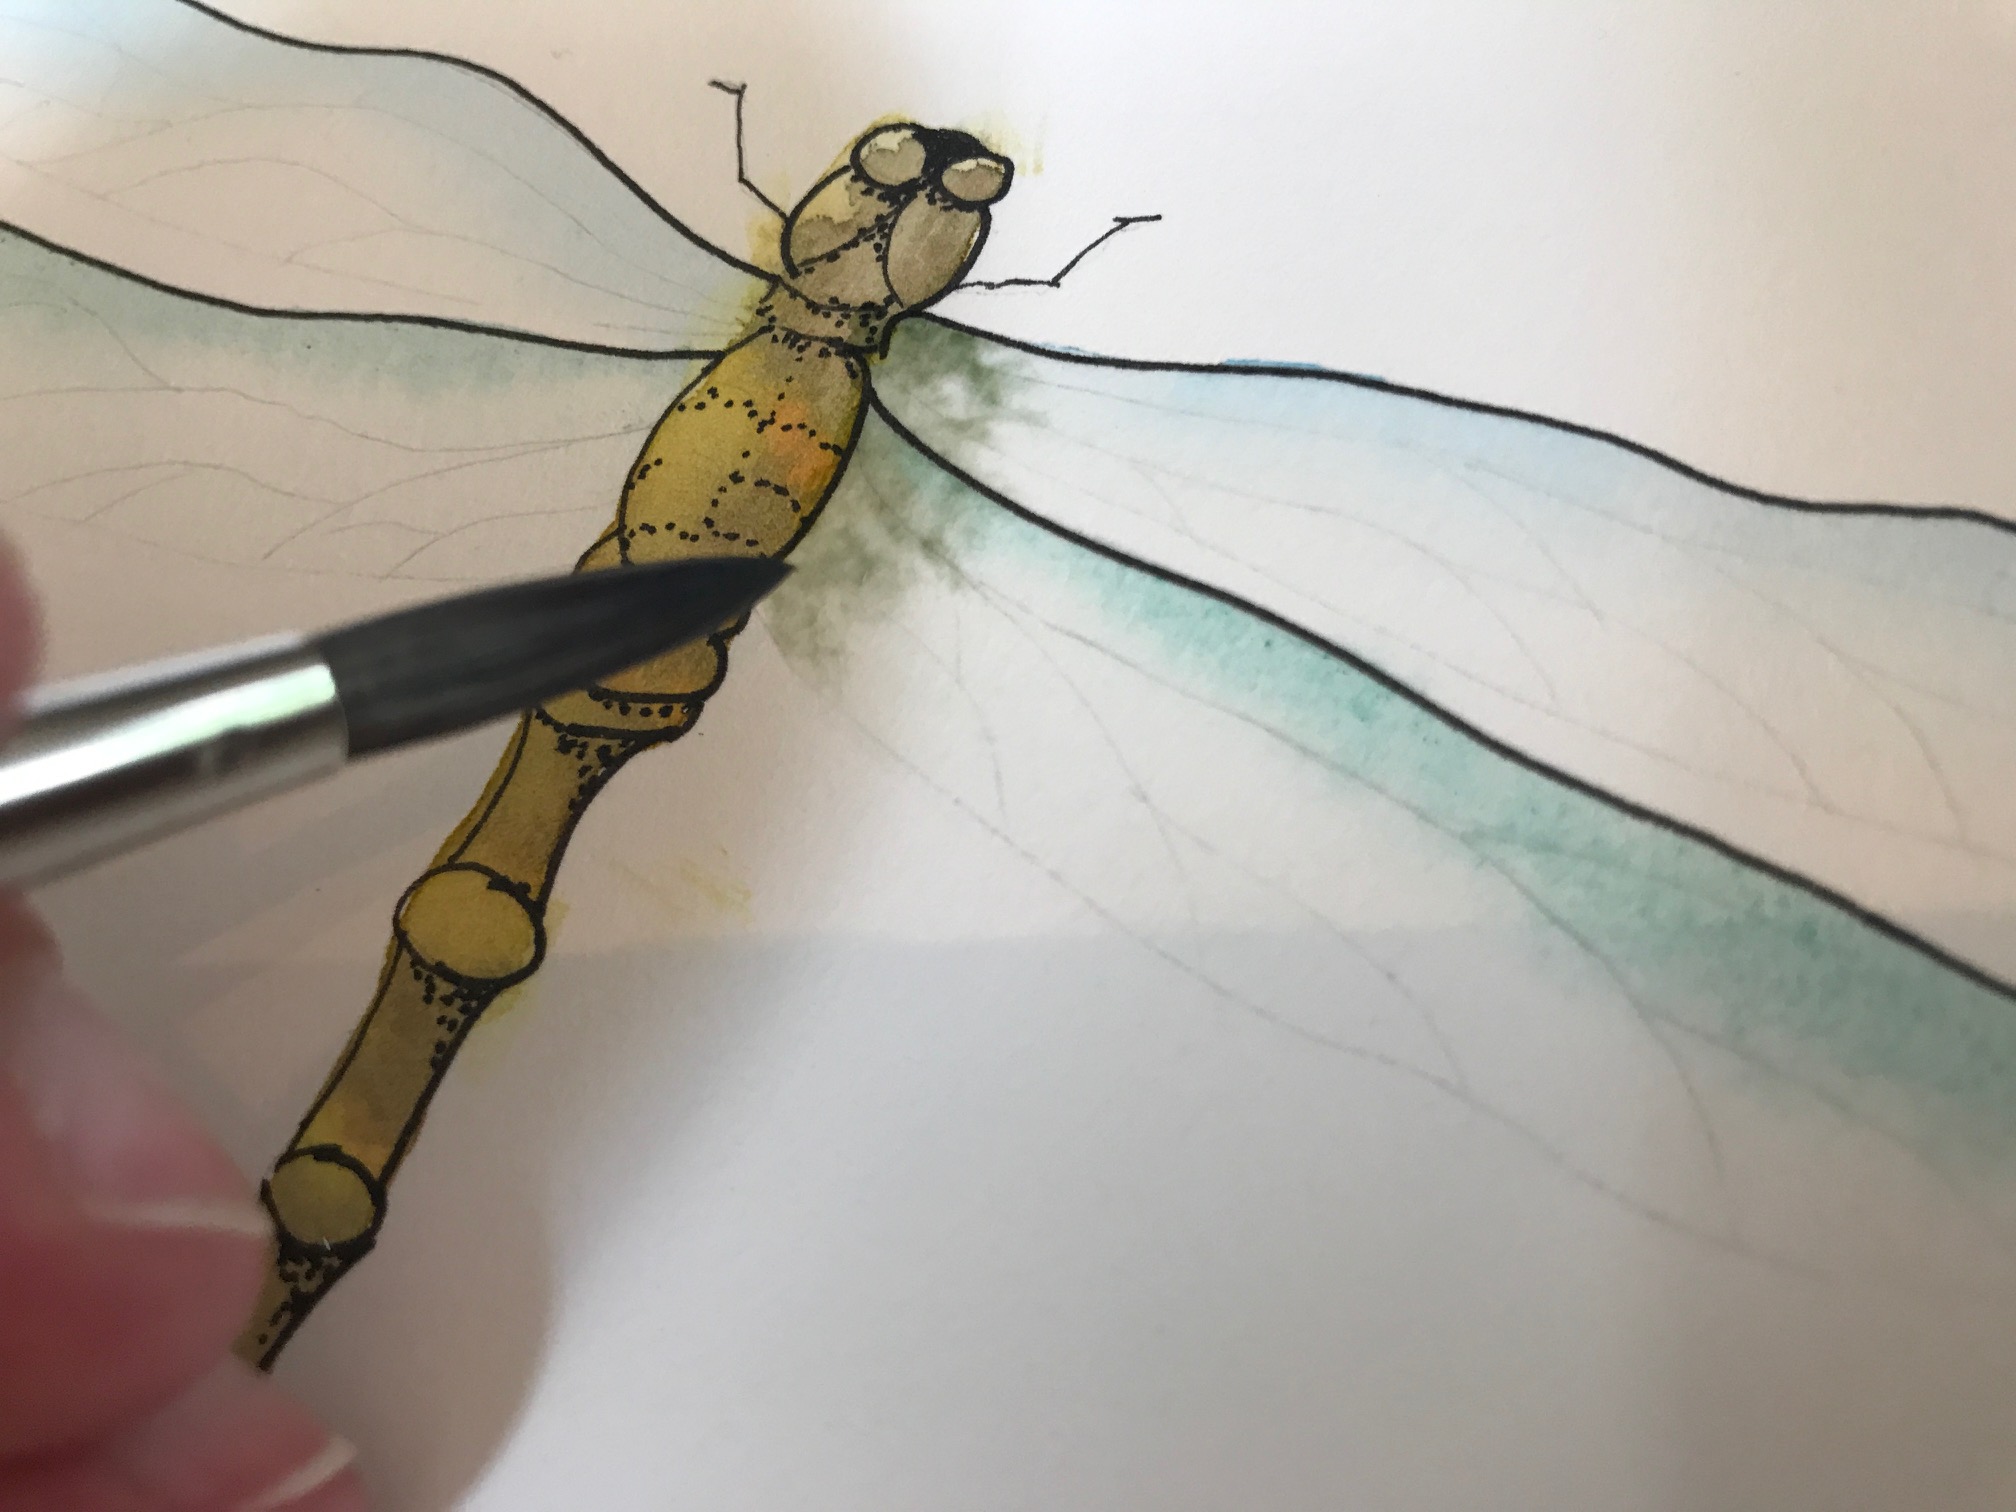
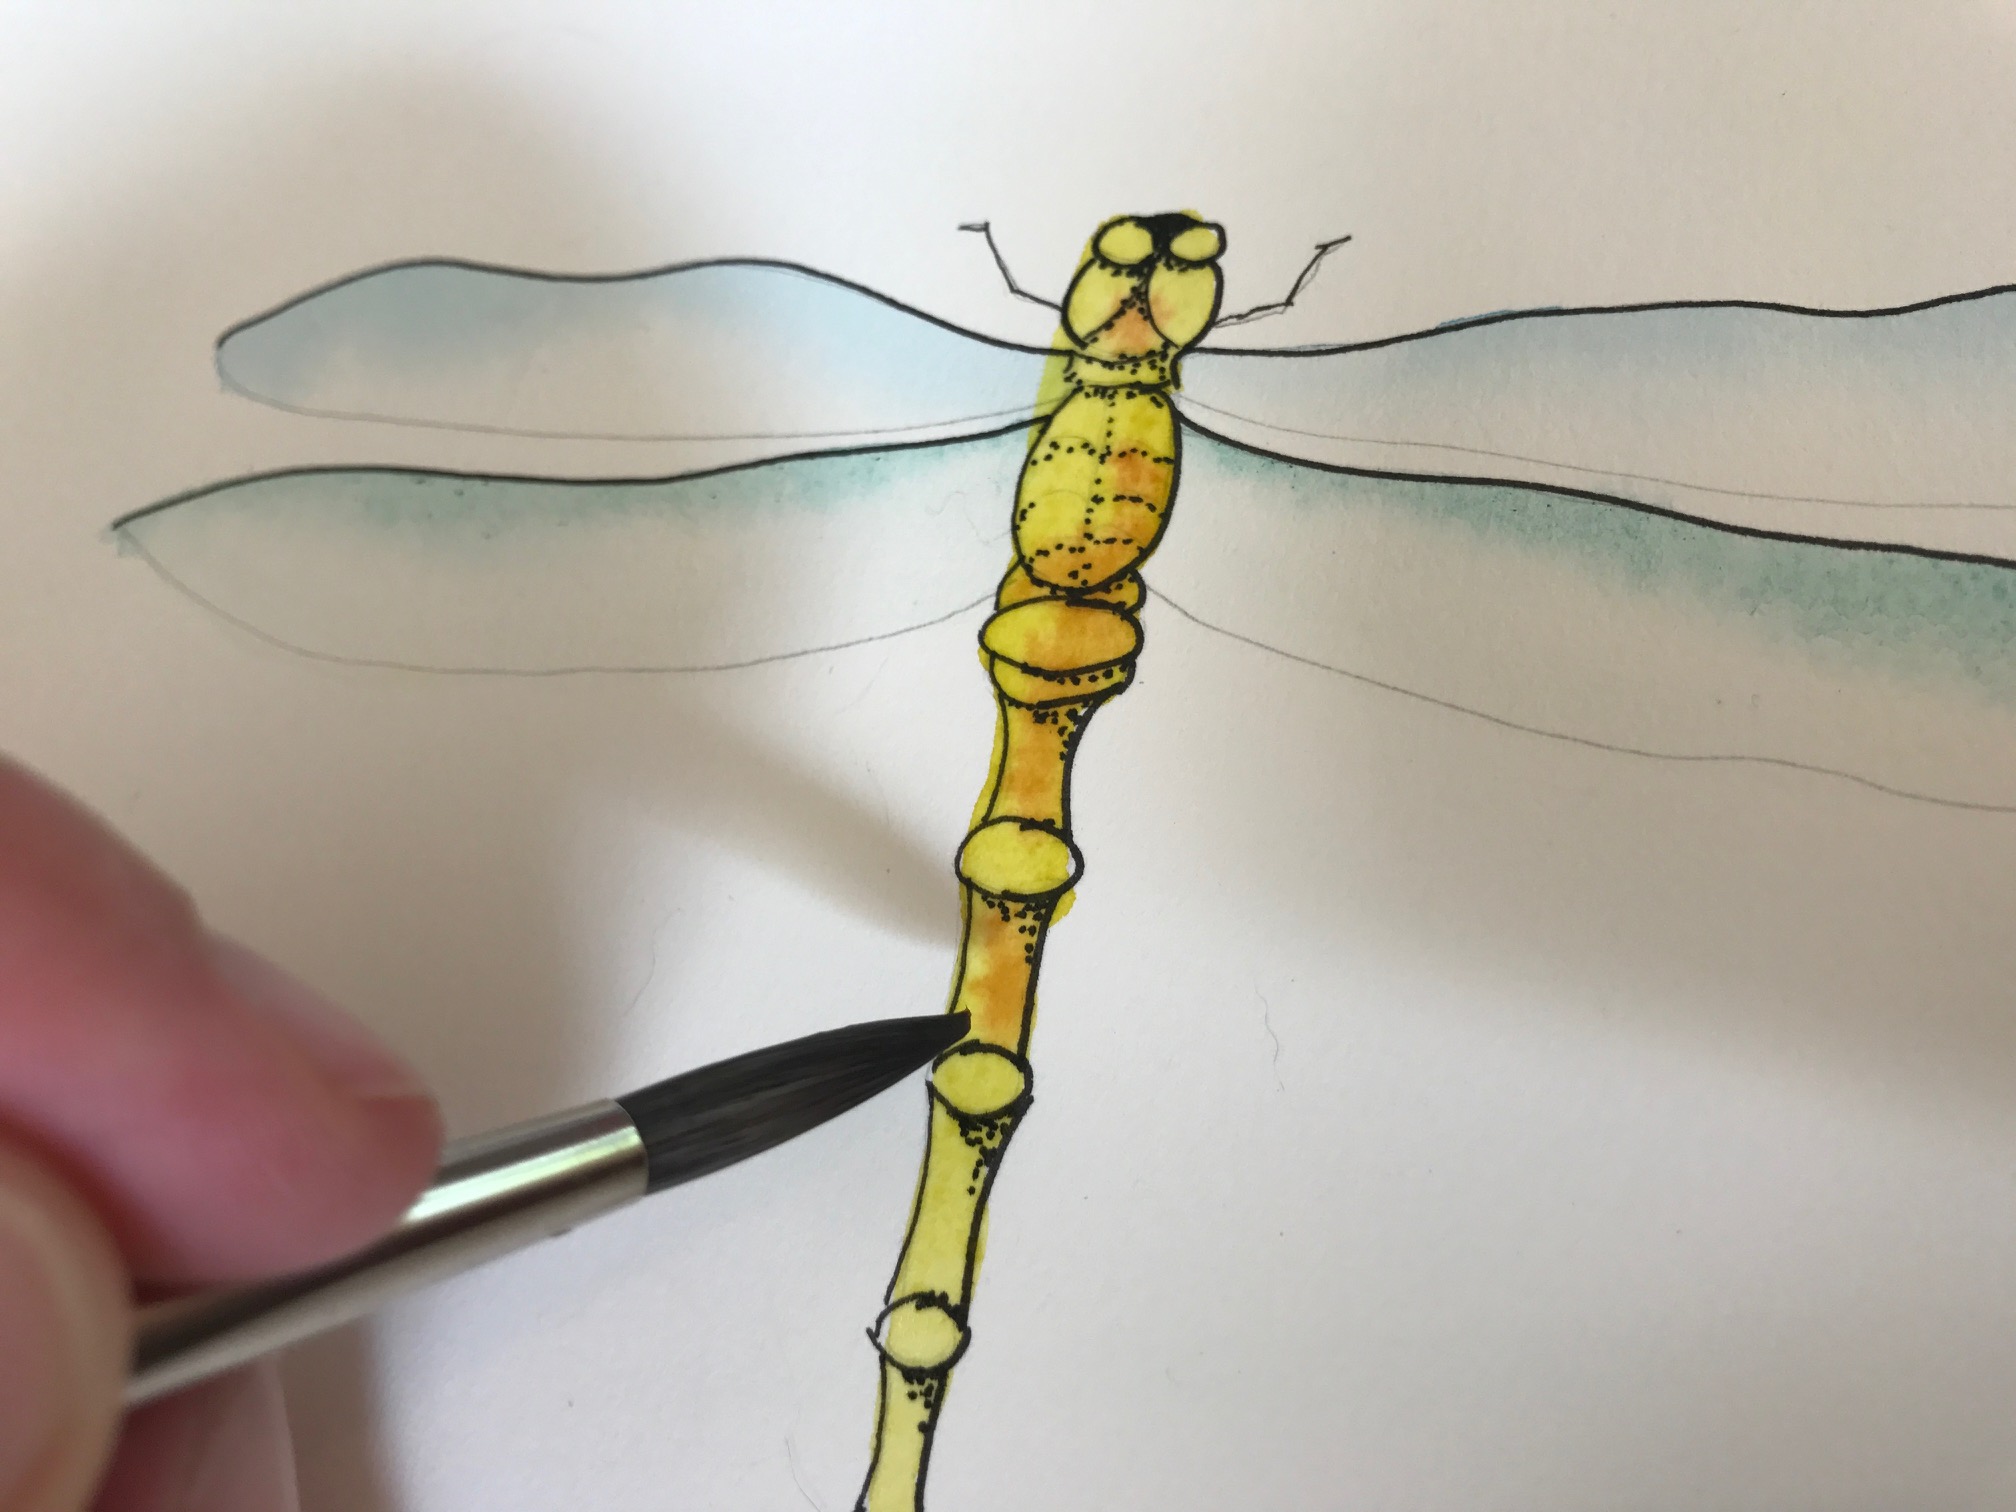 Now it’s time to paint the body. I mixed up a bit of winsor and newton green gold into a watery mix and painted the entire body. While it was still very wet, I dropped in burnt sienna in a few places to give it some contrast.
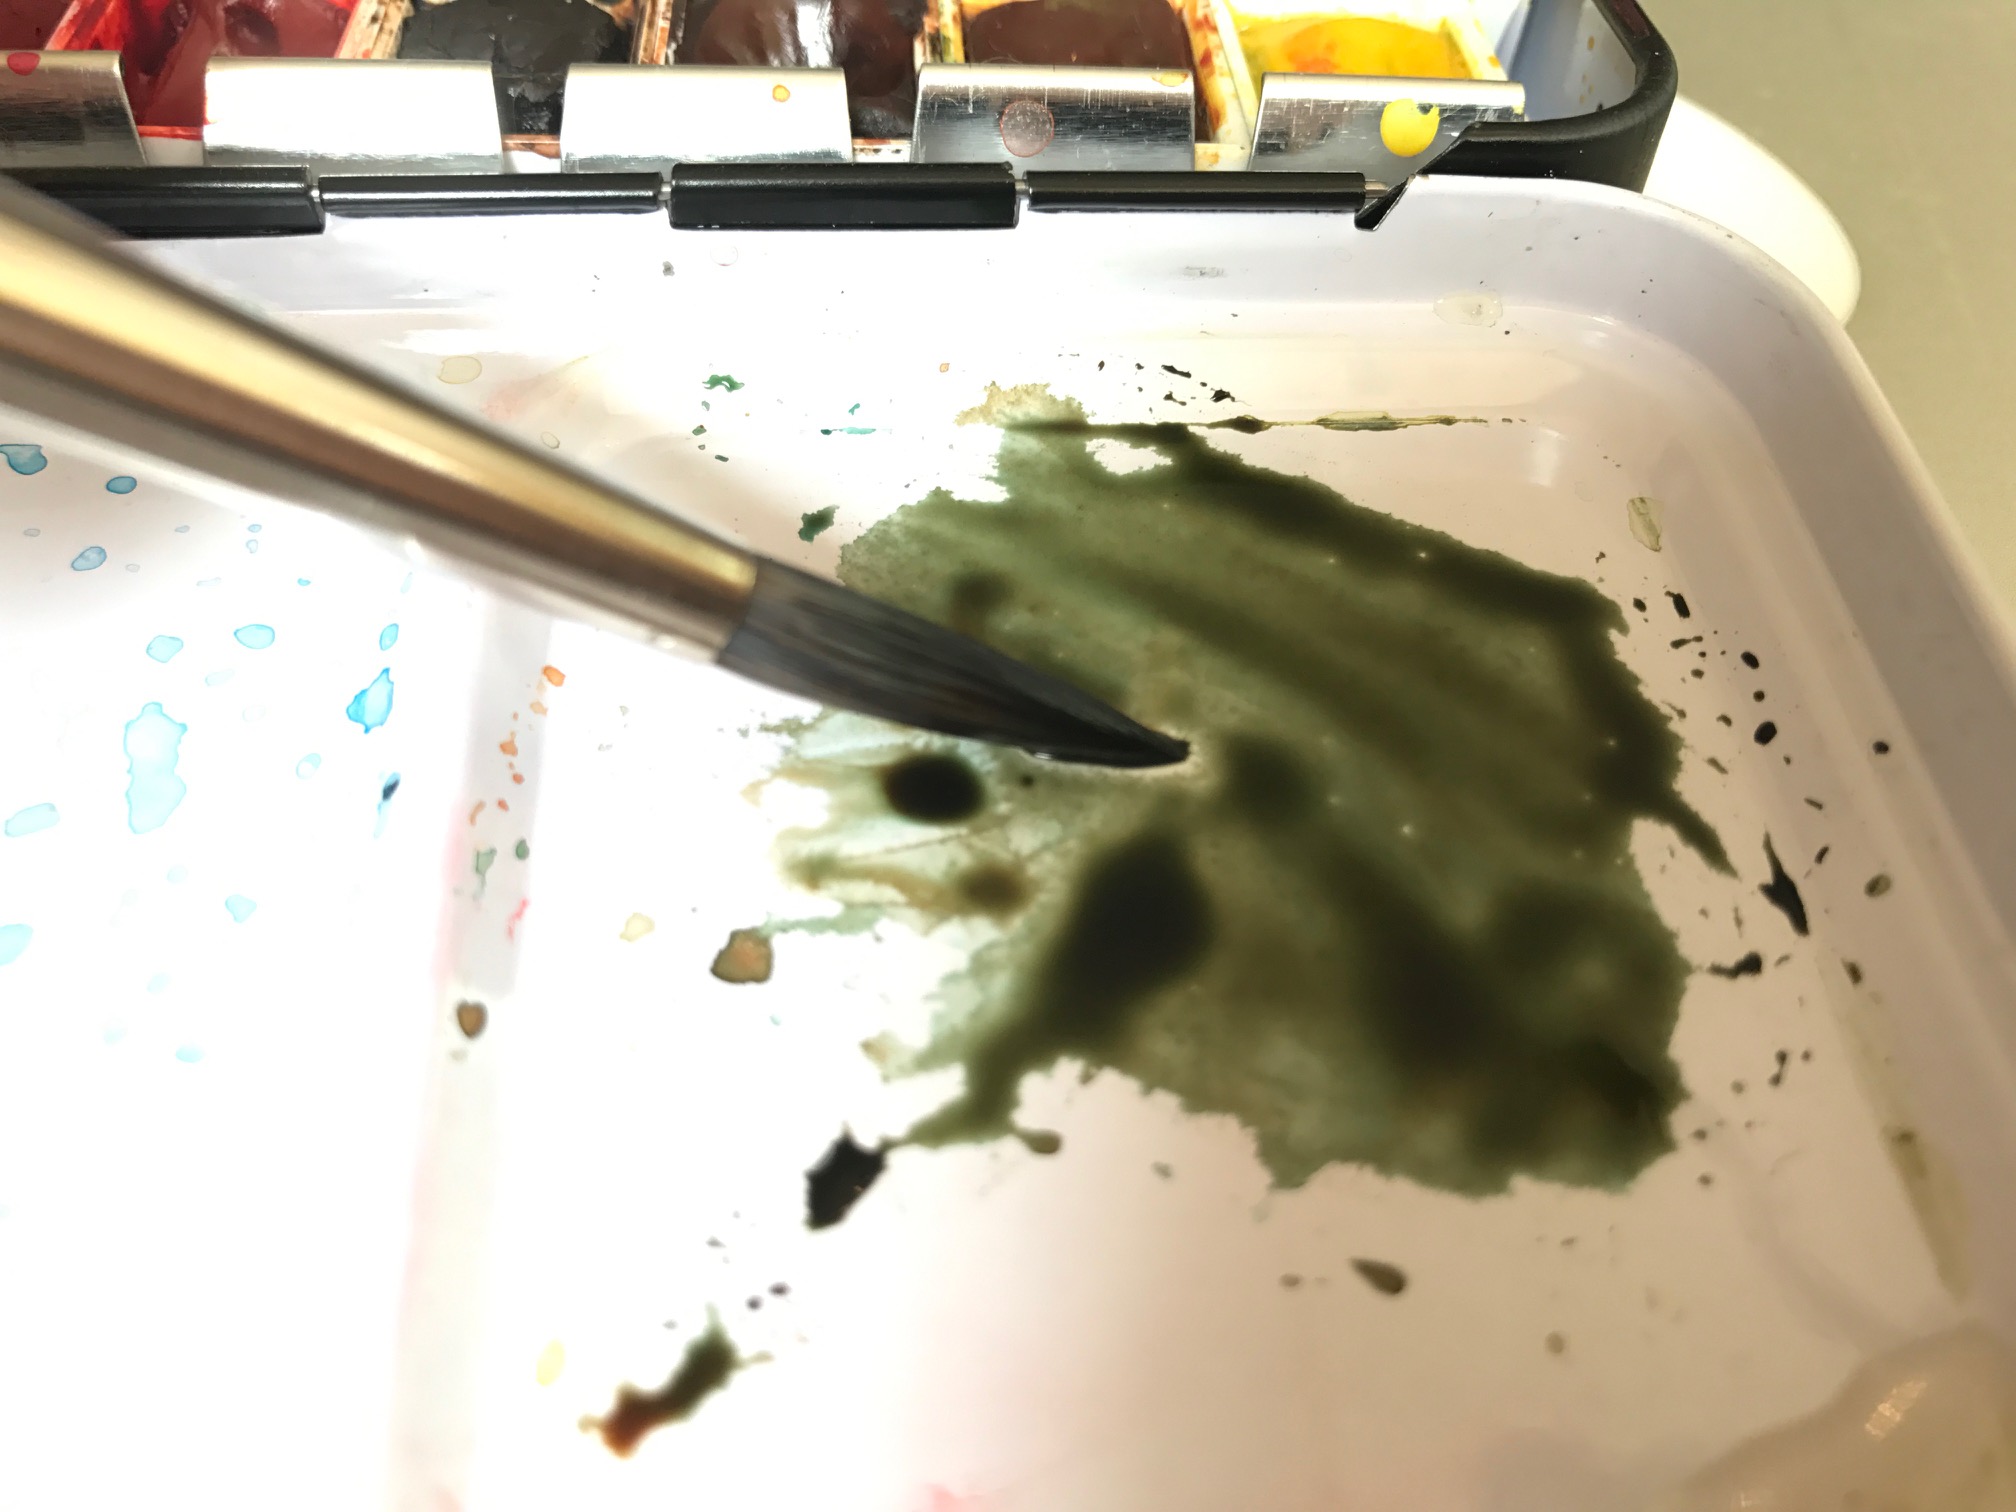 While this layer was drying, I made a mixture of winsor blue GS and burnt sienna, so that I had a deep greenish brown, as pictured above.
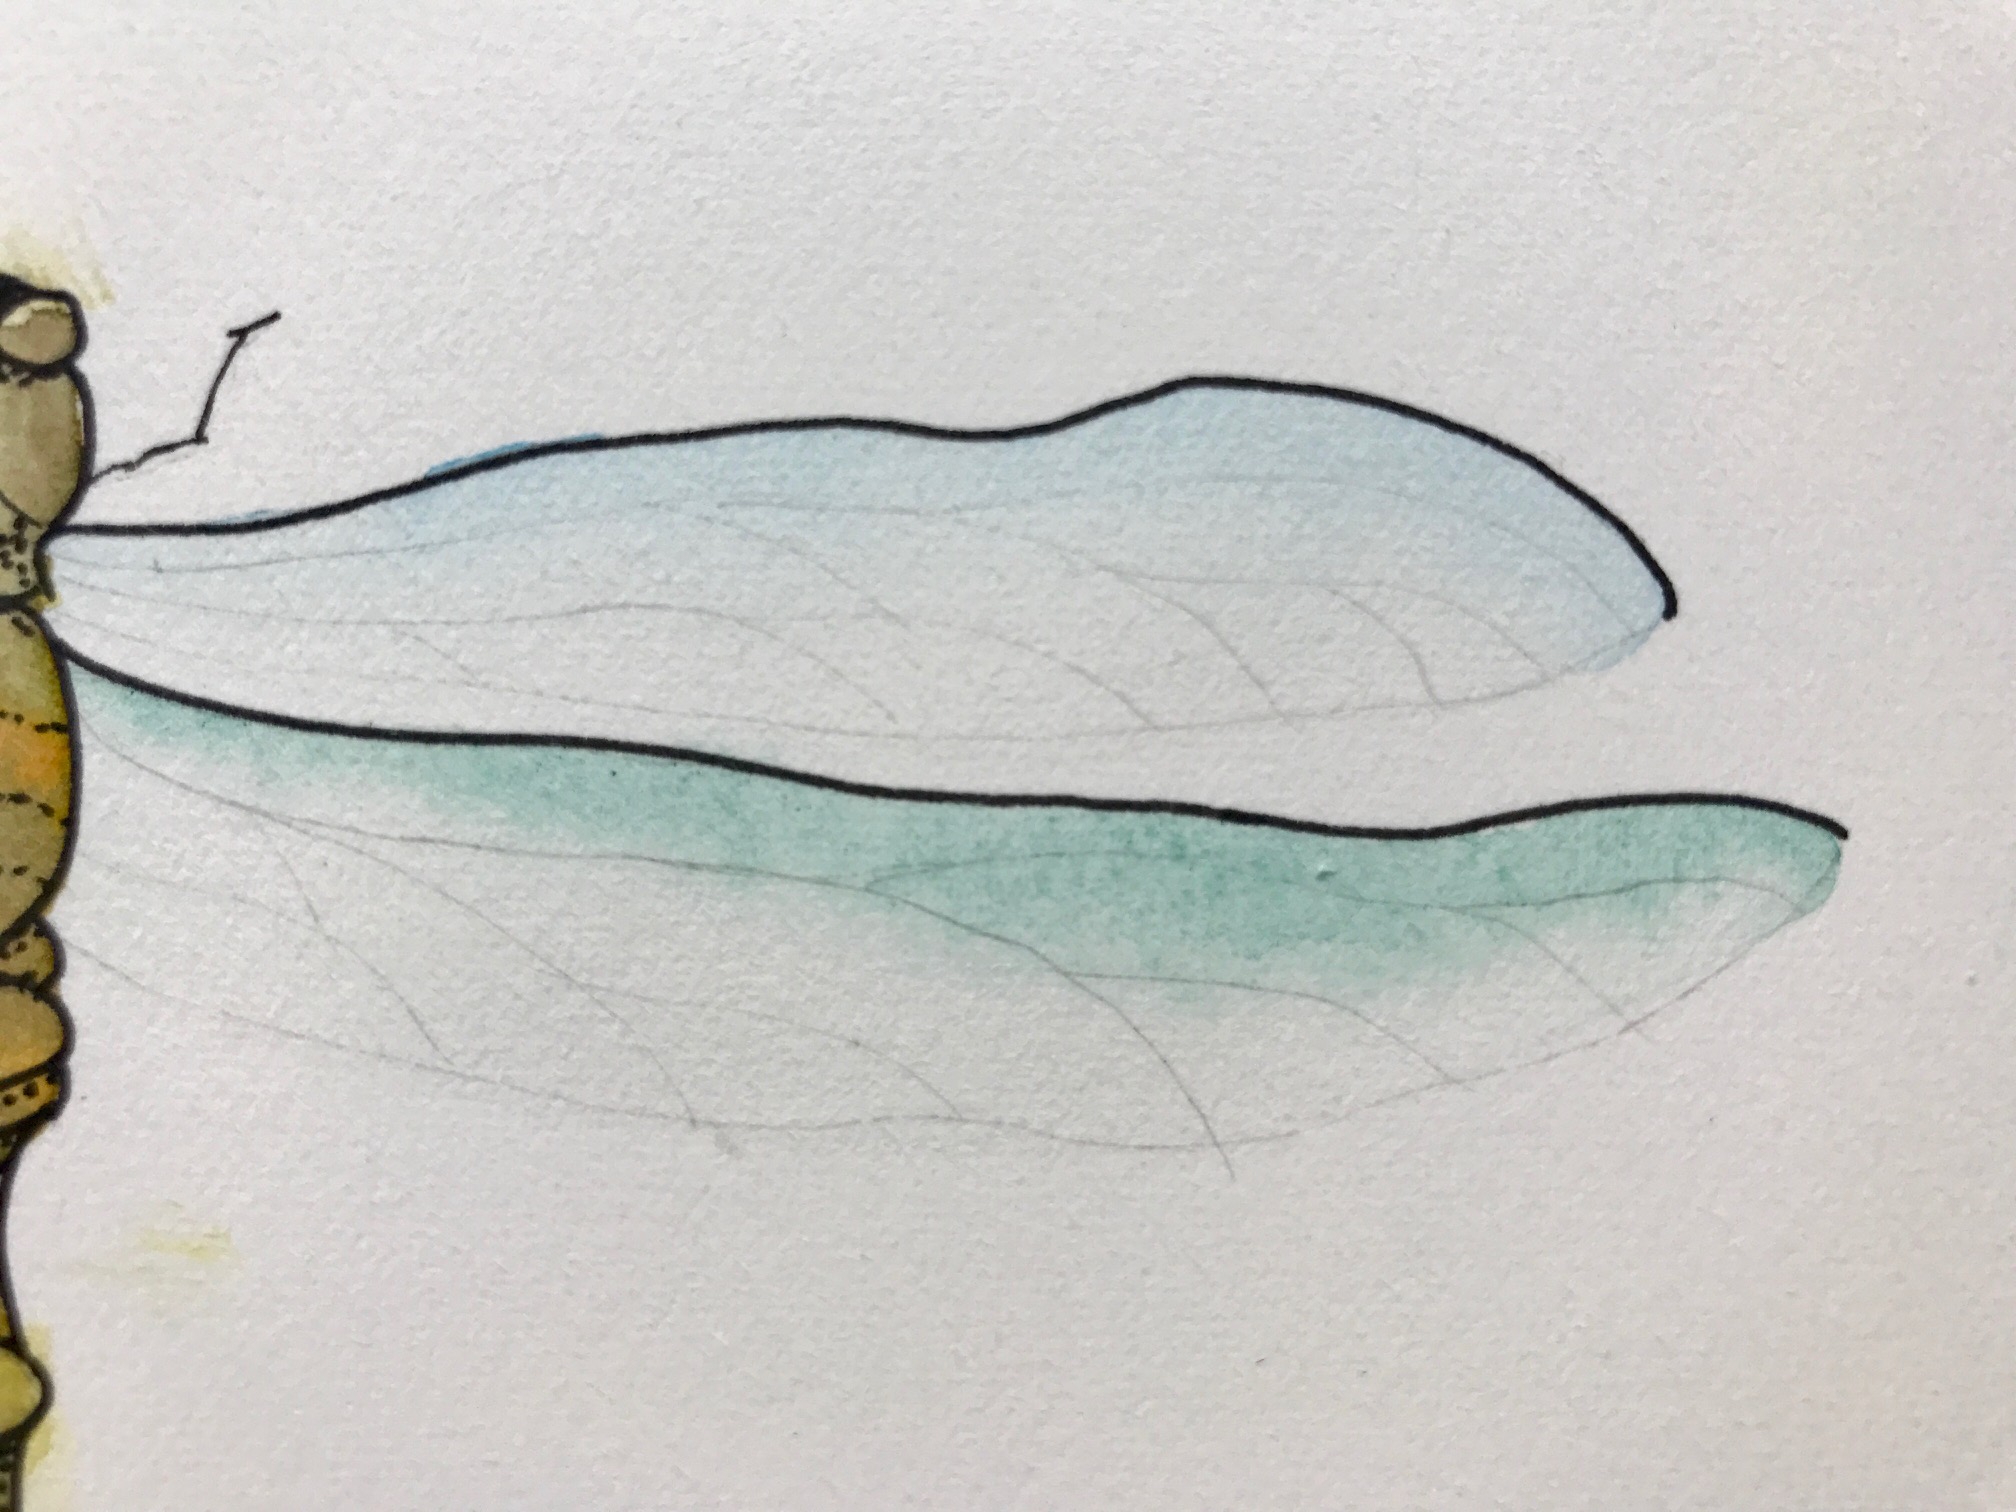 I also added some soft pencil markings to the wings to show the hint of texture and patterning on a dragonfly’s wing.
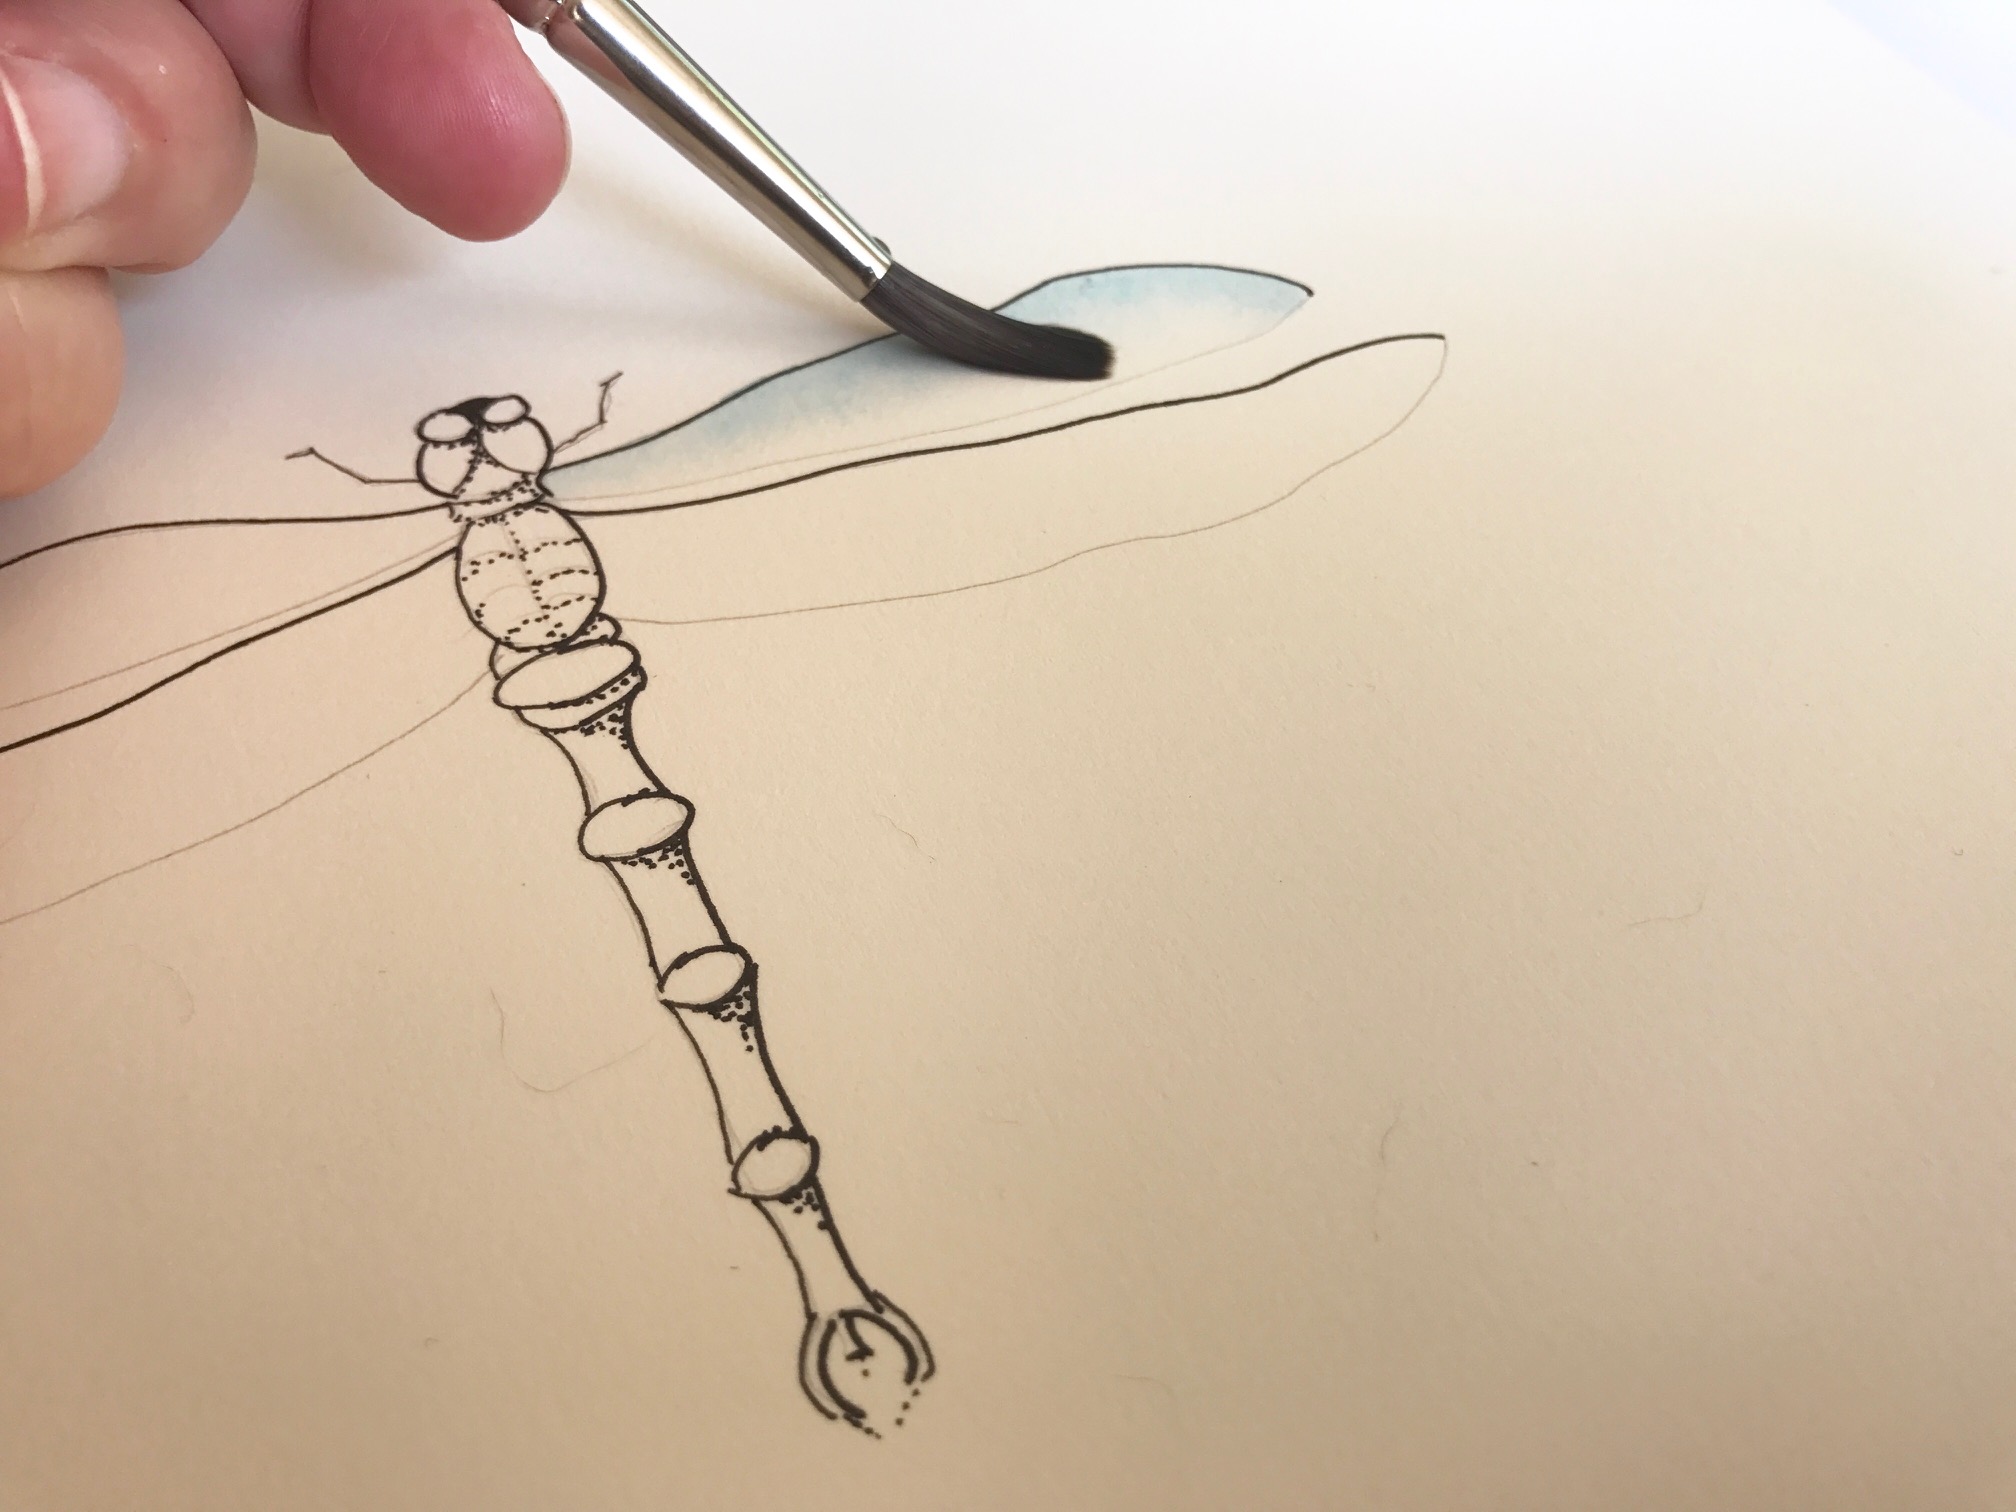
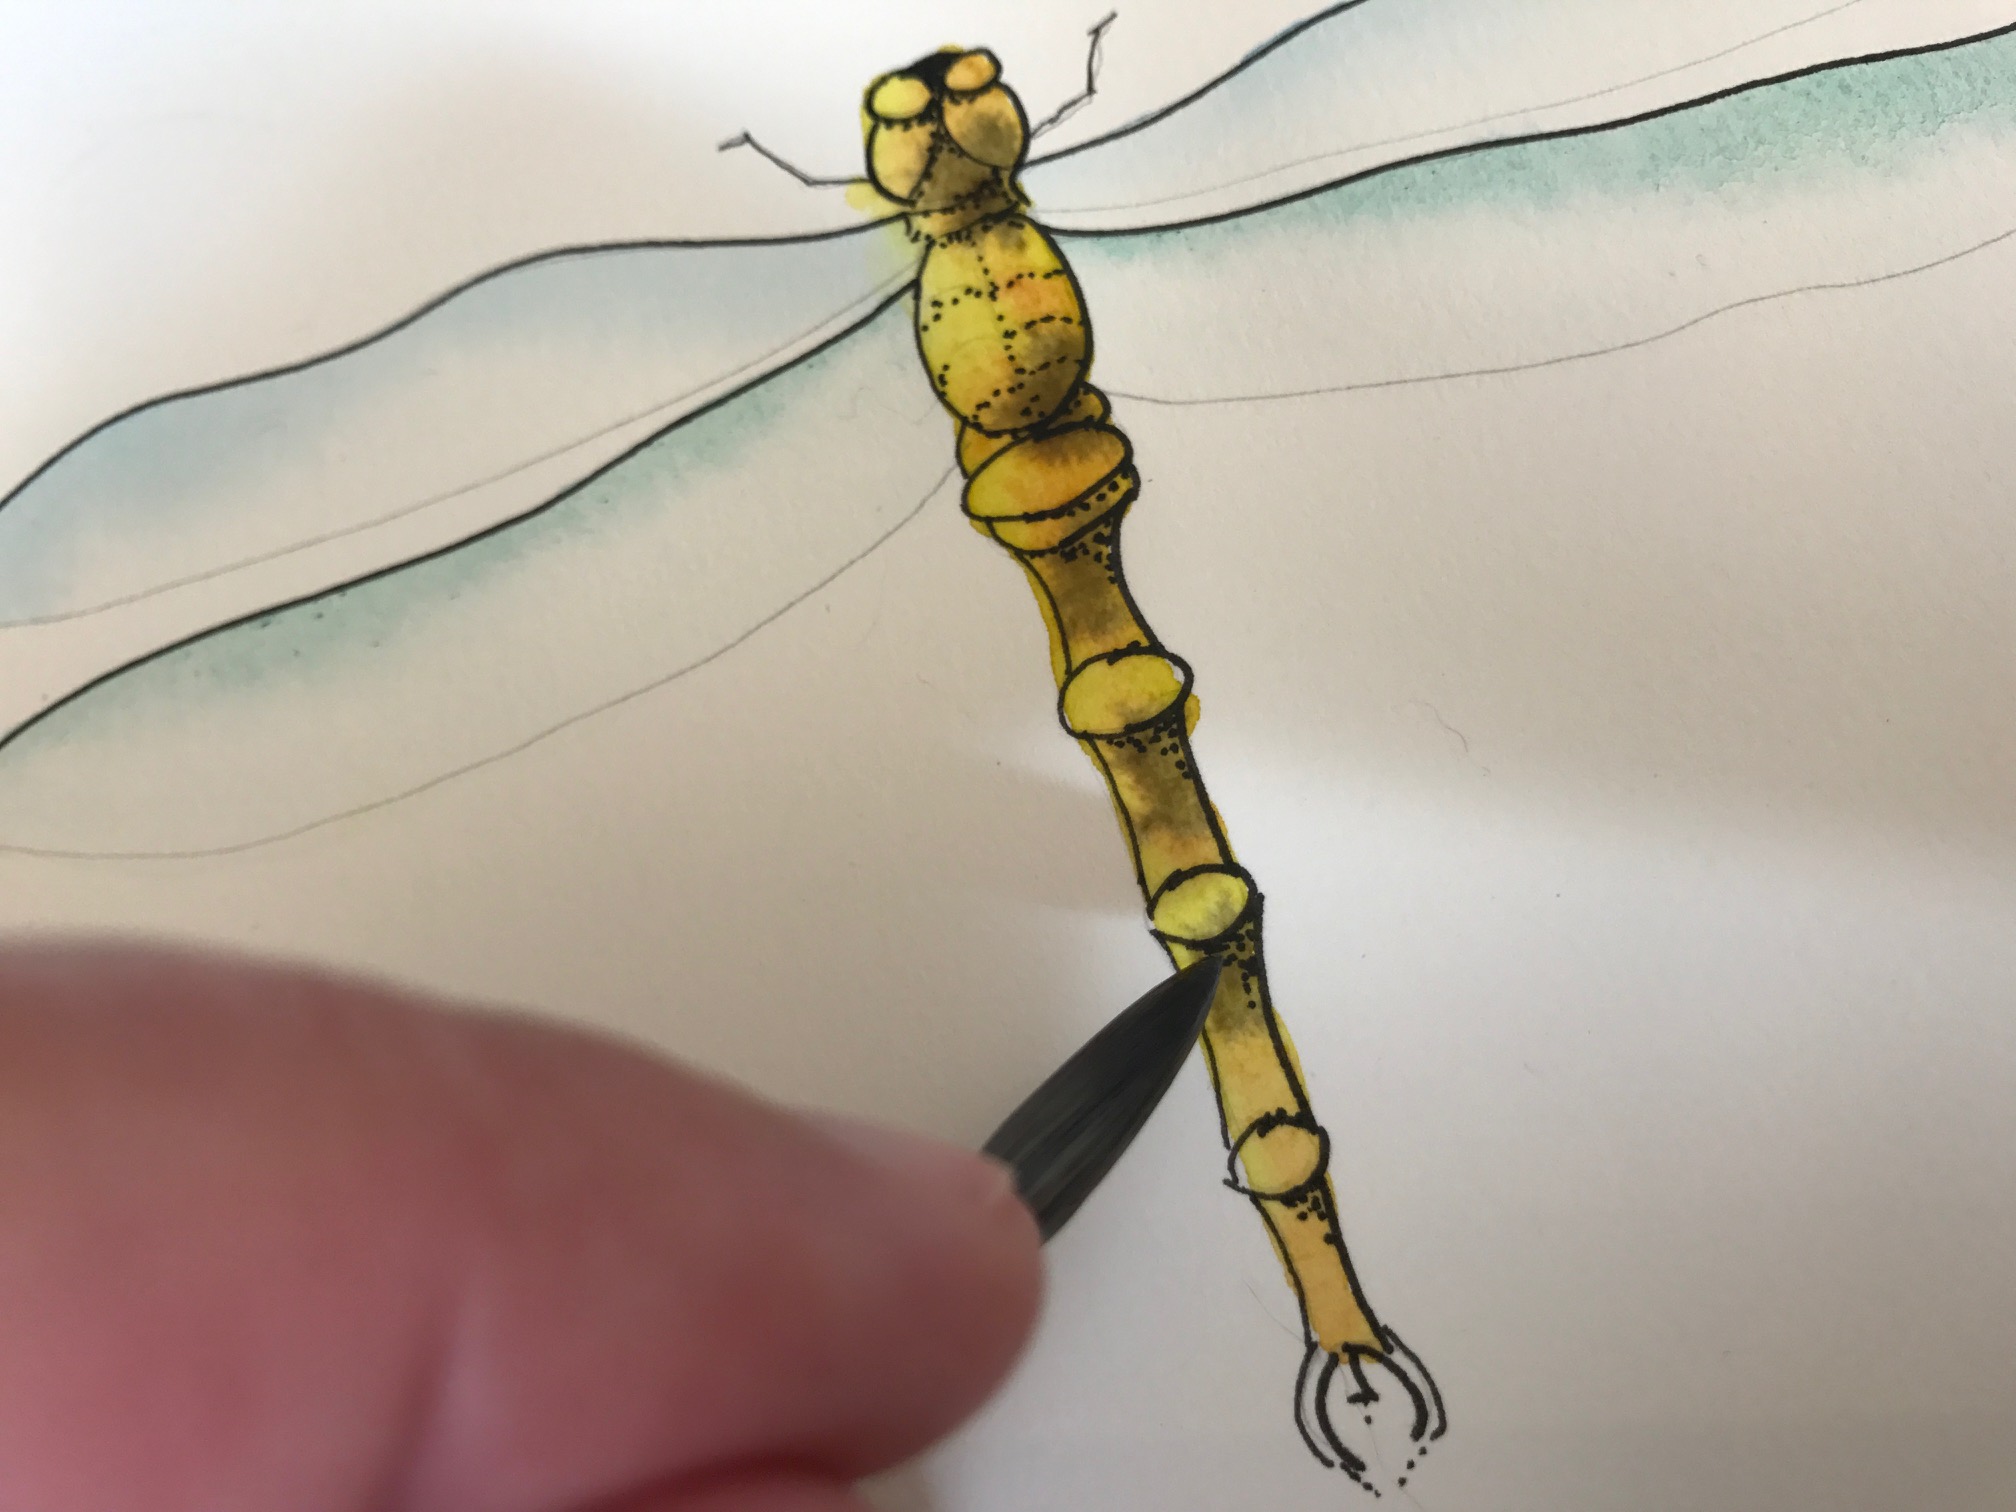 Then, I wanted to add a little depth and dimension to my dragonfly. I put a clear water glaze on the body and inner portion of the wings and began to drop in this dark brown-green mix, with the tip of my brush, into the places I felt would naturally have a shadow. You can follow just where I dropped the color in the photo above.
 I then spread the color into the wings where they meet the body as shown above.
Once this layer was dry, I cleaned my paper with a kneaded eraser, removing any unwanted lines, especially at the bottom of each wing where I wanted them to sort of disappear onto the paper to give the illusion of transparency.
I then spread the color into the wings where they meet the body as shown above.
Once this layer was dry, I cleaned my paper with a kneaded eraser, removing any unwanted lines, especially at the bottom of each wing where I wanted them to sort of disappear onto the paper to give the illusion of transparency.
Step 5: The final touches
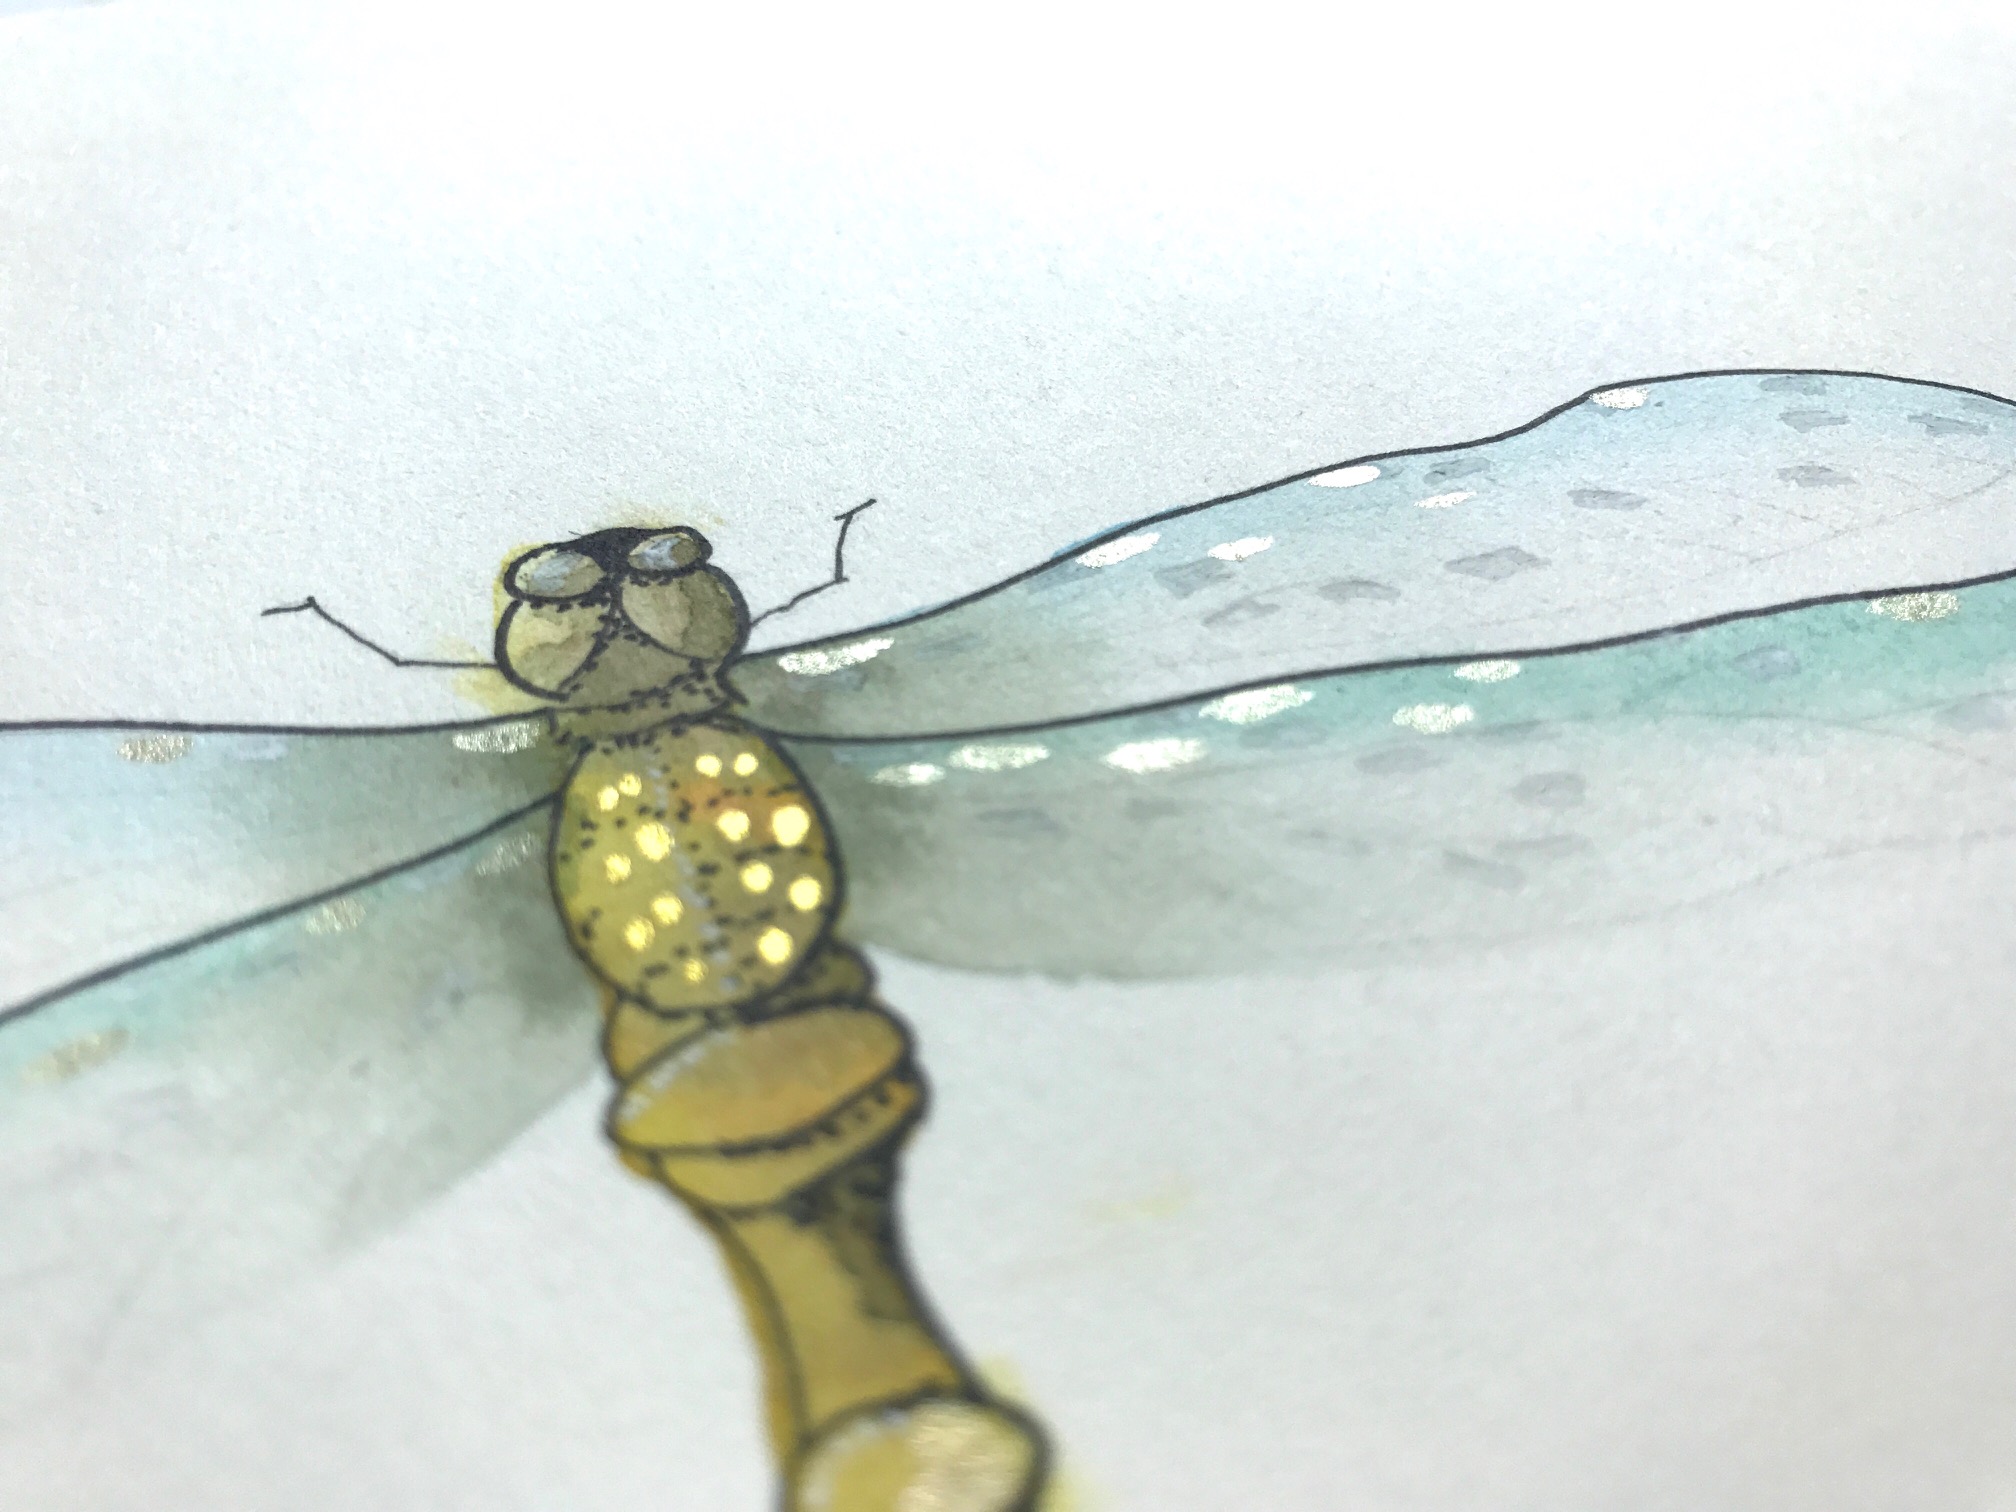 With a white gel pen, I made some very small rectangular marks randomly around the wings. You can see this in the photograph above. I did the same with a very thin layer of iridescent gold watercolor. I purchased mine from Daniel Smith watercolors. These little touches bring a hint of texture and the glimmer of those beautiful, luminous wings.
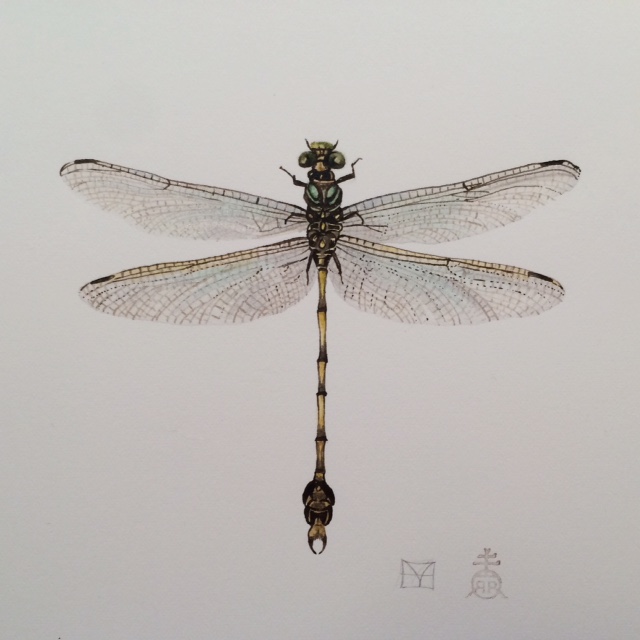 There you have it — the simplest way to create beautiful dragonflies. Use your creativity to make a whole flock of them in a rainbow of gorgeous hues! Put them on notecards or frame one for a friend.
If you really enjoy this summer project, take it to the next level by spending additional time with your design to create something more realistic. Take a look at the one I created above…and happy painting!
There you have it — the simplest way to create beautiful dragonflies. Use your creativity to make a whole flock of them in a rainbow of gorgeous hues! Put them on notecards or frame one for a friend.
If you really enjoy this summer project, take it to the next level by spending additional time with your design to create something more realistic. Take a look at the one I created above…and happy painting!
Share tips, start a discussion or ask one of our experts or other students a question.
No Responses to “A Step-By-Step Guide for Painting Beautiful Dragonflies”