
Hands are notoriously one of the trickiest things to draw and paint. Some people avoid them altogether — but that’s not giving them enough credit. After all, hands are what you use to make art! I’m going to demystify the process of painting hands in acrylic with steps to help conquer this challenge.
Before starting your painting, grab these tools:
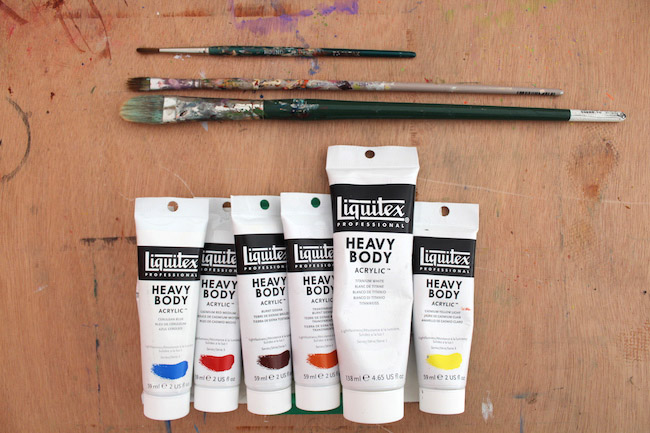
- Acrylic paint in colors to mix your skin tone. For me, this was white, red, yellow and raw sienna. Green and blue are also useful.
- Brushes. A mixture of large brushes for big fields of color as well as small liners for details.
- Prepared canvas or paper. I like working on paper — to prepare this surface, use your favorite acrylic matte medium.
The big thing to remember: Work in layers
Working in layers has a couple of big benefits. For one, it creates a rich depth in color by building gradually building hues — so your hues look great. But my favorite thing about this approach is that it brings order to the painting process. When you’ve got a lot of things to paint (and areas to cover), it can feel overwhelming. Taking the artwork layer by layer makes it easier to tackle the challenging endeavor.
Step 1: Draw your hand
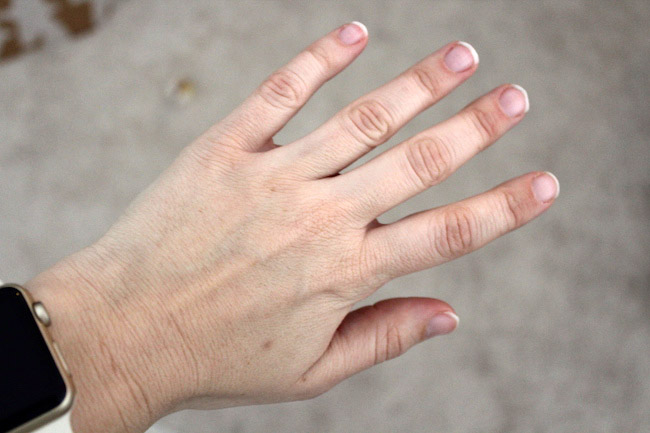
Snap a photo of your hand (or someone else’s) and use it as reference for your painting. Make sure the hand is flat and resting still.
Shown above is is the most basic position, and you won’t have to deal with foreshortening. If you’d like to challenge yourself, however, try balling up your hand in a fist or bending one finger. Make it even more difficult by pointing your fingers directly at the camera.
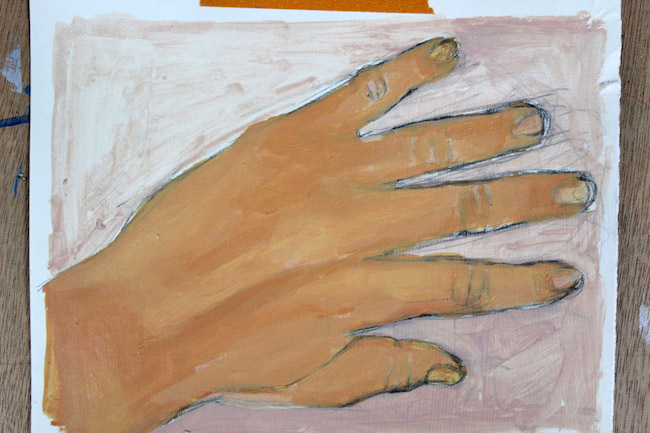
Using pencil, lightly draw the hand on your canvas or paper. Start with general shapes (a big circle for the hand and long ovals for the fingers) and then refine them into knuckles, joints and fingernails. Draw a few creases (especially where the skin folds), but avoid too many details at this point. Adding a lot of lines will age your hand.
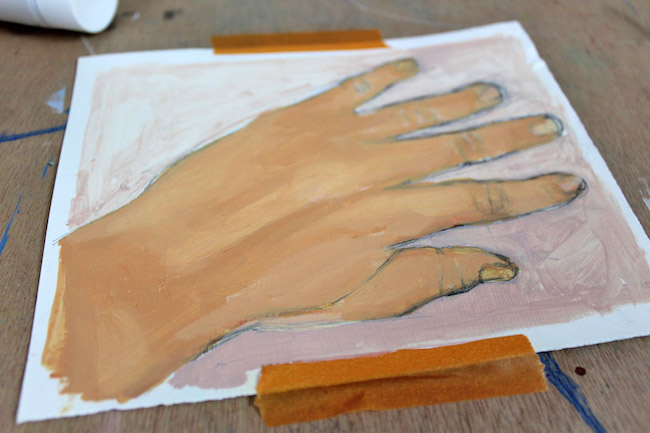
Step 2: Paint the first layer
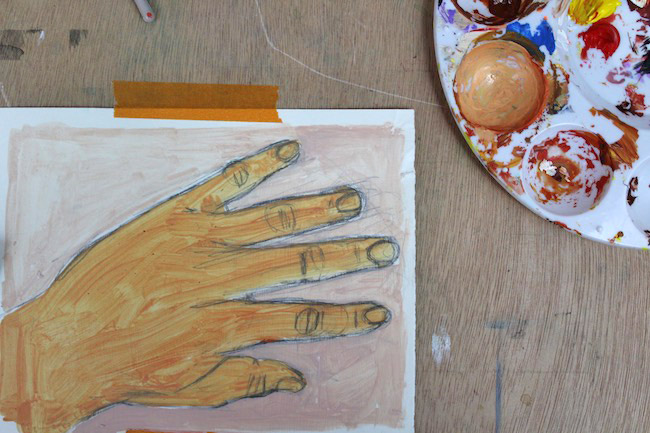
Mix your first layer of color. It will be one of the lightest that you apply. Once you’ve added the correct pigments, add water to paint. Do this until it appears light — light enough that when you brush it over your painting, you’ll still see the pencil lines below.
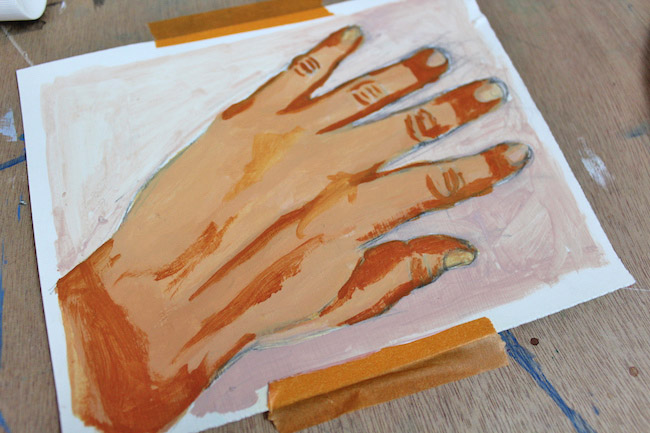
Step 3: Paint the second layer

Mix the same color for your skin. This time, however, add less water. You’ll want to make the pigment slightly darker, but still medium tone. Afterward, take a look at your reference. Where are the darker areas? What areas remain light? In the place that need to be darker, paint the pigment over them. This won’t be everywhere, but doing so will help build form.
Repeat this step until as necessary to build up tones. Don’t worry about the dark, shaded areas just yet We’ll cover that next.
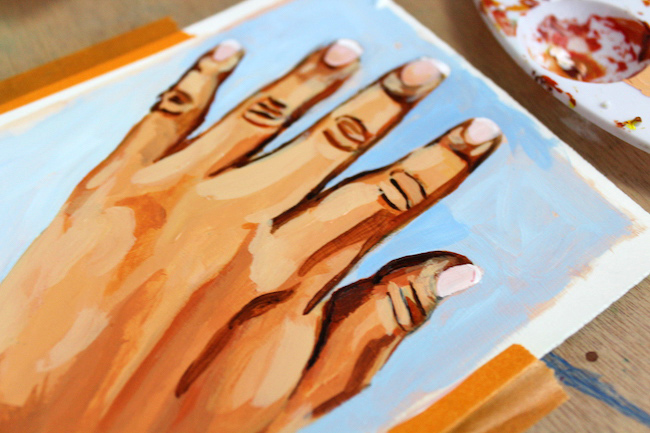
Step 4: Paint the shadows
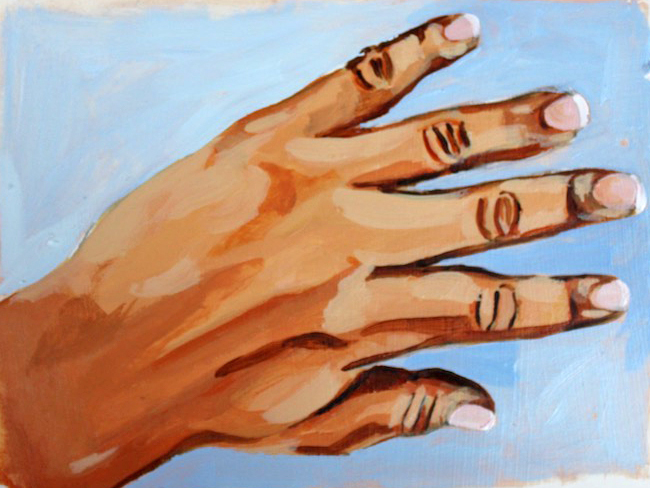
After repeating Step 3, your hand should have a considerable amount of visual depth — on its way to looking 3-D. It’s probably, however, still looking a little flat. We can fix that with some shading!
There are a couple of ways to make your skin color darker, and none of them include adding black paint. Instead, add some brown for fairer skin (like burnt umber or raw sienna) or ultramarine blue for darker skin. The ultramarine blue will give it this rich dark, dark brown that has a more multifaceted look than black paint.
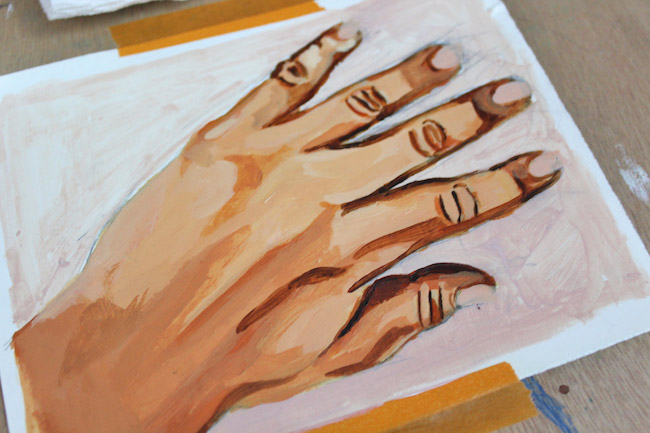
Be careful with adding the shadows. It’s best to under-do it then evaluate your work. Start by placing the shadows on the sides of the fingers to round them out — especially where they cast shade on one another.
Step 5: Paint the highlights
Here’s my favorite part — it’s also the last step. Now that you’ve applied your shadows, make parts of the hand pop with highlights.
To do this, mix the skin color again but add white paint or yellow as the predominant color. Then, using a thin liner brush, just dab the pigment onto the parts of the hand that capture the most light, like the crux of knuckles or veins in the hand.
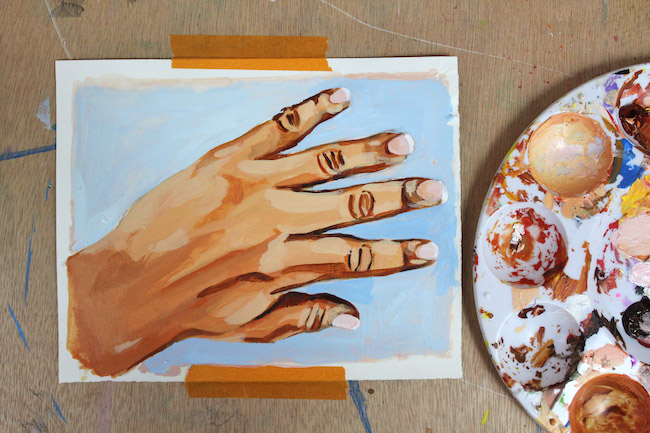
Like the shadows, use highlights sparingly. Too many and your body part might look plastic!
I'd like to learn how to shade a shirt, not folds but just different shades. Thank you