Whether you’re new to the world of paper crafts or consider yourself a seasoned pro, you may not be aware of these simple paper crafting tips and tricks that can save you both time and money.
1. The perfect stamped image
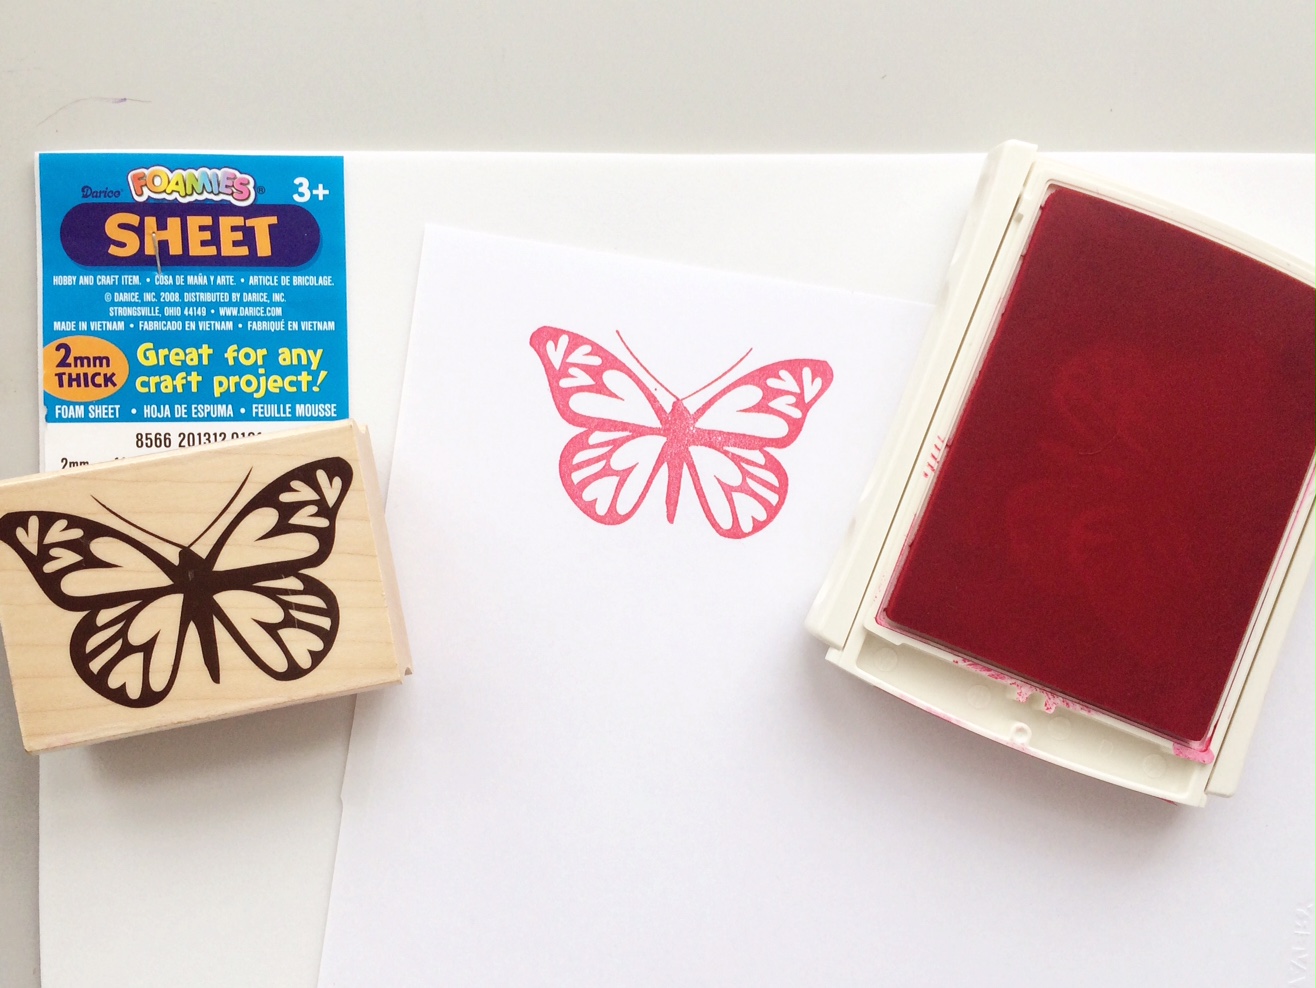
When using rubber or acrylic stamps, you always want to be stamping on a solid, level surface — but did you know that some people swear by stamping on a firm foam pad instead? A popular option on the market right now is called The Stamper’s Secret Weapon by Sizzix. The foam has enough firmness to produce a solid image, but enough give to allow for equal pressure to be applied to all areas of the stamp.
If you don’t want to purchase this tool, try using a piece of inexpensive craft foam (usually sold in sheets) from your local craft store.
2. Heat embossed perfection
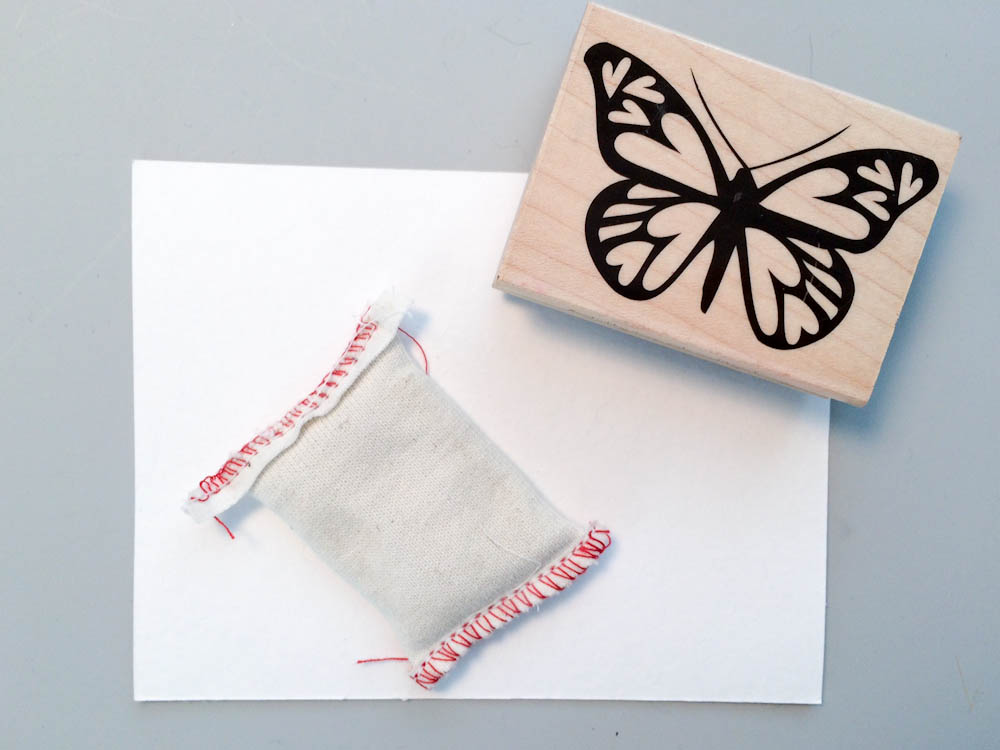
When heat embossing, it’s best to remove all static cling or anything that may cause the embossing powder to stick where you don’t want it.
Before stamping with your embossing ink, rub a powder bag or tool over the entire surface of the paper. You can then stamp your image with clear ink and pour embossing powder over the image. The powder should only stick to the stamped areas, and fall off the rest of your card stock with ease.
If you don’t have a powder tool, try just using a simple dryer sheet!
Note: powder bag used in this photo is the Embossing Buddy from Stampin Up!
3. Sharpen those punches!
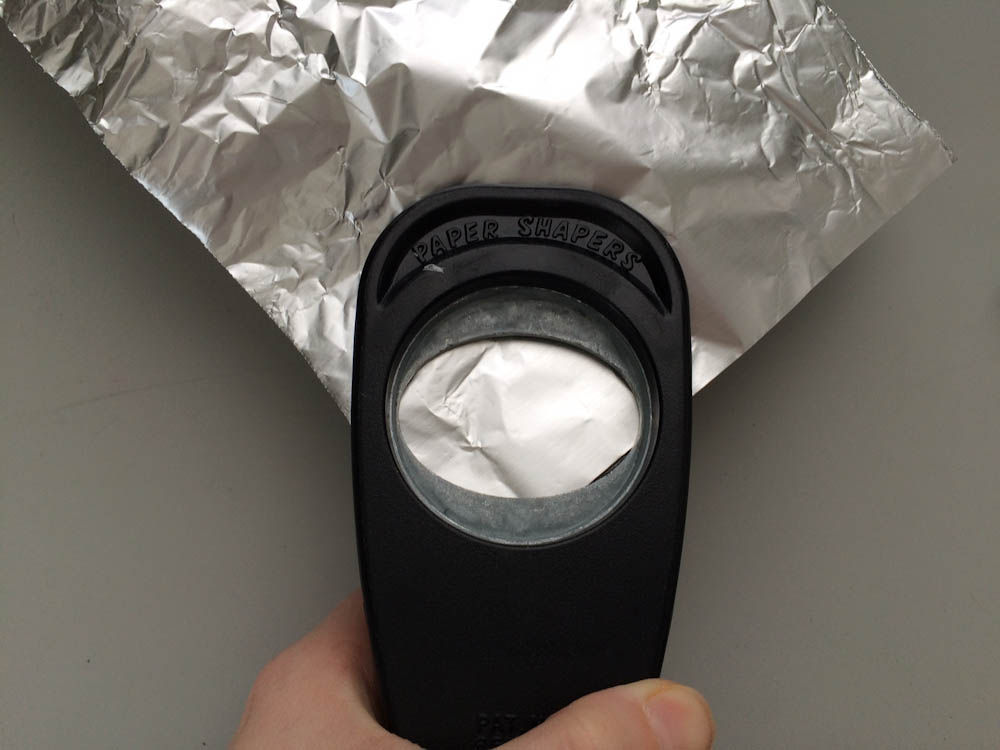
Have you used a punch so much that it’s become dull and no longer punching properly? Try sharpening the punch by punching several times through a piece of tinfoil. Simple as that!
4. Hide coloring mistakes
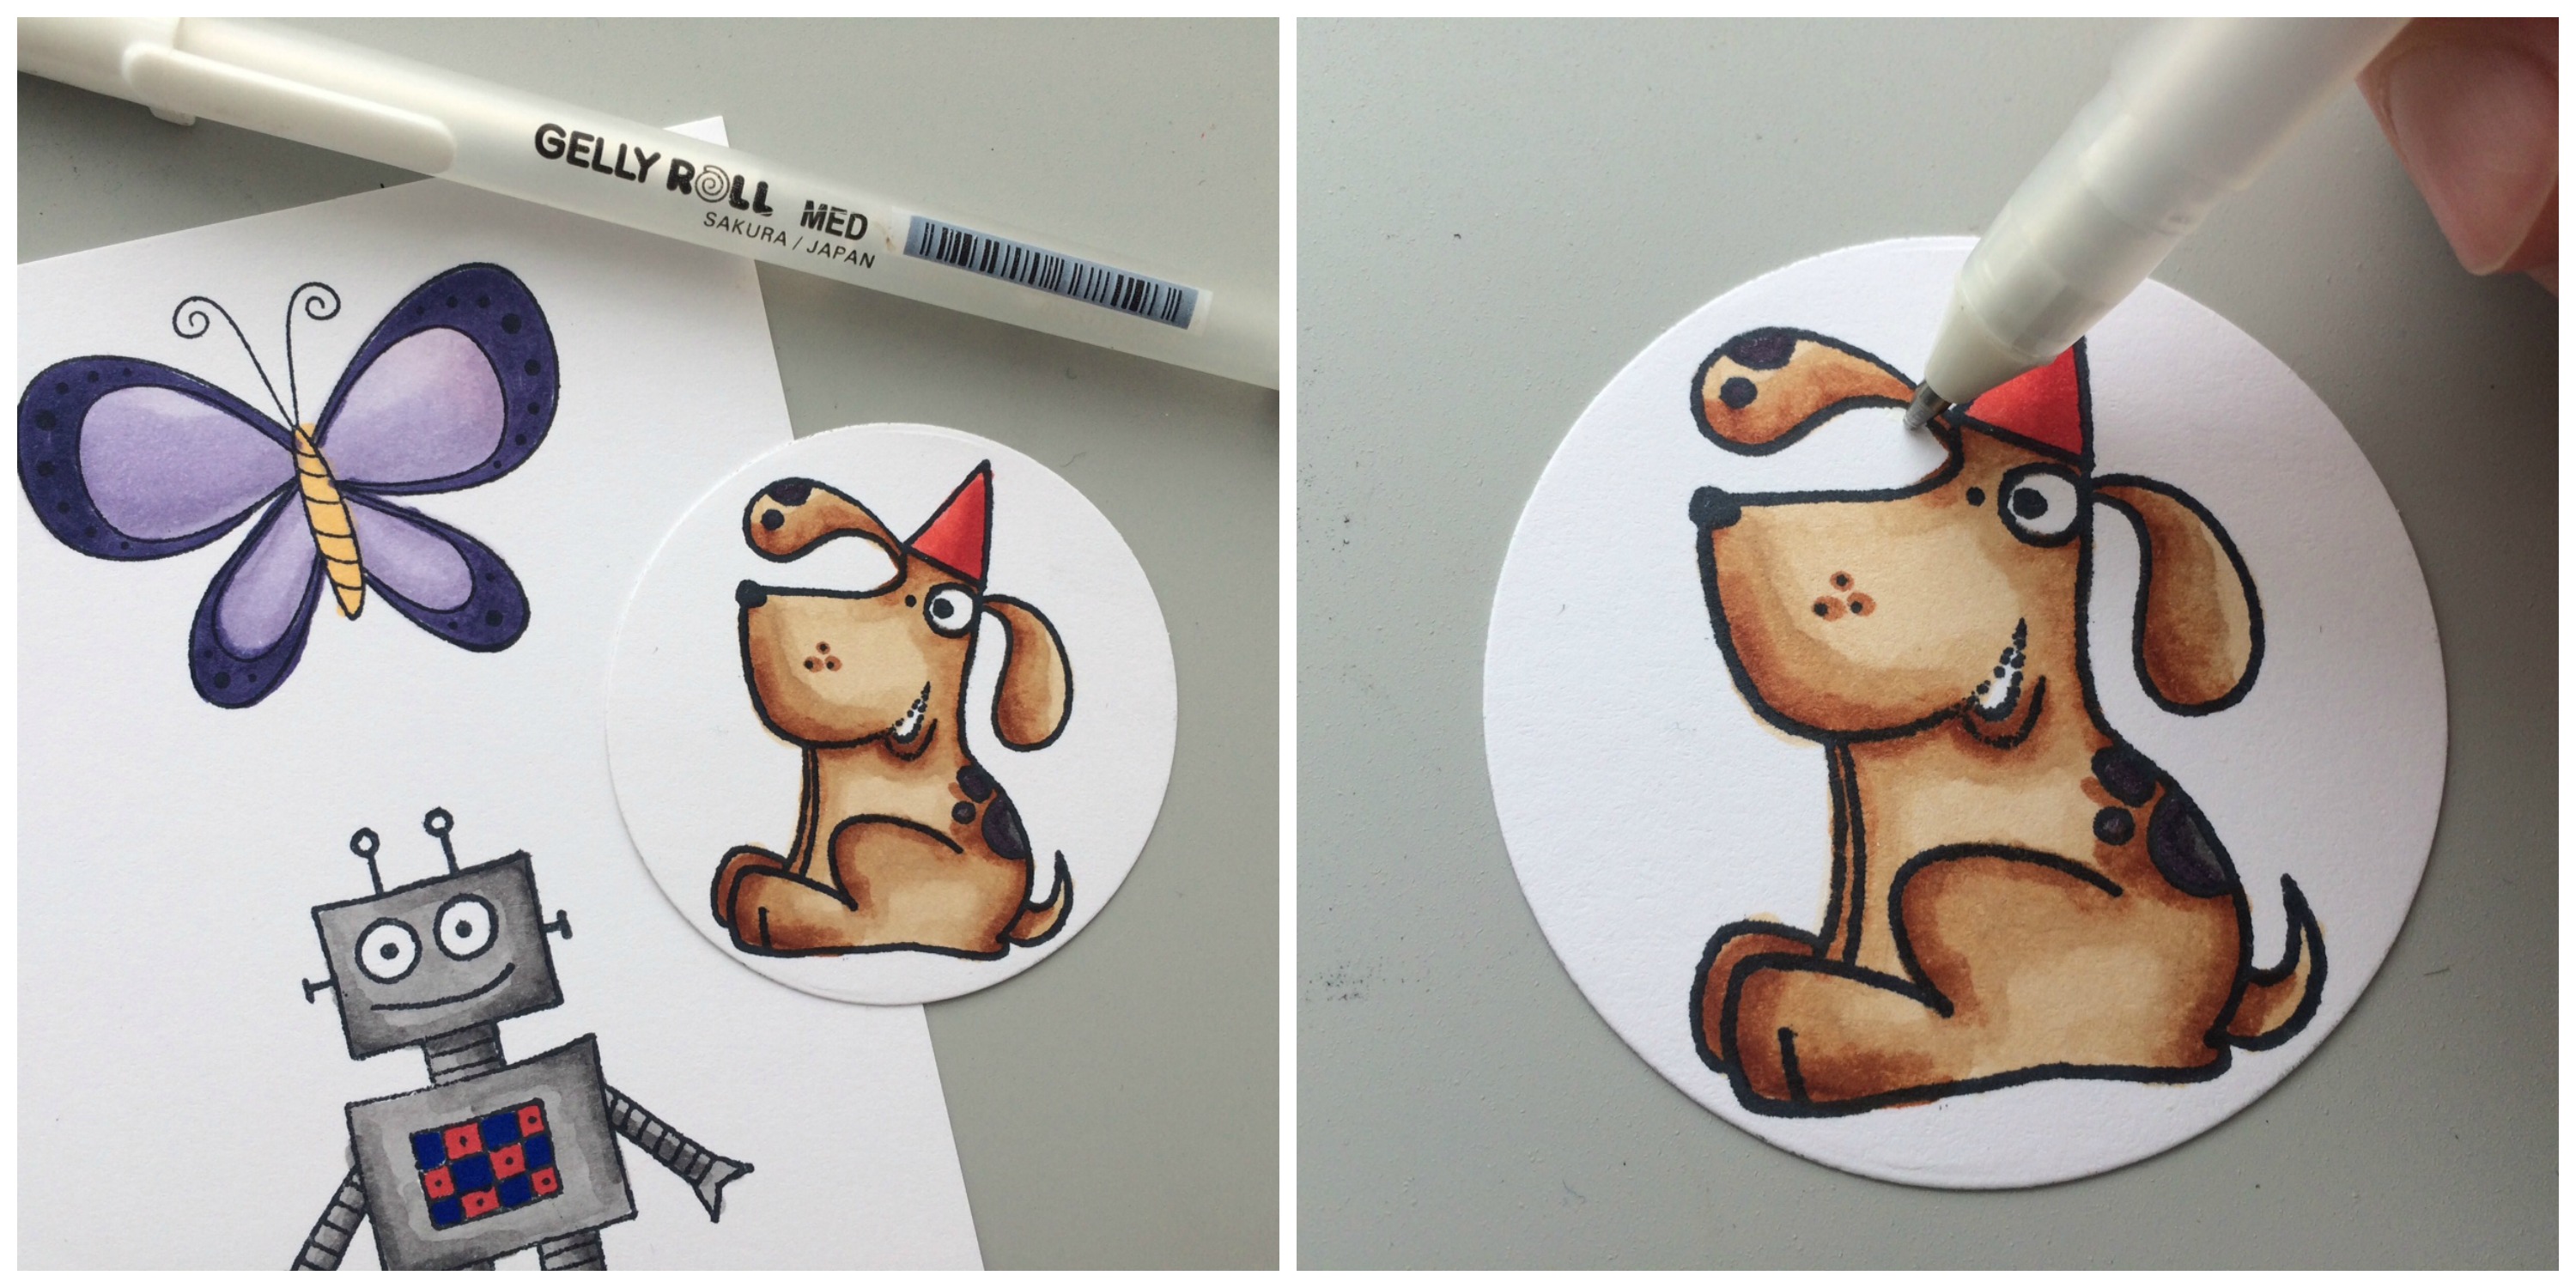
We’ve all been there. You’ve stamped an image and spent an obscene amount of time coloring it in, ever so carefully…and then you slip outside the lines. Don’t throw it away and start over! Simply color over the ink with a white gel pen and let it dry — no one will ever know the difference.
5. Ink blending on a budget
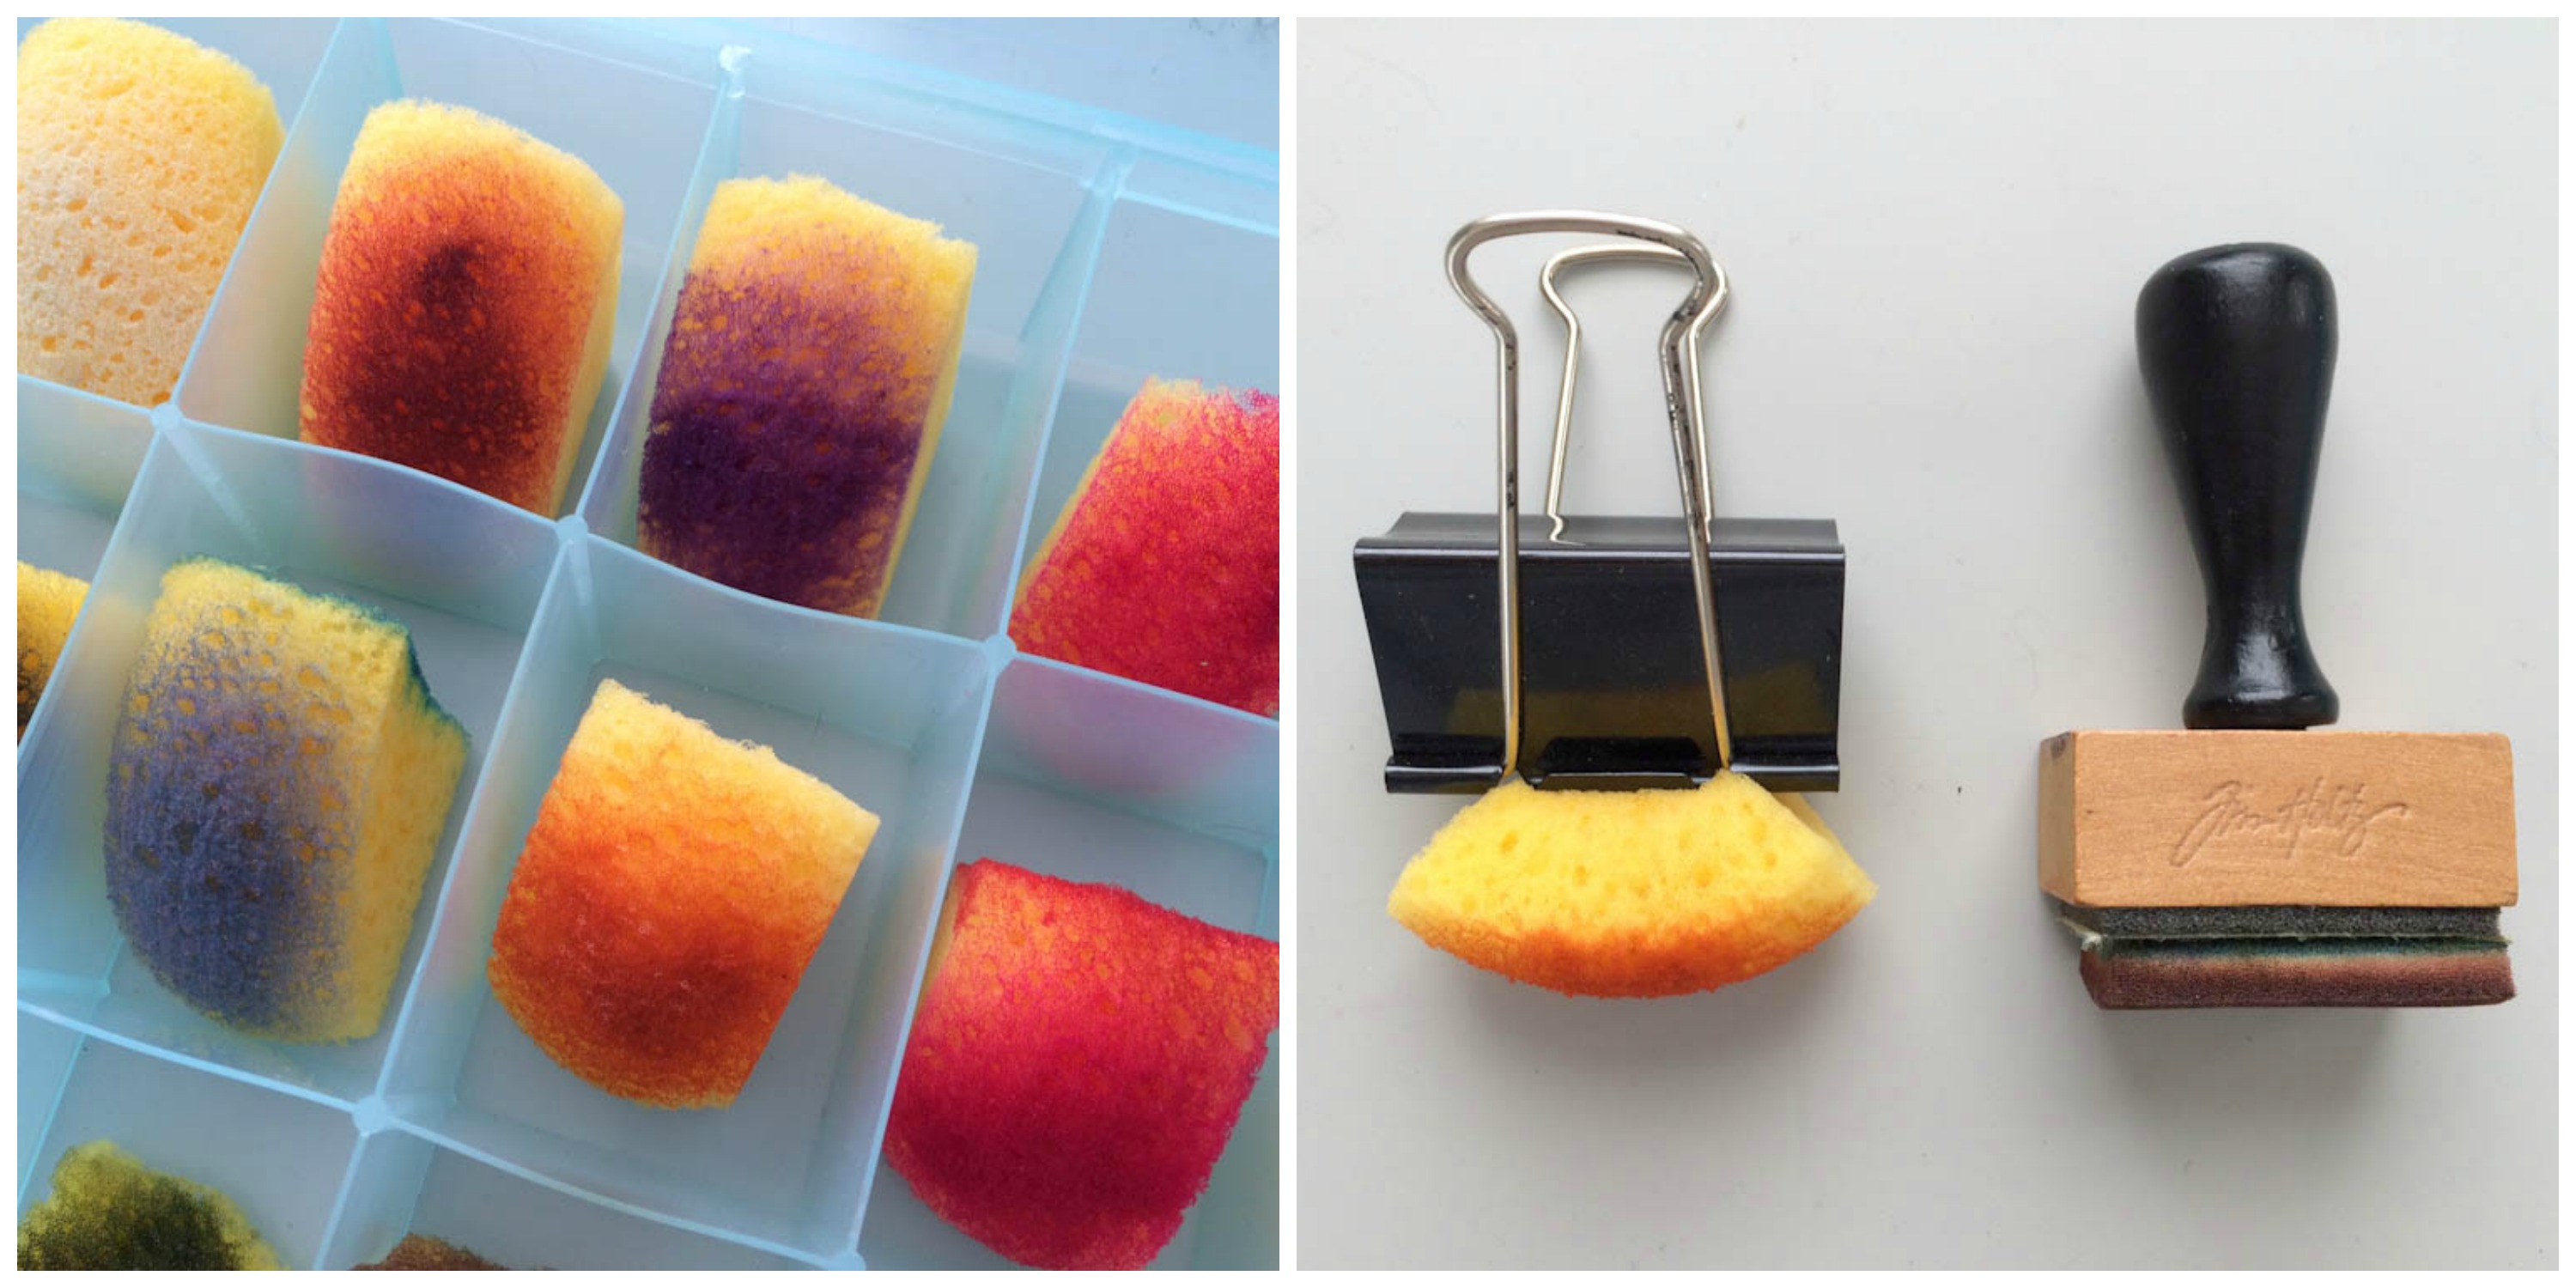
If you want to try ink blending techniques but don’t have the budget to invest in ink blending tools, simply cut up a small sponge and use a binder clip as a handle. You will create wonderful blended images and save your hands from getting inky! You will also have plenty of small sponges available for each color in your ink collection.
6. Nice and even paper banners
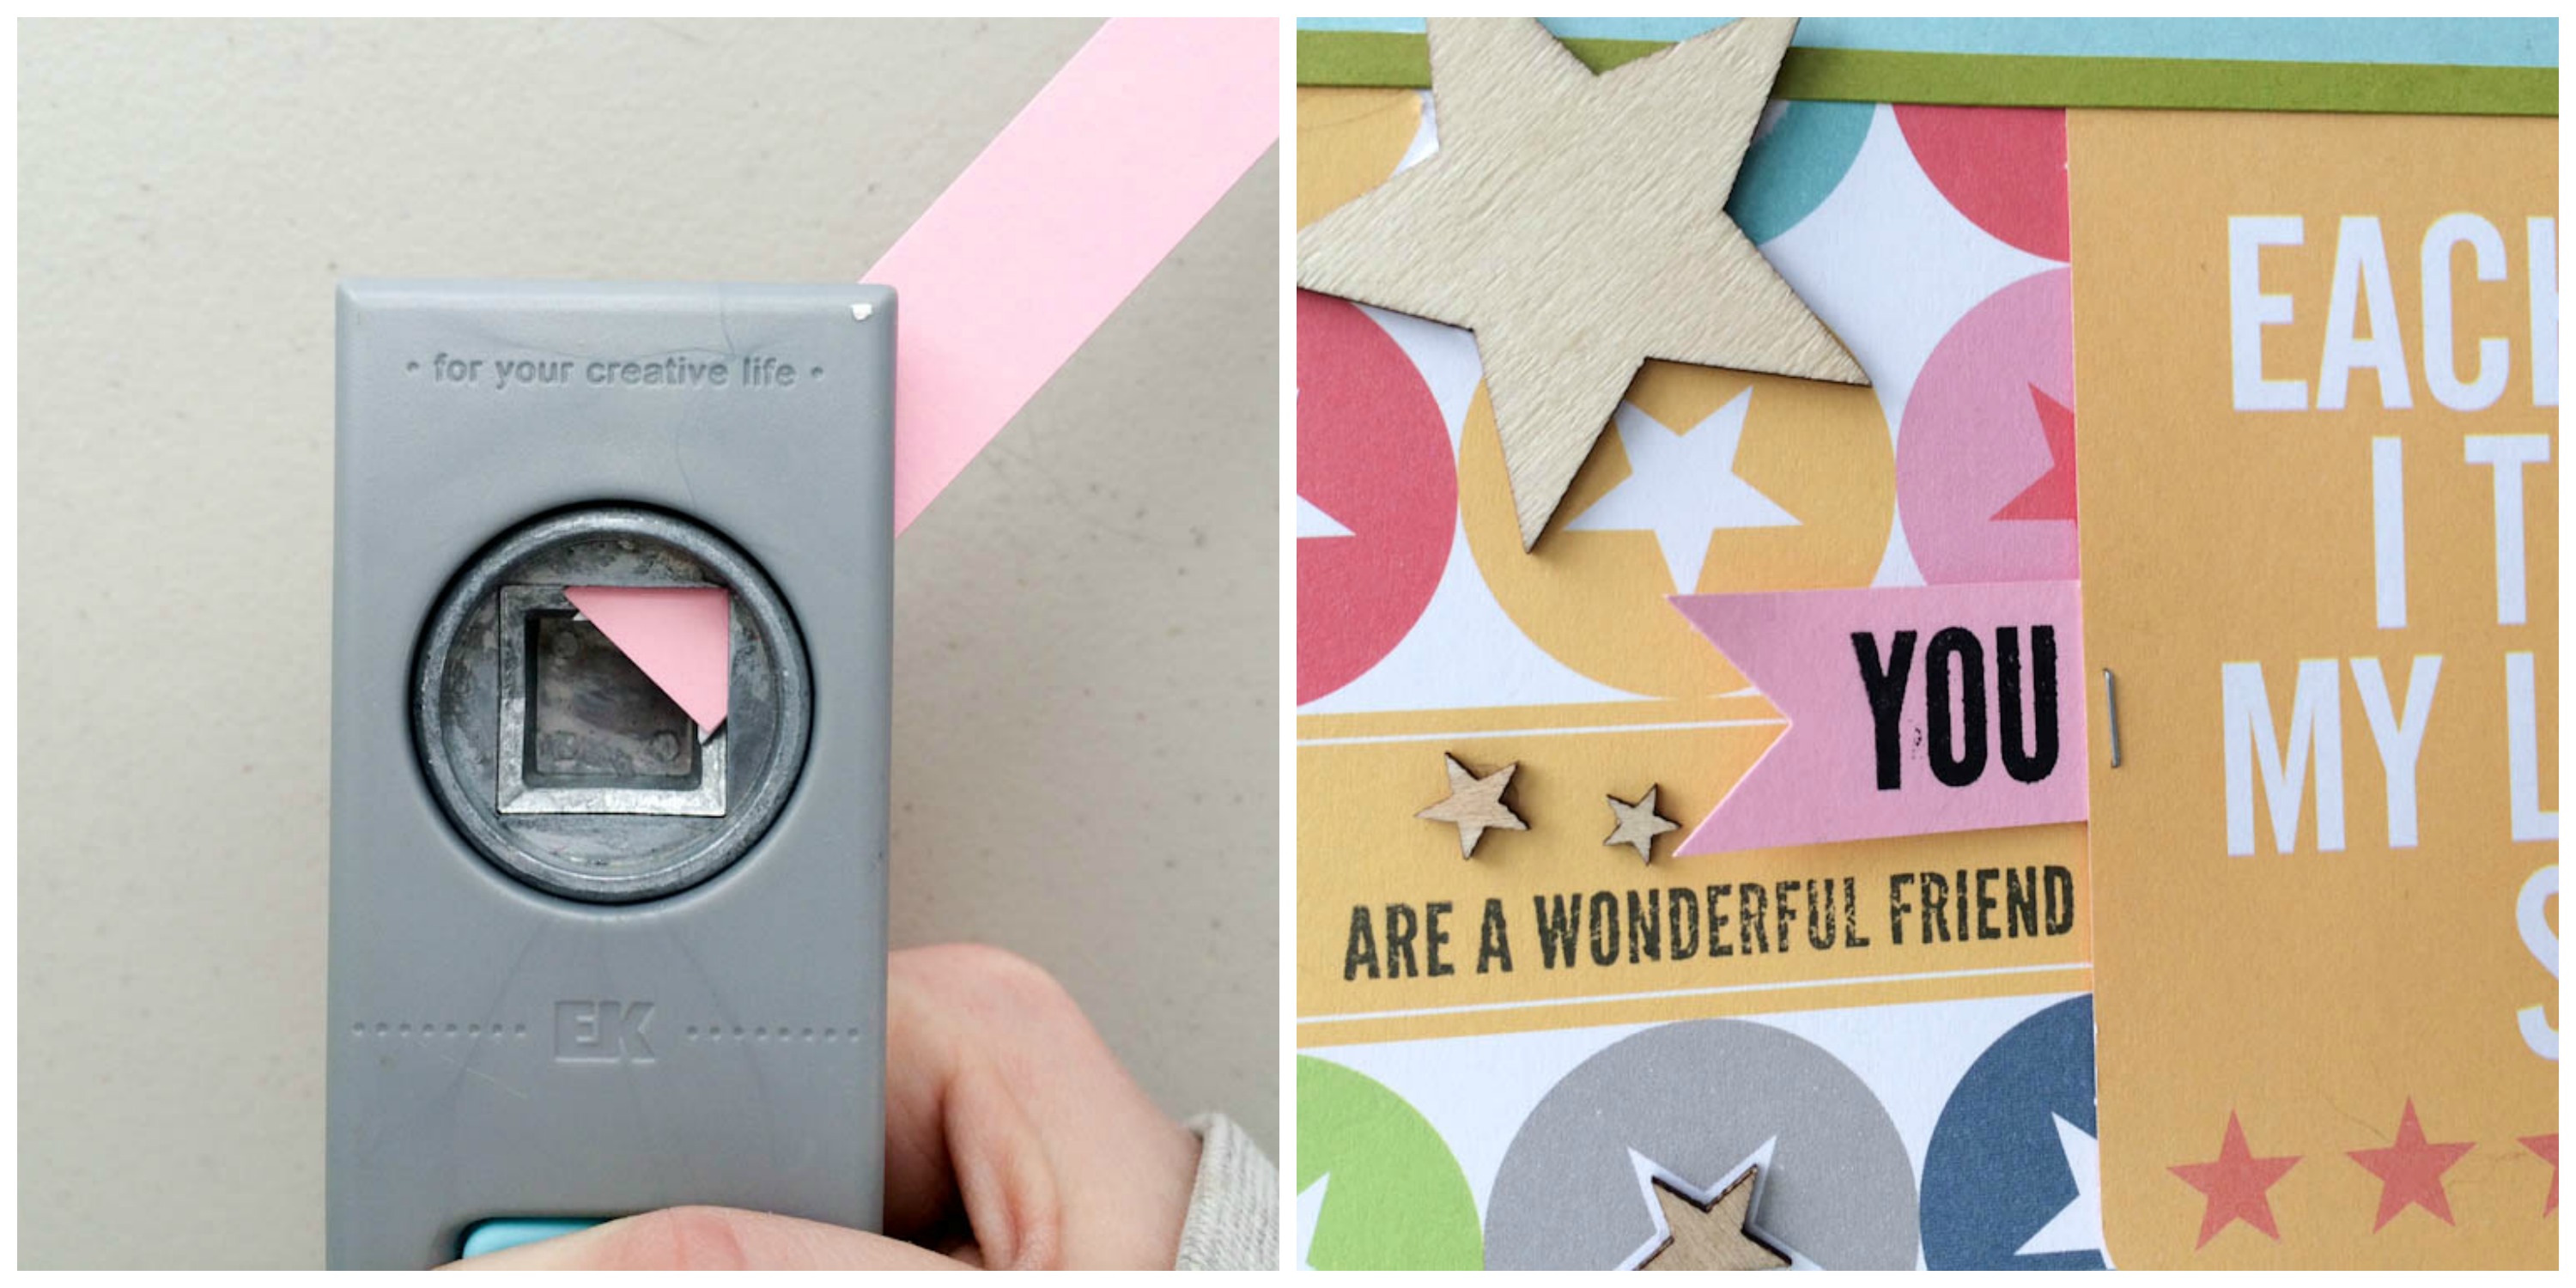
Do you love the look of paper banners but can never cut them just right? Try inserting your strip of paper into a square punch and simply punch on the corner. You will have a nice, even banner!
In this example, I am using a 1″ square punch. However, you can use varying sizes of punches and paper strips to achieve different looks.
7. Custom embellishments
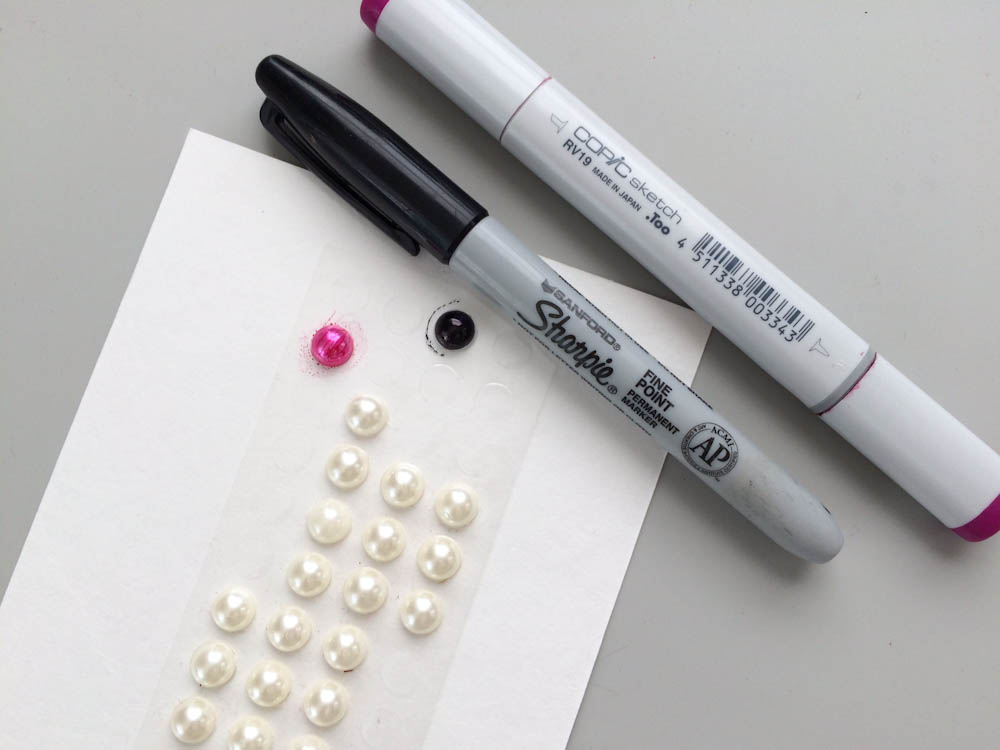
For adding dimension to your projects, pearls and other dimensional dot accents are quite popular. They can be pricey, so why not make your own embellishments? Simply stock up on inexpensive white adhesive pearls and color them with Sharpie or Copic (alcohol-based) markers. You can customize them to the exact colors of your project!

Share tips, start a discussion or ask one of our experts or other students a question.
No Responses to “7 Paper Crafting Hacks That'll Save You Time AND Money!”