
We’re excited to share a special guest blog post on paper flower making by instructor Lia Griffith!
Lia is the founder of LiaGriffith.com, a creative lifestyle brand offering daily inspiration for a handcrafted lifestyle. From the highest quality interior design inspiration to stunning DIY paper craft tutorials, Lia Griffith is defining, educating and growing the DIY movement around the world.
Do you love flowers but wish they would last longer than a few weeks?
I’m here to share five simple but effective tricks to making long-lasting, beautiful paper flowers. With these tips and the free downloadable paper flower lei pattern from the Lia Griffith studio, you’ll get plenty of practice making beautiful blooms.
1. Choose the right paper
One of the most important decisions you will make when you start a paper flower—making projects is which paper to choose.
Card stock is a no-no for most paper flower patterns, as it is just too stiff to create elegant shapes. I tend to favor text-weight metallic paper for my flower designs. The iridescent nature of metallic paper is perfect for adding depth to your paper flowers because of the way it reflects light.
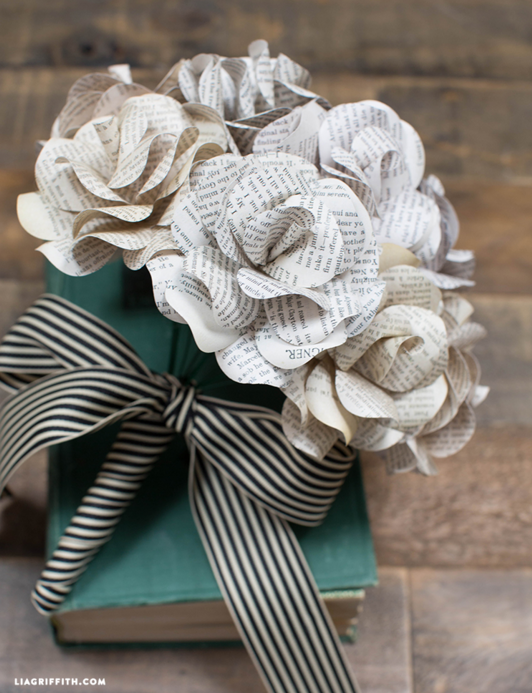
You can also use found papers like book pages, gift wraps or magazine sheets to create interesting paper flower crafts.
2. Prepare your stash for flower making
Other than a stash of great papers, you will need very little to make stunning paper flowers.
My go-to tools are scissors, a low-temperature glue gun, floral stem wire, and floral tape. The glue gun makes assembly very quick and easy. You can use it to layer petals, secure the centers, and attach backings or floral stem wire to your flower.
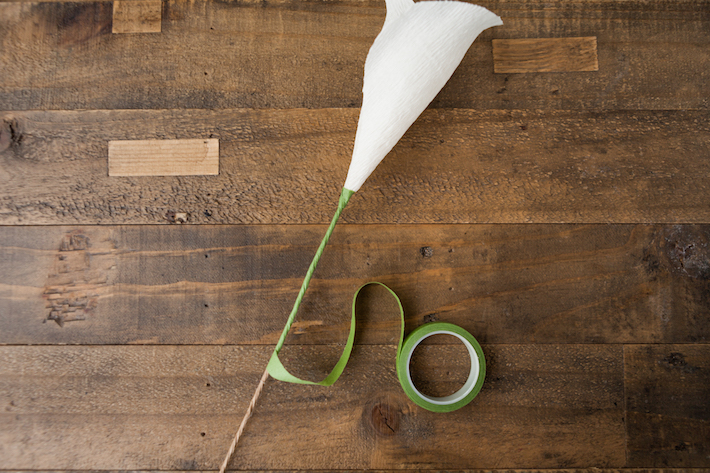
Floral stem wire can be used in single stems or more to create thicker stems. Wrapping the floral stems with floral tape is the perfect way to finish your product in a clean, professional way.
3. Create a natural-looking paper flower
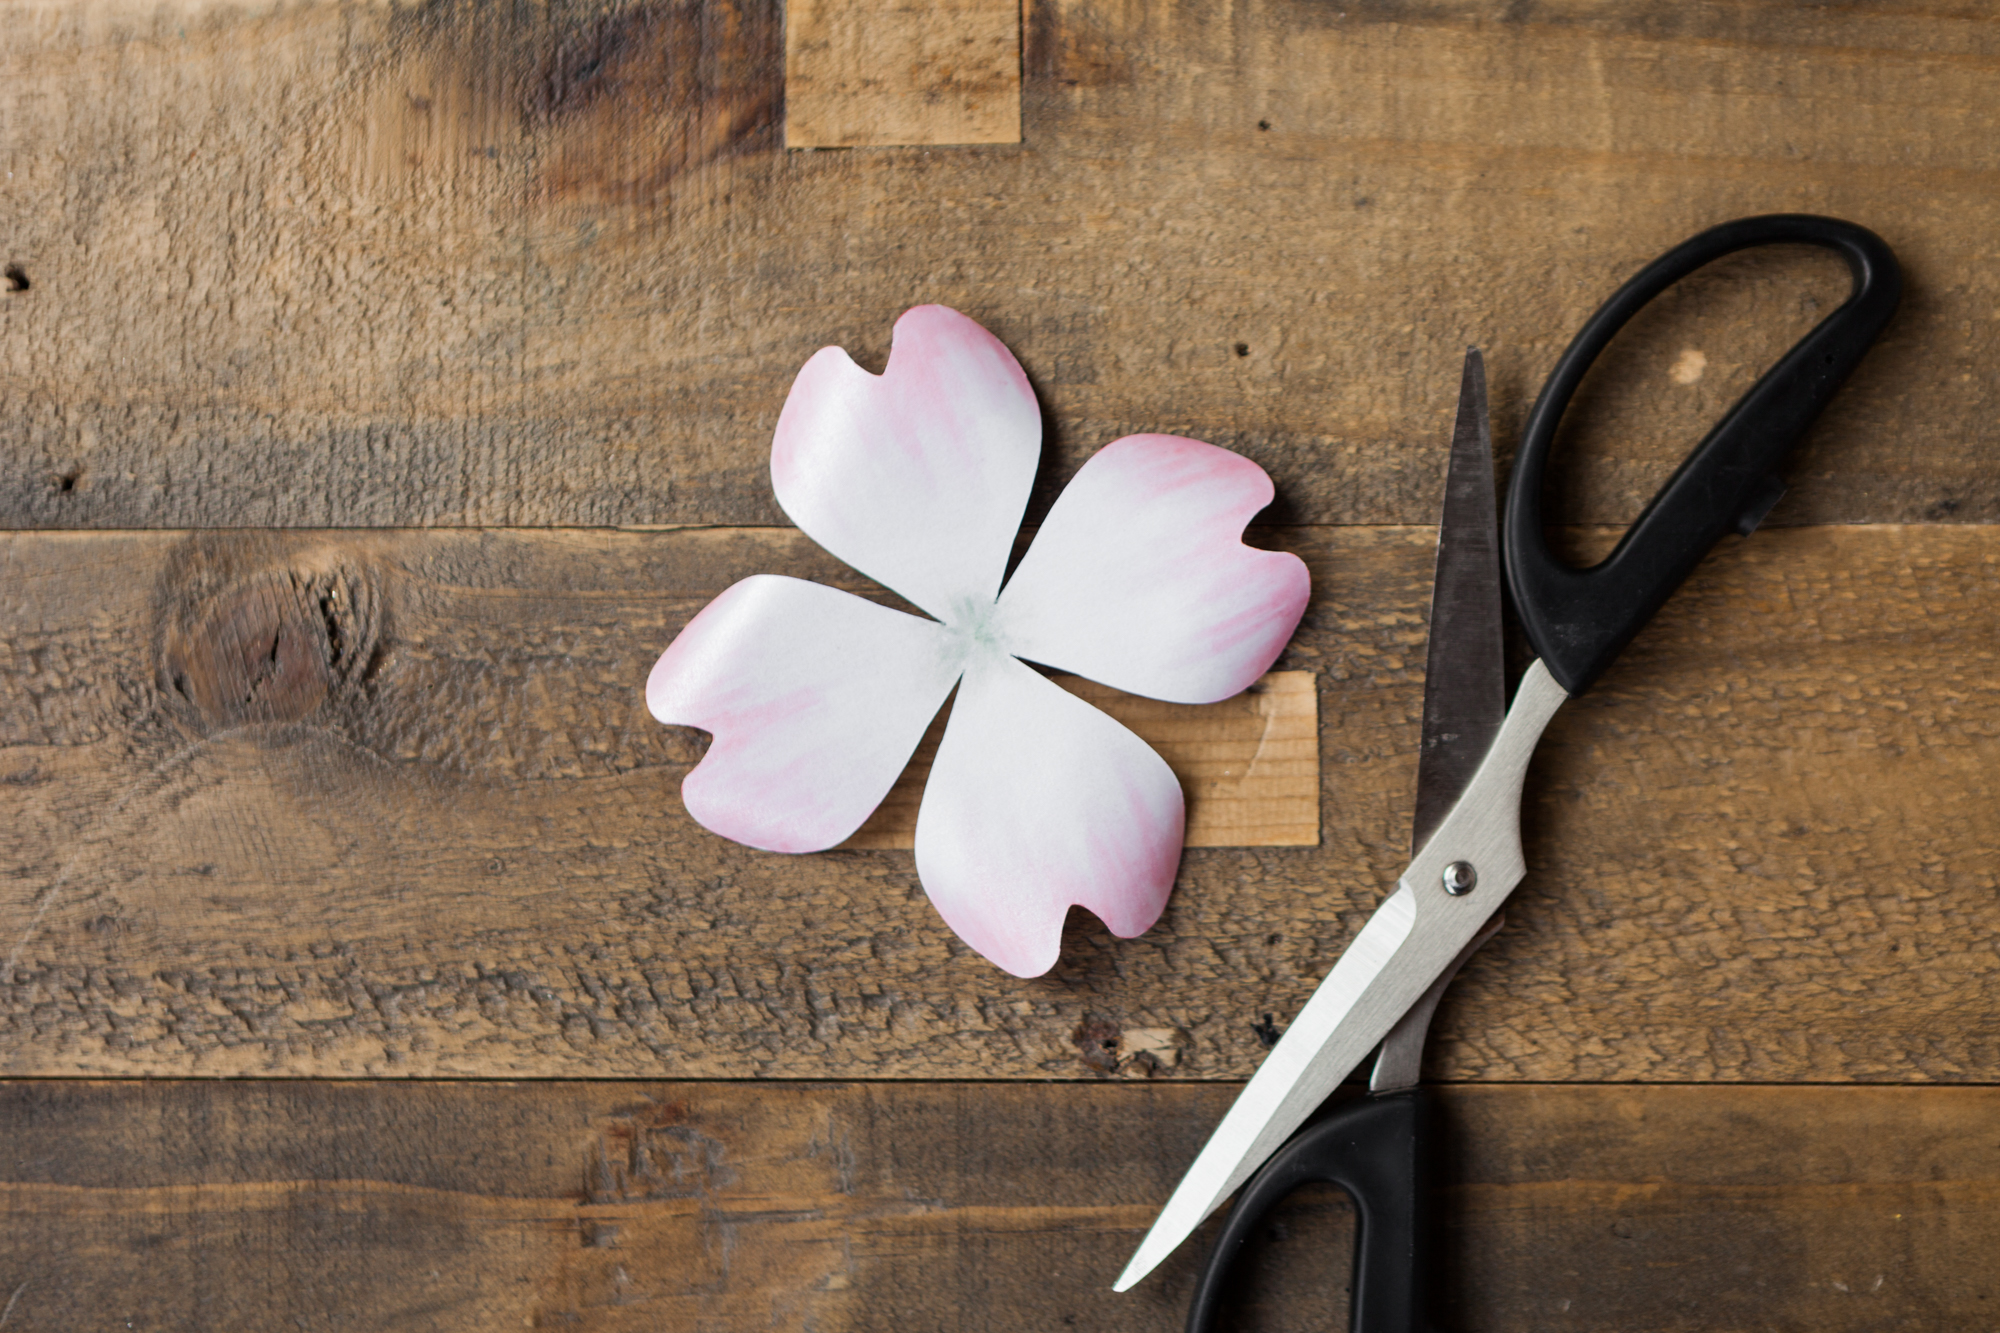
My top tip for creating natural-looking paper flowers is to curl the paper petals once they have been cut to size. Using a pencil, dowel, or the edge of your scissors, gently pull the paper through your fingers to curl the edges. This adds a depth and dimension that will turn your paper flowers from gorgeous to simply stunning!
Practice this technique on your chosen paper before you cut the petals — it’ll be worth it.
4. The options are endless!
Paper flowers are so versatile!
- Adding long stems to a bunch of five or six paper flowers makes a great arrangement for a vase or glass jar.
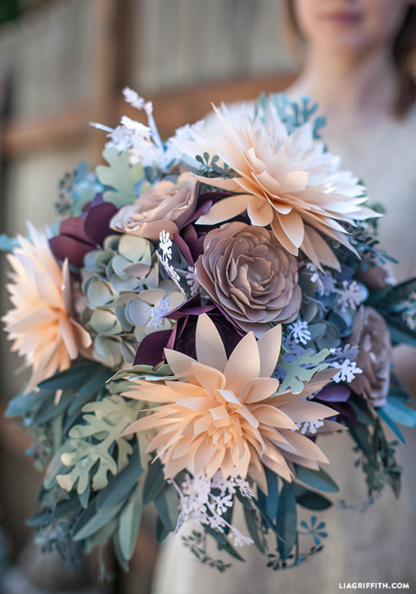
- Fold the stems in half and wrap them together in floral tape to make a pretty wedding bouquet.
- Omit the stems altogether to make pretty gift toppers or secure a pin to the back to make an attractive brooch.
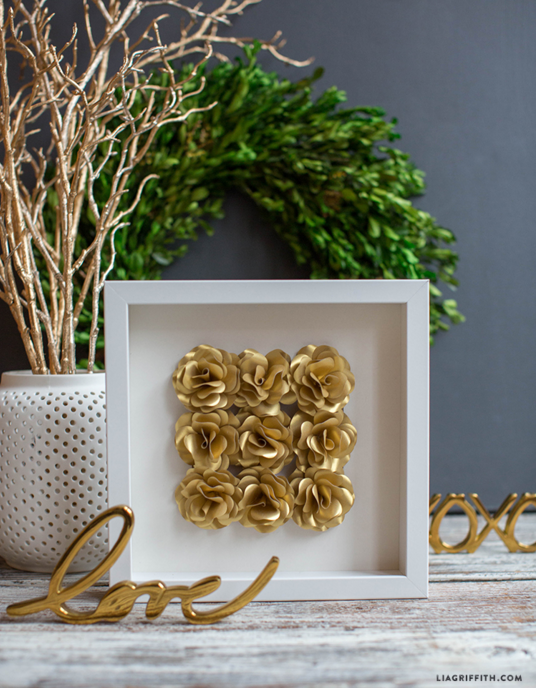
- Use sewing pins to attach a number of paper flower heads to a foam wreath for your front door, or arrange them in a box frame to create a unique piece of handcrafted wall art.
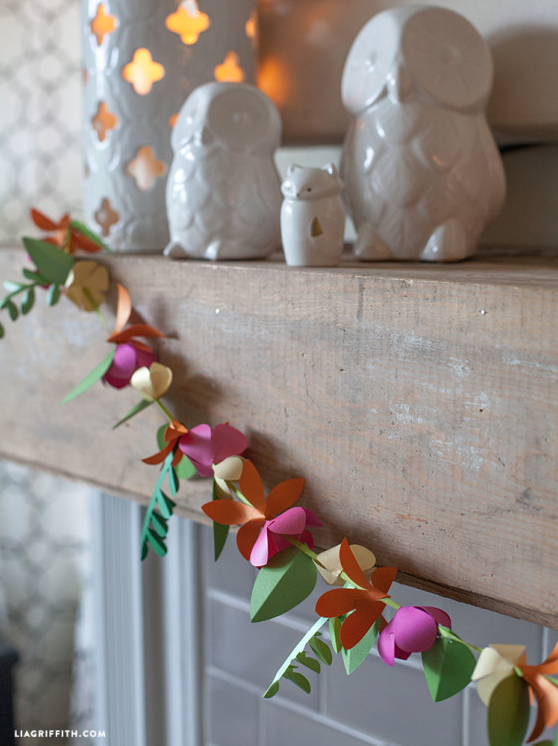
- Mixing paper flowers with real greenery is also one of my favorite ways to display my projects.
5. Use a cutting machine to maximize your potential
When I first began designing paper flowers I used to cut all the pieces by hand. This was fun and satisfying, but it limited my options to a point.
When I invested in a Cricut Explore Air, the opportunities for paper-flower making (and more) were suddenly endless. Where it would have taken me hours to cut 90 petals for my paper hydrangea design, I could now cut all 90 in a few minutes. My paper flower wedding bouquets became even more intricate as I was able to incorporate paper Queen Anne’s Lace and eucalyptus foliage.
It’s not an essential tool for paper-flower making, but for intricate, beautiful, professional-looking paper flowers, there is nothing better!
Now that you know these tricks…
you can make a picture-perfect paper flower project, and we have just what you need to get started: a stunning flower lei that will brighten up any space.
Editor’s Note: This post originally appeared in February 2016 and was updated in April 2018.
Cricut classes on using "all" the misc tools and other classes!
I would see some classes on the different things you can do with the Cricut Maker! Thank you